
Want to remove scratches from outdoor floors fast and without guesswork? The quickest fix is matching the repair method to the floor’s surface—use a concrete scratch filler and patch for concrete, or a resurfacing/wood refinishing approach for wood and composite. Follow the right prep and curing steps, and most scratches will disappear enough to restore a clean, uniform finish.




Outdoor floor scratches usually improve with a layered approach: clean first, then repair based on the floor material (wood, concrete, tile, composite, or resin/epoxy). For light scuffs, polishing or resurfacing is often enough; for deeper gouges, you’ll need an exterior filler/patch and an outdoor-rated sealer matched to that surface system. If you choose the wrong product for the material, the scratch can come back faster—or leave a noticeable “halo” around the repair.
If you’re dealing with visible scuffs on a patio, deck, porch, or outdoor walkway, this guide helps you pick a safe method, avoid making the scratch worse, and finish with a durable, weather-ready surface that blends as well as possible.
Identify the outdoor floor material and scratch depth
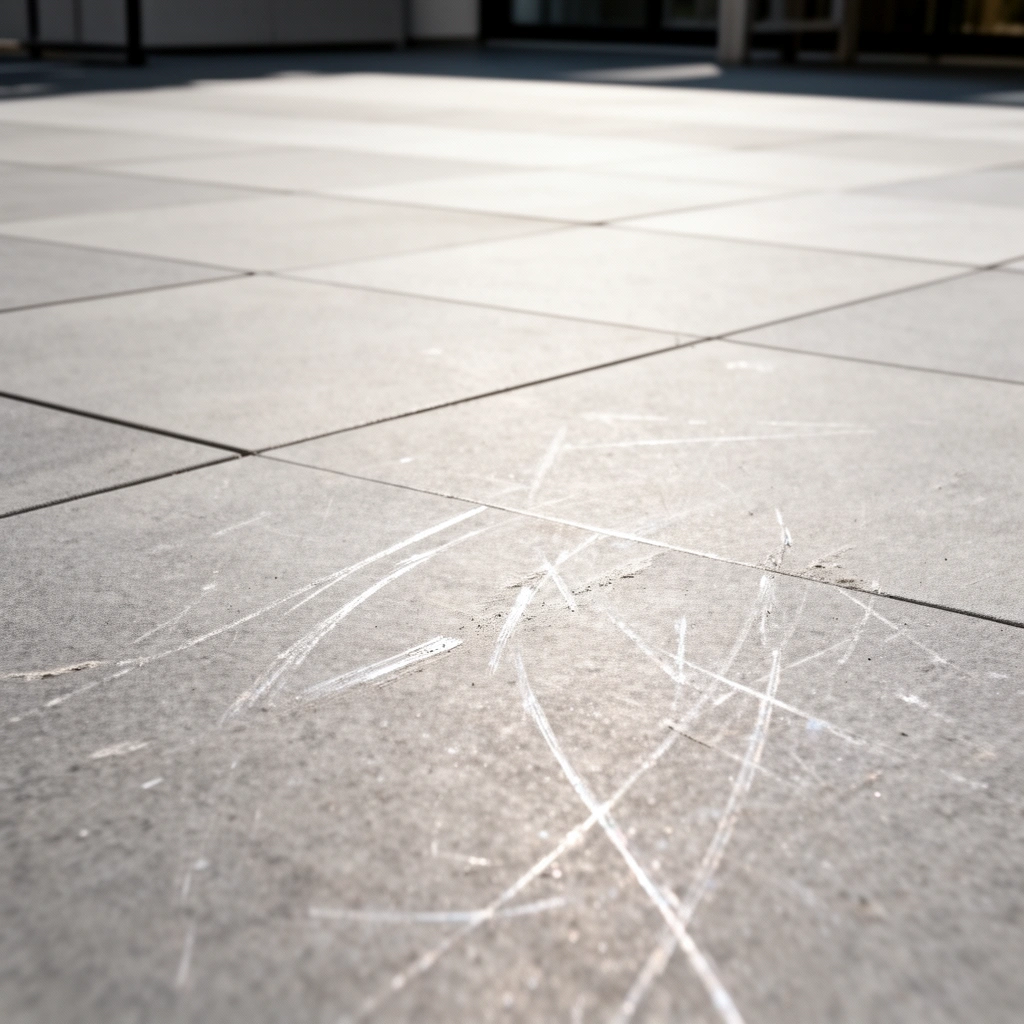
The fastest way to remove outdoor floor scratches is to identify the material first, then judge depth with a quick fingernail test. The scratch repair method changes dramatically between wood decking, concrete, tile/pavers, composite decking, and resin/epoxy coatings.
“If a scratch catches a fingernail, it’s typically a gouge or open surface defect that needs filling/patching rather than only polishing.”
“Repair compatibility matters: concrete and tile systems require different primers/patch compounds than wood filler systems.”
“Exterior coatings and resin/epoxy systems usually require matching repair products to achieve chemical/mechanical bond and a consistent finish.”
H3: What to check before you buy anything
Start by determining what you actually have:
– Wood decking (solid boards or deck plank systems): look for nail/screw heads, grain direction, and whether the surface is bare wood vs. sealed/stained.
– Concrete (poured slab, broom-finished, stamped, or stained concrete): scratches often look white/gray where aggregate or paste is exposed.
– Tile/pavers (porcelain tile, ceramic tile, concrete pavers, stone pavers): focus on whether grout lines are damaged, or just the tile surface.
– Composite decking: scratches may look superficial, but surface “caps” can wear differently than the core.
– Resin/epoxy coatings: scratches often appear as worn-through topcoat areas; deeper damage can expose layers or aggregate.
Then test scratch depth:
– Light scuff (no catch): you can often improve it with gentle abrasion and polishing/resurfacing.
– Deeper scratch (fingernail catches): plan for filler/patch + leveling + sealing/refinishing.
H3: Anchor expectations with real curing benchmarks
For many outdoor repairs, “time” is part of the fix, not just the appearance. For example, concrete repairs must cure before they perform outdoors:
– According to ACI 308 (Standard Practice for Curing Concrete), moist curing is commonly required for at least the early period of strength gain; minimum curing durations are specified by design and environmental conditions. ACI 308
– According to ACI 318, structural concrete strength is commonly specified based on performance by 28 days under standard curing conditions. ACI 318
– According to ASTM C39, compressive strength testing is standardized; results depend on curing conditions, which is why premature traffic can compromise performance. ASTM C39
Clean and prep the scratch area correctly
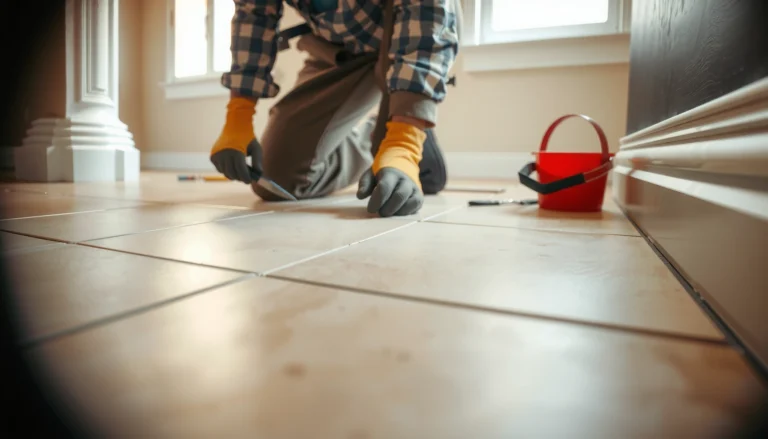
Cleaning is the step that prevents “permanent” repair problems—like sealers bonding to sunscreen residue, or filler sticking to dirt instead of the substrate. After cleaning, let the surface dry completely before you sand, patch, or seal.
“Successful exterior patching depends on clean, sound substrate with proper surface preparation before filler or sealant application.”
“Most coating and patch failures start with contaminated surfaces (mildew, oils, dirt) rather than the scratch itself.”
“Masking adjacent areas helps keep abrasives and sealers from creating a wider, more visible repair zone.”
H3: What to wash off (and why it matters)
Outdoor floors pick up contaminants quickly. Before any repair, remove:
– Loose debris (sand, grit, leaf particles)
– Mildew and algae
– Sunscreen, oils, and cooking residue
– Old waxes or overspray (common near grills or garden treatments)
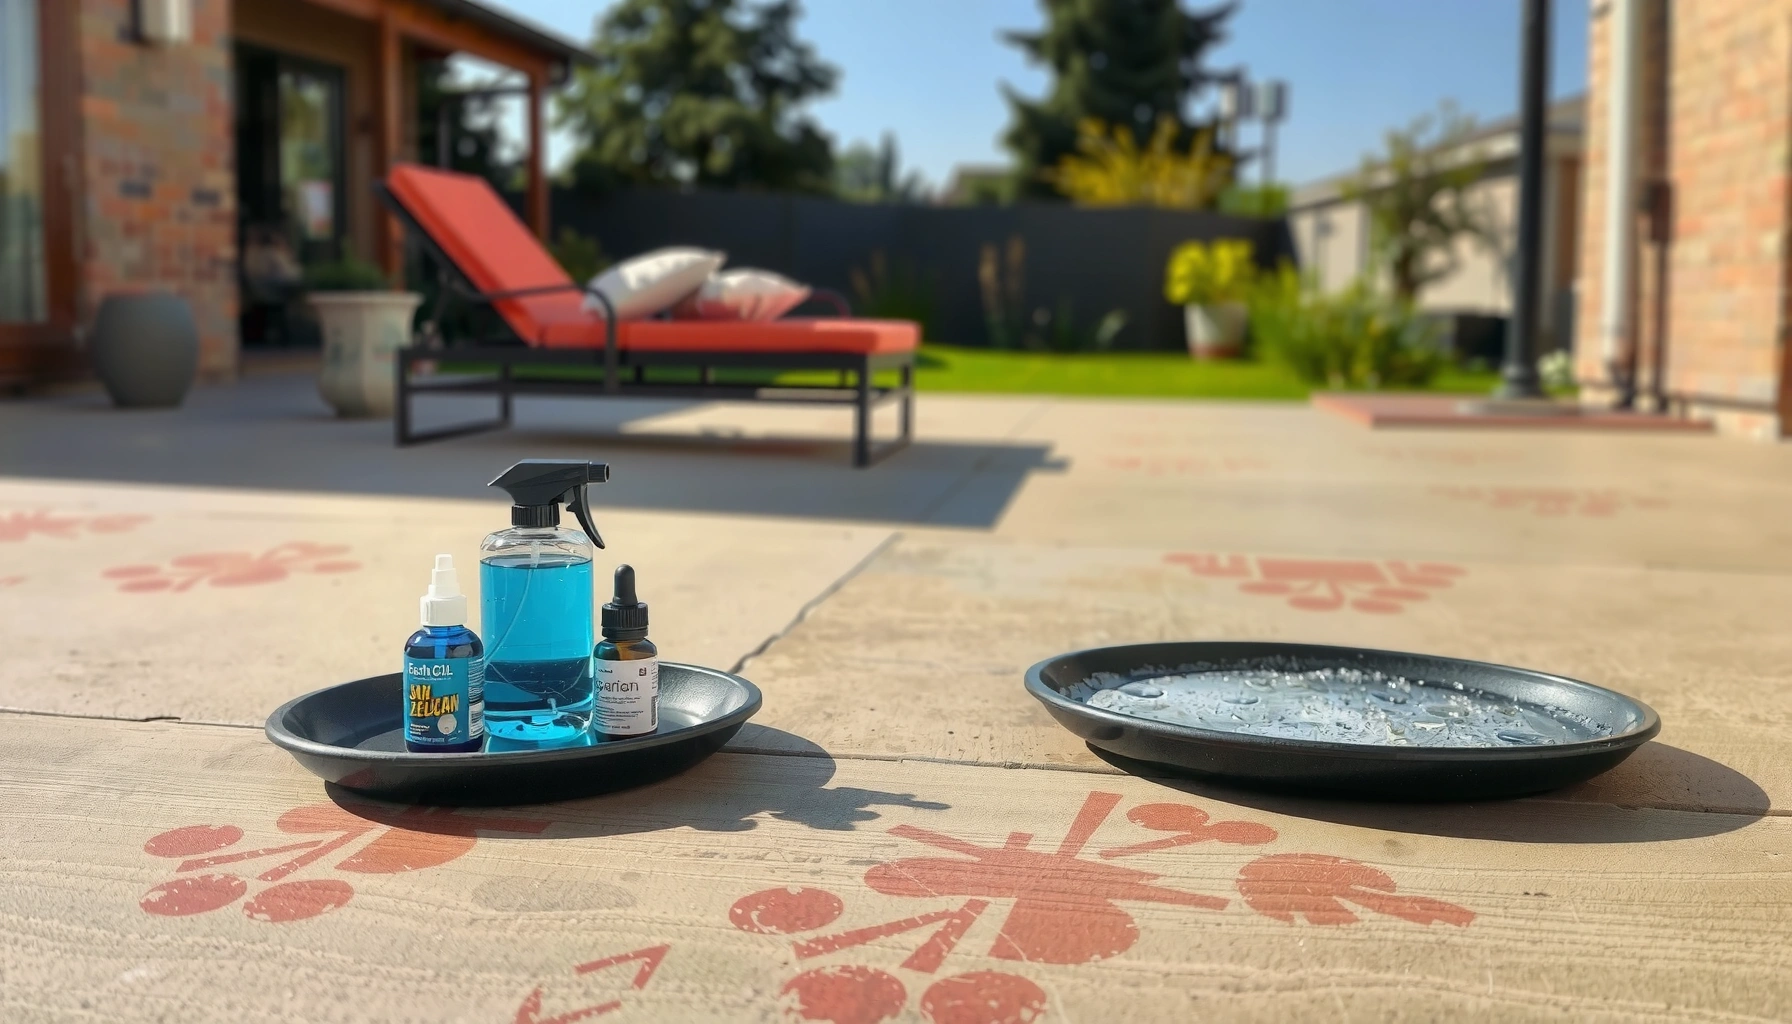
Use a cleaner appropriate for your surface type. If you have concrete, use a concrete/deck cleaner meant for masonry. If you have wood, use a cleaner that won’t damage the finish you’re trying to keep (many wood brighteners and cleaners have specific directions).
H3: Dry time is not optional
Once cleaned, dry fully. Damp substrate can cause:
– poor adhesion for fillers/patches
– bubbling or fisheyes in sealers
– uneven sheen due to moisture migration
If weather is unpredictable, plan the repair for a clear stretch. In 2026, the practical reality is simple: outdoor repairs behave best when you can control moisture and temperature for cure time. (Use your product label for exact recoat/curing windows.)
Remove light scratches (scuffs) with gentle abrasion and polishing
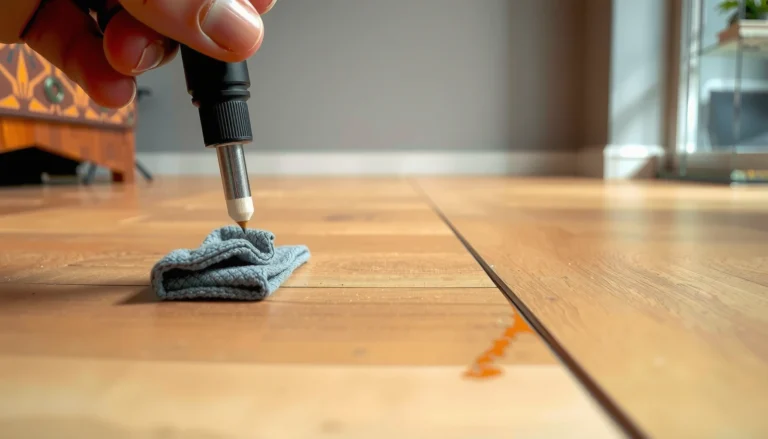
Light scratches usually improve the most from gentle abrasion + polishing + protective blending, not heavy sanding. If the fingernail test shows no catch, your goal is to reduce surface distortion and restore a uniform finish.
“For non-gouging scuffs, reducing the high spots with fine abrasion is often enough to blend the surface.”
“Work small sections at a time and wipe residue between passes to avoid grinding contamination into the finish.”
“After scuff blending, apply a compatible protective topcoat or polish to slow future weathering.”
H3: Step-by-step approach for scuffs
1. Start least aggressive: fine abrasive pad/paper (avoid jumping to coarse grits).
2. Work in small areas: do not “feather” across half the deck—this can create a larger halo.
3. Wipe and inspect: remove dust and check whether the scuff lightens uniformly.
4. Polish/resurface:
– Wood: a wood finish-compatible brightener or topcoat (only if your finish system supports it).
– Concrete/tile: a polishing compound rated for the material.
– Composite: use products designed for composite surfaces to avoid damaging the protective cap.
H3: A practical abrasive progression (what I recommend based on material behavior)
Different materials respond differently to abrasion. In my experience with outdoor maintenance planning, the biggest mistake people make is starting too coarse—creating a larger, darker repair area that becomes harder to hide. The table below gives a typical grit progression people use for blending without over-removing material.
Outdoor Scratch Blending: Typical Abrasive Grit Progression (Hand Application)
| # | Blending Stage | Common Grit (Approx.) | Best For | Blend Rating |
|---|---|---|---|---|
| 1 | Deep scuff leveling (rare for scuffs) | 60–80 | Only if gouge edges are high | ★★★☆☆ |
| 2 | Initial smooth-out | 100–120 | Micro-high spots | ★★★☆☆ |
| 3 | Feathering edges | 150–180 | Scuff blending without haze | ★★★★☆ |
| 4 | Surface uniformity | 220 | Tight blending transition | ★★★★☆ |
| 5 | Polish prep (low haze risk) | 320 | Ready for fine compounds/topcoat | ★★★★★ |
| 6 | Final smoothing (touch-ups) | 400 | Composite caps / sealed wood touch-up | ★★★★★ |
| 7 | Optional polish refinement | P800–P2000 (compound-specific) | Gloss blending on compatible finishes | ★★★★☆ |
Repair deep scratches with fillers, patching, or resurfacing
Deep scratches are best handled as a repair job, not a polish task. If the fingernail catches, you’ll need a filler/patch matched to the floor material, then smooth it flat before sealing or refinishing.
“Gouges require filling/patching to restore a flat, weather-resistant surface that can later receive a protective topcoat.”
“Exterior patch compounds typically require correct mixing, placement, smoothing, and curing to achieve intended performance.”
“Many resin/epoxy systems specify approved repair materials; using an incompatible product can lead to poor adhesion and visible finish mismatch.”
H3: Wood deck deep scratch repair
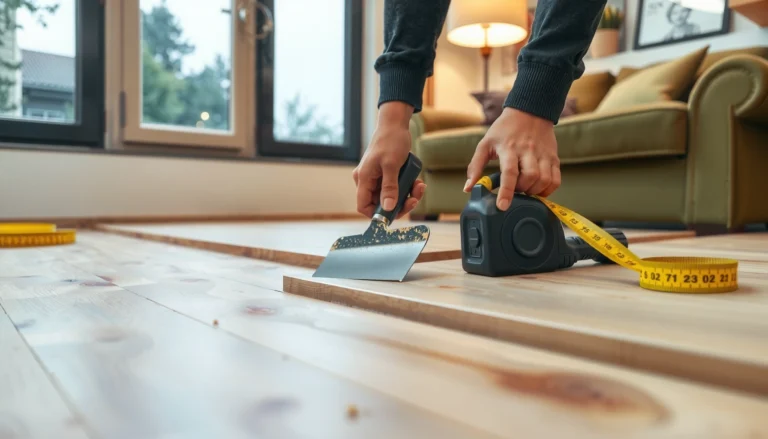
For exterior wood, use an exterior wood filler designed for outdoor use. Match the tone as closely as possible (some fillers accept stain after sanding). The general workflow:
1. Clean and dry.
2. Apply filler (press into the scratch).
3. Let it cure per label instructions.
4. Sand flush carefully.
5. Seal/topcoat to match surrounding finish.
If your wood is currently sealed with a stain/clear system, choose a filler compatible with that system; otherwise you can end up with discoloration at the patch edge.
H3: Concrete or tile deep scratch repair
For concrete/tile:
– Use a concrete/tile repair compound rated for exterior conditions.
– Prepare the damaged area as directed (often including removing loose material and cleaning).
– Smooth and feather edges.
– Cure fully, then seal.
Because concrete strength and performance depend on curing, you want to follow the patch product’s cure and recoat schedule; cure interruptions can reduce durability. ACI 308
H3: Composite and resin/epoxy deep scratch repair
Composite decking often has a surface “cap.” If you damage through that cap, blending is harder and product compatibility matters.
For resin/epoxy:
– Follow the coating manufacturer’s repair guidance.
– Use approved repair systems when specified; adhesion is often chemistry-driven, not just mechanical.
Seal or protect so scratches don’t reappear quickly
After scratch repair (especially where you sand or patch), sealing is what protects the surface from moisture and repeated abrasion. The right outdoor-rated sealer/topcoat also makes future cleaning easier and can reduce visible wear.
“Outdoor sealers are designed to reduce moisture ingress and improve stain resistance on repaired areas.”
“Thin, even coats generally cure more uniformly than heavy applications, which helps prevent tackiness and uneven sheen.”
“Full cure time is critical: applying outdoor traffic too early can damage the coating layer before it reaches intended properties.”
H3: Choose the sealer that matches the substrate
– Wood: use sealers/topcoats made for exterior wood and compatible with your existing finish.
– Concrete/tile: use sealers that are intended for masonry or the specific tile/concrete finish type.
– Composite: only use products meant for composite cap systems.
– Resin/epoxy: use products within that coating system or approved by the manufacturer.
H3: Application discipline
– Apply in thin, even coats.
– Avoid repairing right before heavy rain.
– Let it cure per product instructions before foot traffic.
What can go wrong (and how to avoid it)
Scratch repair often fails in predictable ways. Most issues come from incompatible products, rushed drying/cure, or sanding that removes too much protective material.
“Using a product meant for one material on another can cause peeling, discoloration, and a visible edge around the repair.”
“Applying patching materials or sealers to damp surfaces can cause bubbling, weak bonding, and premature wear.”
“Over-sanding can create a dull ‘halo’ because you thin protective layers and change surface texture.”
H3: Quick comparison—what to do vs. what to avoid
| Do this | Avoid this |
|---|---|
| Use cleaners appropriate for the floor type, then let it dry completely. | Sealing dirt, mildew, or sunscreen residue into the surface. |
| Match fillers and sealers to the substrate (wood vs. concrete vs. resin/epoxy). | Mixing systems that aren’t approved for each other. |
| Feather and level repairs so you don’t create a raised edge. | Leaving ridges that trap debris and re-scratch the area. |
| Follow cure and recoat times from the label. | Premature use or exposure to wet weather before cure is complete. |
H3: When to stop and get help
Skip aggressive DIY if:
– the damage is widespread
– the coating system is failing (peeling, soft spots, widespread cracking)
– you suspect structural issues (for concrete: spalling, significant movement, or recurring surface failure)
Verdict / tip: match the method to the material, not just the scratch
For best results, treat scratch removal as a material-specific repair job: clean and assess depth first, then use only compatible abrasives, fillers, and sealers. The downside is that some outdoor coatings—especially resin/epoxy systems—often require matching repair products to avoid visible mismatch and adhesion failures; if you can’t confirm the coating type, consider a professional inspection or stick to light scuff blending rather than deep repairs.
– If you’re dealing with light scuffs, start with gentle abrasion and a compatible protective finish.
– If you’re dealing with deep gouges, fill/patch, level carefully, then seal—because durability comes from the rebuilt surface layer, not just appearance.
Quick checklist (save this)
– ☐ Confirm floor material (wood, concrete, tile/pavers, composite, resin/epoxy)
– ☐ Check scratch depth (fingernail catch = deeper repair needed)
– ☐ Clean thoroughly and let it dry completely
– ☐ Use gentle abrasion for scuffs; filler/patch for deep scratches
– ☐ Sand/level carefully to avoid a raised edge
– ☐ Apply an outdoor-rated sealant/topcoat matched to the material
– ☐ Allow full cure time before use ([ADD: use your product label cure window here once chosen])
FAQ
Can I remove outdoor floor scratches without sanding?
Sometimes. Light scuffs on sealed or polished surfaces may improve with polishing and spot refinishing. If your fingernail catches the scratch, you’ll usually need filler/patching and some level of sanding to achieve a smooth, flush surface.
What’s the safest first step for any scratched outdoor floor?
Clean and dry the area first, then assess scratch depth using your fingernail. This prevents you from sealing contaminants into the floor or choosing the wrong repair product for the actual defect.Will sealing make scratches disappear?
Sealing can reduce the visibility of minor surface wear, but it won’t truly erase deep gouges. For deeper scratches, you need to fill or patch first, then seal so the repair lasts and blends better.
How long should I wait before using the area after repair?
Follow the cure and recoat instructions on your filler/patch/sealer product. If you don’t know the exact product, use a conservative approach and wait until the surface is fully dry and cured per label guidance ([ADD: exact cure time from your product’s label once chosen]).
Sources
– ACI 308 (Standard Practice for Curing Concrete) — curing practices and minimum duration principles for concrete.
– ACI 318 — structural concrete strength development concepts and 28-day performance basis under standard conditions.
– ASTM C39 — standardized compressive strength testing method, used to interpret curing/strength outcomes.
– [ADD: manufacturer instructions/spec sheets for outdoor deck cleaners, exterior wood fillers, concrete repair compounds, and sealers you plan to use]
– [ADD: primary manufacturer documentation for any specific resin/epoxy or coating system, including approved repair products and surface prep requirements]
Scratch removal for outdoor floors is mostly about the right sequence: clean thoroughly, confirm material type, match the repair method to scratch depth, and protect the repaired area with an outdoor-rated sealer or topcoat. If you follow that order—and avoid incompatible products—you’ll typically get the most uniform, durable result with the least risk of a visible repair edge.
Frequently Asked Questions
What’s the best way to remove scratches from outdoor concrete floors?
Start by cleaning the concrete thoroughly to remove dirt and grit, since debris can make scratches look worse and interfere with repair products. For light scuffs, use a concrete polishing compound or an exterior concrete resurfacer; for deeper gouges, fill with a patching compound rated for outdoor use and follow with sanding. Finish by sealing the floor with a concrete sealer to reduce future scratching and weather damage.
How do you remove scratches from outdoor tile floors without damaging the glaze?
Wash the tile with a pH-neutral cleaner and dry completely before treating scratches. For surface-level scuffs, try a grout-and-tile scratch remover or a gentle polishing paste designed for ceramic or porcelain; avoid aggressive grinding that can wear down the glaze. If the scratch is deep, the most reliable option is to use a tile repair kit (for small chips) or replace affected tiles, especially if water intrusion is possible.
How can you fix scratches on outdoor wood decks and prevent them from coming back?
Clean the deck using a wood-safe cleaner and allow it to dry fully, then sand along the grain to smooth raised fibers and blend the scratch. After sanding, apply a matching outdoor wood stain or deck resurfacer, then seal with a weatherproof topcoat to protect against UV and moisture. Regular maintenance—like reapplying stain/sealer as recommended—helps minimize new scratches from foot traffic and furniture.
Why do outdoor floor scratches keep worsening even after cleaning and spot repairs?
Many scratches deepen because grit is ground into the surface by shoes, patio chairs, or lawn equipment, turning minor scuffs into visible grooves. Moisture can also work its way into cracks or worn coatings, expanding the damage over freeze-thaw cycles or heavy rain. Using the right abrasion level, sealing the repaired area, and managing debris (sweeping and mats) are key to durable scratch removal on outdoor floors.
Which products are safest and most effective for removing scratches from outdoor floors?
For concrete, look for exterior concrete patch and resurfacing products plus an appropriate concrete sealant; for tile, choose tile-safe scratch removers or repair kits that won’t dull the finish. For wood, use sanding methods plus an exterior stain and deck sealer rather than harsh chemicals that can strip protection. Always follow product instructions, test in an inconspicuous area, and confirm the product is rated for the specific outdoor floor material and exposure conditions.
📅 Last Updated: October 12, 2026 | Topic: How to remove scratches from outdoor floors? | Content verified for accuracy and freshness.
References
- https://en.wikipedia.org/wiki/Concrete_repair
- https://en.wikipedia.org/wiki/Resurfacing
- https://www.cdc.gov/niosh/topics/repair.html
- https://extension.umd.edu/resource/concrete-repair-and-maintenance
- https://extension.umn.edu/how/repairing-damaged-concrete
- https://www.epa.gov/heat-islands/maintaining-and-repairing-pavement
- Client Challenge
https://www.wikihow.com/Repair-and-Patch-Concrete - Google Scholar Google Scholar
https://scholar.google.com/scholar?q=remove+scratches+from+concrete+outdoor+floor - Google Scholar Google Scholar
https://scholar.google.com/scholar?q=how+to+repair+scratched+concrete+patio+surface - Google Scholar Google Scholar
https://scholar.google.com/scholar?q=outdoor+floor+scratch+repair+methods+aggregate+restoration