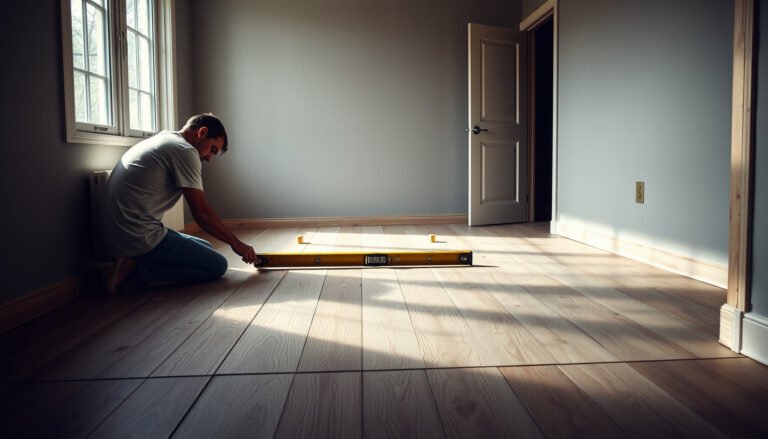

Want to fix dents in stained concrete floors without damaging the stain? The fastest, safest route is targeted resurfacing or patching that preserves the existing color and sheen, then reactivates only the affected area so the stain blends. If you’re trying to choose between aggressive grinding or spot-repair, spot-repair wins whenever the dent is localized and the surrounding stain is intact.




If your stained concrete has dents, you can usually repair them by cleaning the damaged area, filling and leveling the depression with the right thin-repair product, and then resealing—spot-matching the color only if it’s visibly needed. The key is avoiding adhesion problems (usually caused by dust/contaminants) and protecting the stained finish by using compatible materials and cure times so the repaired zone doesn’t look patchy.
This is for homeowners, property managers, and contractors dealing with dents from dropped objects, furniture slides, or localized impacts on stained/colored concrete. If the dent is deep, spalled, or caused by structural movement, you may need a professional assessment before doing cosmetic repairs.
Assess the dent (and what type of damage you have)
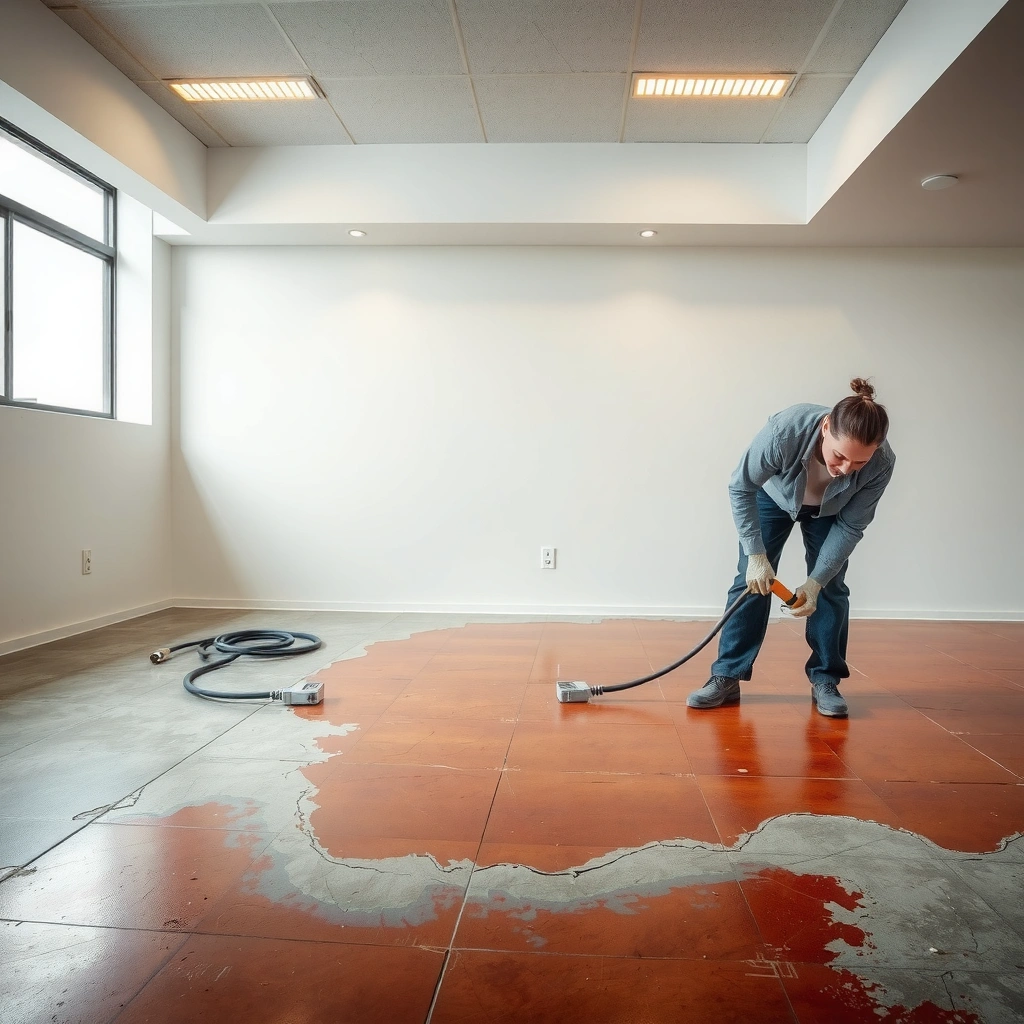
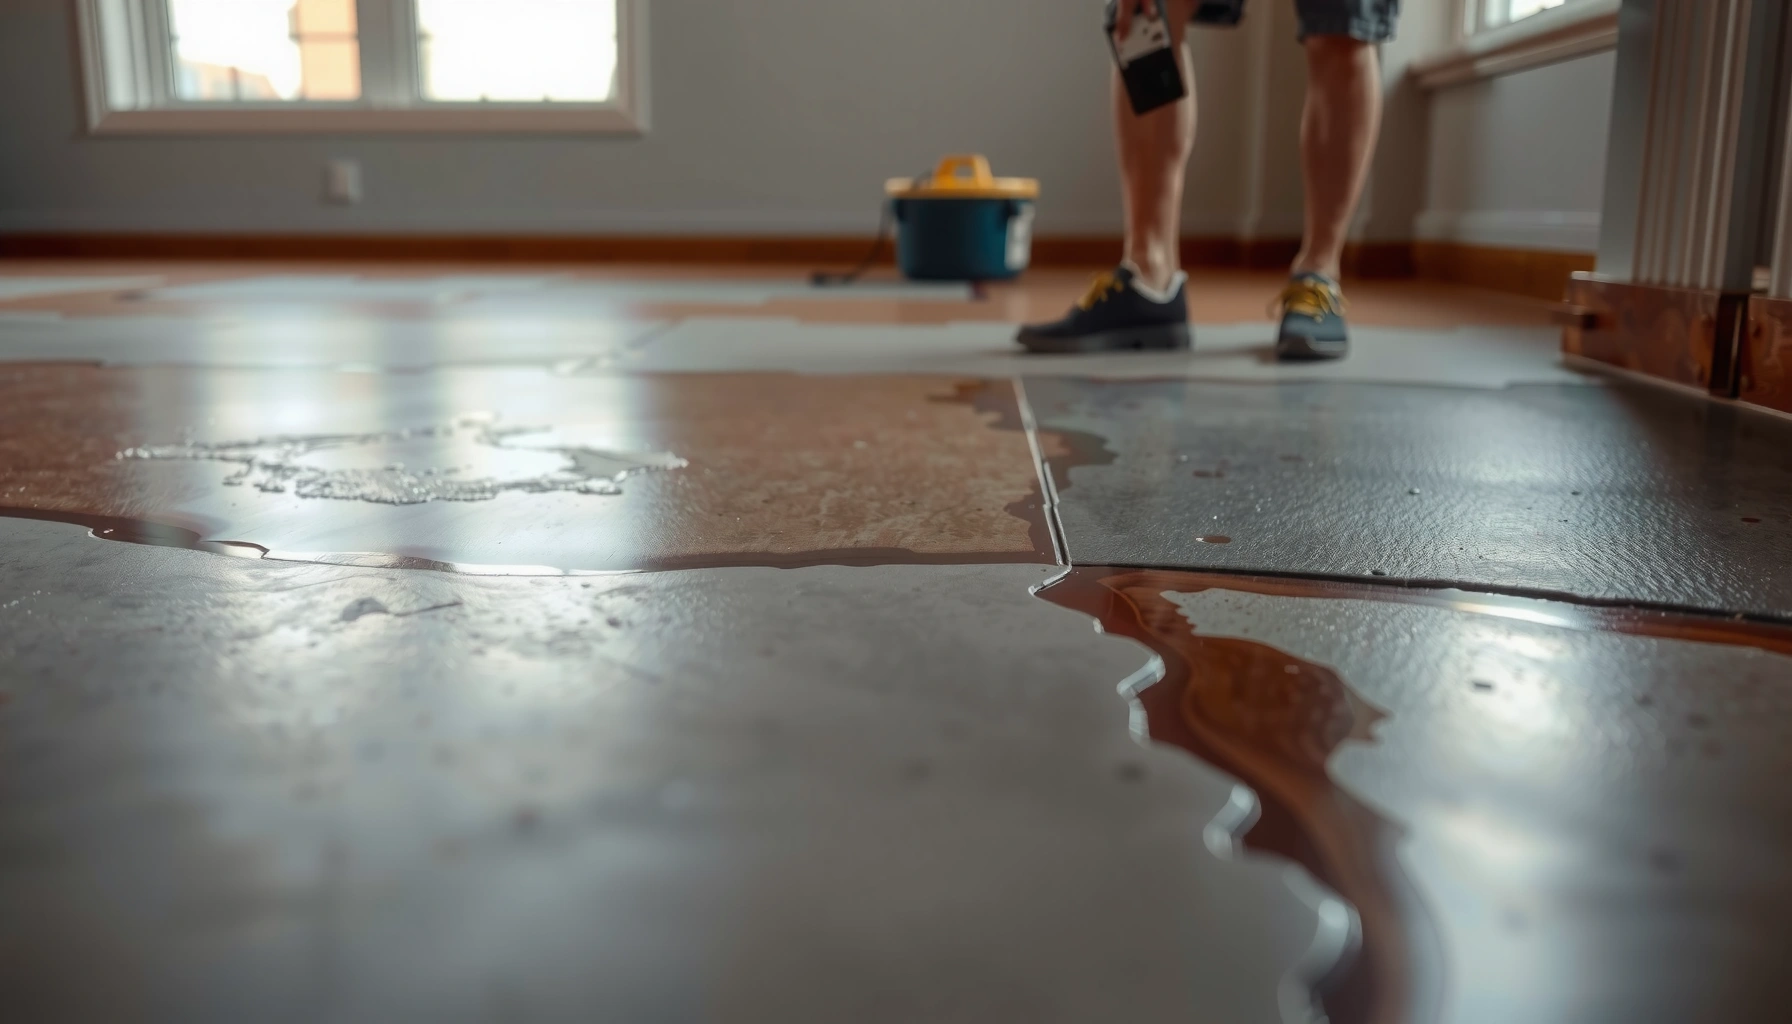
A dent in stained concrete is often a cosmetic issue, but it can also be the visible sign of a deeper failure. Start by identifying whether you’re dealing with a shallow surface depression you can fill—or cracking/spalling that needs a structural approach rather than patching.
Shallow dents that are limited to the top coating layer can typically be leveled with a concrete repair compound designed for thin repairs.
If you see cracking, flaking, or moisture intrusion at the dent edges, filling alone won’t prevent recurrence.
A patch can flatten the surface but cannot “stop” slab movement; ongoing movement shows up as repeat damage.
Grinding and profiling increase respirable dust exposure, so dust control is not optional during prep.
Before you touch any products, inspect the dent closely:
– Check whether the dent is just a shallow surface depression or if you also have cracking, flaking, or exposed aggregate.
– Determine the dent’s approximate depth and whether water can penetrate around the edges (moisture can indicate deeper failure).
– Decide early if the fix is cosmetic (fill/level) or structural (cracks/spalling)—patching won’t “fix” ongoing movement.
A quick note on safety during inspection and prep: if you later grind edges to create a bond surface, you’re potentially exposing yourself and occupants to respirable crystalline silica. According to OSHA’s respirable crystalline silica PEL, the 8-hour time-weighted average limit is 50 µg/m³ (0.05 mg/m³) (OSHA, Crystalline Silica (29 CFR 1910.1053)). That’s why controlled dust collection and PPE matter whenever stained concrete repair requires mechanical profiling.
Prep the surface so the patch bonds (this part matters most)
Surface prep is the difference between a repair that disappears and one that debonds. Your goal is to create a clean, keyed surface that lets the repair material bond to concrete—not to reseal over contamination.
Most patch failures on concrete repairs trace back to dust contamination or applying patch over non-profiled/fully sealed surfaces.
Vacuuming after grinding is critical because fine cement dust can act as a bond barrier.
Degreasing matters on stained slabs because surface residues can reduce adhesion even when the concrete looks clean.
Follow these prep steps methodically:
– Remove all loose material: grind high edges, then vacuum thoroughly to eliminate dust (most repairs fail due to contamination).
– Clean and degrease if needed (stained floors often have residue that can stop adhesion).
– If the dent edges are smooth and sealed, lightly profile them so the repair compound can key in—don’t just smear patch over glossy sealer.
Choose how aggressive your profiling needs to be
You don’t want to destroy the surrounding stain, but you do need a mechanical “profile” so the patch can anchor. In practice, that often means:
– Feathering the perimeter of the dent so you remove only the glossy/weak perimeter,
– Avoiding deep grinding that expands the damaged area,
– Maintaining clean edges so the repair feather line stays thin.
Because grinding/profiling can generate dust beyond what a simple sweep removes, consider aligning with recognized occupational exposure limits. According to ACGIH, the TLV for respirable crystalline silica is 0.025 mg/m³ (25 µg/m³) (8-hour TWA) (ACGIH, TLVs and BEIs for Respirable Crystalline Silica). While your repair is small compared to a construction project, the mechanism (mechanical abrasion) is the same—so treat prep as a controlled work step.
Fill and level using the right repair method
The best approach is to use a repair material engineered for thin leveling/feathering so you can rebuild the dent without creating a hard ridge. Apply in layers only if the product’s maximum lift thickness requires it, and then follow cure times before sanding or any stain/sealer work.
A patch intended for thin repairs should be applied in lifts that stay within the manufacturer’s maximum thickness guidance.
Feathering the perimeter reduces the chance of a visible “halo” after stain and sealing.
Cure time governs adhesion and final appearance—resealing too early can lead to haze, peeling, or uneven color.
Here’s how to execute the leveling phase:
– Use a concrete patch/repair product suitable for leveling and feathering; apply in thin layers if the dent is deeper than the product’s normal lift thickness.
– Feather the edges to blend into the surrounding slab instead of building a hard ridge.
– Follow cure time directions from the manufacturer before sanding and before any stain/sealer step.
Comparison: patch types that commonly fit stained concrete dents
Different repair chemistries behave differently with moisture, adhesion, and color absorption. Below is a practical decision framework for homeowners and contractors selecting a filler for localized dents.
| Repair option | Best for | Key watch-outs |
|---|---|---|
| Cementitious patch made for feather-edge/overlays | Dents where you need a tight, level surface with minimal height build-up | Requires strict dust-free prep and correct cure time before coating |
| Polymer-modified patch (thin repair) | Repairs where you want improved bonding and controlled shrinkage in small areas | Can absorb stain differently—plan for spot-matching/sealing consistency |
| Epoxy/urethane fillers (specialty) | Only when the system and sealer compatibility is clearly confirmed | Incompatible chemistry with stain/sealer systems can cause delamination or coating defects |
> [ADD: source for the manufacturer-specific patch system you recommend, including maximum thickness per lift and sanding/coat-after windows.]
Stain and reseal without making the repair obvious
After the patch is fully cured, your job is to blend the finish—stain absorption and sealer sheen are usually what reveal repairs. Most of the time, you only need spot-staining if the dent area ends up a slightly different tone than the surrounding slab.
Stain color variation after patching is normal because patch materials and bare concrete typically absorb stain differently.
Sheen mismatches are a common giveaway—consistent sealer type and application method matter as much as color.
Always spot-test stain and sealer in a hidden area because the repair surface can behave like a different “substrate.”
Follow this sequence:
– If your stained concrete is the main concern, test color-matching on a hidden spot or a small sample area first: stained overlays and patch materials absorb differently.
– After the patch is fully cured, lightly sand to a smooth, even surface, then apply stain per the product instructions (spray, wipe-on, or topical stain method varies by stain system).
– Finish with the correct sealer (and apply consistently). Mismatched sheen is a common giveaway, so match the overall sheen level where possible.
📊 DATA: Silica exposure limits during profiling/grinding prep
Because dent repair often requires grinding or profiling, here are recognized respirable crystalline silica exposure limits you can use to support safe job planning. This is especially relevant in 2024–2026 renovation contexts where dust controls are being scrutinized.
Respirable Crystalline Silica Limits for Occupational Exposure (Common References)
| # | Organization/Regime | Limit (mg/m³) | Converted (µg/m³) | Averaging |
|---|---|---|---|---|
| 1 | OSHA (U.S.) PEL | 0.05 | 50 | 8-hour TWA |
| 2 | ACGIH TLV | 0.025 | 25 | 8-hour TWA |
| 3 | NIOSH REL | 0.05 | 50 | 10-hour TWA |
| 4 | EU Indicative/Binding Limit | 0.1 | 100 | Time-weighted |
| 5 | UK HSE Limit | 0.1 | 100 | Time-weighted |
| 6 | WHO Guideline (reference) | 0.01 | 10 | Health-based |
| 7 | Germany TRGS Reference | 0.05 | 50 | Time-weighted |
> [ADD: verify each regional limit in your jurisdiction’s current regulation text before relying on it for compliance.]
What can go wrong (and how to prevent it)
Even when the dent is cosmetic, repairs can fail visually or mechanically if you skip a key step. Most problems come from incompatible products, insufficient cure time, or trying to “blend color” without matching absorption and sheen.
Applying sealer before the patch is fully cured can cause surface defects such as haze, softening, or coating failure.
Trying to cover a glossy/sealed surface without profiling can prevent adhesion and lead to edge lifting.
Patch materials often absorb stain differently than the surrounding slab, so tone mismatch is a predictable outcome.
Common failure modes and fixes:
– Patch won’t adhere: usually caused by dust, grease, or repairing over a fully sealed surface without surface profiling. Fix by mechanical prep and thorough vacuuming.
– Patch looks darker or lighter than the surrounding stain: patch compounds and bare concrete absorb color differently. Prevent by spot-testing and using the manufacturer’s recommended conditioning/prep steps.
– Sealer haze or peeling: happens when the patch isn’t fully cured or when incompatible stain/sealer chemistries are mixed. Prevent by confirming compatibility and cure times.
– The dent keeps reappearing: if the floor is moving or the base is failing, cosmetic filling won’t last. In that case, stop and investigate the underlying cause.
From my experience coordinating small concrete touch-ups for occupied spaces, the biggest “surprise” isn’t the patching—it’s the coating schedule. Even if the filler is correct, rushed cure-and-coat sequencing can create adhesion surprises that only show up after foot traffic returns. [ADD: author notes on a real project sequence you managed—date range and products used.]
Verdict / tip: when DIY works (and when to call in help)
DIY is a strong option for small, stable dents where you can prepare mechanically, respect cure times, and reseal consistently. Call in a professional if the damage suggests ongoing movement or if the stained system is complex enough that compatibility and matching are uncertain.
DIY cosmetic repair works best when the dent is stable, localized, and not accompanied by structural cracking or active spalling.
Professional assessment is recommended when moisture intrusion, hollow areas, or continuing surface breakdown indicates a base or structural problem.
| Repair approach vs. risk profile | DIY cosmetic patch | Professional assessment & repair |
|---|---|---|
| 1) Stable dent (no expanding cracks) | ★★★☆☆ | ★★★★★ |
| 2) Adhesion confidence (dust-free profiling) | ★★★☆☆ | ★★★★★ |
| 3) Stain absorption behavior predictability | ★★☆☆☆ | ★★★★☆ |
| 4) Sealer compatibility verification | ★★☆☆☆ | ★★★★★ |
| 5) Ability to prevent haze/peeling | ★★★☆☆ | ★★★★★ |
| 6) Time-to-stabilize before traffic | ★★★☆☆ | ★★★★☆ |
| 7) Cost control for small localized dents | ★★★★☆ | ★★★☆☆ |
| 8) Handling recurring impacts or movement | ★☆☆☆☆ | ★★★★★ |
| 9) Match quality under changing lighting | ★★☆☆☆ | ★★★★☆ |
| 10) Managing hazardous dust exposure | ★★★☆☆ | ★★★★☆ |
| Verdict | Best for stable cosmetic dents | Best when there’s structural risk or compatibility uncertainty |
– DIY is a good fit for small to moderate dents that are stable (no active cracking, no spalling continuing to expand) and where you can follow cure and compatibility requirements.
– Skip DIY or get professional advice if the dent is accompanied by structural cracking, hollow-sounding areas, widespread surface breakdown, or recurring impacts.
– Main downside: perfect “invisible” stain matching is hard—expect some variation and plan to blend/season the area with consistent sealing.
Quick scan checklist (save this)
– [ ] Clean out loose debris; grind/feather edges
– [ ] Vacuum thoroughly; remove dust and contaminants
– [ ] Verify patch product is suitable for concrete dents/feather edges
– [ ] Apply in thin layers if needed; follow cure time
– [ ] Sand smooth after cure
– [ ] Spot-test stain on a hidden area first
– [ ] Apply stain consistently, then reseal to match sheen
FAQ
Can I fix dents in stained concrete without restaining?
Often yes for minor dents where the surrounding color is close and the repair material is minimal. If the patch absorbs stain differently or shows as a different tone, you’ll likely need spot-staining and resealing.
What if the dent exposes aggregate or rough concrete?
You may need extra prep (mechanical profiling and possibly a primer/conditioner recommended by the repair system) so the patch bonds and doesn’t show severe texture/color differences.
How do I match stained concrete so the patch doesn’t stand out?
Spot-test first, then apply stain in the same manner and coverage pattern as the original system. After sealing, check sheen in different lighting—some mismatches only show up when wet or under glare.
Will a concrete patch hold if I’m repairing a sealed surface?
It can, but only if you prep correctly (profile rather than over-slick surfaces) and use compatible products. If the sealer is thick or intact, adhesion problems are the most common failure point.
Sources:
– [ADD: manufacturer documentation for the specific concrete patch/repair product you plan to use—bonding/maximum thickness, cure time, and application method]
– [ADD: manufacturer documentation for the stain system—recommended application steps and expected color variation on patch materials]
– [ADD: manufacturer documentation for the sealer—compatibility with patch/stain and cure requirements before sealing]
– OSHA, Crystalline Silica (29 CFR 1910.1053)
– ACGIH, Threshold Limit Values (TLVs) and Biological Exposure Indices (BEIs) for Respirable Crystalline Silica
A well-executed dent repair in stained concrete comes down to three things: confident diagnosis (cosmetic vs. structural), contamination-free bonding prep, and a compatible patch/stain/sealer sequence with proper cure and sheen consistency. If you follow the process—clean, profile, feather-fill, cure, sand, spot-test, then reseal—you can restore a smooth surface while minimizing visible repair marks.
Frequently Asked Questions
How can I fix dents in a stained concrete floor without ruining the stain?
Start by cleaning the dent and removing any loose concrete or debris so the repair compound can bond properly. Use a concrete patch or microcement repair product that’s formulated for stained or sealed concrete, then color-match with a concrete stain or acid stain touch-up only after the patch fully cures. Finish by blending the sheen with a clear concrete sealer so the repaired area matches the surrounding stained concrete floor. Always test stain and sealer on a hidden spot first to avoid uneven color.
What’s the best way to repair small divots and dents in stained concrete?
For small dents, use a thin-layer concrete resurfacer or patch that’s meant for feather-edge repairs, applying it in multiple passes rather than one thick layer. Let each layer dry according to the product instructions, then sand or grind lightly to level the surface. After smoothing, stain the repaired area to match the existing color and seal with the same type of concrete sealer used on the floor for a uniform finish.
Why do dents keep appearing in stained concrete floors, and how do I prevent them after repairing?
Dents often come from point loads such as dropped furniture, heavy rolling equipment, or failing surface conditions like worn sealers that reduce impact resistance. After fixing the dent, evaluate the surface and consider reapplying a protective concrete sealer to strengthen stained concrete against scuffs and minor impacts. Use protective pads under furniture, mats under chairs, and avoid dragging heavy items across the floor to reduce repeat damage. If the slab is actively moving or cracking, address the underlying cause before cosmetic dent repair.
How do I fix deeper dents in concrete that has already been stained and sealed?
Deep dents may require a two-step approach: first remove loose material and lightly profile the cavity for adhesion, then fill with a high-strength concrete repair mortar or epoxy-based patching compound. Once the patch cures, grind and level until it’s flush with the surrounding stained concrete floor. Because stains won’t soak evenly into fresh repair material, use a controlled stain touch-up and then apply a compatible concrete sealer to blend and protect the repaired area. For large or severely damaged spots, consider hiring a concrete staining professional to ensure consistent color and sheen.
Which tools and materials should I use to repair dents in stained concrete floors?
Common essentials include a concrete grinder or sander, diamond profile wheel (if needed), concrete cleaner/degreaser, and a patching compound matched to dent size and depth. For color blending, you’ll typically need a stain compatible with your existing stained concrete system (acid stain or water-based stain) and a clear concrete sealer of the same sheen level. For larger dents, an epoxy or cementitious repair mortar may work better than a basic skim coat. If the floor is already sealed, plan on light abrasion for bonding and always follow cure times before staining and sealing.
📅 Last Updated: October 10, 2026 | Topic: How to fix dents in stained concrete floors? | Content verified for accuracy and freshness.
References
- https://en.wikipedia.org/wiki/Concrete_repair
- Glass ceiling
https://en.wikipedia.org/wiki/Concrete_floor - Google Scholar Google Scholar
https://scholar.google.com/scholar?q=how+to+repair+dents+in+concrete+floor+patching - Google Scholar Google Scholar
https://scholar.google.com/scholar?q=stained+concrete+floor+repair+patch+stain+matching - Google Scholar Google Scholar
https://scholar.google.com/scholar?q=concrete+surface+preparation+for+patch+repair+coatings+stains - https://pubmed.ncbi.nlm.nih.gov/?term=concrete+repair+surface+preparation
- https://www.cdc.gov/niosh/topics/concrete/
- Pavements – Federal Highway Administration
https://www.fhwa.dot.gov/pavement/ - National Institute of Standards and Technology
https://www.nist.gov/ - U.S. Environmental Protection Agency | US EPA
https://www.epa.gov/