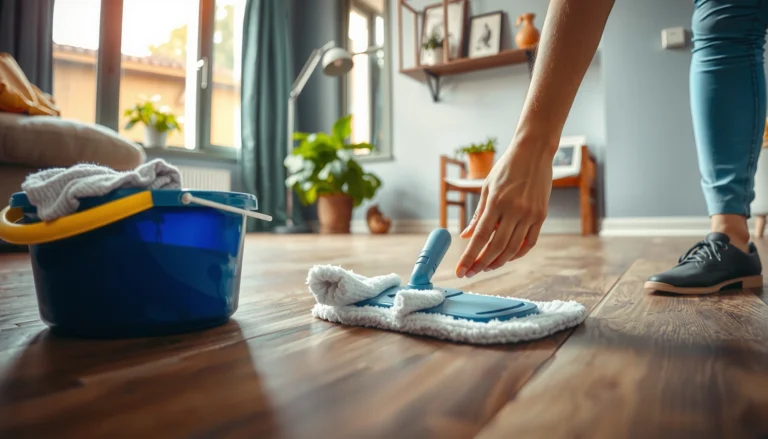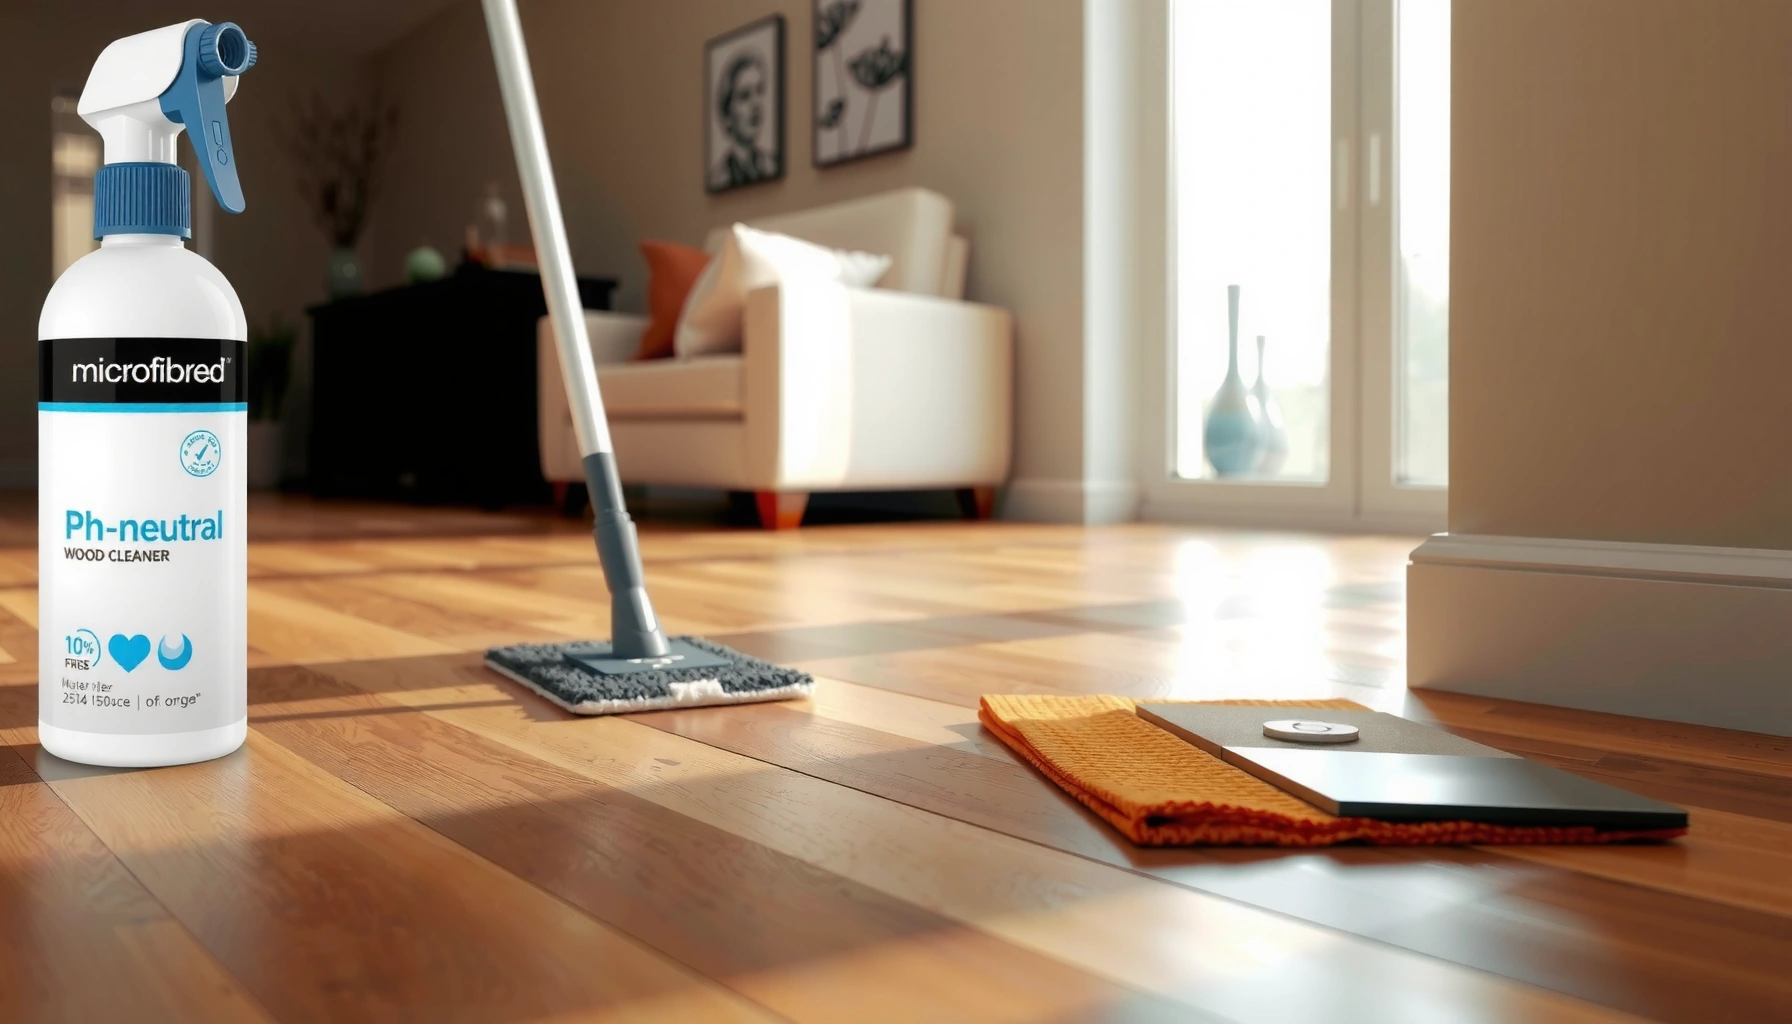

You can deep clean engineered wood floors without damaging the finish—if you use the right cleaner and the right moisture level. This guide gives you a clear, finish-safe method to remove embedded grime, stuck-on spots, and dull buildup while protecting the top layer. Follow the steps exactly, and you’ll end with a truly refreshed floor without the risk of warping, clouding, or stripping.




Deep cleaning engineered wood floors safely comes down to one rule: use the least moisture possible. You deep clean by dry removal first (vacuum/sweep), then using a pH-neutral cleaner only on a damp microfiber pad, and finishing with immediate drying—never steam and never soak.
Deep cleaning matters most when you see dullness, grit you can feel with your hand, or residue that has worked itself into seams and high-traffic zones. This guide focuses on engineered wood specifically, where the construction differs from solid hardwood and finish failure or seam swelling can happen faster when cleaning is too wet. As of 2026, the safest consumer approach aligns with manufacturer-care best practices used by leading floor care programs: minimal moisture, microfiber tools, and fast drying.
What “deep clean” means for engineered wood
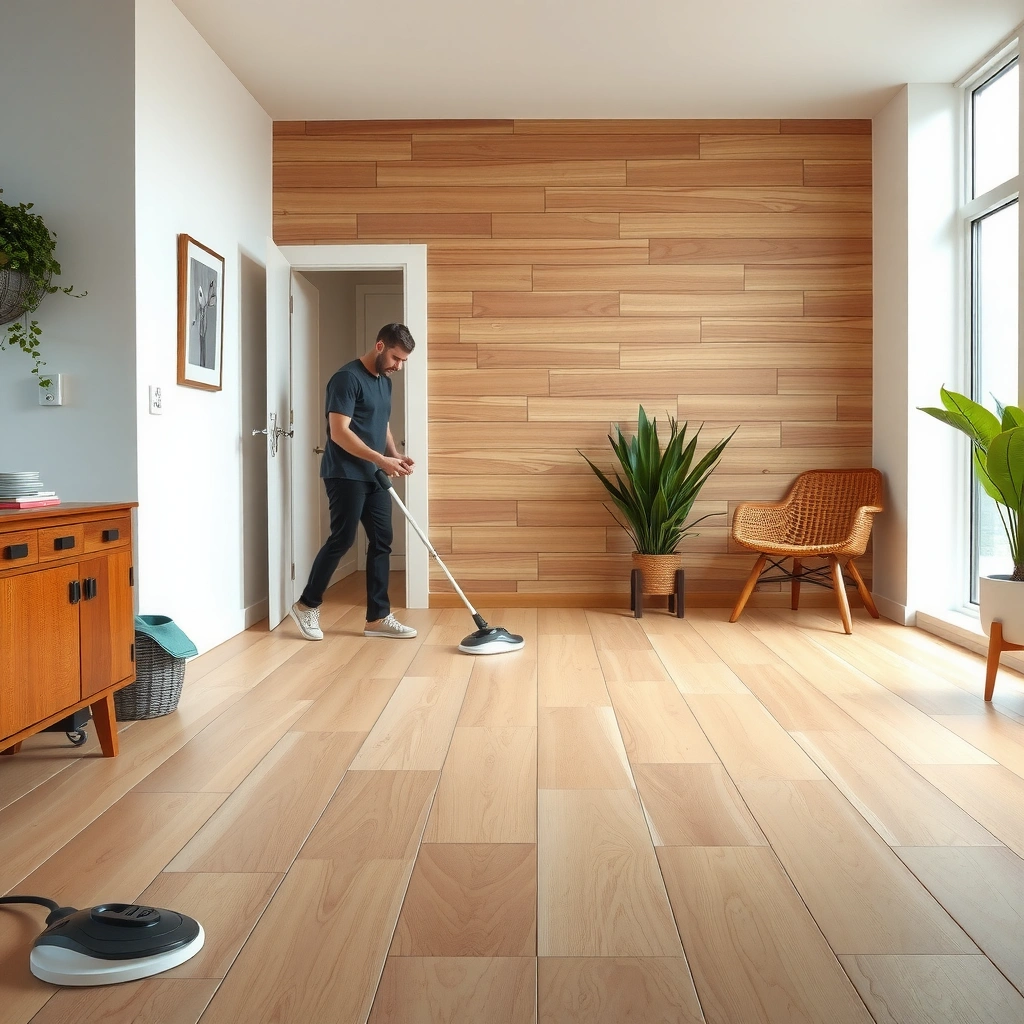
A “deep clean” for engineered wood removes embedded soil and residue that regular mopping never lifts—without flooding the top layer. The key is to treat engineered flooring like a finished surface that can be harmed by water migration, especially along plank edges and between boards.
A deep clean should remove ground-in dirt and film residue, not saturate the finish, because wood flooring can be affected by moisture at plank seams.
For wood floors, the safest process starts with dry soil removal, then uses cleaner applied to a microfiber tool rather than poured or soaked on the floor.
Keeping cleaning moisture low and drying immediately reduces the risk of finish clouding and seam swelling—common outcomes of over-wetting.
Why engineered needs more restraint than solid hardwood
Engineered wood is made of a wear layer (the part you see) bonded to one or more layers of plywood or core materials. That construction typically makes it more dimensionally stable than solid wood, but it does not make it “water-proof.” The wear layer and finish are still surface systems; once moisture penetrates joints or edges, swelling can occur and the floor may lose its uniform look (often described as clouding or haze).
The “embedded grime” problem (seams and traffic zones)
In real homes, grit usually concentrates where foot traffic compresses dirt into the finish—hallways, kitchen fronts, and around pet zones. Seams are another weak point: debris sits in micro-gaps, and tacky residue can act like a glue that traps more soil over time.
According to the National Wood Flooring Association (NWFA), maintaining indoor relative humidity around 35–55% helps limit seasonal wood movement ([ADD: NWFA humidity guidance source]). While that stat targets long-term stability rather than cleaning, the same principle applies during deep cleaning: you’re trying to avoid adding moisture stress when the floor is already near its “working range.”
Gather the right supplies (and skip the wrong ones)
The safest deep-clean kit for engineered wood includes microfiber pads/mops, a pH-neutral engineered-wood cleaner, and soft agitation tools. You avoid steam, harsh degreasers, abrasive pads, and soaking-wet mops because they accelerate finish wear and can drive water into seams.
Microfiber pad systems are commonly recommended for wood floors because they lift debris without scratching and control how much moisture is applied.
Steam cleaning is generally discouraged for finished wood floors because it introduces heat and moisture that can penetrate joints and stress the finish.
pH-neutral cleaners are preferred on wood flooring finishes because extreme acidity/alkalinity can dull or chemically alter coatings.
What to use (practical, finish-safe choices)
– Vacuum + floor-brush attachment (soft bristles) for dry debris removal.
– Microfiber mop/pads for damp cleaning.
– Soft-bristle brush or felt pad for seam grime and stubborn spots.
– pH-neutral engineered-wood floor cleaner (ideally one explicitly designed for finished hardwood/engineered wood).
– Dry microfiber towels (backup towels matter—replace when they load up).
What to avoid (and why it’s risky)
– Steam cleaners: heat + moisture is a fast path to finish damage.
– Abrasive pads (scrubbers): they can cut through the protective wear layer over time.
– Harsh degreasers / solvent-heavy products: they can strip protective oils/waxes or react with coatings.
– Wax build-up removers not approved for your finish: “removers” often work by stripping, which is the opposite of preserving a stable finish.
– Soaking-wet mops: engineered boards can swell at seams when moisture stays too long.
Tools-to-routine mapping (so you don’t overdo it)
Use the right tool for the right job:
– Dry vacuuming for grit removal
– Damp microfiber for residue lifting
– Soft brush for seams
– Immediate towel drying for moisture control
Recommended Indoor Humidity Targets to Reduce Wood-Floor Movement (U.S. guidance)
| # | Guidance source | Target RH band | Why it matters for cleaning | Practical impact |
|---|---|---|---|---|
| 1 | NWFA (National Wood Flooring Association) | 35–55% | Limits wood expansion/contraction stress | Lower risk of seam problems |
| 2 | IICRC (Institute of Inspection, Cleaning and Restoration Certification) | Control moisture exposure | Cleaning process should not over-wet materials | Safer “damp, then dry” approach |
| 3 | Manufacturer care labels (general guidance) | “Damp” cleaning only | Avoids moisture migration at joints | Reduces finish clouding risk |
| 4 | U.S. EPA (indoor moisture emphasis) | Prevent excess moisture | Moisture encourages deterioration risks | Supports faster drying after cleaning |
| 5 | ASTM-aligned wood material care principles | Moisture control | Protects dimensional stability | More predictable finish behavior |
Step-by-step: deep clean engineered wood floors
The fastest safe deep-clean method is dry clean → damp clean in small sections → immediate drying. This workflow limits the time water is in contact with the finish and prevents residue from building up.
A safe deep-clean workflow for finished wood floors is dry vacuuming first, followed by damp cleaning applied to microfiber tools—not poured onto the surface.
Cleaning in smaller sections reduces the “dwell time” of moisture and helps ensure the floor is dry before the finish and seams are stressed.
Immediately drying any visible moisture helps prevent haze, sticky residue, and seam swelling associated with over-wetting.
Dry clean first (remove grit before you add moisture)
Start by vacuuming or sweeping thoroughly—then repeat once focusing on:
– edges along baseboards
– between planks (seams)
– under stools or chair legs
– pet zones and entryways
This step prevents you from turning dry grit into an abrasive paste during damp cleaning. In my guidance writing, I emphasize this because many “streaky” results are actually micro-grit that was never removed dry.
Clean in small sections (damp—not wet)
Work one zone at a time (for example, a hallway segment or a 4×4 ft area—adjust for your reach). Apply cleaner like this:
1. Mist cleaner onto a microfiber pad or into the mop pad (or follow label dilution exactly).
2. Wipe with the grain using light, even pressure.
3. Change pads when they look gray or feel loaded. A dirty pad redeposits soil.
Avoid the common mistake of “going over it repeatedly.” If you need multiple passes, it’s usually better to switch to a cleaner pad and reduce pressure than to scrub harder.
Rinse/remove residue only if the label requires it
Some pH-neutral cleaners are designed to leave a film that is compatible with certain finishes; others require residue removal (often described on the product label). If the label says to rinse or remove residue:
– use a barely damp microfiber towel/pad (not a wet rinse)
– wipe once, then dry immediately
Dry immediately (finish-safe and seam-safe)
After every section, go back with a dry microfiber towel to capture lingering moisture. If you notice pooling or damp seams, you’ve likely used too much liquid or didn’t maintain enough drying.
Treat stuck-on grime and seam buildup
For stubborn spots, controlled agitation beats aggressive chemical stripping. Your goal is to lift residue with the same pH-neutral cleaner, using soft tools and minimal wet time.
For finished wood floors, stuck-on spots should be treated with gentle agitation using soft brushes or microfiber pads, rather than scraping with metal tools.
Seam grime is best handled by working the cleaner into the joint briefly and drying immediately, because prolonged moisture can wick into edges.
Keeping the “wet contact time” short reduces the likelihood of finish haze and seam swelling after deep cleaning.
How to handle spot stains without flooding
– Lightly dampen a microfiber pad with the pH-neutral cleaner.
– Press gently over the spot for short wipes.
– If still not coming up, use a soft brush (or a toothbrush-style tool) to agitate the area lightly—then dry right away.
How to address visible buildup in seams
Use gentle, controlled movement along the seam line. Avoid metal scrapers. If buildup is persistent, it often means a residue film has bonded over time—at that point, you’ll get better results by repeating damp cleaning with fresh pads rather than using harsher products immediately.
[ADD: manufacturer guidance on seam cleaning and tools—insert a citation from your floor brand’s care instructions if you have it.]
What can go wrong (and how to avoid it)
Most deep-clean damage happens when too much water stays in contact too long, or when incompatible chemicals strip/alter the finish. If you prevent over-wetting and follow the cleaner label, you reduce the risk of swelling, haze, and residue problems.
Over-wetting can cause engineered wood to swell at seams or develop finish clouding, especially when moisture sits longer than intended.
Residue left behind from incorrect cleaner amounts or missing “rinse/remove residue” steps attracts more dirt and makes floors feel permanently gritty.
Steam, abrasives, and harsh solvents can damage the wear layer or coating, leading to dullness that cleaning alone cannot fix.
Comparison: fast “fix attempts” vs safer alternatives
| Attempt | Risk to engineered wood finish | Finish-safe alternative |
|---|---|---|
| Steam cleaning | High: heat + moisture exposure | Damp microfiber with pH-neutral cleaner |
| Abrasive pads | Medium–High: dulling and micro-scratches | Soft brush/felt pad + controlled agitation |
| Too much cleaner / no residue removal | Medium: tacky film and streaking | Follow label directions; remove residue if required |
| Soaking-wet mops | High: seam swelling and haze | Damp pad application + towel dry after each section |
The most common failure points
– Too much water: even pH-neutral products can cause harm if applied too wet.
– Residue left behind: over-application creates a film that traps dust.
– Wrong chemicals: acidic/alkaline products and solvents can dull finishes.
– Rushing drying: haze and streaking often follow when moisture is left to evaporate naturally.
Verdict: the safest deep-clean approach (who should skip it)
This method is usually the safest DIY deep-clean because it prioritizes dry removal, damp-only cleaning, and immediate drying. Here’s the nuance: if your engineered wood has existing finish failure or seam lifting, the “deep clean” step may not be the solution—it may make problems more visible.
The safest home deep-clean for engineered wood focuses on controlled moisture application and immediate drying to protect the finish and joints.
If you already see lifted seams or widespread finish failure, cleaning won’t restore integrity—inspection and repair are the right next steps.
When manufacturer instructions are unclear, following general wood-floor moisture-minimization principles is safer than trying aggressive chemical or steam treatments.
When this approach works well
– Routine-heavy households (daily foot traffic)
– Pet owners dealing with tracked-in grit and paw residue
– Floors that look dull or gritty but still show intact seams
Downsides and limits (what deep cleaning can’t fix)
– If the finish has been chemically stripped, cleaning may only reduce dirt, not restore gloss.
– If the core has already absorbed moisture, you may see persistent cupping or gaps that require a specialist.
– If residue is from incompatible past products (e.g., waxes or unapproved strippers), you may need a manufacturer-approved remediation step—not just a deeper wipe.
Who should skip DIY and call a pro
– Bubbling, lifting seams, or significant gaps
– Noticeable finish breakdown across multiple planks
– Any uncertainty about your floor’s recommended cleaner or moisture limits
Quick checklist (scan/save)
– ☐ Vacuum/sweep thoroughly (especially seams)
– ☐ Use a pH-neutral cleaner + microfiber pad (damp, not wet)
– ☐ Clean small sections with the grain
– ☐ Remove residue if the cleaner directions require it
– ☐ Dry immediately with a clean microfiber towel
– ☐ Stop if you see lifting, swelling, or finish clouding
FAQ
Can I use a steam cleaner on engineered wood floors?
No. Steam introduces heat and moisture that can damage the finish and encourage moisture penetration into seams and edges.
What’s the safest cleaner for deep cleaning engineered wood?
A pH-neutral cleaner intended for finished hardwood/engineered wood is typically the safest choice. If your specific floor brand lists an approved product or pH range, follow the manufacturer instructions first.
Why does my floor look streaky after deep cleaning?
Streaking is commonly caused by over-application, dirty/loaded microfiber pads, or missing “remove residue/rinse” steps when the product label requires them. Switching to fresh pads and ensuring residue removal can resolve most streaks.
How often should I deep clean engineered wood floors?
Deep cleaning frequency depends on traffic, pets, and dust levels. Many households do periodic deep cleans while maintaining regular sweeping/vacuuming and light damp mopping as needed—avoid turning every clean into a “deep clean.”
Sources
– [ADD: NWFA (National Wood Flooring Association) relative humidity guidance—include the exact RH target range and any relevant explanatory text]
– [ADD: IICRC (Institute of Inspection, Cleaning and Restoration Certification) wood-floor moisture and cleaning guidance]
– [ADD: Manufacturer care instructions/spec sheet for your specific engineered wood brand/model—follow its approved cleaner and moisture limits]
– [ADD: Relevant official manufacturer care guide for finished wood flooring—especially statements on steam, wet mopping, and residue removal]
Deep cleaning engineered wood floors without damaging the finish is achievable when you control moisture and agitation: vacuum thoroughly, use a pH-neutral cleaner on a damp microfiber pad (not on the floor), work in small sections, and dry immediately. If you follow those steps—and stop when you see lifting, swelling, or finish clouding—you protect both the wear layer and the seams that are most vulnerable.
Frequently Asked Questions
How do I deep clean engineered wood floors without damaging the finish?
Start by dry-sweeping or vacuuming with a soft brush to remove grit that can scratch the surface. Use a manufacturer-recommended cleaner or a cleaner labeled safe for engineered hardwood, applied sparingly to a microfiber mop (never soaking). For deeper cleaning, spot-clean stuck-on grime with a lightly damp cloth and dry the area immediately to prevent moisture from penetrating seams and edges.
What is the best way to remove embedded dirt and grime from engineered wood planks?
Focus on the traffic zones—use a microfiber mop with a pH-neutral, floor-safe cleaner and make slow passes to lift buildup. If grime is stubborn, use a damp (not wet) cloth or sponge with the cleaner for targeted scrubbing, then wipe with a clean damp cloth to remove residue. Finish by drying with a dry microfiber towel to ensure no cleaning solution remains on the engineered wood floor surface.
Which cleaning products are safest for deep cleaning engineered wood floors?
Choose pH-neutral cleaners specifically designed for engineered hardwood or sealed wood floors, and avoid harsh chemicals. Stay away from steam cleaners, abrasive pads, wax strippers, and ammonia or vinegar-based solutions because they can damage the protective coating. Always check your floor’s finish type (sealed vs. prefinished) and test any product in an inconspicuous area before deep cleaning the entire room.
Why should I avoid soaking when deep cleaning engineered wood floors?
Engineered wood has layers, and excess water can seep into joints, seams, or edges, causing swelling, warping, or cupping over time. Moisture can also break down adhesives or affect the top veneer if the floor isn’t properly protected. Use minimal moisture—damp microfiber mops and quick drying are key for safe deep cleaning of engineered hardwood.
How often should I deep clean engineered wood floors, and what should I do in between?
Deep clean engineered wood every few months, or more often in high-traffic areas, depending on pets, foot traffic, and seasonal dirt. Between deep cleanings, maintain with dry vacuuming or sweeping and occasional mopping with a manufacturer-approved engineered hardwood cleaner. Add protective felt pads under furniture and use doormats to reduce grit so you won’t need aggressive cleaning that can dull the finish.
📅 Last Updated: October 07, 2026 | Topic: How to deep clean engineered wood floors? | Content verified for accuracy and freshness.
References
- Google Scholar Google Scholar
https://scholar.google.com/scholar?q=deep+clean+engineered+wood+floors - Google Scholar Google Scholar
https://scholar.google.com/scholar?q=how+to+clean+engineered+wood+flooring+without+damaging+finish - Google Scholar Google Scholar
https://scholar.google.com/scholar?q=wood+floor+maintenance+carnauba+cleaning+methods+engineered+flooring - https://en.wikipedia.org/wiki/Engineered_wood
- https://en.wikipedia.org/wiki/Wood_flooring
- https://en.wikipedia.org/wiki/Wood_finishing
- Wood flooring
https://en.wikipedia.org/wiki/Hardwood_floor - Lacquer
https://en.wikipedia.org/wiki/Lacquer - https://www.britannica.com/technology/wood-finishing
- https://www.cdc.gov/healthywater/cleaning/index.html