
Want to keep vinyl floors in a hallway looking like new? With the right daily cleaning habits and a few targeted protections, vinyl outlasts the scuffs and grit a hallway dishes out—without the fuss of harsher floor-care routines. Follow these easy maintenance tips to prevent dulling, swelling, and scratches before they start.




Keep your vinyl hallway floors looking good by cleaning grit off fast, mopping only when needed (with the right cleaner), and stopping moisture and scuffs before they start. If you do a quick sweep/vacuum regularly and handle spills right away, you’ll prevent the dulling, scratches, and lifting edges that show up in high-traffic areas.
This is for homeowners and renters maintaining vinyl plank or vinyl sheet flooring in a hallway—especially where shoes, tracked-in dirt, and frequent foot traffic are constant. If your floor has specific warranty requirements, follow those first; the steps below are the common, manufacturer-friendly approach.
Check your vinyl type and gather the right tools

The easiest way to keep hallway vinyl looking new is to match your cleaning methods to your exact vinyl type and finish. Before you mop, confirm whether you have click-lock (floating) or glue-down vinyl, because moisture tolerance and warranty rules can differ.
Resilient flooring guidance commonly emphasizes using the flooring manufacturer’s approved cleaning methods and chemicals to avoid finish damage.
A soft-bristle broom or a vacuum with a soft brush attachment reduces the risk of scratching compared with hard bristles or beater bars.
Start with the label, brand, and model on your flooring box or warranty card. If you inherited the flooring (or don’t have paperwork), look for markings on the underside of a stair tread, vent cover, or a cut edge. This step matters because “vinyl” can mean several surface systems: vinyl plank (LVP), vinyl tile (LVT), and vinyl sheet—each with different wear layers and lock/joint designs.
Here’s what to gather before the first cleaning day in 2026:
– A soft-bristle broom or a vacuum with a soft brush attachment (skip beater bars).
– A microfiber mop or microfiber cloths (microfiber lifts fine grit and reduces surface abrasion).
– Clean water and a pH-neutral/mild cleaner made for resilient/vinyl floors.
– A clean bucket or rinse water container so you’re not spreading loosened grime back over the hallway vinyl.
Also, plan your “tool-to-task” workflow. For hallway maintenance, you typically do more dry removal (vacuum/sweep) than liquid cleaning. Microfiber cloths are ideal for spot work—tiny scuffs and sticky residues—because you can control how much cleaner contacts the surface.
Fact check you can use: sand-like dirt can be abrasive. According to USGS (Mohs hardness references), quartz rates 7 on the Mohs hardness scale (n.d.). That hardness level is exactly why grit tracked in on shoes can slowly dull vinyl over time.
Quick tool safety notes
– Avoid using stiff scrub brushes on vinyl—especially in grout-like texture areas on some planks.
– Don’t use mop pads that are already stiff with old debris; dirty pads behave like sandpaper.
– If you’re using a concentrate cleaner, measure dilution exactly as the label directs. “Stronger” often means “harsher,” and harsher can shorten finish life.
Daily and weekly hallway upkeep (the “prevention” routine)
The fastest way to prevent dulling and scratches is to remove grit before it gets ground into the surface. In a hallway, prevention works because tracked dirt acts like tiny abrasives underfoot.
Hallways typically experience higher grit transfer than rooms with open traffic patterns, so frequent dry removal is the first line of protection for vinyl.
Entrance mats help reduce the amount of abrasive particles tracked onto resilient flooring when they’re cleaned regularly.
Quick spot-wiping keeps spills from becoming sticky residue, which can attract more dirt and create a “dirty haze.”
Sweep/vacuum on a repeatable rhythm
In my experience maintaining resilient floors for busy households, the “right schedule” is the one that actually happens—so set a realistic cadence. If you only vacuum once weekly, grit can still embed between cleanings. A practical approach:
– Sweep or vacuum at least a few times per week to remove abrasive grit.
– Use entrance mats and/or a runner to catch dirt, then clean the mat regularly so it doesn’t grind debris into the hallway vinyl.
Reduce abrasive buildup where it starts
Grit doesn’t land evenly—it collects at thresholds, near the entry, and along the main walking path. Focus your dry cleaning on:
– The first 6–10 feet from the entry door (most households track dirt here).
– Areas where people pause (e.g., near a coat closet or hallway switchback).
– Around transitions (carpet-to-vinyl, tile-to-vinyl), where particles can collect at edges.
Do quick spot checks before the problem spreads
Sticky spots, tiny scuffs, and “dull film” tend to build gradually. A 30-second wipe can stop a residue problem from becoming a deeper clean later. Keep microfiber cloths handy so you can:
– Wipe away scuffs and smudges as soon as they appear.
– Remove sticky residues (from spills or tracked-on shoe cleaners) before they dry and harden.
And if you’re in 2026 dealing with new shoes, wet weather, or an extra family member moving through daily, increase spot attention. Vinyl in hallways doesn’t fail suddenly—it typically ages from repeated, small abrasions and moisture exposure.
How to clean vinyl floors without damaging the finish
The safest cleaning method is damp mopping only when needed, using a manufacturer-approved (or resilient-floor-safe) cleaner. Avoid “wet cleaning” that over-saturates seams and edges, because moisture is a common trigger for lifting.
Routine mopping guidance for resilient/vinyl floors typically recommends using a damp microfiber mop rather than flooding the surface.
pH-neutral or mild cleaners are commonly recommended for resilient flooring to protect the wear layer and finish.
When grime is stubborn, gently wiping after brief dwell time is less risky than aggressive scrubbing.
Mop strategy: damp, controlled, and rinsed if required
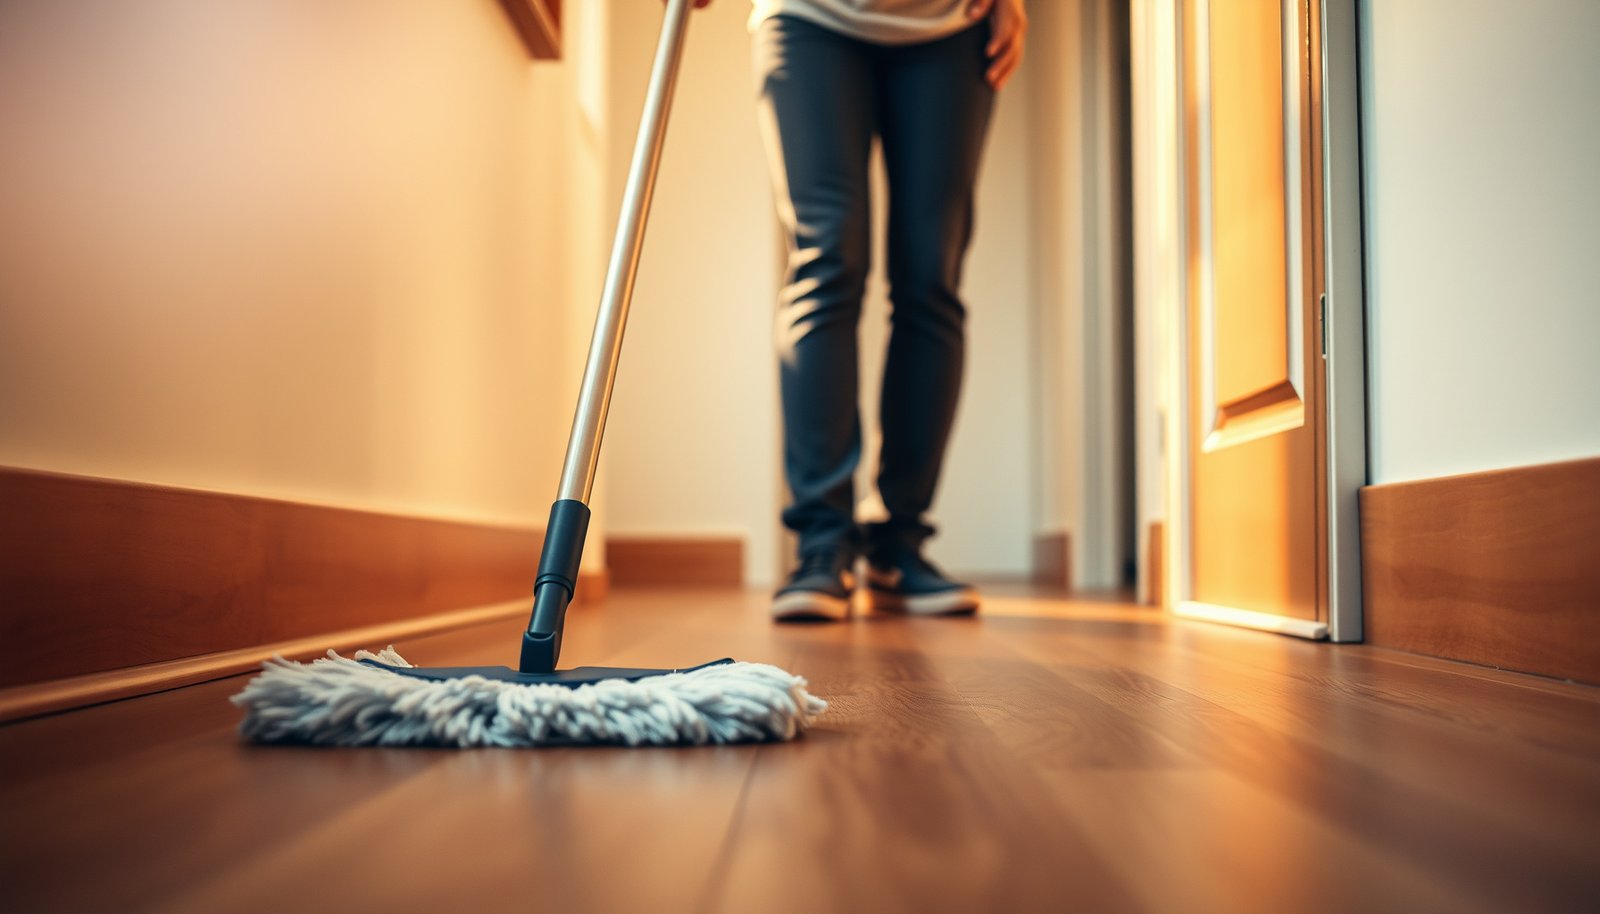
Use a microfiber mop that’s damp—not soaking. The goal is to pick up residue, not leave water sitting on the vinyl hallway floor. If your cleaner label requires a rinse step, follow it. If it doesn’t, still remove excess liquid by wringing the mop well and using fresh water when needed.
When in doubt, start with plain warm water:
– Clean a small test area first.
– If haze remains, move to the manufacturer-approved cleaner.
– Escalate carefully rather than switching to harsher chemistry.
For stubborn grime: give cleaner time, not pressure
Stubborn marks usually fall into two categories:
1. Surface residue (e.g., tracked-on grime or sticky residue).
2. Ground-in grit (which really should have been removed dry first).
For category 1, let the cleaner sit briefly (per label directions), then gently wipe. Avoid aggressive scrubbing. For category 2, dry removal is often the key—mopping over embedded grit can create micro-scratches that gradually dull the hallway vinyl.
Comparison: quick clean vs. deep clean
Here’s the decision framework I recommend for hallway vinyl (use it for 2026 planning and beyond):
| Method | Best for | Main risk if done wrong |
|---|---|---|
| Quick damp mop / spot clean | Smudges, light residue, fresh spills | Leaving excess water in seams/edges |
| Deep clean | Dullness, tackiness, ground-in residue | Using the wrong cleaner or scrubbing too hard |
As a practical note, I recommend keeping your cleaner label accessible in your cleaning cabinet. If you’re juggling multiple resilient products, it’s easy to grab the wrong bottle.
Deep clean schedule and technique (when it’s actually needed)
The right deep-clean timing is “only when symptoms show,” like dullness, tackiness, or ground-in residue. If your hallway vinyl still looks and feels clean, stick to dry removal and light damp mopping—deep cleaning too often can be just as damaging as neglect.
Deep cleaning is typically recommended when dullness or residue is present, not as a routine daily step for resilient/vinyl floors.
Work in small sections and keep the mop damp rather than wet to reduce moisture exposure at seams and edges.
When to schedule deep cleaning
You’ll know it’s time when you notice:
– The floor looks “gray” or hazy even after regular wiping.
– The surface feels slightly tacky (often from residue buildup).
– Dirt seems embedded—scrubbing doesn’t lift it cleanly, and it keeps returning quickly.
If you have a heavy-traffic household, deep cleaning may be more frequent; if you rely on mats and keep shoes off, it may be less. Currently, many vinyl warranties still hinge on routine maintenance—so follow your manufacturer’s cadence guidance rather than copying a generic schedule.
How to deep clean safely (the method)
– Work in small sections to control how long cleaner and moisture contact the surface.
– Keep the mop “damp,” not wet.
– If your cleaner requires rinsing, rinse with clean water in the same small-section workflow.
– Dry after mopping with a dry microfiber pad or a soft towel to reduce haze and limit moisture exposure near edges.
Protect against scratches, scuffs, and moisture at hallway trouble spots
The best protection is proactive: prevent grit from grinding in, reduce point pressure from footwear, and stop water from reaching seams and edges. Hallways fail first at high-contact zones—especially around transitions and baseboards.
Protective measures like felt pads and controlled mat use reduce abrasion risk, which is a primary cause of dullness on resilient floors.
Moisture near seams, edges, and transitions can lead to swelling or lifting, so quick spill removal is essential for vinyl flooring.
Watching transitions and baseboards helps catch early swelling before it becomes a warranty issue.
Scratch and scuff prevention where it matters
– Add felt pads under furniture.
– Use rubber-backed coasters/cups for anything that sits on the floor.
– Keep shoes off when possible; grit plus heels tends to concentrate pressure and scratching risk.
– Pay attention to walking patterns—people repeatedly step in the same lane, which accelerates finish wear.
Moisture prevention at hallway edges
This is where homeowners often lose control: a spill happens, then gets ignored long enough for water to migrate. The goal is simple: wipe quickly and avoid “wet mopping” that leaves pooled water near:
– Floor seams and joints.
– Edges along baseboards.
– Transition strips.
If you see lifting or swelling, stop using excess water and check the manufacturer’s warranty guidance immediately. Some installations (especially floating/click-lock) may also be more sensitive to moisture trapped at edges.
Why grit is such a big deal (data anchor)
According to USGS (Mohs hardness references), quartz has a Mohs hardness of 7 (n.d.). According to the same references, calcite hardness is about 3 (n.d.), and talc hardness is about 1 (n.d.). That range is why “a little sand” from shoes can still be enough to dull vinyl over repeated foot traffic—vinyl doesn’t need to be chipped to lose its shine.
What can go wrong (and how to avoid it)
The most common causes of hallway vinyl problems are moisture saturation, harsh chemicals, and mopping over grit. If you avoid those three categories of mistakes, you’ll eliminate most preventable issues like bubbling, dullness, and lifting edges.
Steam cleaning or soaking mops can drive moisture into seams and edges, increasing the risk of lifting or bubbling on vinyl flooring.
Harsh cleaners such as bleach or ammonia can damage resilient flooring surfaces and make staining harder to remove.
Dirty mop pads and abrasive scrubbers can leave permanent scuffs and scratches that routine cleaning won’t fully fix.
Common mistakes to avoid
– Steam cleaners: Heat plus moisture can penetrate where water would normally be wiped away.
– Soaking mops: Excess water is the enemy of seams/edges and can create long-term swelling.
– Harsh chemicals: Bleach, ammonia, and abrasive scrubbers can strip protective finishes or cause discoloration.
– Scratching from wrong tools: Steel wool, stiff brushes, and rough pads leave marks—especially in hallway traffic lanes.
– Not removing grit first: Mopping over sand-like debris creates micro-scratches.
– Ignoring warranty rules: Floating vinyl planks vs. glue-down installations can have different cleaning restrictions.
Pros and cons: popular “shortcuts” to skip
- Shortcut: steam mopping
- Pros: Feels efficient for deep grime.
Cons: Higher moisture exposure at seams/edges; frequently discouraged in resilient flooring care guidance. - Shortcut: “stronger” cleaner
- Pros: May remove visible residue faster on day one.
Cons: Can damage wear layers and leave dullness that’s harder to reverse. - Shortcut: abrasive scrubbing pads
- Pros: Might lift grime that’s stuck.
Cons: Leaves permanent scuffs and increases future dirt-holding.
As of 2026, the most reliable maintenance approach still matches what manufacturer guides typically say: control moisture, use mild cleaners, and prioritize grit removal.
Verdict / tip
Stick with a simple routine: remove grit often, wipe spills immediately, and damp-mop only when needed with the cleaner your flooring manufacturer approves. The downside is that you may need more frequent light cleaning than you’d do for “harder” surfaces—hallways demand it.
If your floor has a known issue (like documented lifting risk), or if your warranty restricts cleaners/methods, pause and follow that document first. Also, skip damp mopping altogether temporarily if you notice active swelling—get guidance before continuing.
Tracked Hallway Grit and Its Scratch Potential (Mohs Hardness)
| # | Tracked grit (mineral) | Mohs hardness | Abrasion risk | Mat/cleaning priority |
|---|---|---|---|---|
| 1 | Quartz (silica sand) | 7 | ★★★★★ | High |
| 2 | Feldspar (weathered rock dust) | 6 | ★★★★☆ | High |
| 3 | Hematite (iron oxide) | 5.5 | ★★★☆☆ | Medium-High |
| 4 | Apatite (mineral dust) | 5 | ★★★☆☆ | Medium |
| 5 | Magnetite (iron-rich grit) | 5.5 | ★★★☆☆ | Medium |
| 6 | Calcite (dust/stone particles) | 3 | ★★☆☆☆ | Low-Medium |
| 7 | Talc (very soft mineral dust) | 1 | ★☆☆☆☆ | Low |
Quick hallway vinyl floor checklist (scan/save)
– ☐ Vacuum/sweep regularly with soft attachments
– ☐ Use entrance mats/runner; clean mats so they don’t grind dirt
– ☐ Wipe spills right away (don’t let them dry)
– ☐ Damp-mop only; avoid soaking seams/edges
– ☐ Use only manufacturer-approved vinyl/resilient cleaners
– ☐ Avoid steam, wax/polish buildup, and abrasive scrubbers
– ☐ Felt pads on furniture; limit shoe traffic when possible
Sources
Final step: set up an easy rhythm—sweep/vacuum often, damp-mop only when needed, and treat spills immediately. If you follow the cleaner/method rules from your specific flooring guide, your hallway vinyl should stay cleaner, brighter, and more scratch-resistant for the long run.
Frequently Asked Questions
What’s the best way to clean vinyl floors in a hallway without damaging them?
Sweep or vacuum daily with a soft brush attachment to remove grit that can scratch vinyl flooring. Use a pH-neutral vinyl floor cleaner and a microfiber mop, then rinse if your cleaner requires it. Avoid abrasive pads, harsh chemicals, and steam mops because they can break down the protective wear layer over time.
How do you remove scuff marks and stains from vinyl hallway floors?
For light scuffs, try wiping with a damp microfiber cloth and a small amount of gentle cleaner. For tougher marks, use a vinyl-safe spot remover and work slowly with minimal pressure to protect the finish. If you have discoloration from rubber mats, remove the source promptly and clean with a vinyl floor cleaner designed for residue.
How should you protect vinyl flooring in high-traffic hallways from scratches and wear?
Place entry mats and felt pads under furniture, and use runners in the highest-walk areas to reduce dirt abrasion. Keep pet nails trimmed and avoid dragging items across the floor. Regularly clean the hallway so embedded grit doesn’t act like sandpaper on the vinyl surface.
Which cleaning products are safe for vinyl plank and sheet vinyl in a hallway?
Look for pH-neutral cleaners labeled safe for vinyl floors, and choose formulas that won’t strip the protective coating. Avoid bleach, ammonia, strong solvents, and “wax” or oil-based cleaners unless the product explicitly says it’s compatible with your vinyl type. When in doubt, test the cleaner on an inconspicuous spot first.
Why is regular maintenance important for vinyl floors in hallways, and how often should you do it?
Hallways concentrate foot traffic, dirt, and moisture, which can dull the shine and increase wear if not addressed. Aim for quick sweeping or vacuuming daily, a deeper wet mopping weekly (or as recommended for your specific vinyl floor), and immediate spot cleaning after spills. Consistent vinyl floor maintenance helps your hallway flooring stay looking clean and extends the lifespan of the wear layer.
📅 Last Updated: October 25, 2026 | Topic: How to maintain vinyl floors in a hallway? | Content verified for accuracy and freshness.
References
- Vinyl flooring
- https://www.cdc.gov/coronavirus/2019-ncov/community/organizations/cleaning-disinfection.html
- https://www.cdc.gov/coronavirus/2019-ncov/prevent-getting-sick/disinfecting-your-home.html
- https://www.epa.gov/coronavirus/cleaning-and-disinfecting-your-facility
- https://scholar.google.com/scholar?q=vinyl+floor+maintenance+cleaning Google Scholar
- https://scholar.google.com/scholar?q=luxury+vinyl+plank+care+and+maintenance Google Scholar
- https://scholar.google.com/scholar?q=resilient+flooring+care+and+maintenance+guidelines Google Scholar