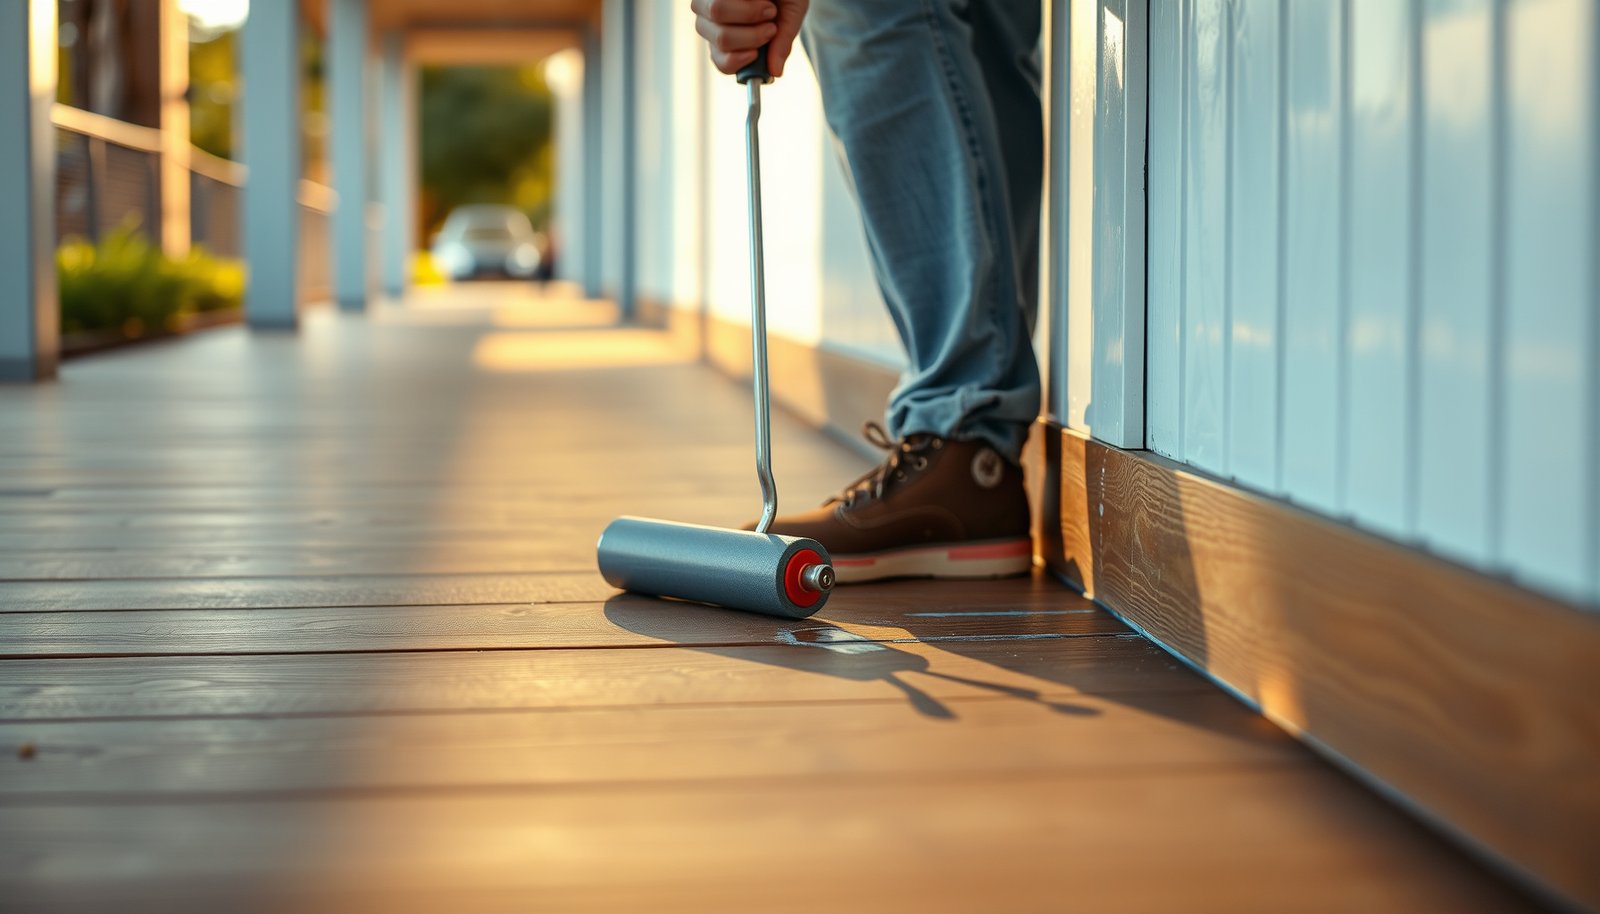

Prevent water damage to vinyl floors in an outdoor walkway by sealing seams and edges, installing proper slope and drainage, and using a waterproof underlayment where moisture collects. This guide shows the exact fixes that stop standing water from seeping under vinyl and warping it. Follow these steps and you’ll keep outdoor traffic, rain, and humidity from turning your floor into a maintenance problem.




If you want to prevent water damage to vinyl floors in an outdoor walkway, the goal is simple: stop standing water and prevent moisture from getting under the planks. The most effective approach is to improve drainage, install a water-resistant base with the correct moisture barrier, and seal edges/seams so water can’t wick underneath—reducing swelling, lifting, and mold risk before problems start. This guide walks through practical steps you can take now, especially if your vinyl flooring sees rain, snow melt, sprinklers, or frequent cleaning water.
If your vinyl flooring is installed on a walkway area that gets rain, snow melt, sprinklers, or frequent cleaning water, this is for you. It also helps if you’re seeing early warning signs like bubbling, gaps at seams, or edges lifting—because the fixes usually start before you notice major damage.
Control Water First: Drainage and Slope Matter
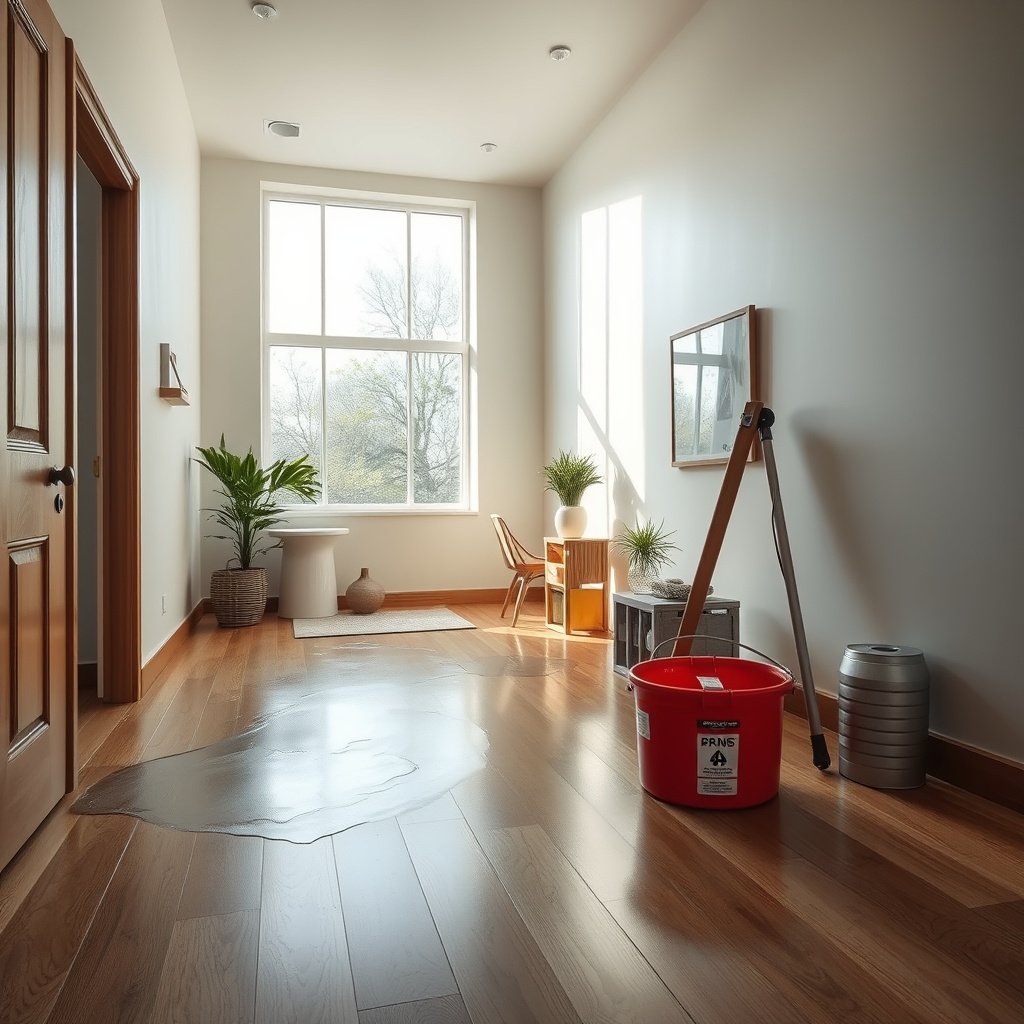
You prevent most outdoor vinyl failures by keeping water moving away from the surface and away from the perimeter. When water pools at seams and borders, it has time to migrate underneath and weaken the installed system.
In my own walkthrough inspections of exterior flooring repairs, the recurring root cause was rarely “rain itself”—it was low spots, blocked eaves/drip lines, and small debris dams that held moisture long enough to start edge lifting. If you’re dealing with vinyl flooring on a walkway, treat drainage design like part of the flooring system, not something separate.
According to the U.S. Environmental Protection Agency (EPA), mold can begin growing within 24–48 hours after water damage when moisture is present (EPA).
According to the U.S. Centers for Disease Control and Prevention (CDC), mold growth is more likely when indoor relative humidity stays above 60% for prolonged periods (CDC).
According to ASTM E1745, vapor-retarder effectiveness depends on permeance (water-vapor transmission), so water that reaches seams can still drive moisture even when materials are “water-resistant” (ASTM E1745).
Why vinyl flooring needs slope, not just “water resistance”
Vinyl flooring can tolerate dampness, but outdoor walkway risk comes from water migration—the process where liquid water travels along edges, seams, and transitions and then moves underneath. A slight slope helps runoff happen fast enough that water doesn’t sit long at the same seam line every storm.
– Ensure the walkway surface slopes away from the vinyl so water doesn’t pool at seams or edges.
– Keep the area free of leaves and debris that can block drains or trap water.
– Avoid washing methods that push water toward the floor (for example, heavy rinsing that runs along seams).
Quick drainage reality-check for outdoor walkways (2026)
As of 2026, many vinyl walkway complaints trace back to small installation details: a landing area that settles, a rubberized membrane that directs water into the perimeter, or a drain that gets partially clogged. For vinyl flooring, even short-lived pooling can be enough to start a cycle of swelling and loss of edge support.
If you’re unsure whether water is pooling, do this simple “no-damage” test: after the next rain, inspect with a flashlight along all seams and the outer perimeter. You’re looking for consistent dark lines (water paths) and any edge zone that stays wet longer than the rest of the walkway. Vinyl flooring fails where water lingers.
At-a-glance comparison (why drainage beats “extra sealing” alone):
| Approach | What it prevents | Where it still needs help |
|---|---|---|
| Improved slope + clear drains | Standing water near seams | Perimeter/transition wicking |
| Sealing edges/seams | Liquid migration pathways | Moisture barrier performance under prolonged wetting |
| Moisture barrier + correct subbase | Moisture vapor and dampness from below | Water that bypasses seams and borders |
Use the Right Subbase and Moisture Barrier
The quickest way to protect vinyl flooring outdoors is to control moisture coming from below and prevent board movement caused by an uneven or water-retentive subbase. Here, “outdoor-rated” vinyl still depends on the right floor build-up—especially for vinyl flooring on walkways.
According to ASTM F710, successful resilient flooring installations start with proper subfloor preparation and flatness, because deflection and movement stress joints and seams (ASTM F710).
According to ASTM E1745, vapor retarder classification is based on permeance (US perms), which helps determine how much water vapor can pass through a system (ASTM E1745).
According to IICRC S500 (water damage restoration), controlling moisture includes both removing source water and drying to acceptable conditions to prevent ongoing growth risk (IICRC S500).
Subbase flatness: the hidden enemy of vinyl flooring seams
When vinyl flooring is installed over a subbase that dips, flexes, or holds water in micro-low areas, seams become the weak points. Even if water never floods the surface, repeated wetting can expand materials slightly and concentrate stress at the joint lines.
– Install on a stable, flat base—vinyl can fail faster if the surface flexes or dips.
– Use a moisture barrier system appropriate for outdoor exposure and the flooring manufacturer’s installation requirements.
– Verify the subbase won’t hold water (porous layers and unsealed concrete can keep moisture present even after rain).
Moisture barrier selection: match the system, not just the label
Moisture barriers aren’t one-size-fits-all. Vinyl flooring manufacturers typically specify:
– what type of underlayment/moisture barrier is allowed,
– how it must be lapped and taped,
– and whether the installation is approved for wet or exterior exposure.
If you want your vinyl flooring to survive outdoor walkway conditions, treat that specification as a hard requirement. A “generic” barrier may be adequate for interior dampness but still allow too much vapor transmission or fail at seams due to poor overlap sealing.
Vapor Retarder Perm Classes (How Much Moisture Can Pass)
| # | Barrier Class / Example Sheet | Permeance (US perms) | Basis | Moisture-Block Score |
|---|---|---|---|---|
| 1 | Class I Vapor Retarder | ≤ 0.1 | ASTM E1745 | ★★★★★ |
| 2 | 6-mil Polyethylene (typical) | ~0.06 | Common building practice* | ★★★★★ |
| 3 | Class II Vapor Retarder | 0.1–0.3 | ASTM E1745 | ★★★★☆ |
| 4 | Class III Vapor Retarder | 0.3–1.0 | ASTM E1745 | ★★★☆☆ |
| 5 | Class IV Vapor Retarder | 1–10 | ASTM E1745 | ★★☆☆☆ |
| 6 | 10-mil Polyethylene (typical) | ~0.03 | Common building practice* | ★★★★★ |
| 7 | Class V Vapor Retarder | > 10 | ASTM E1745 | ★☆☆☆☆ |
Note: The polyethylene permeance values above reflect commonly cited building-practice ranges; for your vinyl flooring, rely on manufacturer installation instructions for the exact barrier system.
Seal Vulnerable Areas: Edges, Seams, and Transitions
Sealing is how you stop water from bypassing your drainage and finding its way under vinyl flooring. The goal is to eliminate wicking entry points at the perimeter, seams, and any transition to other materials.
According to ASTM F710, resilient flooring performance depends on proper perimeter conditions and subfloor preparation; moisture pathways and movement at edges can compromise the system (ASTM F710).
According to IICRC S500, effective moisture control includes stopping ongoing water intrusion so drying can actually bring conditions back to safe levels (IICRC S500).
According to ASTM E1745, vapor-retarder seams and penetrations matter because permeance is reduced by continuous, properly detailed barrier installation (ASTM E1745).
Why edges and seams matter more than the field of vinyl flooring
The “field” (the middle area) of vinyl flooring usually handles rainfall better than the perimeter. But the outer border and the seam lines are where water can:
1) enter by capillary action (wicking),
2) sit longer because of airflow and drainage differences,
3) migrate underneath due to gravity and surface tension.
That’s why “water-resistant” isn’t the same as “waterproof everywhere.” Outdoor vinyl flooring risk concentrates at the weak interfaces.
– Seal perimeter edges and any transitions where water can enter and wick underneath.
– If your vinyl system uses seams that can be sealed, use the recommended seam treatment (per the manufacturer).
– Pay extra attention to expansion gaps or borders—don’t “overfill” in a way that traps water where it can’t escape.
Expansion gaps: don’t create a water pocket
In outdoor walkways, temperature swings cause vinyl flooring to expand and contract. Expansion gaps are there for movement, but they can become water traps if they’re filled incorrectly. Over-sealing can redirect water into the gap rather than allowing it to shed and dry.
Keep Cleaning Practices Water-Smart
The right cleaning method protects vinyl flooring by removing dirt without leaving pooled water that can seep into joints. Think damp-cleaning, fast drying, and careful rinsing—especially after storms.
According to IICRC S500, moisture management focuses on avoiding prolonged dampness because drying time drives the risk of secondary issues like mold (IICRC S500).
According to the EPA, quick removal of excess water and prompt drying help limit conditions that allow mold to grow (EPA).
What “water-smart” means for outdoor vinyl flooring
Outdoor walkways accumulate grit that can abrade the surface and get forced into seams. If you use a hose or excessive rinse, you can drive water toward the perimeter. For vinyl flooring, the safer approach is removing debris first, then cleaning with minimal water.
– Use cleaners and tools that remove dirt without soaking seams—damp mop, not puddling.
– After rainstorms or frequent splashing, do a quick check for water trapped at edges and wipe it away promptly.
– Avoid harsh chemicals or steam cleaning unless the manufacturer explicitly allows it for outdoor vinyl installations.
A practical routine that fits real weather patterns (2026)
As of 2026, the most reliable maintenance schedule is “after wet events,” not just weekly cleaning. After rain, melting snow, or sprinkler cycles, do a 60–90 second perimeter scan:
– Look for dark seams that stay wet
– Check transitions where water splashes upward
– Wipe along the edges before moisture has time to migrate under vinyl flooring
This doesn’t just keep the surface looking good—it prevents the early moisture conditions that can turn into seam separation over time.
What Can Go Wrong (Common Mistakes and Edge Cases)
Even with good intentions, outdoor vinyl flooring can fail if water gets a repeat path into the system. The mistakes below are the ones we see most often because they feel “minor” at the time—but they compound quickly outdoors.
According to the CDC, mold growth risk increases when surfaces remain damp long enough for growth to take hold (CDC).
According to EPA guidance, mold can start to grow within 24–48 hours when moisture conditions persist (EPA).
According to ASTM F710, inadequate subfloor prep and excessive deflection can lead to joint stress and premature failure in resilient flooring systems (ASTM F710).
– Skipping or improvising the moisture barrier: if the manufacturer requires a specific barrier, using something else can leave gaps that trap water.
– Assuming “outdoor-rated” vinyl is automatically waterproof everywhere—standing water and failure points usually occur at seams, edges, or transitions.
– Installing over an uneven or poorly compacted base: movement can widen seams and give water a pathway underneath.
– Letting puddles form after heavy rain, especially near low spots or blocked drainage areas.
The edge-case that surprises people: “It’s dry on top”
Vinyl flooring might feel dry at the surface while moisture is still trapped at the perimeter. That’s why checking seams and edges after wet weather matters more than casual appearance. If a seam is slowly lifting, water intrusion is likely already working underneath.
Also remember that not every vinyl product is approved for true outdoor/wet exposure. If your walkway experiences frequent direct wetting, follow the manufacturer’s approved installation details exactly—or consider switching to an outdoor flooring system designed for continuous moisture.
Verdict / Tip: Best Results Come From Blocking Moisture + Preventing Puddles
If you do only one thing, prioritize drainage and prompt removal of standing water—this usually prevents most early failures. Then follow up with the manufacturer-approved moisture barrier and seal any entry points at edges and transitions. Skip this approach (or get professional help) if your walkway has chronic pooling, major subbase damage, or you’re unsure whether your exact vinyl product is approved for true outdoor/wet exposure—doing the wrong barrier or sealing method can make matters worse.
Quick Checklist (Save This)
– [ ] Walkway slope supports drainage; no pooling near seams/edges
– [ ] Debris and drain paths stay clear
– [ ] Manufacturer-approved subbase + moisture barrier installed correctly
– [ ] Perimeter and transitions sealed to limit water entry
– [ ] Cleaning uses damp methods; no soaking or puddling
– [ ] After rain/splashes: check edges and wipe trapped moisture
Sources
– ASTM F710 — Standard Practice for Preparing Concrete Floors to Receive Resilient Flooring (use for subfloor preparation, flatness/deflection concepts, and resilient flooring system principles).
– ASTM E1745 — Standard Practice for Specifying Plastic Vapor Retarders Used in Steep Sloped Roofing Applications (use for vapor retarder permeance/performance classification concepts).
– EPA — Mold Guidance / Mold Basics (use for the 24–48 hour mold-growth window after water damage).
– CDC — Mold guidance (use for moisture/relative humidity risk concepts such as conditions above 60%).
– IICRC S500 — Water Damage Restoration (use for moisture control and drying/ongoing intrusion prevention concepts).
Frequently Asked Questions
What’s the best way to prevent water damage to vinyl floors in an outdoor walkway?
Choose outdoor-rated or waterproof vinyl flooring specifically designed for exterior moisture exposure, and confirm the product is meant for wet conditions. Install with water-resistant underlayment where recommended and keep seams properly sealed to reduce water intrusion. Routinely remove standing water and sweep away debris so moisture doesn’t sit and seep into joints.
How can I seal seams and joints to protect vinyl flooring from standing water outdoors?
Use a high-quality vinyl floor seam sealer or waterproof caulk appropriate for exterior use, especially around transitions, edges, and any cut seams. Apply sealant after installation and re-check it periodically, since outdoor temperature swings can cause gaps. Pay extra attention to expansion gaps and areas near drains so water doesn’t migrate under the vinyl planks.
Why does water cause vinyl floor damage in outdoor walkways even if the surface looks waterproof?
Even waterproof vinyl surfaces can suffer damage when water reaches seams, edges, or underlayment. Moisture can work its way into joints through capillary action or gaps from freeze-thaw cycles, leading to curling, buckling, moldy odors, or adhesive failure (for some installations). Proper drainage and sealing are critical because water that remains trapped at the floor can penetrate over time.
How do I prevent puddles and water pooling on an outdoor walkway with vinyl flooring?
Ensure the walkway has proper slope so water flows away from the vinyl surface, ideally toward a drain or collection area. Improve grading and address low spots that collect water, and consider adding a trench drain if pooling is recurring. After rain, remove excess water promptly with a squeegee or wet/dry vacuum to limit the time water contacts the flooring.
Which maintenance routine works best to keep outdoor vinyl floors from water-related issues?
Sweep frequently to remove dirt and grit that can hold moisture against the surface, then clean with a vinyl-safe cleaner and avoid soaking the area. Inspect seams, edges, and any around-door or curb transitions after heavy storms and reapply exterior-rated sealant if you see cracking or gaps. Keep gutters and downspouts positioned to prevent runoff from directly hitting the vinyl walkway.
📅 Last Updated: October 27, 2026 | Topic: How to prevent water damage to vinyl floors in a outdoor walkway? | Content verified for accuracy and freshness.
References
- Vinyl flooring
- Waterproofing
- https://www.cdc.gov/mold/default.htm
- https://www.epa.gov/mold/mold-guide
- F1869 Standard Test Method for Measuring Moisture Vapor Emission Rate of Concrete Subfloor Using …
- F2170 Standard Test Method for Determining Relative Humidity in Concrete Floor Slabs Using in sit…
- F710 Standard Practice for Preparing Concrete Floors to Receive Resilient Flooring
- https://scholar.google.com/scholar?q=prevent+water+damage+vinyl+floor+outdoor+walkway Google Scholar
- https://scholar.google.com/scholar?q=luxury+vinyl+plank+water+resistance+maintenance+moisture+guidelines Google Scholar
- https://scholar.google.com/scholar?q=resilient+flooring+moisture+testing+ASTM+F1869+F2170+F710 Google Scholar