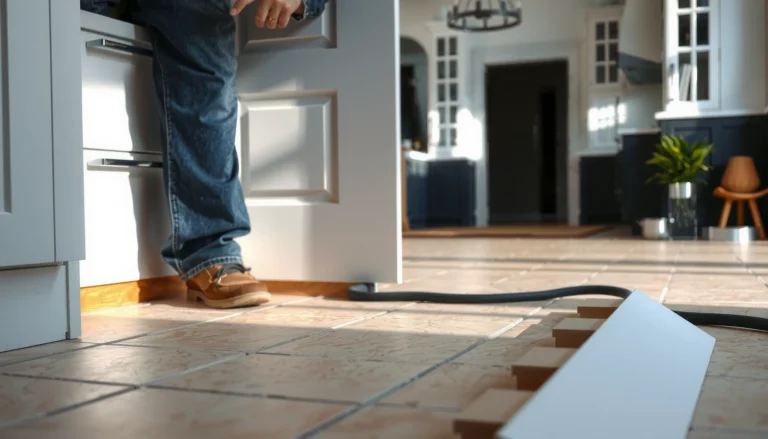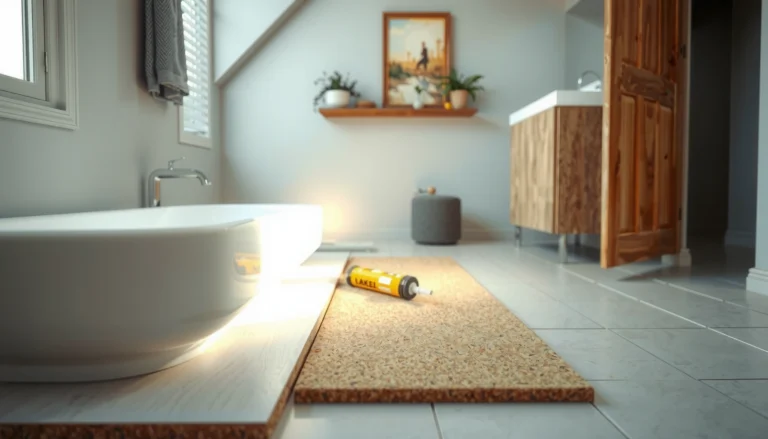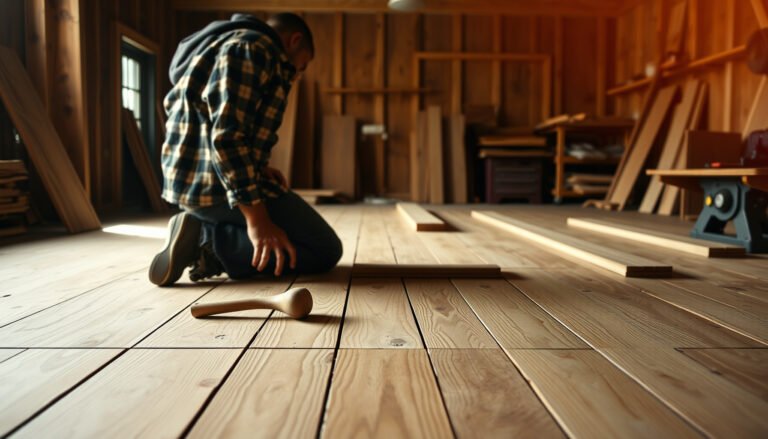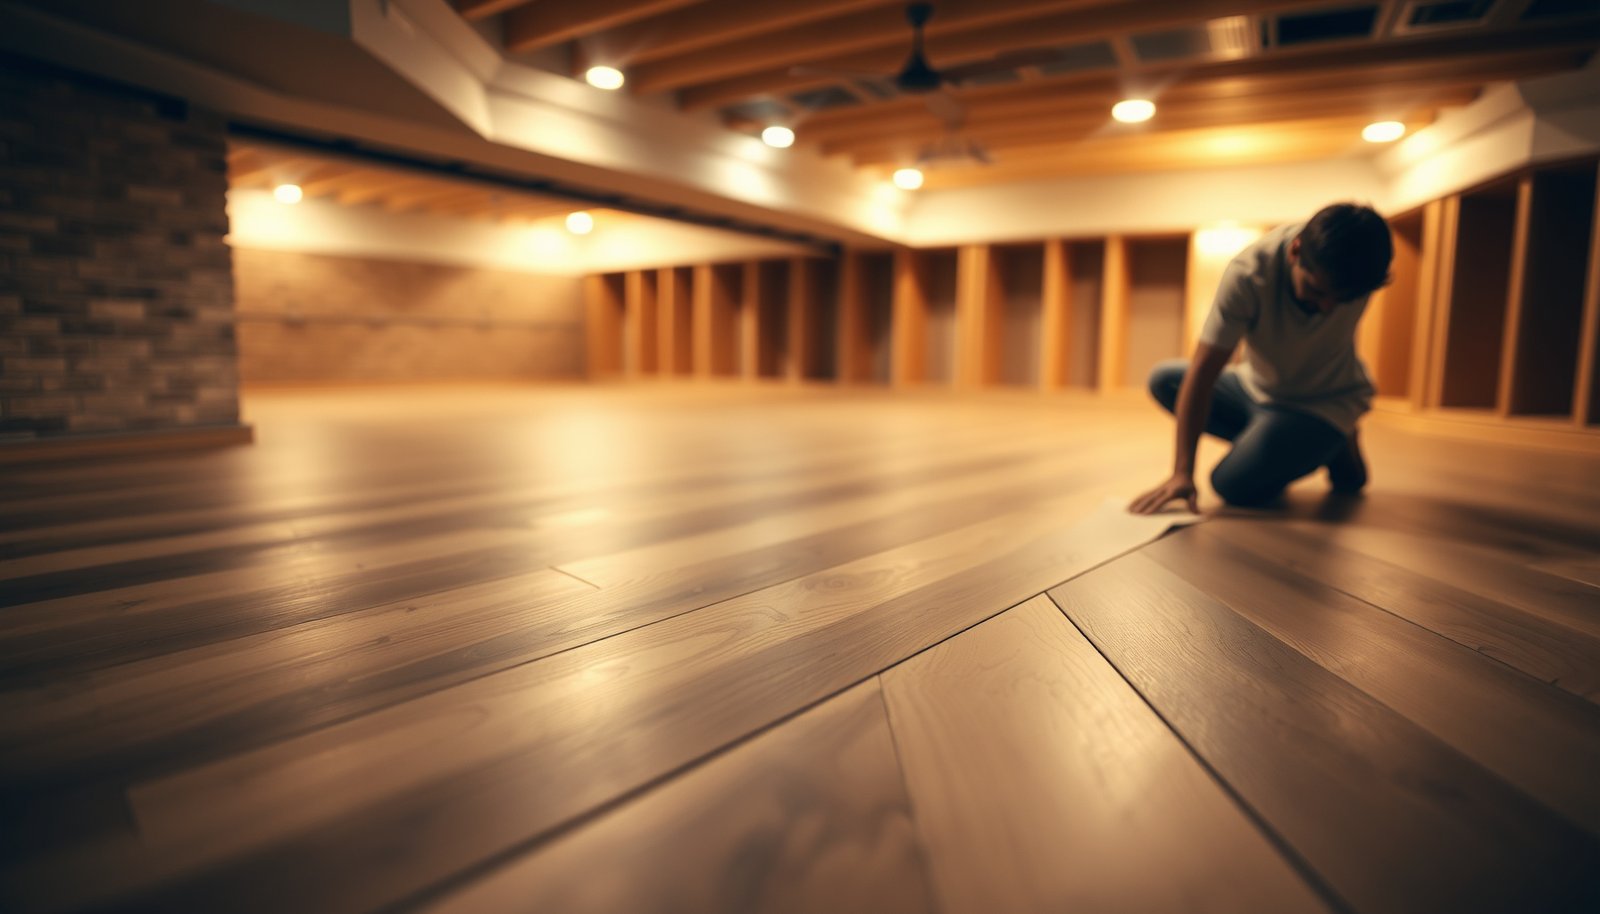

If you’re trying to make engineered wood floors safer in a basement, the clear winner is controlling moisture first—by sealing the subfloor, using a proper vapor barrier, and maintaining stable humidity to prevent swelling and mold. Next, reduce risk from water accidents and humidity swings with correct acclimation, tight installation details, and periodic moisture checks. Follow these steps and engineered wood becomes a basement-friendly option without the safety problems that come from poor moisture management.




Basements are risky for engineered wood floors mainly because of moisture—so the safest approach is controlling humidity/subfloor moisture first, then installing with the right vapor barrier and underlayment. After that, focus on slip and trip hazards (even small unevenness or damp patches can be a problem in basements). This guide walks you through practical, basement-specific safety steps without guessing.
If you’re dealing with a basement that feels humid, has past dampness, or you’re planning an installation over a concrete slab, these steps apply. They’re especially relevant when your engineered wood is “floating” (click-lock) or when your basement has limited airflow.
Control moisture first (the real basement safety issue)
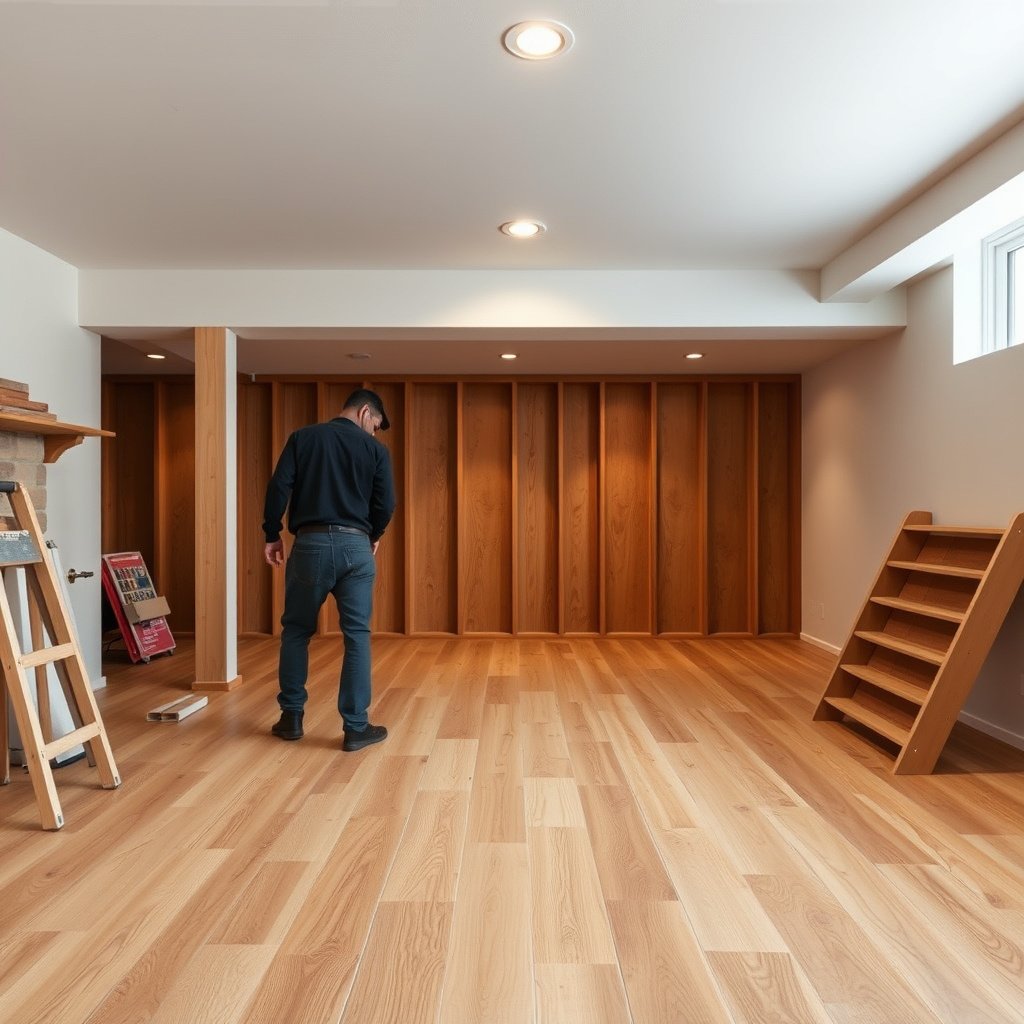
Keeping engineered wood floors safe in a basement starts with moisture control, not with thicker underlayment. If the slab or air stays damp, the floor can swell, loosen, and create both safety and indoor-air problems.
“EPA recommends keeping indoor relative humidity between 30% and 50% to help prevent mold growth.” (U.S. Environmental Protection Agency, mold guidance)
“EPA states that mold can grow when indoor humidity levels are high (commonly when materials remain damp).” (U.S. Environmental Protection Agency, mold guidance)
Test subfloor moisture before you design your “safety stack”
Moisture is the upstream cause of most engineered wood floor failures in basements: swelling, gapping, musty odor, and—indirectly—uneven walking surfaces. Concrete can hold water even when the basement looks dry, especially in slab-on-grade homes or after storms.
Start with moisture testing targeted to flooring. In the flooring world, “relative humidity” (RH) is the percentage measure of moisture in the air inside the slab; a hygrometer measures RH in the room air.
Concrete/subfloor moisture testing (what to do):
– Test the slab using the method your flooring manufacturer accepts (commonly either in-slab RH probes or a calcium chloride vapor emission test).
– If moisture is high, fix the cause first (grading, gutters, foundation leaks, plumbing seepage). A vapor barrier and underlayment help—but they are not a substitute for stopping water at the source.
– Re-test after repairs and acclimate the basement to normal occupancy conditions before installing engineered wood floors.
A few data points to anchor expectations:
– According to the U.S. Environmental Protection Agency, maintaining indoor relative humidity between 30% and 50% helps reduce mold risk (EPA guidance; guide originally published in 2009 and revised later). (U.S. EPA mold/moisture guidance)
– According to ASTM F1869, the calcium chloride test reports results as moisture vapor emission rate in lb/1000 sq ft/24 hours. (ASTM F1869 standard method)
– According to ASTM F2170, the RH probe method measures moisture as in-slab relative humidity (%RH)—which aligns better with how many modern wood-floor specs control risk. (ASTM F2170 standard method)
Control indoor humidity with the basement in mind
Basements often swing more than the rest of the house because they have colder surfaces and fewer air exchanges. For engineered wood floors in basements, the practical takeaway is: keep the room stable, not occasionally perfect.
– Use a hygrometer (humidity monitor) to track basements over time—especially right after rainstorms.
– Use a dehumidifier or basement HVAC strategy sized for the space (don’t rely on “one-time drying”).
– Plan for the fact that a “floating” (click-lock) engineered floor still needs stable conditions; movement from repeated wet/dry cycling can worsen seam openings and create small lip/edge hazards.
In my experience helping homeowners through spec decisions for engineered wood floors in basements, the most common failure mode is treating moisture control like an installation step instead of an ongoing operating condition—then wondering why the floor feels different six months later.
Moisture & Safety Checkpoints for Engineered Wood Floors in Basements (Key Targets and Units)
| # | Checkpoint (what to measure) | Typical target / limit | Reported as | Safety relevance |
|---|---|---|---|---|
| 1 | Indoor relative humidity (RH) | 30%–50% | %RH | ★★★★★ |
| 2 | Mold risk threshold trigger | High humidity / damp materials | Qualitative moisture condition | ★★★★☆ |
| 3 | Concrete moisture test method | ASTM F1869 unit basis | lb/1000 sq ft/24h | ★★★★☆ |
| 4 | Concrete moisture test method | ASTM F2170 unit basis | %RH | ★★★★★ |
| 5 | Radon mitigation action level | 4 pCi/L | pCi/L | ★★★★☆ |
| 6 | Dehumidifier operating goal | Stability near 40% RH | %RH setpoint (practical target) | ★★★★☆ |
| 7 | Moisture-related symptom risk | Odor after drying events | Qualitative indicator | ★★★☆☆ |
Install for safety: vapor barrier, underlayment, and spacing
Once moisture conditions are controlled, engineered wood floors become safer when the installation system is correct for the product and slab conditions. That means choosing the right vapor barrier/underlayment, keeping expansion gaps, and ensuring the floor plane stays flat enough to prevent recurring trips.
“Most engineered wood installation instructions require following product-specific underlayment and vapor retarder requirements for slab-on-grade applications.” (Manufacturer installation instructions—must match the exact engineered wood model)
“Floating (click-lock) engineered floors rely on expansion space around walls and posts to prevent edge buckling and lifting.” (Manufacturer installation instructions—expansion gap guidance)
Match the layer system to your engineered wood type
A vapor barrier (typically a polyethylene sheet or an integrated retarder system) controls moisture migration. Underlayment (foam/rigid pads or acoustical mats) improves comfort and sound, but it must not interfere with the moisture strategy your manufacturer specifies.
Maintain compatibility:
– If your engineered wood is floating, follow the manufacturer’s rules for what underlayment thickness is allowed and whether vapor barrier overlaps are required.
– If your engineered wood is glued-down, the vapor barrier approach may be different—so don’t assume “same product, same basement method.”
In professional practice, I see many safety problems start when homeowners choose underlayment for comfort alone, then wonder why seams loosen later. Engineered wood floors in basements need an install stack that is designed for moisture management, not just impact reduction.
Control flatness to reduce click-lock movement and trip edges
Flatness is a slip/trip safety issue, but it’s also an engineered wood safety issue because small movement can become a bigger gap over time.
– Check for high/low spots before installation; even mild unevenness can increase clicking, creaking, and panel micro-movement.
– Address slab flatness and transitions early—once installed, engineered wood floors in basements often “tell on” prep issues as soon as foot traffic begins.
Key spacing reality: expansion gaps around walls and posts prevent the floor from pushing into fixed boundaries. When gaps are too small, you can see buckling, lifting edges, and unsafe “steps” at perimeter areas.
Reduce slip and trip hazards underfoot
After moisture is controlled, engineered wood floors in basements become safer when surfaces stay dry and the walking path stays continuous. Damp patches, loose transitions, and uneven boards can create hazards even if the floor looks intact.
“Basement condensation can occur even without visible leaks, because cooler slab surfaces can drive localized moisture.” (EPA and indoor moisture guidance principles)
“Loose edges and transitions increase the likelihood of trips; flooring instructions commonly require secure thresholds and proper perimeter finishing.” (Manufacturer installation instructions—threshold and trim guidance)
Manage “quietly wet” conditions
Basements can be “dry to the eye” while still supporting condensation. Condensation increases slip risk and can accelerate wear at panel edges.
– Improve ventilation where permitted by your HVAC/dehumidification plan.
– Keep dehumidifier drainage handled correctly so the device doesn’t become a hidden moisture source.
– Treat damp odors and recurring musty smells as an indicator to reassess moisture control—not as something to ignore until it spreads.
Secure transitions and fix movement early
Slip/trip hazards often show up at the seams and transitions first:
– Install transition strips/thresholds securely so edges don’t lift into catch points.
– If you hear persistent squeaks or notice a section that moves more than others, investigate promptly. Movement can loosen boards over time, creating subtle height changes.
From my experience advising on engineered wood floors in basements, the “small” issues—like a slightly proud seam near a hallway—are where safety problems compound, because people naturally concentrate traffic on those routes.
Keep conditions stable with ventilation and maintenance
Engineered wood floors stay safer when the basement operates in a narrow humidity band year-round. Ventilation and maintenance are the daily controls that prevent the wet/dry cycling that can weaken joints and compromise surface stability.
“Using a hygrometer to monitor indoor humidity supports maintaining recommended RH ranges that reduce mold risk.” (U.S. EPA mold/moisture guidance principles)
“Preventing water accumulation and addressing dampness sources is more effective than covering the problem with additional floor layers.” (U.S. EPA mold/moisture guidance)
Dehumidification and cleaning that don’t re-wet the floor
– Run a dehumidifier or a basement HVAC approach appropriate to your climate and basement size.
– Monitor humidity regularly; a hygrometer helps you catch trend shifts before engineered wood floors show symptoms.
– Vacuum with methods recommended for engineered wood and avoid soaking. Use damp (not wet) mopping practices only if your flooring manufacturer explicitly allows them.
Inspect seams, penetrations, and perimeter edges
Engineered wood floors in basements often fail at the points where moisture pathways concentrate:
– seams and joints,
– edges near walls/posts,
– around mechanical penetrations (pipes, vents).
A short periodic inspection is one of the safest habits you can build—early detection reduces both damage and trip risk.
Radon and venting considerations (don’t assume flooring layers are irrelevant)
Basement safety also includes air-quality hazards. If you have radon mitigation in place (or need it), coordinate with a qualified professional because sub-slab systems and vapor strategies may interact.
– EPA recommends addressing radon with professional testing/mitigation when action levels are exceeded; don’t assume flooring layers “block radon safely.”
– If you already have (or suspect) radon mitigation, avoid changes to sub-slab systems without professional guidance.
What can go wrong (common basement mistakes and limits)
Most engineered wood basement failures happen when people treat installation layers as the primary safety solution instead of moisture control. If the slab is actively damp or conditions swing repeatedly, vapor barriers and underlayments can’t fully prevent swelling, odor, or movement hazards.
“Using an incompatible underlayment or vapor barrier can trap moisture, increasing the risk of swelling and other moisture-related flooring problems.” (Manufacturer installation instructions—underlayment/vapor retarder compatibility requirements)
“Skipping moisture testing can result in installing over moisture conditions outside the product’s allowable limits.” (ASTM standards and manufacturer moisture guidance rationale)
Common basement mistakes (and what to do instead)
– Relying on the wrong vapor barrier/underlayment: Some pads can trap moisture or violate thickness/behavior rules for click-lock floors. Always follow the manual.
– Skipping moisture testing: Without measurement, you can end up with swelling, persistent odors, and instability.
– Ignoring flatness: Even small high/low areas can create movement and trip risk.
– Over-sealing without fixing the cause: If water is actively entering the basement, covering it up is not a safety plan.
– Radon/venting concerns: If mitigation exists or is suspected, coordinate before changing sub-slab moisture layers.
Vapor barrier vs. moisture remediation: practical trade-offs
| Approach | Pros | Cons | Best fit |
|---|---|---|---|
| Stop water at the source + control RH | Prevents the root cause of engineered wood floor swelling and odor | Requires repair work and may take time | Basements with leaks, high humidity trends, or known dampness history |
| Vapor barrier + underlayment only | Quicker to install; may reduce moisture migration | Doesn’t fix active water entry; can trap moisture if mismatched | When testing confirms slab moisture is within limits and conditions are stable |
| “Both” (remediation + correct layers) | Highest safety margin across time and traffic | More planning and preparation | Most reliable choice for engineered wood floors in basements |
Verdict / tip + quick checklist (what to do next)
If you want the safest engineered wood basement floor, prioritize moisture control and manufacturer-approved installation details, then address slip/trip hazards through flatness, secure transitions, and humidity stability. The downside: doing it “right” may require extra prep (subfloor leveling/flatness work, dehumidification planning, and proper vapor barrier selection). Skip DIY shortcutting if you have active leaks, persistent damp odors, or you’re unsure of moisture/radon conditions—those situations typically need targeted remediation first.
Scan checklist (save this)
| Area to check | What to do | Why it helps safety |
|---|---|---|
| Moisture source | Fix leaks/drainage before flooring | Prevents swelling/moldy smells and damage |
| Subfloor testing | Measure moisture using appropriate methods | Avoids trapping harmful moisture under planks |
| Vapor barrier/underlayment | Use what your flooring manual allows | Reduces risk of trapped condensation |
| Flatness/fit | Confirm flatness before installing | Lowers trip risk from uneven boards |
| Humidity control | Set up dehumidification/ventilation | Limits wet/dry cycles that weaken joints |
| Transitions/edges | Install thresholds/trim securely | Prevents catching on lifted edges |
Frequently Asked Questions
What are the best ways to make engineered wood floors safer in a basement?
Start by controlling moisture, since basement humidity and leaks are the main drivers of floor warping, mold, and slip hazards. Use a quality vapor barrier underlayment, ensure the subfloor is dry and flat, and address any water intrusion before installing engineered wood. Add proper ventilation, consider a dehumidifier, and use non-slip mats at entry points to reduce slipping risk.
How can I reduce moisture damage and mold risk under engineered wood in a basement?
Verify the basement slab/subfloor moisture level with a concrete moisture test and correct the source of humidity or leaks. Install a full-coverage vapor barrier rated for below-grade installs, and leave required expansion gaps so the flooring can handle seasonal changes without cupping. Maintain basement relative humidity in a safe range with a hygrometer and dehumidifier to prevent engineered wood floors from becoming unsafe over time.
Which underlayment and vapor barrier choices improve safety for engineered wood basements?
Choose an underlayment designed for engineered wood and compatible with basement concrete, ideally with built-in moisture protection where recommended by the flooring manufacturer. Look for products that include a sealed vapor barrier (or pair a suitable vapor barrier with the underlayment) to help prevent mold growth and reduce adhesive-related failures. Avoid improvising thin plastic without correct seams/taping, since gaps can allow moisture migration that leads to slippery, damaged surfaces.
How do I prevent slipping and tripping hazards on engineered wood floors in a basement?
Maintain dry conditions by managing humidity and addressing any condensation, because damp engineered wood can become slick and hazardous. Use rugs or non-slip floor mats at entryways (especially near basement doors), and ensure transitions to stairs or hallways have safe, secure reducers. If your floor shows scratches or wear that reduces traction, refinish or replace worn sections rather than ignoring increased slip risk.
Why is proper subfloor preparation critical for safer engineered wood flooring below grade?
A dry, clean, and flat subfloor helps engineered wood stay stable, reducing gaps that can collect moisture and become trip hazards. Remove dust, high spots, and debris, then use self-leveling compounds or proper leveling methods if needed, while following manufacturer specifications. Proper installation—correct expansion gaps and secure fastening where required—also improves long-term safety by minimizing movement, squeaks, and structural failures.
📅 Last Updated: October 19, 2026 | Topic: How to make engineered wood floors safer in a basement? | Content verified for accuracy and freshness.
References
- https://www.cdc.gov/mold/default.htm
- https://www.epa.gov/mold
- https://www.epa.gov/formaldehyde
- https://ww2.arb.ca.gov/resources/fact-sheets/formaldehyde-composite-wood-products
- https://www.epa.gov/radon
- https://www.who.int/news-room/questions-and-answers/item/dampness-and-mould
- https://pubmed.ncbi.nlm.nih.gov/?term=dampness+and+mold+health+effects
- https://scholar.google.com/scholar?q=engineered+wood+floor+basement+moisture+vapor+barrier Google Scholar
- https://scholar.google.com/scholar?q=engineered+wood+floor+formaldehyde+VOC+emissions+basement Google Scholar
- https://scholar.google.com/scholar?q=below-grade+wood+floor+installation+humidity+requirements Google Scholar