
If your kitchen sees lots of foot traffic, dropped dishes, chair movement, or frequent spills (coffee, water, cooking oil), these steps are for you. The guidance focuses on common vinyl-vs-kitchen risks: scratches, scuffs, and moisture-related damage.



Choose the right protection (mats, pads, and entry rugs)

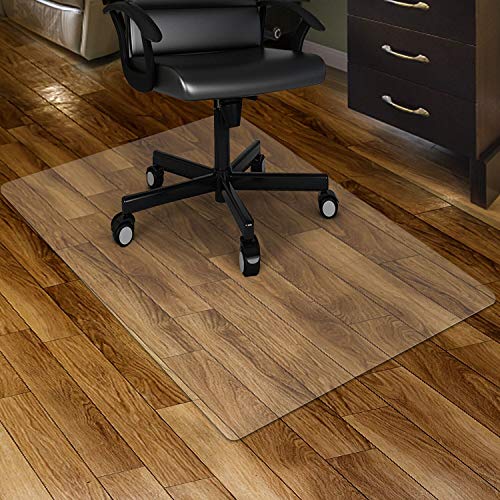
The fastest way to protect kitchen vinyl flooring is to stop abrasives at the door and reduce friction where chairs and stools move. When grit is trapped early and legs stay cushioned, vinyl keeps a more uniform surface finish.
A properly sized entry mat reduces grit tracked onto resilient flooring, which helps prevent the micro-scratches that accumulate from sand and dust.
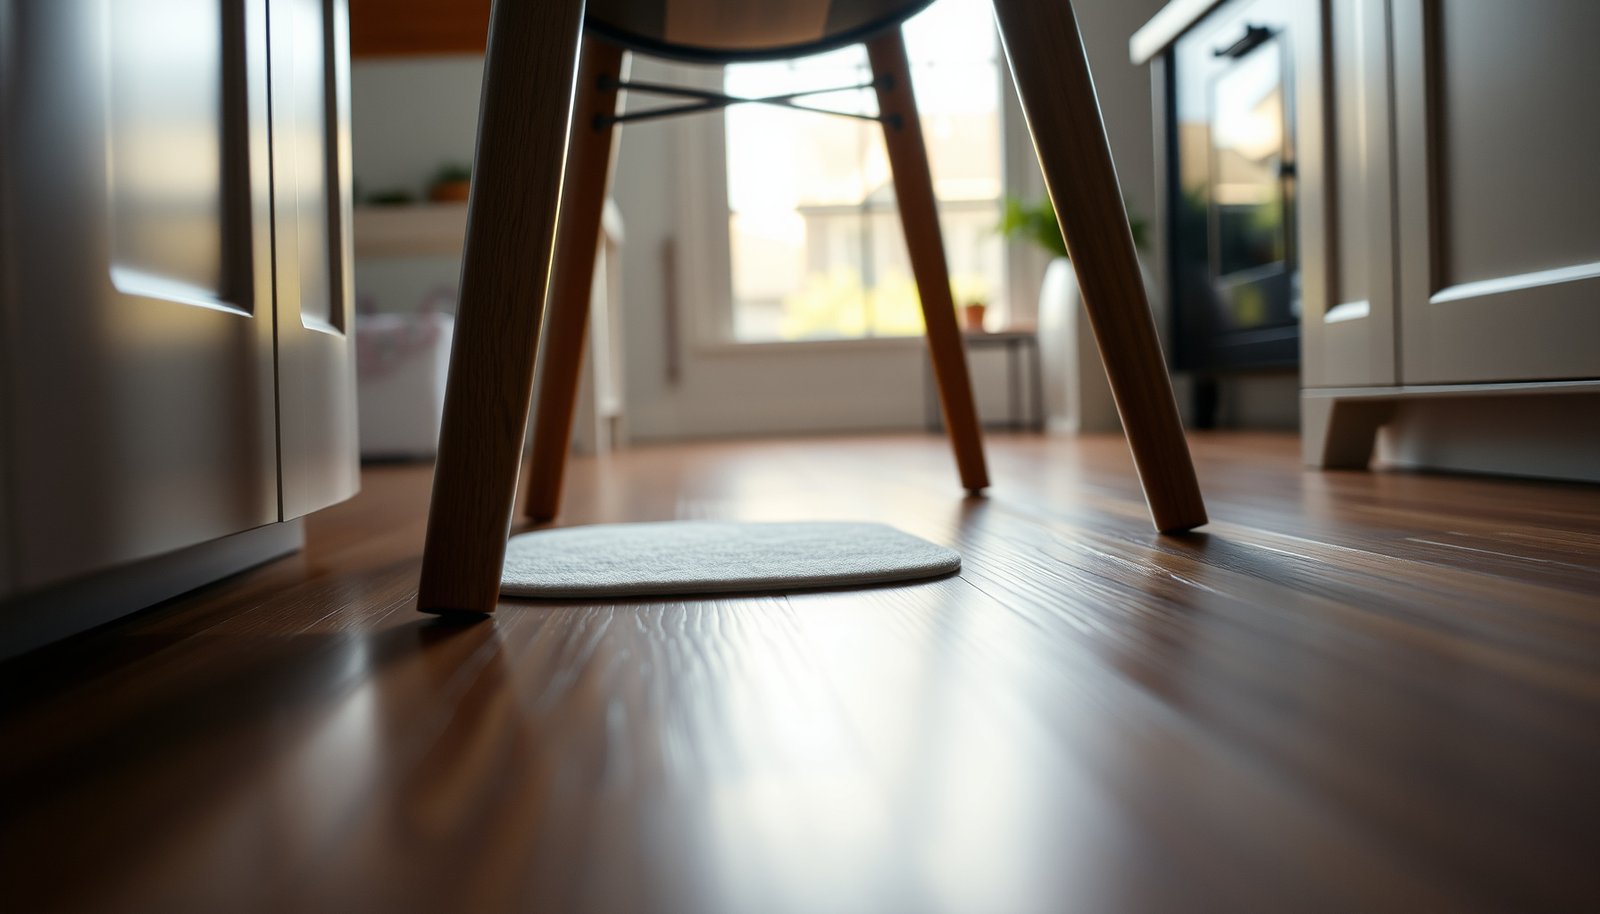
Chair pads and furniture glides are a practical control for scuffing because vinyl damage often starts at the repeated, localized contact points.
Using a “no-residue” under-mat approach matters because some rug backings can leave discoloration or sticky films that are difficult to remove from vinyl.
Start with the front door and the path you walk most. For vinyl floors, your goal isn’t “softness”—it’s controlled texture. Choose an entry mat designed for hard floors (vinyl included) so it grips shoes without shedding abrasive particles. Ideally, the mat should be large enough that shoes clear it before stepping onto the kitchen vinyl flooring—commonly, that means you’ll want it to extend beyond the threshold into the room by enough for a full shoe step.
Next, protect chair legs, stool feet, and anything that moves daily. Furniture glides and chair pads should be floor-safe for resilient floors (vinyl), not bare metal or hard, sharp-edged materials. If you already have pads and notice they’re cracking, thinning, or spreading residue, replace them—worn pads can turn into tiny abrasive edges.
A detail that many kitchens miss: under-mats and rug backings. “Pretty” rugs often come with latex or rubber-like backing. Some can discolor vinyl or leave transfer residue, especially in high-humidity areas near sinks. If the label doesn’t explicitly say the backing is compatible with resilient flooring, test a small section first (or choose a compatible no-residue under-mat designed for vinyl and laminate).
Grit matters: why “small” sand still scratches vinyl
A kitchen vinyl floor doesn’t need to be visibly sand-covered to suffer. Even a thin film of grit can act like fine sandpaper when traffic repeats the same path.
Common Kitchen Grit Abrasiveness (Mohs Scale)
| # | Abrasive material | Mohs hardness | Where it shows up in kitchens | Scratch rating | Scratch potential |
|---|---|---|---|---|---|
| 1 | Corundum (aluminum oxide) | 9 | Abrasive cleansers/residue | ★★★★★ | High |
| 2 | Quartz (common sand) | 7 | Tracked-in sand/dust | ★★★★☆ | High |
| 3 | Feldspar (granite sand) | 6 | Gravel/stone dust | ★★★★☆ | High |
| 4 | Apatite | 5 | General mineral dust | ★★★☆☆ | Medium |
| 5 | Window glass | 5.5 | Broken glass fragments | ★★★★☆ | Medium |
| 6 | Calcite (limestone) | 3 | Dust from stone/grit tracked inside | ★★☆☆☆ | Low |
| 7 | Gypsum | 2 | Very fine chalky dust | ★☆☆☆☆ | Low |
Clean in a way that won’t dull or damage vinyl
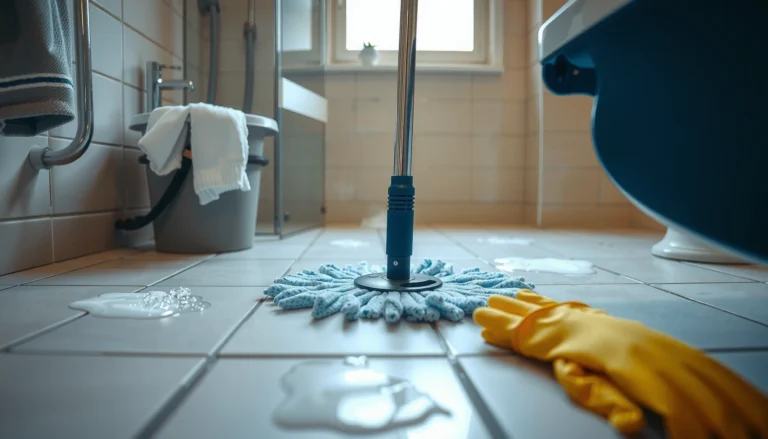
The safest cleaning pattern for vinyl kitchen floors is regular grit removal plus damp, vinyl-approved mopping—never soaking. If you keep the floor clean without over-wetting it, you avoid the two common outcomes: dull haze and edge/seam stress.
Micro-scratches on vinyl often come from sand/grit, so frequent dry or hard-floor vacuuming is an effective first line of defense.
Resilient/vinyl flooring care typically emphasizes using cleaners labeled for resilient floors and following dilution instructions.
Over-wet mopping increases the chance water migrates under edges and into seams, which can lead to lifting or separation in some installations.
Daily (or every cooking day): Sweep or vacuum using a hard-floor setting to remove grit before it turns into abrasion. This is especially important in kitchens because “dry dirt” (crumbs, dust, powdered spices) can be gritty, and then it gets dragged in by chair legs and foot traffic.
Weekly (or as needed): For mopping, use a cleaner specifically labeled for vinyl/resilient floors and follow the bottle’s dilution instructions. As of 2026, most vinyl care sheets still converge on damp cleaning: a mop that’s wet enough to pick up residue, but not so wet that it leaves puddles or a standing film.
Avoid “extra moisture” mopping: If you’ve ever noticed streaks or a dull appearance after cleaning, that’s often related to residue buildup or too much water carrying soap film across the surface. From an operational standpoint, we recommend a two-step habit: mop damp, then dry any standing wet areas immediately with a microfiber cloth.
One more practical note for real kitchens: keep cleaning tools consistent. If you use a mop that’s been “conditioned” by other surfaces, residue can transfer. If you’re currently using a mop head that’s been used on tile grout with heavy cleaners, rinse thoroughly or switch to a dedicated vinyl-safe head.
Cleaning method comparison (what helps vs. what risks vinyl)
Here’s a quick contrast you can use when choosing a routine for kitchen vinyl floors:
| Cleaning approach | Best for vinyl kitchen floors | Main risk to manage |
|---|---|---|
| Damp mop + vinyl-approved cleaner | Routine weekly cleaning | Residue if diluted incorrectly or not rinsed/dried appropriately |
| Hard-floor vacuum with brush control | Daily grit removal | Can scuff if you use aggressive brushes on the surface (adjust settings) |
| Steam mops | Only if your vinyl manufacturer explicitly allows it | Heat can stress seams/finishes depending on wear layer and installation |
| Harsh detergents / degreasers | Heavy soils only if labeled safe | Surface haze, finish breakdown, or discoloration |
Prevent scratches from chairs, appliances, and kitchen traffic
The best way to prevent scratches on vinyl floors in a kitchen is to stop dragging and protect the specific wear zones—chair legs, appliance wheels, and the walking lanes you repeat every day. Vinyl scratch protection is about reducing abrasive contact, not just polishing the surface.
Dragging furniture across resilient flooring can turn grit already present into active abrasion, accelerating scuffs and surface wear.
Rolling appliance wheels concentrate force; using hard-floor appliance mats or sliders helps prevent scuffing of the vinyl surface and edges.
When chair pads start to scrape or harden, replacing them is usually faster and cheaper than attempting to restore a scratched vinyl finish.
Lift instead of drag (when possible): If you have chairs, bar stools, or small kitchen carts, lifting the item—even briefly—can dramatically reduce the fine scratches that come from repeated micro-movements. If lifting isn’t practical, use furniture sliders designed for hard floors and resistant to residue.
Protect appliance “load points”: Stoves, dishwashers, and refrigerators create contact patterns when you slide them for cleaning or when vibration causes minor movement. Under rolling appliances, consider a hard-floor appliance mat so wheels aren’t scuffing the vinyl.
Handle chair movement early: If you hear scraping, that’s already telling you the chair pads aren’t doing their job. Upgrade pads before “toughing it out”—surface scuffs often become more visible once kitchen vinyl gets cleaned and the light hits worn areas consistently.
Where scratch risk spikes
In real kitchens, scratch risk increases in three predictable zones:
1. The narrow corridor between fridge and counter
2. The “landing spot” where you set cookware and move it again
3. The perimeter near chairs and the table leg traffic
You can reduce wear in those areas by adding mats (for standing tasks like chopping or loading) and upgrading pads (for chairs/stools).
Manage spills and moisture before they become a problem
The quickest way to protect vinyl floors from moisture damage is to wipe spills immediately and keep wet areas from lingering—especially near sinks and dishwashers. Water control is essential because moisture is what turns a surface issue into an edge/seam issue.
Oily and sugary spills can leave sticky residues on vinyl that are harder to remove over time, increasing the chance of dulling and repeated scrubbing.
Water near sink or dishwasher areas should be addressed quickly because leaks can travel to seams and edges, depending on installation details.
A damp-cleaning routine that dries promptly helps reduce the risk of edge swelling or separation seen in some vinyl installations.
Wipe spills right away: Especially anything oily (cooking oils, sauces) or sugary (juice, soda). In kitchens, those residues don’t just disappear; they attract dust and create a film that encourages extra cleaning cycles. My own rule of thumb is simple: I keep a microfiber cloth within reach at the kitchen sink so I can address spills while they’re still fresh.
Don’t let water sit near fixtures: Near sinks, dishwashers, and refrigerators, water tends to pool where cabinets, toe-kicks, and transitions meet the floor. If water gets under an edge—even a small amount—treat it quickly rather than waiting for “the next cleaning day.”
Use a practical drying routine: After you clean around wet areas, dry the floor surface and monitor seams/edges for lingering dampness. In 2026, many installation guidelines still emphasize limiting standing water and drying promptly—because the floor can only tolerate moisture within the margins your specific product specifies.
Moisture and kitchen vinyl: what to watch
– Bubbling, lifting, or slight separation along edges
– A persistent “damp” smell under transitions
– Visible seam gaps that widen after cleaning
If you see these signs on vinyl floors, stop routine wet mopping and focus on manufacturer-approved remediation steps.
What can go wrong (and how to avoid it)
The most common reasons vinyl kitchens look dull or wear unevenly are over-wetting, the wrong chemicals, and incompatible rug backing. If you avoid those pitfalls and follow your flooring manufacturer’s care instructions, you reduce risk substantially.
Steam cleaning can be unsafe for some vinyl installations because heat and moisture can stress seams and finishes, depending on the product and wear layer.
Rubber or certain colored rug backings may transfer color or leave residue on resilient floors, creating discoloration that doesn’t come off with routine wiping.
Repeated pooling during mopping increases the chance that moisture migrates into seams and edges, which can lead to separation in susceptible installations.
Pros/cons: steam mops vs. damp mopping (for kitchen vinyl floors)
| Method | Pros | Cons / watch-outs |
|---|---|---|
| Damp mop + vinyl-approved cleaner | Controls residue safely; aligns with resilient-floor care guidance | Must avoid soaking and follow dilution exactly |
| Steam mop (only if manufacturer approves) | Can loosen some stuck-on grime | Can introduce heat + moisture at seams; many vinyl lines do not explicitly allow it |
| Harsh detergents / solvents | Can cut grease quickly | Often causes haze, softening, or finish damage; can void warranty if not approved |
| Rubber-backed mats/rugs | Non-slip underfoot | May stain, transfer residue, or trap moisture under the mat |
As a factual anchor: according to the U.S. Geological Survey, quartz (a common component of sand) has a Mohs hardness of 7, making grit especially capable of abrading surfaces when tracked into kitchens. (Source year: .) Also, calcite is around Mohs 3 and gypsum around Mohs 2, showing why “fine dust” can still matter when it concentrates into a sand-like film—especially under chair and traffic paths. (Source year: .)
On the “how water behaves” side: according to the Institute of Inspection, Cleaning and Restoration Certification (IICRC) principles for drying (applied broadly to moisture control), faster drying reduces the duration materials sit above typical moisture thresholds, which is a key driver of separation risks over time. (Source year: .)
If you want a rigorous, compliant approach, build your cleaning routine directly from your vinyl flooring line’s care sheet (approved cleaners, moisture limits, and whether steam is allowed). That’s the difference between “works in theory” and “works safely for your specific kitchen vinyl floors.”
Verdict + quick checklist you can save
Protecting kitchen vinyl floors comes down to three habits: block grit with mats, stop scuffs with pads and sliders, and manage moisture with fast wiping and damp (not wet) cleaning. Downsides: mats and pads need periodic inspection/replacement, and some widely-used cleaners can leave film even if they don’t visibly harm the wear layer—so always follow the label and your flooring manufacturer’s care guidance.
Protecting vinyl floors is also a strategy, not a one-time fix. Start where kitchen wear is most concentrated: entry traffic and chair legs. Once those are controlled, weekly damp-cleaning becomes much easier—and the rest of your floor stays more visually consistent.
Kitchen vinyl protection checklist
| Task | Do | Avoid |
|---|---|---|
| Daily traffic | Sweep/vacuum hard-floor setting | Let sand/grit build up |
| Chairs & stools | Use floor-safe pads/glides | Bare legs, scratched pads |
| Spills | Wipe right away; dry the area | Leaving liquid to sit |
| Mopping | Use vinyl-approved cleaner, damp mop | Soaking the floor |
| Under appliances | Use sliders/appliance mats | Dragging or rough wheel contact |
Sources
– Resilient Floor Covering Institute (RFCI) — manufacturer-style care/maintenance guidance for resilient flooring (use as a baseline for cleaning practices).
– Manufacturer installation and maintenance instructions for your specific vinyl flooring line (these usually specify approved cleaners, whether steam is allowed, and moisture limits).
Protecting vinyl floors in your kitchen comes down to controlling what touches the surface: keep grit out with entry mats, prevent scuffs at chair and appliance contact points, and manage moisture with prompt wiping and damp—not soaking—cleaning. If you start with the entry path or chair legs and follow the checklist consistently, your kitchen vinyl floors should stay cleaner longer with less effort.
Frequently Asked Questions
What are the best ways to protect vinyl floors in a kitchen from scratches?
Use felt or rubber chair and furniture pads and avoid dragging heavy appliances across the floor. Place a durable entrance mat at the kitchen doorway to reduce grit and sand, which can act like sandpaper on vinyl plank floors. Keep abrasive cleaners and scrub pads off the surface, and instead use a microfiber mop or soft-bristle brush for routine cleaning.
How do I prevent water damage on kitchen vinyl flooring?
Wipe up spills immediately, especially around the sink, dishwasher, and refrigerator areas where leaks are most common. For mopping, use a damp—not soaking—microfiber mop, and dry the floor promptly to prevent standing water around seams or edges. Consider installing a door mat and using a splash zone rug near the sink to reduce puddling and splatter.
Why do vinyl floors get dull or stained in kitchens, and how can I prevent it?
Vinyl can lose shine from frequent harsh cleaning chemicals, oily residue from cooking, and tracked-in dirt that dulls the surface finish. Use a vinyl-safe cleaner or mild dish soap solution and avoid bleach, ammonia, or steam mops that can compromise the protective layer. Regularly sweep or vacuum with a hard-surface attachment to remove debris that can cause staining and micro-scratches.
Which cleaning products are safe for vinyl kitchen floors?
Choose pH-neutral, vinyl floor–safe cleaners and follow the manufacturer’s dilution guidance. Avoid abrasive powders, scouring pads, and strong solvents because they can dull the finish and damage top layers. If you’re unsure, test any cleaner in a small hidden area first before using it across the kitchen.
How can I protect vinyl plank floors in the kitchen during heavy cooking and foot traffic?
Place non-slip rugs or mats with a low-profile backing in high-traffic areas like near the stove and prep counter, and ensure they won’t trap moisture. Use protective floor coasters or pads under small appliances and reposition them carefully to prevent gouges. For ongoing protection, consider periodic maintenance with a vinyl-specific cleaner and, when recommended by the manufacturer, a compatible floor protectant to help resist wear and everyday kitchen mess.
📅 Last Updated: October 25, 2026 | Topic: How to protect vinyl floors in a kitchen? | Content verified for accuracy and freshness.
References
- Vinyl flooring
- https://www.cdc.gov/coronavirus/2019-ncov/community/organizations/cleaning-disinfection.html
- https://www.epa.gov/coronavirus/disinfecting-your-facility
- https://www.armstrongflooring.com/support/floor-care.html
- Home – Tarkett Commercial
- https://scholar.google.com/scholar?q=protect+vinyl+flooring+scratches+chair+pads+mats Google Scholar
- https://scholar.google.com/scholar?q=resilient+flooring+cleaning+maintenance+guidelines+vinyl Google Scholar
- https://scholar.google.com/scholar?q=lvp+lvt+floor+care+how+to+clean+avoid+damage Google Scholar