
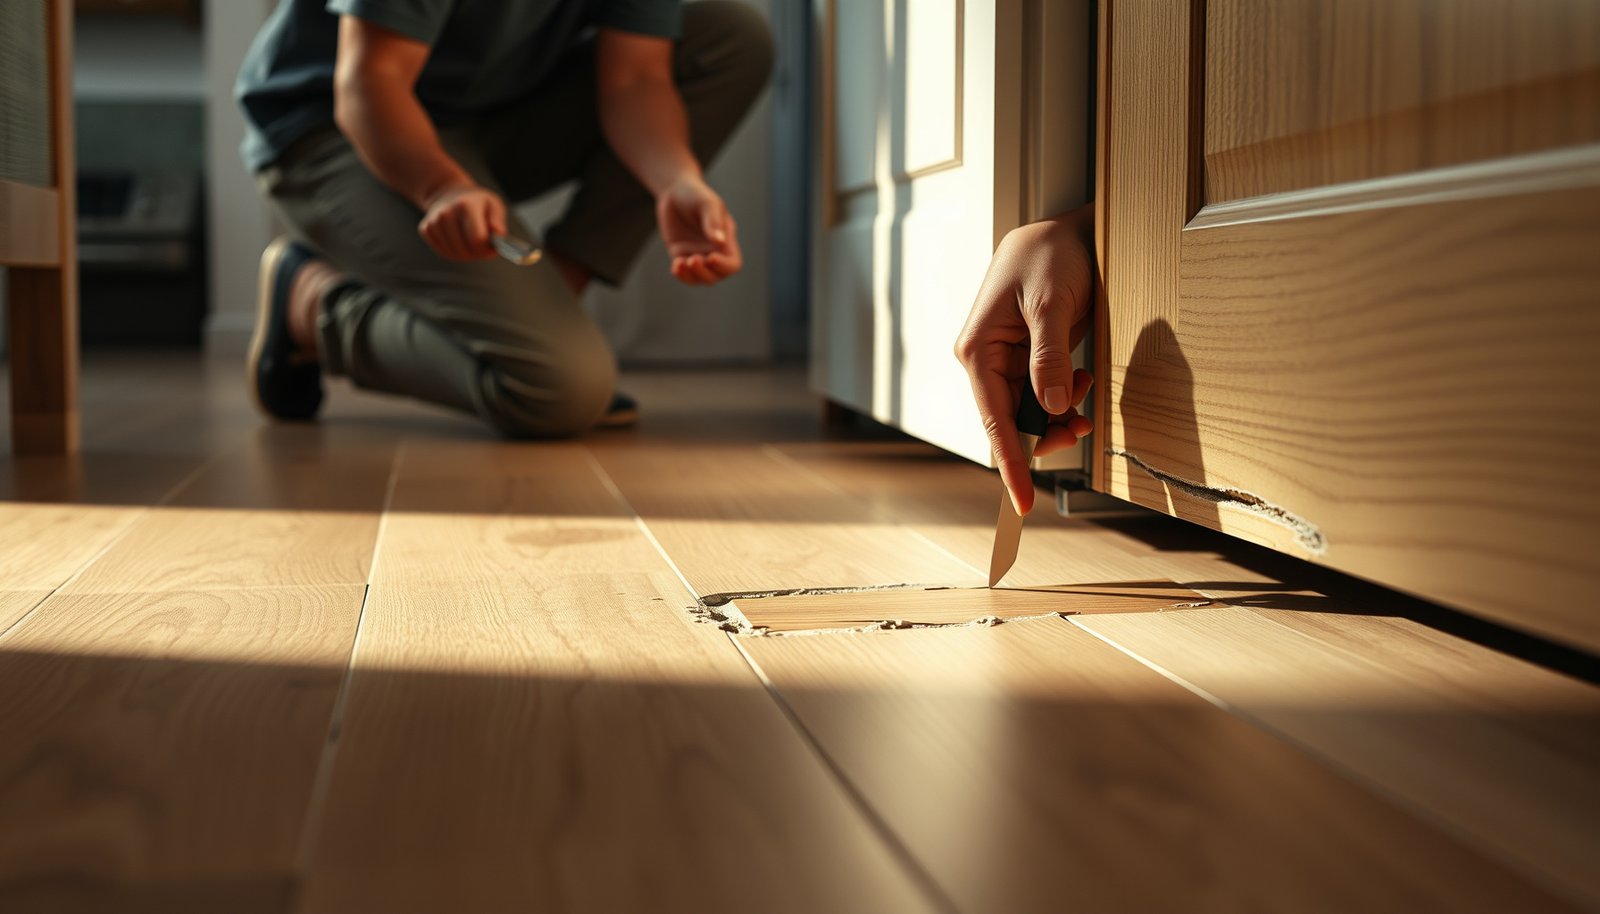

If your kitchen’s engineered wood floor is damaged, you don’t need guesswork—you need a repair plan that actually restores the surface and keeps the planks stable. This guide delivers the clearest path to fix scratches, dents, and water-related damage correctly, including when to replace boards versus patch and refinish. By the time you’re done, you’ll know exactly what to do for your specific type of damage and how to prevent it from coming back.




If your engineered wood floor is damaged in the kitchen, the fastest fix is to identify whether the problem is surface wear (scratches/dents), seam/gap issues, or water-related swelling—and then match the repair method to that cause. Small surface damage usually comes from everyday traffic and can be repaired with cleaning, filler, and a finish touch-up, while warped or continuously lifting boards typically require drying the area and replacing affected planks.
You’re likely here if your engineered wood flooring is showing bubbling near the sink, lifting at seams, rough scratches from foot traffic, or small cupping spots after spills. This guide is written for typical click-lock or glue-down engineered wood installs where you can access the damaged boards; if your floor is fully sealed/trimmed in a way that prevents plank removal, repairs may be more limited. As of 2026, many kitchen problems still trace back to one recurring issue: engineered wood floors react quickly to moisture, so the “best-looking repair” is the one that stops the cause first.
Diagnose the damage (start with the cause)

The best first step is to determine whether your kitchen damage is surface-only or moisture/installation-related. Engineered wood floors can look similar at a glance—bubbling, raised edges, and gaps all “read” as damage—but the repair paths are very different.
Engineered wood floors typically fail fastest when moisture causes the core to swell, which often shows up as bubbling, cupping, or edges lifting.
Scratches and dents are usually finish wear or surface compression, and they generally do not “give” when you step on the plank.
If boards feel cool or spongy, or if you can see active raised edges near water sources, treat the issue as moisture-related until proven otherwise.
– Check whether the issue is surface-only or structural: scratches/dents won’t “bounce” when you step, while swelling/loose edges often do.
– Trace the source area: kitchen problems often come from sink/water drips, dishwasher leaks, wet mopping, or standing water near entries.
– Test moisture risk carefully: if boards are still damp, don’t rush to glue, sand, or patch—repairs can fail while moisture remains trapped.
Surface vs. structural: the “step test” and the “edge test”
Start with the simplest diagnostic: gently step around the damaged spot. If the engineered wood floor feels firm and the plank surface is stable, the damage is likely in the wear layer (the top wood veneer or high-quality laminate-like layer). If the plank flexes, you may have a loose board, an underlayment/subfloor issue, or swelling that changed the plank’s shape.
Next, inspect the edges and seams using side lighting (a flashlight held low to the floor helps reveal whether a seam is merely a gap or a raised, separating joint). In kitchens, engineered wood floors commonly separate at seams because plank movement is concentrated where boards meet—especially near plumbing runs.
What to look for near the kitchen sink and dishwasher
Bubbling near the sink is a classic engineered wood floor symptom of moisture intrusion. The fastest path is to confirm whether any water source is still active (slow leaks, splashed mopping water, a dishwasher door that doesn’t fully seal, or a drain line that weeps). From my experience working through kitchen flooring repairs, I’ve found the “same spot” tends to re-damage engineered wood floors unless the plumbing and cleaning method are corrected—repairs alone rarely hold.
Moisture measurements matter (even if you don’t use numbers)
According to , wood flooring performance depends on keeping indoor conditions within the manufacturer’s specified range (not just “dry looking” conditions). In practice, that means you should not begin adhesive, patch, or sanding work on engineered wood floors until the area is fully dry to the touch and not returning to moisture after short ventilation.
If you have access to the right tools, use moisture testing appropriate to your materials (engineered wood and subfloor type). If you don’t, your safest rule is still the same: engineered wood repairs in wet zones should start only after full drying.
> Note: If you suspect active moisture (ongoing leaks, persistent condensation, repeated bubbling), it’s usually smarter to pause repairs and address the cause first.
Prep the kitchen and protect the floor around the repair
The goal of prep is to stop the engineered wood floor from being stressed while you repair it. If you rush into adhesive or filler work while the kitchen is moving (foot traffic, appliance vibration, wet-cleaning habits), seams and patched edges can fail soon after.
Engineered wood repairs perform better when the repair zone is kept free of load so seams and edges aren’t flexed during curing.
Cleaning before patching matters because dust and grime can prevent wood filler and finish from bonding cleanly.
Protecting surrounding planks with masking and controlled tool use reduces the risk of finish damage when sanding or leveling filler.
– Remove the load first: clear appliances/area rugs and keep traffic off the repair zone so seams and edges don’t get stressed.
– Clean correctly before any filler/adhesive: remove dust and grime without soaking the floor; wipe with a well-wrung damp cloth if needed, then dry.
– Plan your work area: have a straightedge/level handy and mark the exact boards that look loose, raised, or swollen.
Clear, contain, and control airflow
In 2026 kitchens, ventilation is often the difference between “we repaired it” and “it failed again.” Open nearby windows (when outdoor humidity isn’t worse), run a dehumidifier if you have one, and keep fans aimed to dry the area without overheating adjacent cabinets or accelerating expansion/contraction too quickly.
If engineered wood floors are already swollen, avoid forcing planks back into place while moisture remains. Let swelling resolve naturally once the water source is corrected.
Clean without creating new moisture
For engineered wood floors, cleaning strategy is part of the repair. You’re removing contaminants that interfere with adhesion and finish blending, not re-wetting the plank. Use a well-wrung cloth or a manufacturer-recommended cleaner for engineered wood, then let the area dry thoroughly.
Mark the real boundaries before you touch anything
Use painter’s tape or chalk to outline:
– The exact seam(s) that are lifting
– The board(s) that show cupping or bubbling
– Any surrounding planks that must be removed for proper access (especially for glue-down engineered wood floors)
That step prevents “half a repair,” which often leads to visible mismatch and recurring movement in engineered wood floors.
Repair common engineered wood problems
The fastest engineered wood repair method is the one that matches the damage type to the correct material behavior. Below are practical approaches for common kitchen failures, starting with the least invasive fixes and moving toward replacement when moisture has changed the plank.
Surface scratches on engineered wood floors are usually wear-layer issues and can often be corrected with filler/repair paste and a finish touch-up.
When engineered wood floors lift at seams or feel soft, it frequently indicates a bond or installation problem—or moisture that has altered the plank shape.
In kitchen wet zones, replacement is often more reliable than re-gluing if swelling, cupping, or repeated bubbling is present.
1) Scratches and scuffs (surface finish)
Scratches and scuffs are usually a finish-level problem, not a core-structural issue. When engineered wood floors are stable (no flex, no bubbling, no raised edges), you can usually repair visually without replacing boards.
– Clean the scratch area, then lightly smooth edges with the appropriate abrasive for your finish level (start gentle; you can always refine).
– Use a color-matched wood filler or repair paste for the top layer, then sand/fade back only as far as needed.
– Seal/finish to match the existing look—kitchen floors often need a protective topcoat approach rather than “filling only.”
Blending matters more than hiding
Engineered wood repair products look different in kitchens because the repaired area must match not only color but also sheen. After you fill and sand, blend outward slightly so the patch doesn’t create a “halo” under kitchen lighting. If your engineered wood floor has a factory urethane finish, finish touch-up should be compatible with that finish system.
2) Dents from chairs, drops, or heavy items
Dents are typically localized compression of the wear layer or a slight deformation of the plank surface. If the dent is shallow and the plank feels solid, you often restore appearance without board replacement.
– If the dent is minor, you may be able to restore the surface appearance with careful smoothing and finish touch-up.
– For deeper dents, use a filler designed for wood floors and re-finish the area so the repair doesn’t look raised or glossy compared to surrounding planks.
Watch for “dent + softness” combinations
If you see a dent and the plank simultaneously feels weak or slightly spongy, it can be moisture-related swelling masked as impact damage. In engineered wood floors, water can soften the top layer and make dents look worse over time.
3) Gaps or seam separation
Gaps and seam separation need a cause-based response: sometimes it’s seasonal movement, and sometimes it’s a localized failure. Engineered wood floors move with humidity; the difference is whether movement is widespread and predictable or localized and failing.
– Determine whether the gap is caused by installation movement (dry-season shrinkage) or a local failure (missing fastener/underlay issue).
– For minor seasonal movement, stabilization may be possible by managing indoor humidity (follow your floor manufacturer’s humidity guidance).
– For localized lifting at seams, you may need to re-secure boards—method depends on whether your floor is click-lock or glue-down (use the manufacturer’s instructions).
Click-lock vs. glue-down: the repair “mechanics” differ
Click-lock engineered wood floors usually respond to controlled re-seating of joints and humidity stabilization. Glue-down engineered wood floors can involve re-adhesion steps and careful board removal if the bond failed.
If seams lift and edges remain raised after a full dry period and correct humidity stabilization, plan for localized board replacement rather than repeated “patch-and-hope.”
4) Water damage, swelling, or cupping (the kitchen red flag)
Water damage is the point where engineered wood floor repairs become high-stakes. The safest approach is to stop the water, dry thoroughly, and then decide between repair versus replacement based on whether the plank shape has changed permanently.
– Stop the water source immediately (leak, splash, or cleaning method), then let the area dry fully before deciding on repairs.
– If the board edges are raised, warped, or the surface finish is failing, replacement is often the most reliable option for engineered wood in wet zones.
– Replace only what you can match: remove damaged boards/planks using the correct technique for your installation type, then install replacements per the manufacturer’s layout and spacing rules.
Why replacement is often the longer-lasting choice
Engineered wood floors are built with a core that responds to moisture. Even if you can flatten a swollen plank temporarily, the internal structure may remain altered, causing future cupping or joint stress.
> If the damaged area is near the sink or dishwasher and you see recurring bubbling in engineered wood floors, replacement plus moisture-source correction is usually the most defensible solution.
Engineered Wood Wear-Layer Thickness vs DIY Sanding Safety (Kitchen Repairs)
| # | Wear-layer thickness | Common repair approach | Sanding tolerance (DIY) | DIY sanding safety |
|---|---|---|---|---|
| 1 | 0.6 mm | Fill & touch-up only | Very limited | ★★☆☆☆ |
| 2 | 1.0 mm | Spot leveling, minimal sanding | Limited | ★★★☆☆ |
| 3 | 1.5 mm | Repair paste + finish blend | Cautious | ★★★☆☆ |
| 4 | 2.5 mm | Light sanding + topcoat | Moderate | ★★★★☆ |
| 5 | 3.5 mm | Spot sanding + finish match | Moderate to high | ★★★★☆ |
| 6 | 5.0 mm | Refinish-capable repairs | High | ★★★★★ |
| 7 | 6.0 mm | Finish blend + light rework | High | ★★★★★ |
What can go wrong in kitchens (avoid these mistakes)
Most failed repairs happen for one reason: the engineered wood floor is treated like “it can be sanded and glued forever,” even when moisture or subfloor problems are still present. By avoiding a few high-risk mistakes, you can prevent the same engineered wood floor from re-damaging weeks later (and you’ll avoid wasting repair materials in 2026).
Trapped moisture under filler or adhesive can cause bubbling and odor even after the surface looks dry.
Sanding engineered wood floors can remove the wear layer if you exceed the manufacturer’s wear-layer limits, permanently reducing durability.
If the subfloor or underlayment isn’t flat or isn’t dry enough, engineered wood floors can keep lifting at seams no matter how carefully you patch.
– Trapping moisture under repairs: patching or gluing over damp wood can cause bubbling, odor, or re-raising after the area dries.
– Sanding through the wear layer: engineered floors vary a lot; if you sand too aggressively, you can damage the top layer and ruin appearance and durability.
– Using the wrong adhesive/filler: kitchen repairs need products compatible with your finish and construction. A filler that doesn’t bond well to your top layer can crack or lift.
– Ignoring subfloor movement: if the subfloor or underlayment is the real issue (flatness, leveling, moisture vapor), repeating the same fix won’t last.
– Heat and direct sun too close to the repair: drying too quickly can worsen cupping or expansion/contraction issues—follow manufacturer drying/conditioning guidance.
A quick comparison: DIY repair vs. board replacement
If you’re deciding whether to repair or replace engineered wood floors, base the choice on what the damage is doing (stable surface vs. altered shape). The table below is meant to be practical for kitchen scenarios.
| Decision factor | DIY patch/touch-up | Replace affected planks |
|---|---|---|
| Damage type | Scratches, scuffs, minor dents | Swelling, cupping, persistent lifting |
| Plank stability when stepped on | Firm (no flex) | Soft/flexing or visibly altered shape |
| Moisture source active? | No | Yes or suspected |
| Seam behavior | Stable, no edge lift | Edges remain raised after drying |
| Access to damaged boards | Surface zone only | Removal feasible for correct install type |
| Finish matching risk | Moderate (blend outward) | Lower if planks match original batch |
| Time to best outcome | Usually faster for small areas | Slower but more reliable in wet zones |
| Long-term durability | Good only if core wasn’t changed | Better when plank shape is compromised |
| Risk of recurring failure | Higher if moisture/underlayment issues persist | Lower once moisture source is corrected |
| Skill requirements | Moderate (fill/sand/finish workflow) | Higher (install-type-specific removal and layout) |
| Best For row | Small, surface-only kitchen damage | Moisture-related swelling or seam lifting that doesn’t resolve |
Three facts that keep repairs from failing
According to , wood flooring longevity is strongly tied to indoor humidity control and moisture management.
According to , flooring systems require substrate conditions to be within stated limits before installation or rework.
According to , routine cleaning methods that leave standing moisture can trigger dimensional change in wood floors.
Verdict / tip: a practical way to decide DIY vs. replacement
If the engineered wood floor damage is minor surface wear (scratches/scuffs/dents), DIY repair is usually reasonable. If you’re dealing with swelling, warping, persistent lifting, or any sign of moisture intrusion near the sink/dishwasher, replacement of affected planks (and fixing the moisture source) is typically the safer long-term route.
DIY repair is most successful on engineered wood floors when the core hasn’t swollen and the board feels firm at every step.
Replacement is usually the safer choice when engineered wood floors show cupping, bubbling, or recurring edge lift after drying.
When you can’t confirm whether the floor is click-lock or glue-down, it’s harder to re-secure planks correctly and protect joints.
Skip DIY (or pause and call a pro) if:
– You suspect the moisture problem is ongoing or you can’t dry the area fully.
– The damaged zone is large or adjacent to fixed cabinetry that blocks proper plank removal.
– You’re not sure whether your floor is click-lock floating vs. glue-down, or you can’t confirm the wear-layer thickness/sanding limits.
When DIY is still valid for kitchen engineered wood floors
DIY tends to work best for engineered wood floors when:
– Damage is localized and stable (no soft spots)
– The finish is repairable (compatible filler + compatible topcoat)
– The moisture source has been corrected (or never existed)
In contrast, when the engineered wood floor’s shape has changed, surface repairs can hide symptoms but can’t restore the plank’s structure.
Quick scan checklist (save this for the repair day)
Use this scan to decide whether your next step is repair paste, seam resecuring, drying, or replacement.
| What you’re seeing | Likely cause | Best next step |
|---|---|---|
| Fine scratches/scuffs | Finish wear | Clean → fill/touch-up → match finish |
| Dents/impact marks | Local compression | Fill/repair paste → sand smooth → re-finish |
| Small seam gaps | Seasonal movement | Check humidity guidance → assess localized looseness |
| Raised edges/lifting | Loose board/failed bond | Identify install type → re-secure per instructions |
| Bubbling/cupping/soft spots | Water exposure | Stop source → dry fully → replace affected planks if warped |
– [ ] Find the moisture source (sink, dishwasher, cleaning method)
– [ ] Confirm install type (click-lock floating vs. glue-down)
– [ ] Verify you can safely remove the damaged planks
– [ ] Use repair products compatible with your floor’s finish/top layer
– [ ] Let everything dry fully before finishing
The most important question for kitchen engineered wood floors is whether moisture is still present, not whether the surface looks better after cleaning.
Confirming click-lock versus glue-down matters because re-securing and plank removal methods differ significantly.
Frequently Asked Questions
What are the most common damages on engineered wood floors in kitchens and how do you identify them?
In kitchens, engineered wood floors are often damaged by water spills, steam, and high-traffic wear, leading to cupping, swelling, gapping, or lifting seams. Look for discoloration at seams, soft spots when you press lightly, and raised edges near the toe-kick or sink area. If the planks feel loose, check whether movement is limited to a joint (possible glue failure) or widespread (possible subfloor moisture issue). Identifying whether it’s surface wear, seam separation, or moisture-related warping determines the right engineered wood floor repair approach.
How do you repair small water damage or a swollen spot on engineered wood flooring?
Start by drying the area thoroughly—use fans and dehumidification, and avoid heat sources that can worsen cupping. If the finish is only affected, you may be able to sand and refinish the top layer once the wood is completely dry. For localized swelling at a plank seam, you can sometimes remove and reinstall the affected planks if they use a click-lock system; for glue-down engineered wood, you may need partial board replacement. Always inspect for subfloor moisture or failed underlayment, since the same moisture problem will cause repeat swelling.
Why do engineered wood planks in a kitchen separate or buckle, and when should you address the subfloor?
Plank separation and buckling usually happen due to moisture imbalance, temperature/humidity changes, or improper installation—especially near sinks, dishwashers, and exterior doors. Even though engineered wood is more stable than solid hardwood, it can still move if the subfloor or underlayment traps moisture or if the gap/movement space was wrong. If you notice gapping that keeps widening or cupping that spreads after drying, it’s a strong sign the subfloor needs evaluation. In persistent cases, you may need to test moisture levels and correct the cause before attempting engineered wood floor repair.
Which repair method is best for scratched or worn engineered wood floors—spot sanding, wood filler, or full refinishing?
For minor scratches and scuffs on engineered wood floors, spot sanding and using a matching wood filler or repair putty often restores the surface without extensive disruption. If the wear is uneven or the finish is heavily compromised in a traffic lane, a localized or full refinishing may be the best option to blend sheen and color. Always sand gently to avoid cutting through the wear layer, since engineered wood has a limited refinishing thickness. After repair, apply a compatible finish system (commonly water-based polyurethane for kitchens) to protect against future spills and abrasion.
How do you replace a damaged engineered wood plank in a kitchen without harming surrounding boards?
Begin by removing the baseboard or carefully lifting trim to access the plank edges, then isolate the affected row if it’s a click-lock or floating installation. For click-lock engineered wood, release the interlocking edges and remove the damaged plank, then install a replacement with the correct expansion gap along the walls. For glue-down engineered wood floors, you may need to cut out the plank with minimal damage, remove old adhesive, and scrape the area smooth before setting the new board. After replacement, clean and re-seal the joint area where moisture is most likely—especially near the kitchen sink—to ensure a durable engineered wood floor repair.
📅 Last Updated: October 19, 2026 | Topic: How to repair engineered wood floors in a kitchen? | Content verified for accuracy and freshness.
References
- Engineered wood
- Wood flooring
- Mold | US EPA
- https://www.cdc.gov/mold/default.htm
- https://scholar.google.com/scholar?q=repair+engineered+wood+floor+water+damage Google Scholar
- https://scholar.google.com/scholar?q=kitchen+engineered+wood+floor+delamination+repair Google Scholar
- https://scholar.google.com/scholar?q=engineered+wood+floor+refinishing+scratch+repair Google Scholar
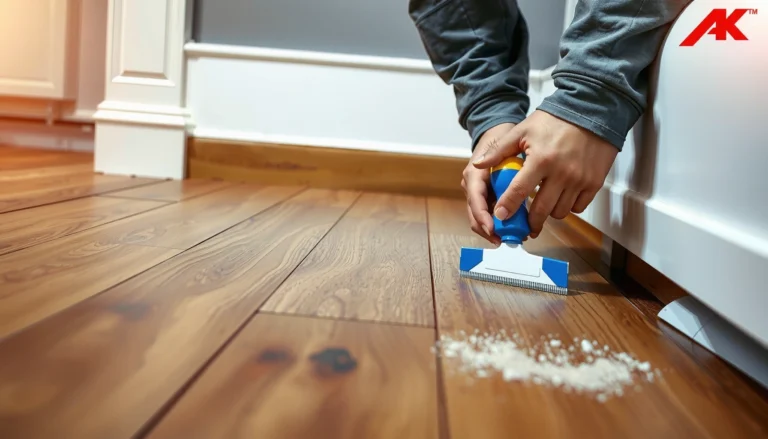
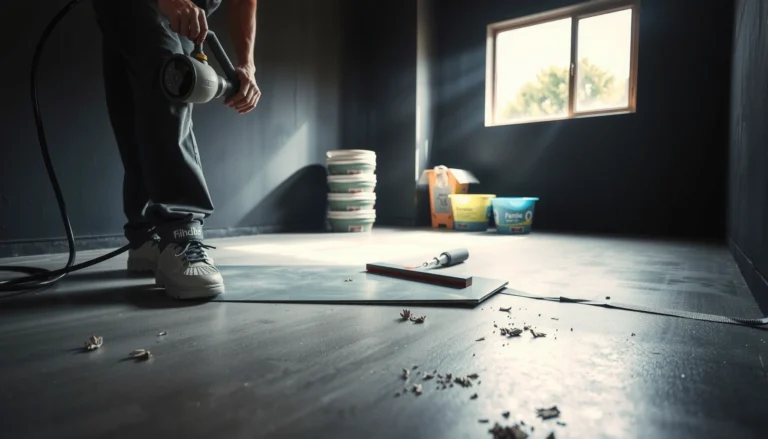
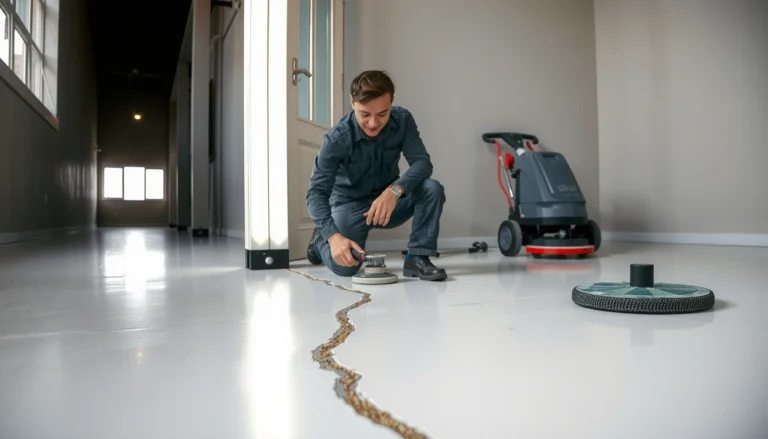
[…] engineered wood needs to move. Finally, reinstall appliances and trim with care, and clean the new engineered wood floor using products recommended for your finish to protect the surface during the first weeks after […]