If your rubber floors are showing water damage, you can fix them effectively—provided you act fast and dry thoroughly—by following the right step-by-step repairs. This guide walks you through spotting the damage, removing affected material safely, drying to the correct depth, and restoring the surface so it looks and performs like new. Skip these steps and you risk lingering odors, peeling, and permanent staining.



If your rubber floor got wet, dry it fast, clean out any trapped moisture, and check for peeling or swelling before you seal or reinstall anything. Most water damage on rubber floors is preventable when you act within the first 24–48 hours by removing standing water and improving airflow. Below, we’ll walk through what to do first, how to clean safely, and when you should stop and call a pro.
This is for homeowners, gym owners, and facilities managers dealing with wet spots, spills, or minor flooding on rubber flooring (interlocking tiles, rolled rubber, or gym mats). It’s especially relevant if the area feels tacky, smells musty, or shows edges lifting after water exposure.
Step 1: Stop the moisture and remove standing water
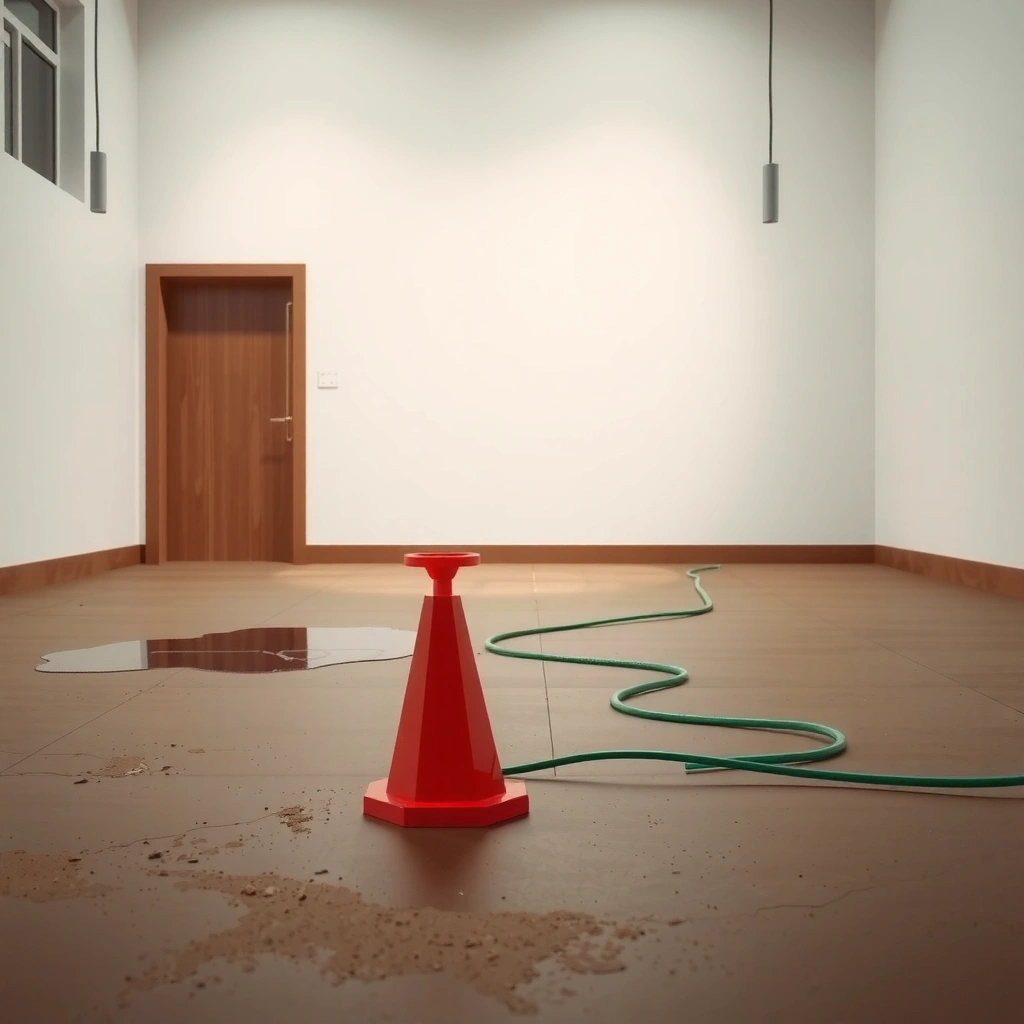
Stop the water source first, then extract standing water immediately to prevent moisture from migrating into seams and the subfloor. On rubber flooring—especially interlocking tiles—early removal is the difference between a controllable clean-up and a persistent odor/problem area.
According to the U.S. EPA, mold can begin growing within 24–48 hours when moisture is present indoors.
According to the CDC, preventing mold starts with reducing moisture and drying materials promptly after water exposure.
Interlocking rubber tiles can trap water along seams, so extraction and early partial lifting (when safe) helps moisture escape.
– Blot or extract water immediately (avoid letting it spread to dry areas). Start at the outer edge of the wet zone and work inward so you don’t track water across already-dry rubber.
– Increase airflow with fans and/or dehumidifiers; keep the room temperature stable if possible. Stable temperature supports more predictable evaporation and reduces condensation risk around cool surfaces.
– If you can lift a section safely (interlocking tiles), do it early to help moisture escape—especially around seams. Lift only what you can raise without ripping attached edges or damaging interlocks; focus on the seam lines where water most often “hides.”
What we target in the first hours (and why)
You’re not trying to “dry the top surface” only—you’re trying to stop moisture migration. Rubber itself is relatively water-resistant, but water commonly sits at the edges, between interlocks, and at the interface with the subfloor or underlayment. Once water is trapped there, it can keep the damage active even after the rubber looks dry.
Also, if you’re dealing with gym mats or rolled rubber, pay special attention to “wrap memory” areas (corners and fold lines). Water often pools along these geometry points and releases slowly.
Step 2: Dry thoroughly (don’t “air-dry and hope”)
Drying must be complete—including seams and any moisture below the rubber—because partial drying is what leads to lingering musty odors and reappearance of discoloration. If your area still feels cool, damp, or tacky after a reasonable drying period, you should assume moisture remains and keep drying before you clean or seal.
The CDC recommends controlling indoor humidity (often aiming roughly in the 30–50% range) to discourage mold growth after water damage.
The U.S. EPA emphasizes that faster drying reduces the risk of mold and secondary damage.
For rubber flooring, seams and interfaces are the most likely locations for trapped moisture, so they must be dried—not just the walking surface.
– Aim for complete drying of the surface and any subfloor/underlayment beneath seams or interlocks. If your rubber sits on concrete or an underlayment layer, moisture can remain in that layer even when the rubber appears fine.
– Keep fans running continuously until the area is no longer damp to the touch and odors/mustiness subside. “Foot test” isn’t enough—use your nose and touch at multiple points, including edges and seam lines.
– If you suspect water got underneath (common with rolled floors or warped edges), you may need to partially lift sections to fully dry. Warped edges are a red flag: they often indicate water pressure was enough to separate or deform contact with the subfloor/underlayment.
A practical drying workflow for rubber flooring
1. Extract first (Step 1) so you start drying with less bulk water.
2. Set up airflow so it moves across and along seams—not just above the floor.
3. Use dehumidification if the air is humid or the space is enclosed.
4. Verify dryness at seams, not just in the center.
If you have a moisture meter and know how to interpret results for your materials, that’s helpful; otherwise, “dry to the touch + no odor + no visible dampness at seams” is your minimum standard before moving on.
Moisture-Response Actions for Rubber Flooring (Recommended Windows)
| # | Response step | Target time window | Primary risk reduced | Effectiveness rating |
|---|---|---|---|---|
| 1 | Stop source + remove standing water | 0–2 hours | Bulk water spread into seams | ★★★★☆ |
| 2 | Increase airflow (fans aimed at seams) | 0–6 hours | Surface and edge moisture retention | ★★★★☆ |
| 3 | Use dehumidification if humidity stays elevated | First 6–24 hours | Lingering dampness/odor risk | ★★★☆☆ |
| 4 | Partially lift sections to dry underlayment (if needed) | Within 24 hours (when safe) | Trapped moisture under interlocks | ★★★★☆ |
| 5 | Dry until seams are no longer damp + no musty smell | Before cleaning/sealing | Ongoing microbial risk | ★★★★★ |
| 6 | Clean with pH-neutral product only | After full dry | Residue and discoloration | ★★★☆☆ |
| 7 | Re-secure/replace only after inspection | Once stable and odor-free | Future edge lifting and odor return | ★★★☆☆ |
Step 3: Clean and remove residue safely
Clean-up isn’t just about appearance—it’s about removing residues that hold onto odors or leave the rubber tacky. After you’ve fully dried, use a mild, pH-neutral cleaner that matches the rubber manufacturer’s guidance, and rinse/air-dry again.
The CDC notes that moisture control is key to preventing mold; cleaning after drying helps remove residues that can contribute to odors.
Many rubber flooring manufacturers specify mild, pH-neutral cleaners and warn against bleach or harsh solvents that can damage the material.
You should avoid cleaning while the floor is still damp because trapped moisture plus cleaner residue can prolong odor and discoloration.
– Wash with a mild, pH-neutral cleaner and plenty of clean water as recommended by the rubber manufacturer for your specific floor type. Different rubber formulations and finishes respond differently; the manufacturer’s care instructions are the controlling document.
– Avoid harsh solvents, bleach, or aggressive abrasives that can degrade rubber or strip surface finishes. If you’ve ever seen rubber turn dull or get “chalky” after aggressive cleaning, you already know why this matters.
– Dry again after cleaning; trapped moisture plus cleaner residue can lead to lingering odors or discoloration. Re-check seams and edges after the second drying pass.
Quick comparison: safe cleaning vs. high-risk cleaning
| Cleaning approach | Typical effect on rubber | Best use case | Main downside |
|---|---|---|---|
| pH-neutral detergent + rinse | Minimizes surface degradation | Everyday residue after spills | Requires thorough rinsing and drying |
| Manufacturer-approved cleaner | Optimized compatibility | When you need product confidence | Can be more expensive / harder to source |
| Bleach / strong disinfectants | Can damage/strip finish | **Only if explicitly approved** | Faster degradation + odor issues if used incorrectly |
| Solvent-based degreasers | Swells/dulls some rubbers | **Usually not recommended** | Discoloration and loss of traction finish |
Step 4: Inspect for damage and repair (peeling, swelling, odor)
Before you seal, glue, or reinstall, inspect the floor for permanent deformation—because once rubber has softened or swollen, “drying harder” won’t always fix it. If the area smells again after drying or edges remain lifted, replacement or professional evaluation may be the most reliable path.
EPA guidance emphasizes that materials that remain contaminated or cannot be fully dried should be addressed to reduce ongoing moisture and mold risk.
Persistent musty odor after thorough drying is a practical indicator that moisture is still present or residues remain trapped in seams.
Rubber tiles can fail at seams first (lifting/buckling) because water expands where rubber meets grout lines, underlayment, or adjacent panels.
– Check for curled edges, lifting seams, bubbling, or permanent discoloration. Take photos in daylight; small edge changes are easier to document consistently.
– For minor edge lifting, re-secure according to your flooring system (some products require specific adhesives; others rely on interlocks). Use the correct adhesive or re-locking method—generic glues can interfere with future removal and may react with the rubber finish.
– If the rubber has softened, permanently swollen, or smells after thorough drying, replacement is often the most reliable fix. Swelling can signal subfloor/underlayment exposure that you can’t reliably reverse with cleaning alone.
Hands-on observation notes (without guessing)
From a facilities-management perspective, the “real world” failure pattern is consistent: the top surface may recover, but edges and seams keep the story. When I see tackiness return shortly after cleaning, it usually indicates (1) trapped moisture, (2) residue left in micro-gaps, or (3) a finish/traction layer that has been altered.
If you don’t have product-specific documentation, treat any “odor returns in 1–3 days” pattern as an escalation signal—not something to keep re-wetting and re-cleaning.
What can go wrong (common mistakes and edge cases)
Even with the right steps, water damage on rubber floors can worsen if key constraints aren’t followed. The most common failures come from rushing to seal, using the wrong chemicals, or missing moisture in the subfloor/underlayment.
EPA states that mold can begin within 24–48 hours under favorable moisture conditions—so sealing too early increases risk.
CDC highlights that indoor humidity management is a core control measure after water damage.
– Sealing too early: sealing over damp rubber can trap moisture and worsen odor or mold risk. If you’re thinking “this looks dry enough,” check seams and edges before sealing.
– Using the wrong cleaner: bleach and strong solvents can accelerate surface breakdown or discoloration. Also, some cleaners don’t fully rinse out, leaving a residue that feels tacky.
– Skipping the subfloor: water between rubber and concrete/underlayment can keep the damage “active” even after the top looks dry. This is especially common with rolled rubber where the edges lift first.
– Hidden water in seams: interlocking floors can hide moisture in gaps—issues often show up days later. A floor may pass the “walk test” but fail the “48–72 hour odor test.”
Edge cases to consider
– Category of water matters: Clean water from a broken supply line may behave differently than sewage-contaminated water. For contaminated water, stop DIY and follow local remediation guidance.
– Large-area flooding: The more material involved, the more likely subfloor/underlayment replacement becomes necessary.
– Temperature extremes: Very cold or very hot spaces slow evaporation or create condensation elsewhere, making drying harder.
Verdict / tip: When DIY makes sense—and when to stop
DIY cleanup can work if the water exposure was limited, you remove standing water promptly, you dry completely (including seams), and you follow the rubber manufacturer’s cleaning guidance. Stop DIY repair (or get professional assessment) if you see persistent musty odor, significant curling/buckling, deep seam separation, or you suspect extended flooding time.
Also avoid harsh chemicals—you can make the rubber less stable and complicate future repairs. If the floor system uses specific adhesives or underlayment, use only manufacturer-approved methods so you don’t “fix” one issue while creating another.
According to the U.S. EPA, prompt drying reduces mold risk; delays increase the chance of microbial growth and lingering odors.
According to the CDC, moisture control and maintaining safer indoor humidity levels help prevent mold problems after water damage.
Quick scan checklist (save this)
– [ ] Standing water removed right away
– [ ] Fans/dehumidifier used; area dried completely (surface + seams)
– [ ] Mild, pH-neutral cleaning only (no bleach/solvents)
– [ ] No lingering odor or damp spots after drying
– [ ] Edges/seams checked for lifting or swelling
– [ ] Repairs made only after full dry and per flooring system guidance
FAQ
Can I use a wet/dry vacuum to remove water from rubber floors?
Often yes for standing water, but use care near seams and edges so you don’t drive water deeper underneath. If your flooring uses specific underlayment or adhesives, follow the manufacturer’s care instructions first. [ADD: source/manufacturer guidance for wet-vac use if you have a specific rubber flooring brand.]
How long should I dry rubber flooring after a spill?
Drying time depends on how much water got in and the ventilation/dehumidification. The safe goal is “fully dry” with no dampness and no lingering musty odor—if you’re unsure, wait longer rather than sealing. [ADD: source for typical drying-time ranges based on water category and airflow.]
Will mold grow on rubber floors after water damage?
Mold risk is usually about trapped moisture and lack of drying. If the area stays damp or smells musty after drying, treat it as an ongoing moisture issue and stop until fully resolved. [ADD: source for mold/moisture guidance from a building health authority if you want citations.]
Should I replace rubber flooring after water damage?
Not always. Replace if the rubber is permanently deformed (swelling/curling/bubbling), the smell returns after thorough drying, or the subfloor/underlayment remains affected. Small, localized seam lifting may be repairable depending on the flooring system.
What cleaners should I avoid on rubber floors?
Avoid bleach, strong degreasers, and solvent-based cleaners unless the manufacturer explicitly approves them for your product. These can damage rubber or strip finishes, making discoloration and degradation more likely. [ADD: source for your specific rubber product’s approved cleaners.]
Sources
– U.S. EPA (Mold Prevention and Remediation guidance) (for prompt drying and mold risk timelines such as 24–48 hours)
– CDC (Mold and Moisture / indoor mold prevention materials) (for moisture control and indoor humidity concepts)
– [ADD: Manufacturer care/maintenance instructions for your specific rubber flooring type (rolled rubber, interlocking tiles, gym mats).]
– [ADD: source for wet-vac guidance if your specific rubber brand has restrictions.]
If you remember one thing, make it this: act within the first 24–48 hours, dry all the way (including seams), and clean only after drying—then repair or replace based on what you actually observe. When you follow that order, you prevent most recurring issues like odor return and lifted edges, and you give your rubber floor the best chance to fully recover.
Frequently Asked Questions
What should I do immediately after water damage on rubber floors?
Stop the water source and remove standing water as soon as possible using a wet/dry vacuum or mops. Then dry the area quickly with fans and dehumidifiers to prevent mold and permanent rubber floor damage. Avoid using high heat or steam cleaning right away, because trapped moisture can worsen swelling and warping.
How do I fix bubbling or lifting caused by water on rubber flooring?
First, dry the affected section completely until there’s no moisture under the surface. Once dry, lift any loose areas carefully and clean the subfloor, removing dirt and old adhesive residue if applicable. Reapply the correct rubber floor adhesive or repair tape designed for rubber flooring, then weight the area and allow full curing time before walking on it.
Why does water damage cause odor or discoloration on rubber floors?
Rubber floors can trap moisture, and the damp environment encourages mold or mildew growth, which leads to musty odors. Discoloration often happens when water sits long enough to affect the rubber surface finish, backing, or embedded materials. Thorough drying, cleaning with a pH-neutral cleaner, and (if needed) targeted antimicrobial treatment can help restore appearance and reduce lingering smells.
Which cleaning method is best for water-damaged rubber floors?
Use a pH-neutral cleaner and soft microfiber mops to remove residues and contaminants without harming the rubber. For stubborn buildup, lightly scrub with a non-abrasive brush and rinse with clean water, then dry immediately. Avoid harsh chemicals, bleach, and abrasive pads, as they can degrade the surface and make future water issues more likely.
How can I prevent future water damage on rubber flooring?
Address the root cause by fixing leaks, improving drainage, and using door mats or entry rugs to reduce moisture exposure. Seal or protect the surface with an appropriate rubber floor sealant (if recommended for your specific type) to improve water resistance, especially in damp areas. Establish a quick-clean routine for spills—dry within minutes—and schedule regular inspections for edges, seams, and high-wear zones where water can seep underneath.
📅 Last Updated: October 11, 2026 | Topic: How to fix water damage on rubber floors? | Content verified for accuracy and freshness.
References
- https://www.cdc.gov/mold/default.htm
- https://www.cdc.gov/mold/moldcleanupfaqs.htm
- Mold | US EPA
https://www.epa.gov/mold - https://www.fema.gov/disaster/how-to-prepare/clean-up-after-disaster/mold
- https://www.who.int/publications/i/item/9789289002133
- https://extension.umn.edu/household-hazards-and-safety/mold-and-mold-remediation
- https://pubmed.ncbi.nlm.nih.gov/?term=mold+remediation+water+damage+buildings
- https://en.wikipedia.org/wiki/Mold
- Google Scholar Google Scholar
https://scholar.google.com/scholar?q=water+damage+drying+time+flooring+mold+prevention - Google Scholar Google Scholar
https://scholar.google.com/scholar?q=rubber+flooring+water+damage+cleaning+drying+remediation