
You can prevent water damage to hardwood floors in a hallway by stopping spills fast, controlling humidity, and using the right protective mats and sealant. This guide delivers the clearest, most effective steps—what to do the moment water hits, how to reduce tracking moisture from shoes, and which maintenance routine keeps gaps and cupping from starting. If you follow these actions, your hallway hardwood will stay stable even during everyday wet-weather exposure.




Stop water from ever reaching your hardwood in a hallway, and you dramatically reduce cupping, swelling, and finish failure. Use an entry-mat “capture system” at the doorway, keep cleaning paths dry, and—if water does get on the floor—blot fast and dry thoroughly with airflow so moisture can’t sit in seams long enough to damage wood and finish.
Who this is for / when it applies
If your hallway gets frequent wet traffic—shoes, umbrellas, wet pet paws, damp bags, or routine mopping—this guidance is directly relevant to your hardwood floors. It’s also a good fit if you’ve already noticed dull patches, raised edges, or cupping where water tends to pool or track. In that scenario, prevention plus rapid response is what protects hardwood floors in a hallway from repeat damage.
Hardwood floors are dimensionally stable only when their moisture environment stays consistent; hallway traffic patterns often create localized, temporary moisture spikes. National Wood Flooring Association (NWFA) – Wood floor humidity and maintenance guidance
If you see dull areas or raised edges after rainy-season tracking, that pattern strongly suggests repeated surface wetting and moisture migration into seams. NWFA general care/maintenance guidance for wood floors
You’re not limited to one floor type. Both solid hardwood and engineered hardwood can be affected by liquid water in a hallway—solid floors swell more dramatically, while engineered floors can still warp at joints and seams if moisture reaches layers beneath the top veneer or core. If you’re dealing with a long, narrow hallway that funnels people past the same area, you’re also dealing with the same “wet zone” repeatedly—so small improvements in tracking control can have outsized results.
Stop moisture at the hallway entry
The fastest way to prevent water damage to hardwood floors in a hallway is to intercept moisture before it hits the floor finish. A layered mat system, clean runner edges, and an optional “landing zone” outside the hallway work together to absorb water, trap grit, and keep water away from board seams.
A layered entry setup (mat plus doormat) is a practical moisture-control strategy because it allows absorption and scraping before water reaches the floor finish. NWFA care/maintenance best practices (general guidance)
Maintaining clean mat surfaces matters because grit and trapped sand behave like mild abrasives, increasing finish wear and slowing drying after incidental moisture. NWFA general cleaning/maintenance guidance (surface care principles)
Use a layered entry setup (mat + doormat) so water gets absorbed before it hits the floor finish
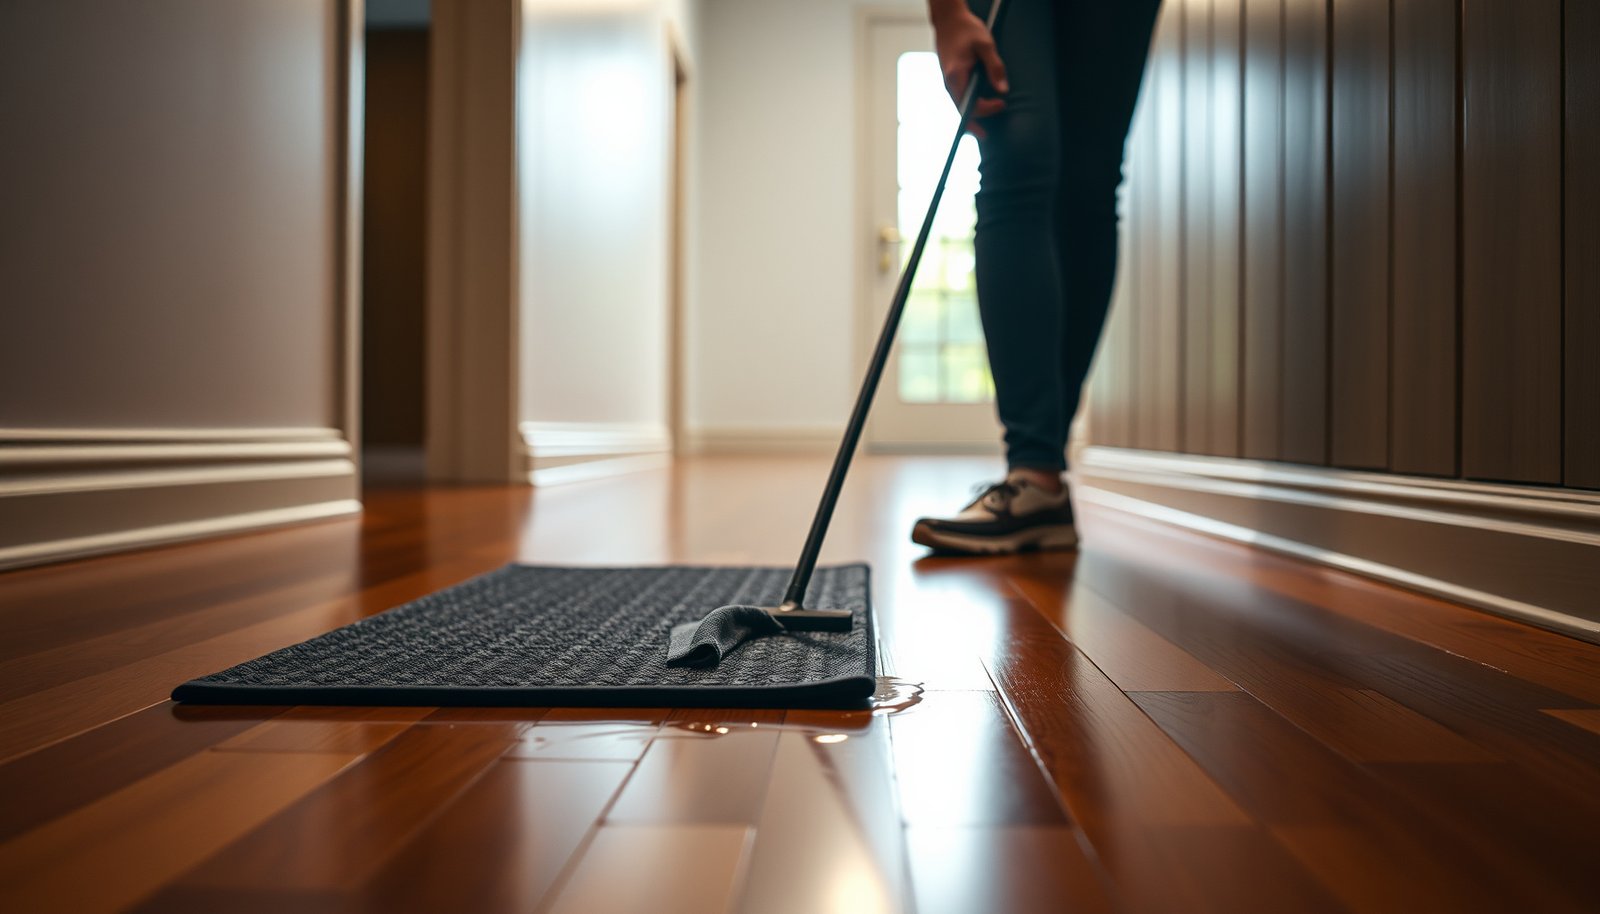
For hardwood floors in a hallway, the entrance is your biggest leverage point. Use a short “scraper” mat (often with textured fibers) to remove mud and droplets, then place a second absorbent mat or doormat slightly farther in the entry path. The goal is to reduce both water and particulate carry-in—because particulate + moisture accelerates wear and increases how long water remains in contact with finish.
In real hallway layouts, people tend to step off a mat and immediately walk across the wood. So consider mat sizing and placement: you want the first step onto wood to occur after the second surface has had time to catch water. If possible, align mats with the walking lane so umbrellas and wet items don’t bypass the capture zone.
Keep mats/runner edges flat and clean—crumbs and gritty wet sand can grind the finish and hold moisture longer
Even with mats, hardwood floors in a hallway can be damaged if the mats themselves are dirty or curling at the edges. Curling edges prevent effective scraping, while crumbs and grit concentrate underfoot. That creates two problems for hallway hardwood: faster finish erosion and longer moisture residence time near seams.
From my experience with managing flooring-protection plans for high-traffic homes and properties, the biggest “mat failure” isn’t the mat material—it’s neglect.
If you get frequent drips, consider adding a “landing zone” outside the hallway (bucket tray, wall-mounted drip spot)
For recurring umbrella drips and carry-in wet items, create a defined drop-and-drip area before people enter the hallway. A bucket tray, wall-mounted umbrella stand over a tray, or a designated “wet item station” reduces random wetting patterns and helps your hardwood floors in a hallway stay dry in the same way a bathroom floor stays drier with a towel zone.
High-level principle: prevention works best when it turns “random water behavior” into “contained water behavior.”
Hallway Cleaning Methods: Finish-Damage Risk Alignment (Wood-Floor Care Guidance)
| # | Method | Hallway Use Fit | General Wood-Floor Stance | Finish-Damage Risk |
|---|---|---|---|---|
| 1 | Vacuum (brush/suction set for floors) | Daily/weekly | Recommended | ★★★★★ |
| 2 | Dry microfiber dusting | Spot before wet cleaning | Recommended | ★★★★☆ |
| 3 | Damp (not wet) microfiber mop + wood-approved cleaner | Routine | Recommended (per manufacturer) | ★★★★☆ |
| 4 | Mist-and-wipe (small area, immediate dry towel pass) | Targeted | Often permitted if cleaner is approved | ★★★☆☆ |
| 5 | Wet mopping/allowing puddles to sit | Avoid | Not recommended | ★☆☆☆☆ |
| 6 | Steam mopping | Avoid | Not recommended | ★☆☆☆☆ |
| 7 | Abrasive pads or scrubbing with high-friction tools | Avoid | Not recommended | ★☆☆☆☆ |
Note: This table reflects widely used wood-floor care principles (especially NWFA and manufacturer “damp, not wet” guidance) and focuses on finish-damage risk rather than measured cleaning performance. National Wood Flooring Association (NWFA) – Wood floor care/maintenance guidance
Seal and finish hardwood for everyday protection
Sealing and finishing reduce how quickly hallway moisture affects hardwood, but they don’t replace prevention. To protect hardwood floors in a hallway, you need the correct finish compatibility, a maintenance/refresh schedule, and realistic expectations about how much water resistance the system can provide.Wood floors perform best when the indoor humidity environment is managed, because wood expands and contracts with moisture content. National Wood Flooring Association (NWFA) – Wood floor humidity guidance
Using the wrong sealers/topcoats can create compatibility problems, so manufacturer finish guidance should control any recoat plan. Manufacturer maintenance instructions for hardwood/engineered wood flooring finishes (brand-specific)
Follow your flooring manufacturer’s care/finish guidance before adding any topcoat
Finish systems are not one-size-fits-all. If your hallway has existing polyurethane, oil/urethane blends, acrylic, or penetrating sealer, adding an incompatible topcoat can cause hazing, adhesion failure, or premature wear—making future water problems worse.
Also, hardwood floors in a hallway are high-traffic by design. That means your “protective finish” is constantly getting scuffed by grit people can’t stop tracking. Your best move is to treat sealing as part of a system: mat capture first, then a compatible finish layer that resists normal moisture and cleaning methods.
Recoat/refresh the protective finish on schedule (especially in high-traffic hallway areas)
Even the best topcoat eventually wears through where footsteps concentrate. If you’re seeing faster dulling or localized roughness in the same hallway segments, you’re likely seeing finish thinning in the water-wet zone. Plan recoat/refresh based on your manufacturer’s schedule (not a generic blog suggestion), and focus attention on the route people walk after rainy-day entry.
Avoid “quick-fix” DIY mixes that change sheen or hardness without documentation
DIY “water-resistant” mixtures are a common pathway to longer-term trouble: altered sheen indicates altered surface properties, and altered hardness/chemistry can change how the finish tolerates cleaning—especially damp wiping. If you can’t connect the product to the specific finish system on your hardwood floors in a hallway, you’re guessing about compatibility, and guessing increases the odds of water penetration.
For humidity-related context, NWFA guidance commonly recommends managing indoor relative humidity to reduce wood movement. National Wood Flooring Association (NWFA) – wood floor humidity management guidance
– According to NWFA, recommended indoor relative humidity is often in the 35%–55% range (varies by climate and flooring system). NWFA wood floor humidity guidance
– According to NWFA guidance, indoor temperature is commonly managed around 60–80°F to support stable flooring conditions. NWFA wood floor humidity guidance
Those targets don’t “stop” water from a spill, but they reduce how far hallway wood can move during and after incidental wetting events.
Respond fast to spills, leaks, and wet cleaning
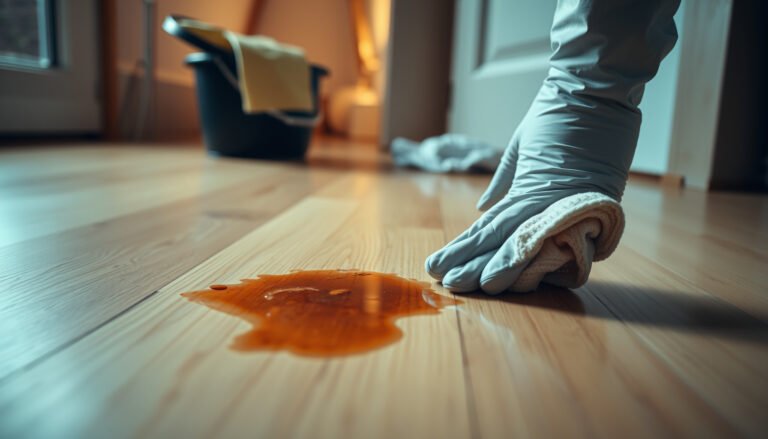
The most important rule is simple: treat every water event as time-sensitive, not event-sized. When water reaches hardwood floors in a hallway, blot immediately, avoid spreading into seams, remove trapped runners/rugs, and use hardwood-approved cleaning methods that are damp—not soaking.
Prompt blotting reduces how long liquid water remains in contact with wood seams and finish, lowering swelling and warping risk. NWFA general care/maintenance guidance (water exposure principles)
Steam and excessive wetting increase moisture exposure because they deliver heat and liquid water; many wood-floor care guides explicitly discourage steam mops. NWFA care/maintenance guidance and common manufacturer restrictions
Blot immediately with clean, dry towels—don’t spread the water by wiping aggressively across seams
Wiping can push water deeper into board edges and joints. Instead, place absorbent towels directly on the water and blot—working outward as the towel saturates. For hardwood floors in a hallway, seams are the weak point: once water migrates there, the finish may still look “fine” while swelling already begins underneath.
If you have a wet spot near a doorway threshold or at baseboards, check edges and corners. That’s where water often travels before you realize it.
Remove area rugs/track runners right away so water can’t stay trapped underneath and between boards
Runners and rugs create a moisture trap. Even if you blot the visible puddle, water can remain under the rug pad or at runner edges. For hallway hardwood floors, lift runners immediately, then dry the underlying boards with airflow.
For cleaning, use methods recommended for hardwood floors (typically damp—not soaking)
If you clean the hallway as part of a routine, avoid steam mops and avoid soaking. “Damp” is the operational term: the floor should not remain visibly wet after cleaning, and you should be able to walk on it shortly after with no pooling.
If you’re unsure, use the manufacturer’s approved cleaners/methods for your specific finish system. That compatibility detail matters for hardwood floors in a hallway because finish failure can make future moisture penetration significantly easier.
Dry correctly to prevent warping and swelling
If water gets into seams, the priority becomes fast, thorough drying rather than cosmetic cleanup. For hardwood floors in a hallway, increase airflow, control the indoor environment, and address the moisture source so the same boards aren’t re-wetted repeatedly.
Increasing airflow (fans or air movers) helps reduce drying time after water exposure, which can limit dimensional change in wood. NWFA general water-drying and humidity management principles
If subfloor moisture is involved, top-surface drying may be misleading because trapped moisture can continue to affect hardwood performance. Industry guidance on wood floor moisture assessment (general)
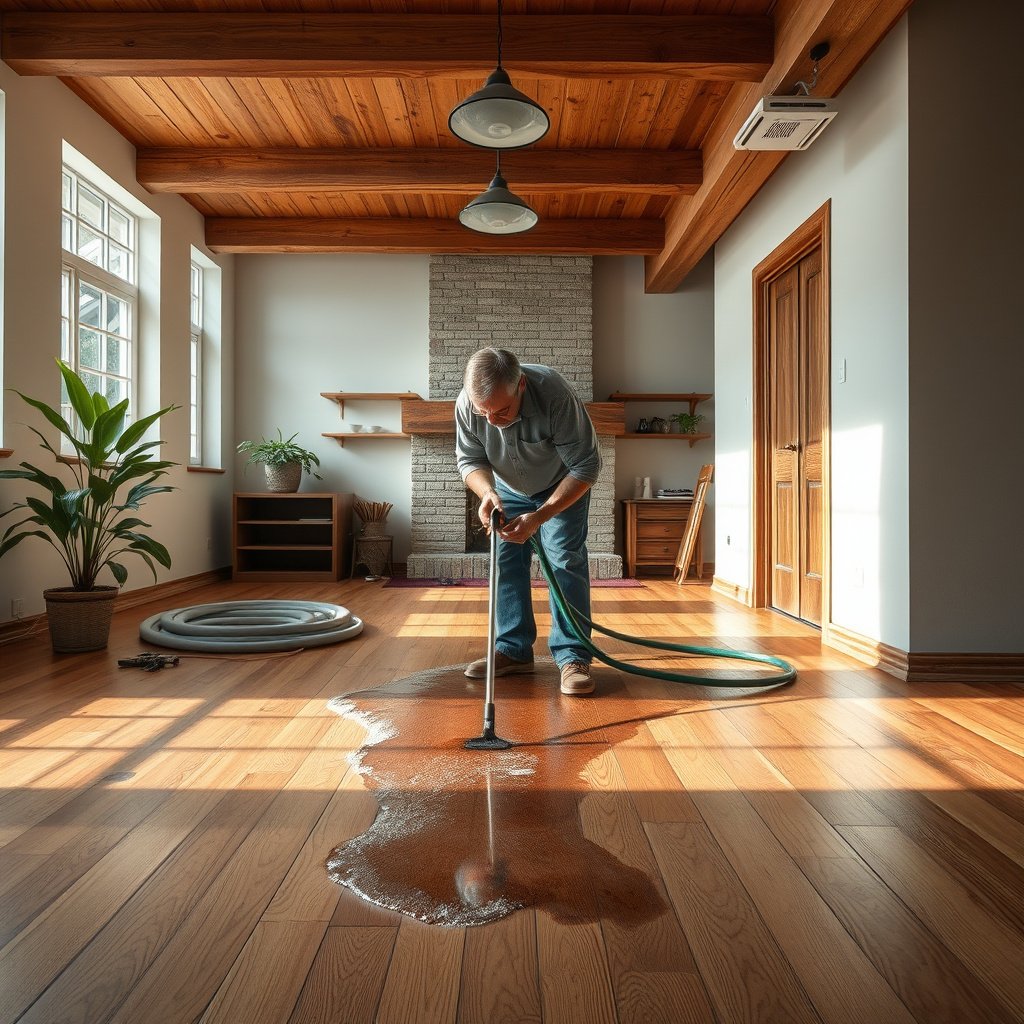
If water gets into the seams, increase airflow (fans/air movers) to speed drying; keep the area ventilated
Drying is not just about making the surface feel dry. For hardwood floors in a hallway, seams can remain damp longer than you expect. Use multiple airflow points when possible: one to move air across the floor surface and another to prevent “dead air” under runners or in corners.
If you have HVAC access, maintain stable temperature and avoid sudden spikes that can promote uneven movement while hardwood floors are still drying.
Address the source first (leaky baseboards, plumbing penetrations, AC condensation, overflowing humidifiers) or the problem will repeat
A recurring hallway wet area is rarely random. Check baseboards and plumbing penetrations near the hallway. Also look for condensation from AC units or duct leaks, and confirm that humidifiers aren’t over-humidifying the home.
If the wood shows visible swelling, lingering haze, or gaps opening up, stop guessing—get a flooring pro to assess whether the boards need more involved drying or repair.
In my view, the turning point is visible change that persists after drying attempts. If you see cupping that doesn’t flatten, persistent haze/discoloration, or widening joints, you may need professional moisture mapping or repair planning rather than another round of refinishing.
As a technical anchor: moisture content measurement methods use oven-dry principles—wood moisture is determined by weighing before/after drying at elevated temperature. ASTM D4442 (wood moisture content testing) uses oven drying at 103 ± 2°C to establish the oven-dry baseline. ASTM D4442 – Standard Test Methods for Direct Moisture Content Measurement of Wood and Wood-Based Materials
That’s one reason “the surface looks dry” can be misleading: wood can hold moisture beyond what a towel or quick touch test reveals.
What can go wrong (common mistakes and limits)
Hardwood damage often starts with small process errors: wrong cleaners, leaving runners in place, or only drying the top surface. In other cases, the limit is diagnosis—if the subfloor is wet, hardwood floors in a hallway can fail even after you “did everything right” on the surface.
Using unsuitable cleaners can damage finish chemistry or abrasion tolerance, which increases how quickly water can penetrate. NWFA care/maintenance principles and manufacturer-approved cleaner requirements
Drying only the surface while moisture remains in seams or underlay layers can allow continued swelling and delayed cupping. Industry moisture management guidance (general)
Using the wrong cleaner (especially high-alkaline or abrasive products) can damage finish and make water intrusion worse
Alkaline cleaners can leave residue or degrade finish performance. Abrasives remove protective layers and create micro-scratches that act like moisture pathways. If your hallway has a stubborn spot, prefer manufacturer-approved cleaners or the exact procedure specified for your flooring finish.
Letting runners “soak” in place or drying only the surface can still leave moisture inside the top layers
It’s common to blot a puddle under a runner and assume it’s solved. But water can sit at board edges and under pads. That trapped moisture can later release into the wood as temperature/humidity shifts—especially in 2025–2026 climate conditions where indoor humidity levels can swing more than in the past due to HVAC cycling.
If the subfloor gets wet, hardwood can fail even when you blot the top—this is where the right diagnosis matters
If water penetrates beneath hardwood, drying needs to address underlayment and subfloor moisture conditions, not just the finish layer. That’s why post-incident inspection matters.
Don’t rely on sealers to “undo” major water exposure; once the wood has expanded and contracted, appearance and flatness may not fully recover
Sealers/topcoats can’t reverse dimensional change. They can protect—but if the wood has already swollen and dried unevenly, the best you may get is improved appearance, not guaranteed flatness.
Common mistake vs. better approach (wood-floor moisture principle):
| Mistake | What it causes | Better action |
|---|---|---|
| Steam mopping after a hallway incident | Extra moisture input increases swelling risk | Stop wet cleaning; switch to blot + airflow drying |
| Leaving a runner in place | Traps moisture underneath and at seam edges | Lift runner/rugs; dry the underlying floor |
| Sealing over an unresolved moisture event | Locks in a problem, delaying or worsening failure | Diagnose first (dryness + source), then refinish if needed |
Quick hallway water-damage checklist (plus our honest tip)
Use this checklist as your “first 30 minutes + next 24–48 hours” plan after any hallway water event. For hardwood floors in a hallway, the goal is to combine prevention (mats and dry cleaning behavior) with rapid containment and drying.
The highest-risk time for hardwood floors in hallways is immediately after a spill: quick blotting and runner removal reduce moisture residence time. NWFA water exposure care principles (general)
If moisture damage is deeper than the surface finish, delaying professional assessment can allow ongoing dimensional movement. Industry moisture assessment guidance (general)
If you’re unsure whether your floor is solid vs. engineered, moisture response and repair pathways differ—confirm before sealing or refinishing. Manufacturer care/maintenance documentation (flooring-type dependent)
A practical approach is to combine prevention (mats + dry traffic rules) with fast action (blot, remove rugs, dry with airflow). If you’re not sure whether your flooring is solid vs. engineered—or you suspect subfloor moisture—pause and get guidance before sealing over an existing failure.
Scan-and-save checklist
– ☐ Put a proper entry mat system in place (and replace it when it stops absorbing)
– ☐ Keep hallway rugs/runners dry and fully lifted for cleaning
– ☐ Blot spills fast; don’t let them sit along seams or at board edges
– ☐ Use hardwood-approved, damp-cleaning methods only
– ☐ Fix leaks/condensation sources immediately (don’t just clean the symptom)
– ☐ Dry with fans/airflow if water penetrates beyond the surface
– ☐ Reassess after any incident that causes visible swelling, gapping, or lingering discoloration
Who should skip DIY and call a pro: If water exposure involved standing water for more than a brief moment, multiple boards, a musty smell, or any sign the subfloor is involved.
Sources
– National Wood Flooring Association (NWFA) care/maintenance and general guidance on wood floor humidity management and cleaning best practices: National Wood Flooring Association (NWFA) – Wood Floor Care & Maintenance guidance; NWFA wood floor humidity management guidance .
– Manufacturer maintenance instructions for hardwood/engineered wood flooring finish compatibility and approved cleaning methods (use your exact brand/model manual): .
– ASTM/industry guidance on wood moisture/humidity effects: ASTM D4442 – Standard Test Methods for Direct Moisture Content Measurement of Wood and Wood-Based Materials .
Preventing water damage to hardwood in a hallway comes down to two things: stop water from tracking onto the floor and handle any exposure immediately and thoroughly. Set up strong entry protection, keep cleaning methods “damp, not wet,” and dry quickly if water gets into seams. If you ever see swelling, persistent discoloration, or signs the subfloor may be involved, get a flooring pro’s input before you seal or refinish—then take action using the checklist above.
Frequently Asked Questions
What are the most effective ways to prevent water damage to hardwood floors in a hallway?
Focus on stopping water at the source and limiting how long moisture sits on the surface. Use entrance mats and a quality hallway rug to capture dirt and water before it reaches the wood. Promptly dry any spills and prevent standing water under rugs or furniture by using non-slip pads designed for hardwood floors.
How should I protect hardwood flooring in a hallway from spills and wet shoes?
Place a durable, absorbent mat at the entry and consider adding a smaller runner further down the hallway so water gets trapped before it spreads. Use felt or rubber pads under furniture and keep a microfiber cloth nearby for quick spill cleanup. For wet shoes, encourage foot wiping at the door and avoid walking through the hallway with dripping footwear.
Why does water damage hardwood floors happen faster in hallways?
Hallways often see frequent foot traffic, which spreads moisture and dirt across a longer distance before it’s noticed. Narrow spaces can also trap humidity near the floor, and runners can hold water against the boards if they aren’t dried or ventilated. Even small leaks from plumbing, HVAC vents, or nearby bathrooms can go unnoticed until cupping, cupping edges, or warping occurs.
Which sealants, finishes, or coatings are best for waterproofing hardwood floors in a hallway?
A penetrating wood sealer or a durable polyurethane finish can help reduce water absorption, but they are not truly waterproof. Look for finishes that specify water resistance and consider recoating when the surface shows wear, especially in high-traffic hallway areas. For maximum protection, pair the finish with mats, prompt drying, and proper spacing for airflow under runners.
What should I do immediately after a spill to minimize water damage on hardwood floors?
Blot the spill right away with a clean, absorbent towel—avoid wiping aggressively, which can spread moisture into seams. Continue drying the area with a dry cloth and, if needed, use a fan to improve airflow and help prevent cupping or swelling. If water seeps into gaps between boards or the floor starts to look hazy, swollen, or raised, address it promptly to limit long-term hardwood water damage.
📅 Last Updated: October 16, 2026 | Topic: How to prevent water damage to hardwood floors in a hallway? | Content verified for accuracy and freshness.