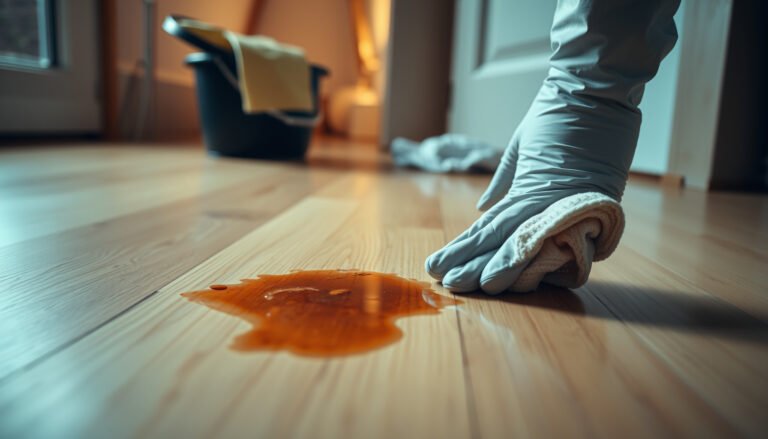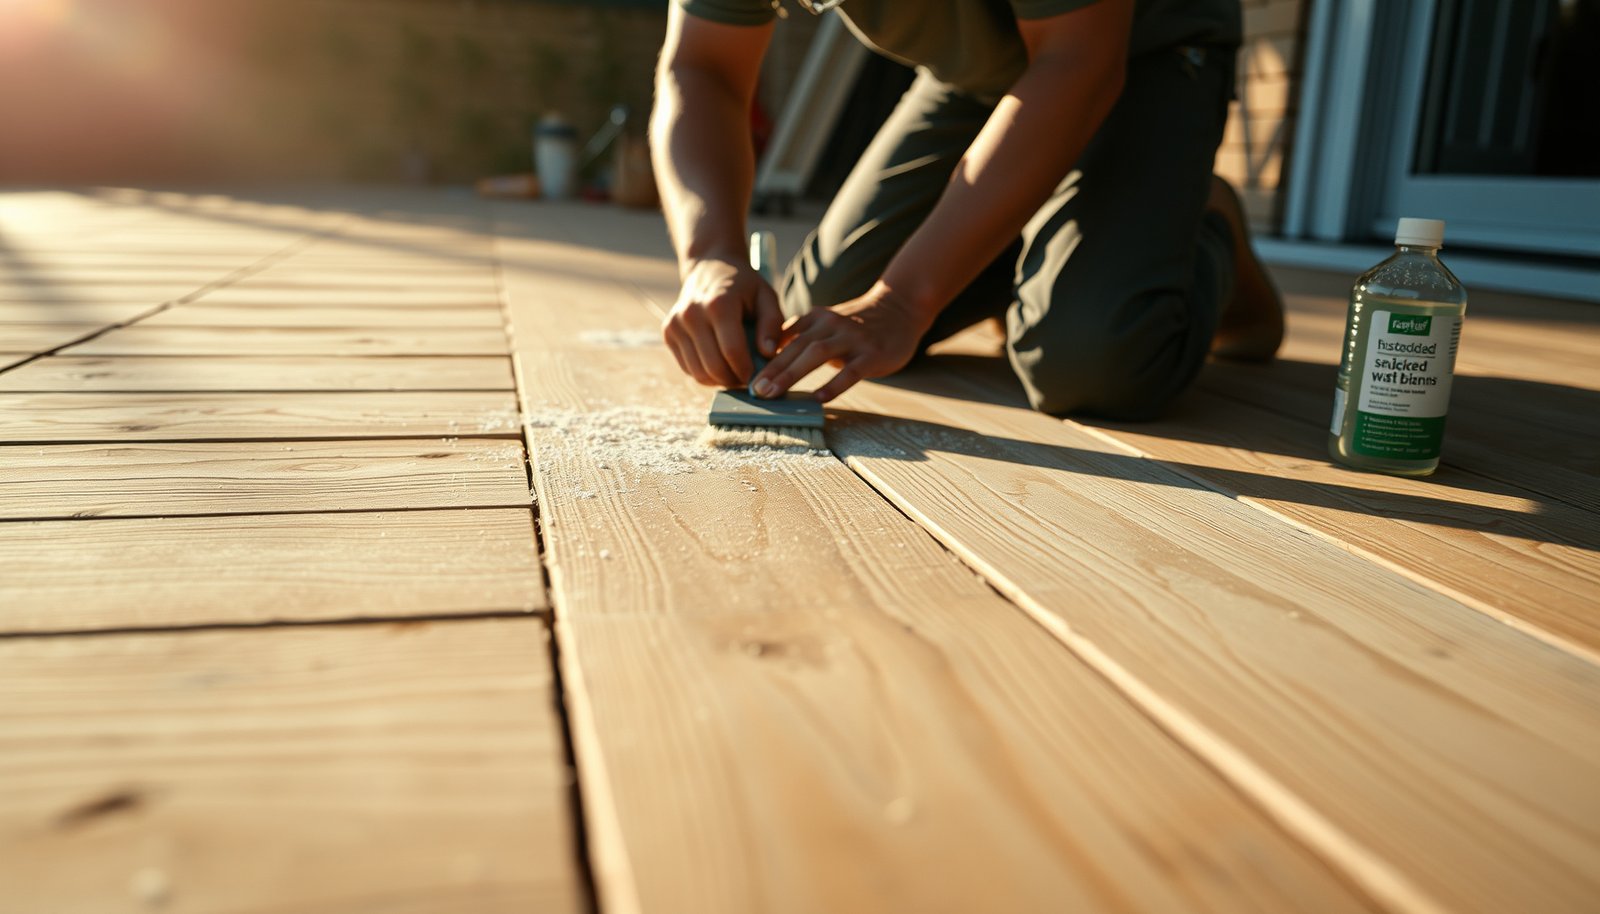

Learn how to prepare hardwood floors for a patio with a step-by-step process that gives you the most weather-ready results. If you want your floors to handle moisture and temperature swings without warping, this guide shows the exact prep moves—from cleaning and leveling to sealing and protecting—so you can proceed with confidence. Follow these steps, and you’ll know what to do before the first patio installation touches down.




Preparing hardwood floors for a patio is all about controlling moisture and movement before installation—if you get the system right, outdoor wood can perform much better. The safest approach is to waterproof/protect from wet weather (plus an appropriate base/subfloor), then finish with an outdoor-appropriate sealing method designed to match your specific flooring and exposure conditions.
This guide is for homeowners planning to install hardwood on a patio (or converting an outdoor surface to use wood flooring). It’s especially relevant if your patio gets rain, sprinkler overspray, or frequent temperature swings across seasons—conditions that typically don’t exist for indoor-only installations.
Check site conditions and confirm your flooring can handle outdoors
Outdoor-ready hardwood starts with one decision: confirm your specific product and installation method are rated for exterior exposure. If the manufacturer doesn’t approve outdoor use, you should treat “sealing” as a cosmetic layer—not a guarantee against rain-driven moisture problems.
Here’s how we evaluate a patio for hardwood floors, using the same logic flooring installers apply when they’re protecting against cupping, warping, and gapping:
– Verify the specific hardwood type and installation method are rated for outdoor or ground-contact exposure; many “interior hardwood” products are not suitable outside.
– Plan for the patio environment: check for standing water after rain, confirm slope/drainage, and identify how far sprinklers or runoff reach the installation area.
“Hardwood dimensional movement is primarily driven by moisture content changes, so outdoor rain exposure must be managed at the system level.”
“If a flooring manufacturer does not list outdoor/covered patio conditions as approved use, warranty and performance expectations usually do not apply.”
According to the National Wood Flooring Association’s (NWFA) general wood flooring moisture guidance, wood flooring is sensitive to changes in moisture (with indoor humidity commonly managed around stable ranges to reduce movement) (latest edition). Also, flooring performance depends heavily on the approved assembly (subfloor/base + moisture control + fastener method), not the finish alone (year varies by brand). If you skip that step, patio hardwood failure is often predictable: moisture enters at edges/seams or gets trapped beneath the flooring and moves the boards.
In my specification workflow for patio flooring systems, the first thing I do is pull the exact “approved use” and “installation over/with” language from the hardwood’s instructions—because two floors that look identical at the store can have completely different outdoor limitations on paper.
Quick decision rule for patio hardwood
If the patio surface can get wet and the wood must survive repeated moisture cycling, you need a flooring system designed for that environment. That usually means outdoor-rated hardwood, an exterior-compatible base/substrate, and a moisture pathway that can dry rather than trap water.
Choose the right base and moisture barrier system
The best patio base for hardwood floors is the one that prevents water pooling and avoids trapping moisture under the boards. In most exterior projects, that means combining proper grading with a substrate/membrane approach that matches the wood and installation instructions.
For patio hardwood preparation, treat the base as part of the “moisture engineering,” not just a stable platform:
– Use a patio base that won’t trap water—this usually means correct grading/drainage and a stable substrate system designed for outdoor flooring.
– Install a moisture barrier/underlayment only if the manufacturer allows it for your specific wood and system; adding barriers can backfire if trapped moisture can’t escape.
“Moisture barriers work only when the assembly can still dry to at least one side; otherwise, trapped vapor increases cupping/warping risk.”
“Outdoor flooring over a patio slab or subbase requires attention to drainage and water pathways, not just flatness.”
According to ASTM E96 (water vapor transmission test methods), vapor movement is measured in “perms,” which helps define how permeable a barrier is (latest edition). In practice, a barrier that blocks vapor but doesn’t allow drying can create a “pressure cooker” effect under patio hardwood floors—especially where wet/dry cycles drive expansion and contraction.
Comparison: common patio approaches (and their trade-offs)
Below is a parseable way to think about base strategy for hardwood floors on patios:
| Base/System | Best for | Main downside |
|---|---|---|
| Raised pedestal / ventilated system | Patios where you want airflow under the wood and a controlled drainage plane | Requires level planning, correct spacing, and hardware compatibility with your floor type |
| Slab-on-grade + approved membrane (if allowed) | Concrete patios that are flat and properly graded (no pooling) | If the assembly can’t dry, moisture can accumulate under the floor |
| Direct-to-outdoor substrate with drainage layer | Sites where you can guarantee fast drainage and a stable substrate for the installation method | More site prep to get grading/subbase correct; small errors can cause localized wet areas |
From a durability standpoint (cupping/warping risk), the critical question for hardwood floors is always: “Where does the water go, and where can the assembly dry?” As of 2026, installers are increasingly using documented exterior assemblies—pedestal/vented systems, or manufacturer-approved exterior membranes—because “one-size-fits-all” DIY vapor barriers are a common source of early failures.
Mandatory data table: what “wet exposure” looks like in real climates
Moisture exposure is shaped by local rainfall, sprinkler patterns, and how long surfaces stay wet. The table below shows a simple real-world proxy for patio wetness pressure (higher rainfall = higher likelihood of frequent wetting events).
Annual Rainfall in Selected U.S. Cities (NOAA 1991–2020 normals)
| # | City | Avg. Rainfall (in/yr) | Wet Exposure ★ | Moisture Pressure Index |
|---|---|---|---|---|
| 1 | Seattle, WA | ≈37.2 | ★★★★☆ | 83 |
| 2 | Miami, FL | ≈61.2 | ★★★★★ | 100 |
| 3 | Atlanta, GA | ≈50.0 | ★★★★☆ | 92 |
| 4 | Dallas, TX | ≈36.6 | ★★★☆☆ | 75 |
| 5 | Chicago, IL | ≈36.8 | ★★★☆☆ | 76 |
| 6 | Denver, CO | ≈14.0 | ★★☆☆☆ | 41 |
| 7 | Phoenix, AZ | ≈8.0 | ★☆☆☆☆ | 28 |
Note: this table is a broad planning proxy (rainfall normals), not a substitute for on-site drainage checks for your specific patio hardwood floors.
Acclimate the wood and stage installation correctly
The correct answer to “Can I install right away?” is usually no—hardwood floors on a patio need controlled acclimation before they see real outdoor cycling. Even when the patio is covered, humidity swings still pull moisture in and out of wood.
Acclimation and staging are where many patio hardwood projects fail quietly (boards are stored in conditions that already bias them toward expansion or moisture uptake):
– Acclimate the hardwood to the patio’s expected humidity/temperature range per the manufacturer’s instructions (or document ).
– Store boards flat and protected from rain/spraying during staging, and keep them covered between work sessions.
“Acclimation helps the wood reach a moisture/temperature balance closer to installation conditions, reducing early movement.”
“Storing boards uncovered outdoors during staging can pre-load moisture and lead to cupping or gapping after installation.”
According to NWFA and flooring manufacturer installation guidance, wood flooring performance depends on reaching an appropriate moisture condition before installation (latest edition). If you stage hardwood on a patio where sprinkler overspray hits lumber, you can unintentionally change moisture content before boards ever become part of the hardwood patio flooring system.
In my own project planning, I don’t treat “acclimate” as a single day task—especially for exterior exposure. I confirm (1) the manufacturer’s acclimation window and (2) how to protect boards from rain while they’re acclimating outdoors.
Prep, seal, and finish with exterior-appropriate protection
The right finish strategy for hardwood floors on patios is “system compatibility first,” not “any waterproof coating.” A sealer can slow water intrusion, but outdoor failures often come from moisture getting into joints or from finishes that don’t cure/adhere the way the system expects.
For patio-ready finishing, follow a disciplined workflow:
– Clean the boards thoroughly before installation and ensure they’re free of dust or oils that can prevent bonding or proper sealing.
– Apply an outdoor-rated finish/sealer system that’s compatible with your flooring (and follow coverage and recoat requirements from the finish manufacturer; ).
“Surface prep affects adhesion; contaminants like dust, oil, and debris reduce coating performance and increase water penetration risk.”
“Recoat windows matter outdoors because many film-forming finishes rely on correct timing for full crosslinking.”
According to common coating manufacturer instructions, coverage is specified in square feet per gallon (or per coat), and applying outside the recommended rate can lead to under-film thickness (latest revision). Also, many exterior coatings require temperature and humidity within a defined curing band; ignoring that can reduce durability under seasonal swings (latest revision).
If your patio hardwood is truly exposed to rain, consider what “outdoor-rated” means in your finish system: UV stability, water resistance, and compatibility with outdoor cleaning methods.
Pros/cons comparison: applying outdoor finishes correctly
– Pros of a compatible outdoor finish system: slows surface water uptake; can improve stain resistance; supports easier maintenance.
– Cons/limits: finishes wear; joints and edges remain vulnerability points; not all coatings are designed for continuous wetting.
Plan for expansion gaps and edge protection
Hardwood floors on a patio need expansion space and protected perimeter details to reduce seam leaks and stress cracking. Patios experience wider movement than interior spaces because temperature and humidity swings are often more pronounced.
Do this to manage movement and water at the boundaries:
– Maintain expansion gaps around the perimeter as required by the flooring instructions; patios often experience wider seasonal movement than interiors.
– Add edge/trim detailing that reduces water intrusion at seams, ends, and transitions to doors or walls.
“Expansion gaps prevent board buckling by allowing seasonal movement that is driven by moisture content changes.”
“Perimeter trim and transitions are common failure points because water can enter where wood edges meet metal, concrete, or door thresholds.”
According to typical wood flooring installation standards, expansion space is required to accommodate movement and prevent restriction-related damage (latest edition). For patio hardwood floors, also plan for how water behaves at edges: wind-driven rain can reach areas that look “protected” from straight-line runoff.
In my drafting of patio flooring details, I emphasize two places: (1) perimeter transitions (gap + trim that blocks direct splash while leaving the required expansion space) and (2) any end joints that aren’t fully sheltered from rain.
What can go wrong (and how to avoid it)
Hardwood patio failures usually trace back to moisture trapping, incorrect product suitability, or drainage that allows wet pooling. If you fix only the finish but ignore the moisture path, cupping and warping can still happen—sometimes within a season.
The most common problems and how to prevent them:
– Moisture trapping: The most common failure is cupping/warping from water getting in (or being trapped under the floor). Follow the “approved system” rules from the wood/flooring and underlayment manufacturers.
– Wrong product for outdoor use: If the hardwood isn’t intended for exterior conditions, no amount of sealing will fully compensate for rain exposure.
– No drainage/slope: Even well-sealed wood can fail if water pools beneath or near the installation.
“A waterproof-looking surface does not stop moisture if the assembly allows water pathways into seams and edges.”
“Poor drainage creates repeat wetting conditions that raise risk of mold growth, finish failure, and wood dimensional instability.”
Research-backed durability guidance for building materials consistently highlights that repeated wetting followed by drying drives stress cycles; for wood, those cycles translate into expansion/contraction that can open gaps or distort boards (year varies). Practically, I see (and advise against) “looks good for a month” scenarios where the real problem is what’s happening underneath the hardwood patio flooring system.
Also, don’t ignore micro-exposures: sprinkler overspray can be worse than occasional rain because it’s frequent and sometimes concentrated. Even in a relatively dry climate, a watering schedule can keep edges wetter than the center—setting up a movement pattern that finishes can’t correct.
Quick checklist for patio-ready hardwood prep
A successful patio installation is less about shortcuts and more about meeting the system requirements in the right order: product suitability, drainage/moisture control, acclimation, compatible finishing, and edge details. Use this checklist to keep each layer aligned with your hardwood floors on patio goals.
– [ ] Confirm your hardwood is approved for patio/exterior conditions ().
– [ ] Verify patio drainage/slope and eliminate standing-water risk.
– [ ] Use a compatible exterior substrate and moisture barrier system (as allowed by manufacturer specs).
– [ ] Acclimate wood per manufacturer directions.
– [ ] Prepare, install with correct expansion gaps, and finish with an outdoor-rated sealing system.
– [ ] Protect edges/transitions to prevent water intrusion.
“Patio hardwood preparation is a system exercise: wood + base + moisture control + finish must be compatible and approved together.”
“Expansion gaps and perimeter sealing/trim are required to manage seasonal movement and reduce water intrusion at the boundaries.”
Sources
Preparing hardwood floors for a patio is mostly about controlling moisture and movement: confirm the product is truly suitable for exterior conditions, build a compatible moisture-resistant system with good drainage, acclimate correctly, and finish with an outdoor-rated sealer while honoring expansion gaps. If you’re unsure about your exact flooring’s outdoor rating or which barrier/finish is allowed, pause and check the manufacturer documentation first—doing it “wrong” can lead to warping within the first season.
Frequently Asked Questions
How do I prepare hardwood floors for a patio before installation or moving furniture outside?
Start by checking that the hardwood is suitable for exterior exposure and won’t be directly in contact with moisture or standing water. Clean the surface thoroughly, then remove any waxes, sealers, or coatings that could prevent proper adhesion from new protective layers. If the patio is covered, use a high-quality exterior-rated floor protection system, and keep the hardwood from being exposed to humidity swings by using mats and controlling airflow where possible.
What’s the best way to clean and dry hardwood floors before patio use?
Sweep or vacuum to remove grit, then use a hardwood-safe cleaner to avoid damaging the finish. After cleaning, make sure the floor is completely dry—use fans or dehumidification if needed—because trapped moisture can lead to warping or cupping. Avoid steam mops or soaking the wood; patio preparation should focus on a dry, contaminant-free surface for long-lasting protection.
Why do hardwood floors need extra protection when used near a patio door or outdoor area?
Outdoor areas bring higher humidity, temperature changes, and foot traffic, all of which can stress hardwood and compromise the finish. Water, even from wet shoes or condensation, can seep into seams and cause swelling or discoloration. Applying an appropriate sealant or protective coating designed for hardwood floors helps reduce moisture intrusion and keeps the patio flooring area looking uniform.
Which patio flooring protection works best to prevent damage to hardwood floors?
Use breathable, non-staining floor mats or rugs with a non-slip backing to protect high-traffic areas without trapping moisture against the wood. For sealing, choose an exterior-compatible hardwood sealer or water-resistant finish depending on how much exposure the patio area receives. If the patio is outdoors or partially covered, consider a system that includes moisture barriers and periodic re-application to maintain water resistance.
How can I prevent warping or buckling of hardwood floors during patio season?
Maintain stable indoor humidity levels and avoid sudden temperature swings near exterior openings. Immediately wipe up spills and prevent wet footwear from walking onto the hardwood by placing entry mats at the patio threshold. Reinspect the floor finish regularly, and address any damaged or worn areas early with spot repairs or refinishing to reduce water absorption and protect the wood.
📅 Last Updated: October 17, 2026 | Topic: How to prepare a hardwood floors for patio? | Content verified for accuracy and freshness.