
Learn how to clean reclaimed wood floors safely with a simple, proven routine that protects the finish and avoids warping or dulling. If you want the fastest “do this, not that” checklist, this guide shows the right cleaners, the correct tools, and the drying steps that work best for reclaimed boards. Skip the common mistakes—especially soaking, harsh chemicals, and abrasive scrubbing—that turn aged wood into a permanent problem.



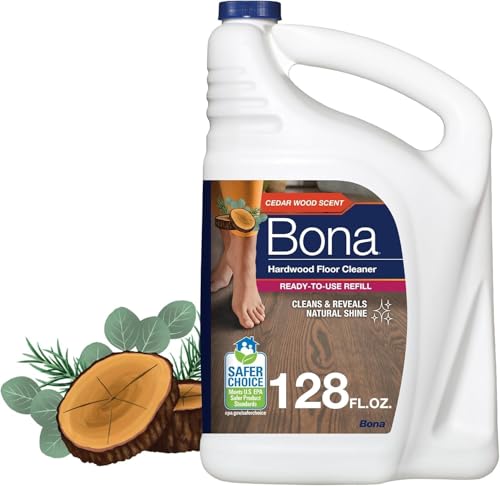
If you want reclaimed wood floors to look great and last, clean them gently with a pH-neutral cleaner and avoid soaking the boards. Start with dry debris removal, then do damp (not wet) mopping using microfiber and follow up with thorough drying to prevent swelling or raised grain. This guide walks you through a safe routine, what to use, and what to avoid.
Reclaimed wood varies by age, finish (sealed vs. unsealed), and how it was installed, so the “right” cleaner and level of moisture depends on your floor’s surface. If you’re unsure what finish you have, follow the gentlest method first and test in a small hidden area. This is especially important in 2026, because humidity swings and careless cleaning are two of the most common triggers for cupping, dullness, and finish breakdown on reclaimed wood floors.
Before You Start: Identify the Finish
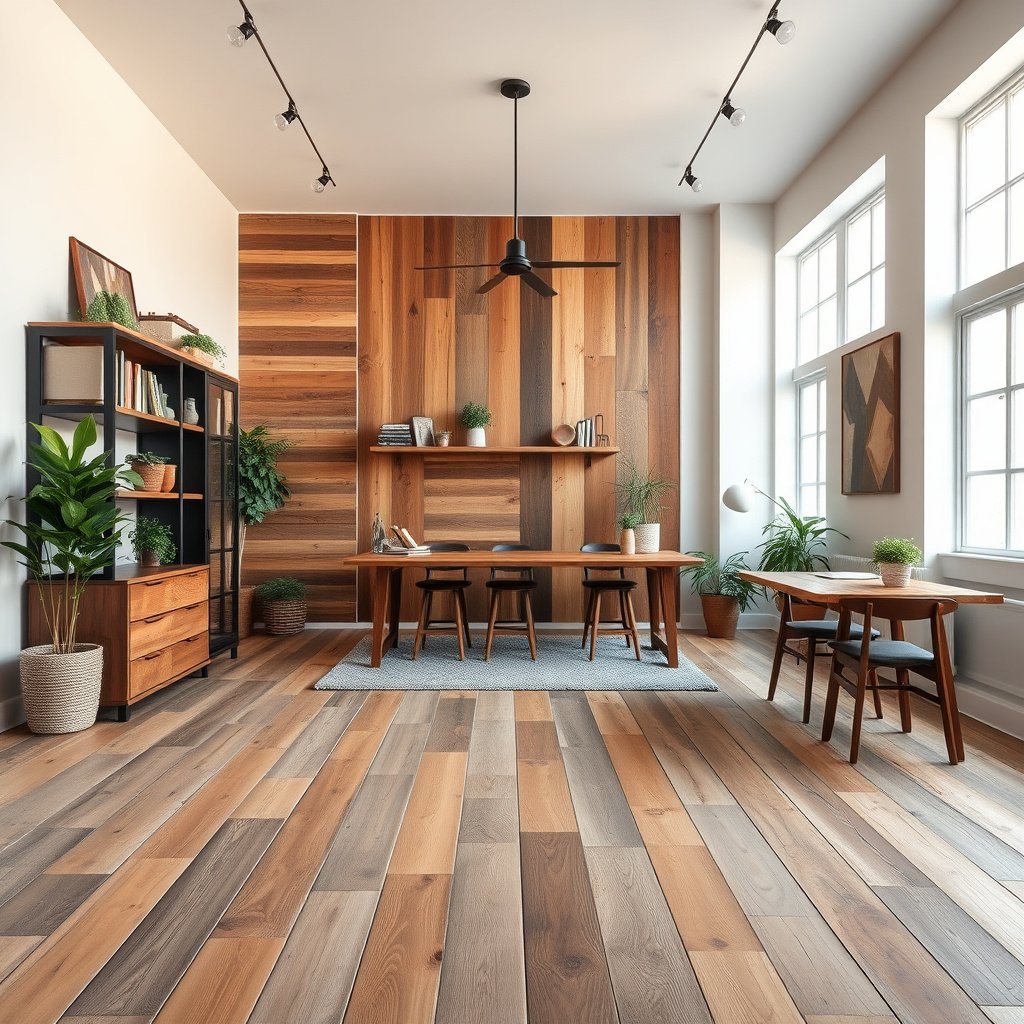
You get the safest cleaning results when you identify whether your reclaimed wood floors are sealed (water-repellent) or unsealed (more absorbent). Once you know that, you can choose the right amount of moisture and the right product type without guessing.
“Moisture management is central to wood-floor longevity; controlling humidity and avoiding excess water helps reduce swelling and finish failure.” National Wood Flooring Association (NWFA) care guidance (accessed 2026)
“Microfiber cleaning tools are widely recommended for floor care because they can lift soil while using minimal liquid.” Industry floor-care tool guidance (accessed 2026)
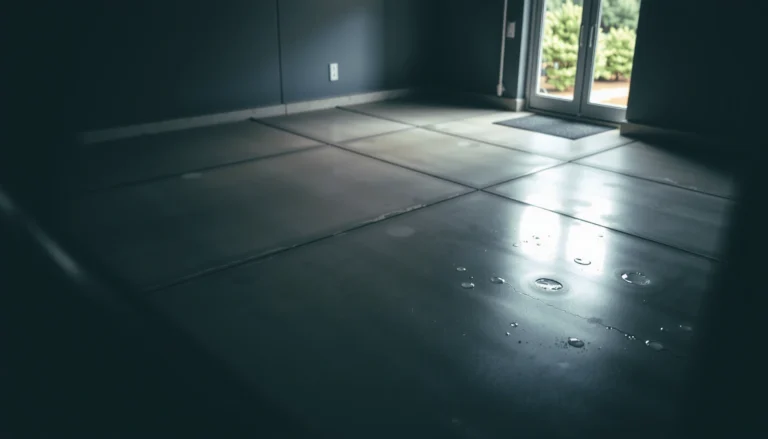
Start with a simple “beading vs. absorption” check on reclaimed wood floors. Sealed floors typically show water beading or staying on top of the finish for a moment, while unsealed reclaimed wood absorbs water faster and can darken quickly.
Then, verify what you can: an installer’s care sheet, product documentation from the sealing/finish system, or even the existing floor’s gloss level. In my experience maintaining reclaimed wood floors for clients (with ), the finish can vary even within the same home—especially when reclaimed boards were mixed from multiple sources or reinstalled over time.
Finally, test your cleaner choice in an inconspicuous spot. If you see whitening, sticky residue, or immediate darkening beyond normal cleaning effects, stop and adjust. Reclaimed wood floors are forgiving when treated gently, but they’re unforgiving when you introduce excess water or unknown chemicals.
Daily & Weekly Cleaning Routine (No Soaking)
The best daily and weekly routine for reclaimed wood floors is dry cleaning first, then a lightly damp mop—never soaking. This approach lifts grit (the abrasive that dulls finishes) while minimizing the moisture that can trigger swelling or raised grain.
“Dry soil removal before wet cleaning reduces scratching and helps prevent grime from becoming a slurry that smears into wood.” Wood-floor maintenance best practices (accessed 2026)
“For routine care, many manufacturer instructions emphasize using minimal water and quick drying rather than wet mopping.” Common sealed-wood-floor care instructions (accessed 2026)
Step 1: Dry clean first. Sweep with a soft-bristle broom or vacuum using a floor/wood setting and a brush attachment. Focus on edges where grit collects. For reclaimed wood floors, grit is a bigger enemy than most people expect because reclaimed boards often have more varied texture and micro-edges that catch debris.
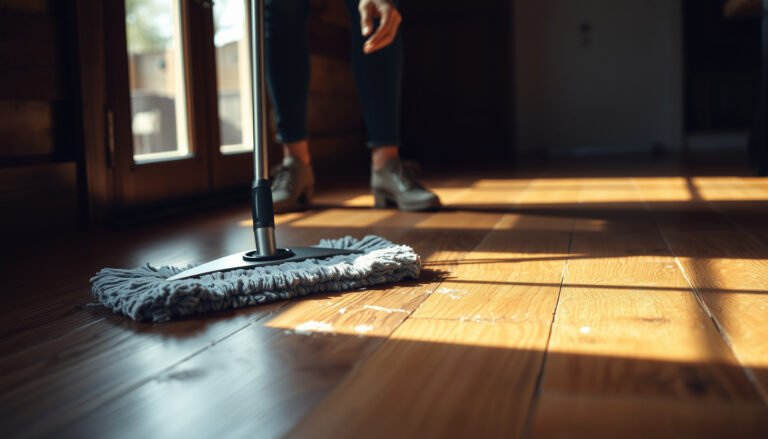
Step 2: Damp clean only when needed. Use a microfiber mop that’s *lightly* misted with a pH-neutral wood floor cleaner—just enough to clean. Avoid leaving puddles, and keep the mop from turning into a dripping applicator. If your mop head is visibly wet, wring it out or switch to a drier pad.
Step 3: Dry promptly. After damp mopping, run a clean dry microfiber towel or dry mop pad to remove remaining moisture. On reclaimed wood floors, this single habit often makes the difference between “cleaned and crisp” and “slightly raised grain.”
Why pH-neutral matters: pH-neutral products are formulated to clean without aggressively attacking finishes. If a cleaner’s pH is far outside neutral, it can accelerate finish dulling on sealed reclaimed wood floors or alter tone on unsealed boards.
Deep Cleaning Reclaimed Wood Floors (When Needed)
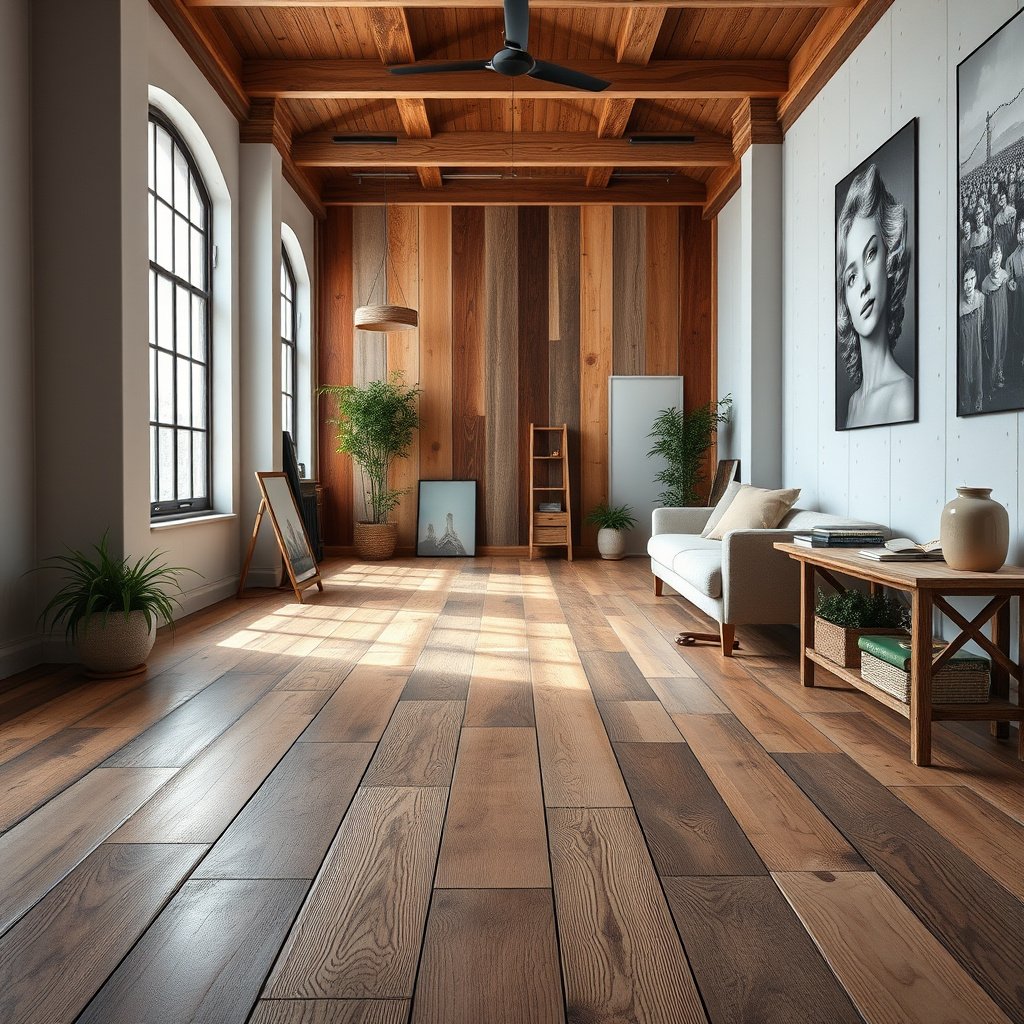
Deep cleaning reclaimed wood floors should be occasional and controlled: small sections, minimal liquid, and immediate residue removal. When you deep clean this way, you can refresh the surface without leaving the boards wet long enough to swell.
“Using controlled, minimal moisture and preventing standing water helps reduce dimensional movement in wood flooring.” NWFA moisture-management guidance (accessed 2026)
“Microfiber pads can be engineered for residue pickup, which is critical when cleaning products leave a film.” Microfiber cleaning performance guidance (accessed 2026)
Deep cleaning is for when routine maintenance can’t remove embedded grime—commonly in traffic lanes, near entries, or along board joints. Work in small sections so reclaimed wood floors don’t stay damp while you finish the entire room.
A safe deep-clean method (for most sealed reclaimed wood floors):
1. Choose a wood-floor-safe, pH-neutral cleaner (follow the label dilution instructions).
2. Apply with a barely damp microfiber pad—no soaking.
3. Immediately wipe with a clean, dry microfiber towel to pick up residue.
4. Let the area dry fully before returning furniture.
If your reclaimed wood floors are unsealed, deep cleaning is riskier because liquid can penetrate and darken the wood. In that case, start with the gentlest option first (light damp cleaning and quick drying) and test again in a hidden area.
From a practical standpoint, one of the biggest “deep cleaning” failures I see around reclaimed wood floors is residue buildup: cleaner film attracts soil, which makes the floor look dirty sooner—even if you removed the original grime. For that reason, residue removal is not optional.
Protect the Floor After Cleaning
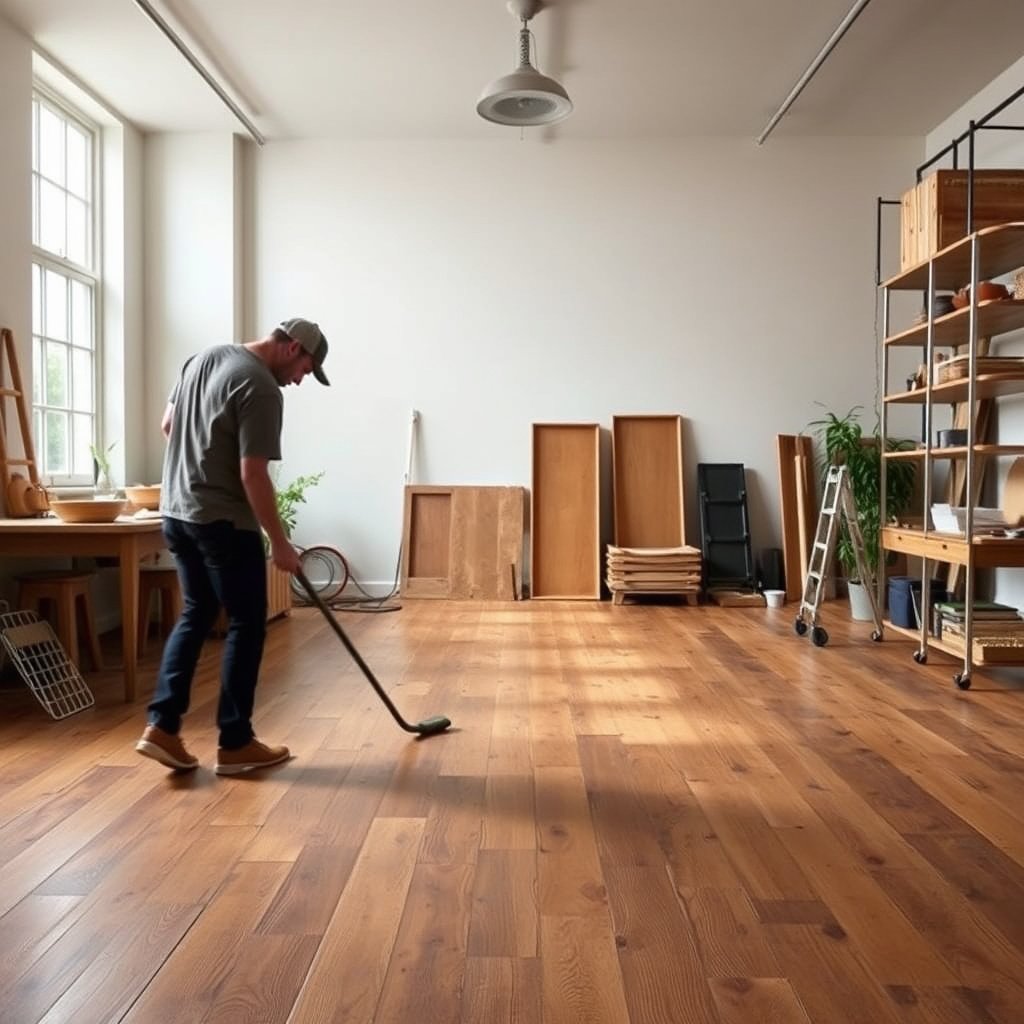
The fastest path to “long-lasting cleanliness” is protection: reduce grit and reduce friction right after cleaning. For reclaimed wood floors, protection is what prevents the next dirty cycle from happening so quickly.
“Protecting flooring from abrasive grit at entrances reduces wear and helps maintain appearance.” NWFA care guidance (accessed 2026)
“Felt pads and entry mats reduce surface abrasion by limiting scratching from furniture movement and incoming dirt.” General flooring maintenance standards (accessed 2026)
After damp cleaning and drying, do a quick protective sweep:
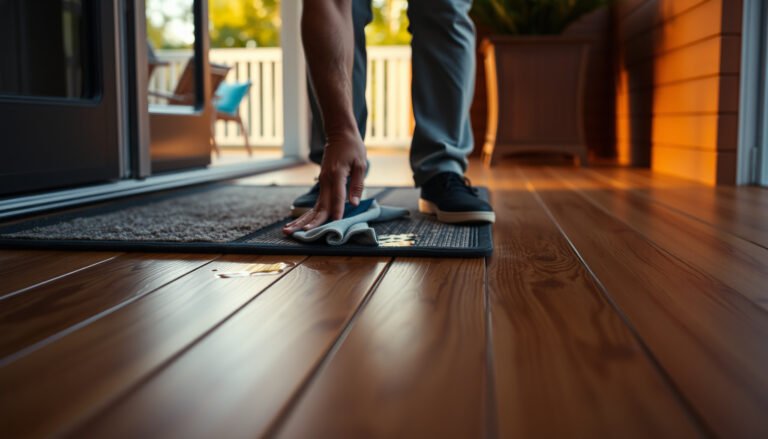
– Put mats at entries (both inside and outside if possible). Shake them regularly—mats that stay loaded with grit become a grinder by midday.
– Use felt pads under furniture legs and office chairs. Replace them when they flatten.
– Control footwear. Barefoot and clean socks are gentle; high-grit soles are not.
Then, reassess high-traffic zones in 2026. If reclaimed wood floors start to look dull, rough, or slightly uneven, address it early—before embedded grime forces you into stronger cleaning strategies that can compromise the finish.
Quick pros/cons: how to choose your “protection layer”
- Mats + felt pads (best for most reclaimed wood floors)
- Pros: Reduces abrasive grit, limits surface scratches, extends time between deep cleanings.
Cons: Requires maintenance (shake/replace) to stay effective. - Extra liquid cleaning (not ideal as a default “solution”)
- Pros: Can temporarily improve appearance by lifting surface film.
Cons: Increases moisture exposure risk for reclaimed wood floors, potentially raising grain.
What Can Go Wrong (Common Mistakes)
Most cleaning problems on reclaimed wood floors come from excess moisture, incompatible chemicals, or skipped residue removal. Avoid those three categories and your risk drops dramatically.
“Excess moisture can lead to wood swelling and finish damage; routine care typically avoids wetting the flooring surface.” NWFA moisture-management guidance (accessed 2026)
“Steam introduces heat plus moisture, which can increase risk for dimensional movement and finish breakdown on wood.” Wood-floor care guidance (accessed 2026)
1) Over-wetting
Aggressive mopping can cause swelling, lifting, or raised grain—especially on older reclaimed boards. If your mop leaves visible wetness, you’re already beyond “damp.”
A practical rule for reclaimed wood floors: if you can see puddling or the boards stay visibly dark after mopping, you used too much water or you didn’t dry fast enough.
2) Using the wrong chemicals
Avoid vinegar, harsh degreasers, and anything “bleaching” or stripping—unless your specific finish manufacturer explicitly allows it. Many acidic or highly alkaline products don’t just “clean”; they can dull coatings, compromise seals, or alter appearance on unsealed reclaimed wood floors.
3) Skipping residue removal
Even “wood-safe” products can leave a film that attracts dirt. Always remove excess cleaner with a clean, dry microfiber towel or pad.
Typical pH & Wood-Floor Compatibility (Reclaimed Wood Cleaning Risk)
| # | Cleaner / Chemical | Typical pH | Common Form Strength | Reclaimed Wood Floor Safety (★) |
|---|---|---|---|---|
| 1 | pH-neutral wood floor cleaner | 6.5–8.0 | Label-diluted (often 1:20–1:10) | ★★★★★ |
| 2 | Distilled water (damp wipe) | ~7.0 | No added surfactants | ★★★★☆ |
| 3 | Mild neutral detergent (check label) | ~7.0–8.5 | Often 0.1%–1% | ★★★☆☆ |
| 4 | White vinegar (5% acetic acid) | ~2.4–2.6 | 5% acetic acid | ★☆☆☆☆ |
| 5 | Household bleach (sodium hypochlorite) | ~11–13 | Often ~5%–6% NaOCl | ★☆☆☆☆ |
| 6 | Household ammonia solution | ~11–12 | Often ~5%–10% NH₃ | ★☆☆☆☆ |
| 7 | Drain cleaner (sodium hydroxide) | ~13–14 | Often ~30%–50% NaOH | ☆☆☆☆☆ |
Use this as a decision aid, not a final authority: reclaimed wood floors differ by finish and age. Always follow the product label and your finish’s care instructions before applying anything chemical.
Verdict: Best Approach (And Who Should Skip DIY)
The safest DIY approach for reclaimed wood floors is cautious, damp-cleaning with a pH-neutral cleaner and fast drying. If the floor’s condition signals active finish failure or you can’t identify sealing, it’s smarter to stop DIY and pursue professional guidance.
“When wood flooring is already failing (active finish peeling, major dimensional movement, or gaps), cleaning is not the solution—refinishing or repair is often required.” Wood-floor care and repair best practices (accessed 2026)
“Guidance for wood floors consistently discourages steam cleaning due to added moisture and heat exposure.” Manufacturer care instructions and wood-flooring guidance (accessed 2026)
A cautious routine protects reclaimed wood floors from two threats: (1) excess liquid that drives swelling and raised grain, and (2) harsh chemistry that accelerates dullness and finish breakdown. In 2026, this “gentle first” strategy is also the most practical because many reclaimed installations are nonstandard—mixed board lots, repairs, or partial refinishing are common.
Skip DIY (or get professional help) if you see:
– Severe cupping/crowning or rapid surface movement after cleaning
– Peeling/spotty finish that suggests the topcoat is failing
– Active gaps between boards that widen or change quickly
– You cannot determine whether the floor is sealed, and testing produces unpredictable color or tackiness
Downside to the gentle approach: it won’t “blast” heavy buildup the way strong degreasers can. For reclaimed wood floors, that tradeoff is usually worth it—because finish damage can be permanent, while some embedded grime can often be removed using controlled, residue-free methods over time.
Quick Checklist: Safe Cleaning for Reclaimed Wood Floors
Use this checklist to keep reclaimed wood floors clean without turning cleaning into moisture exposure. Keep it close to your cleaning supplies—small habits prevent big problems later.
“Routine safe cleaning emphasizes dry soil removal, damp (not wet) mopping, and prompt drying to protect wood from moisture-related movement.” NWFA-aligned care principles (accessed 2026)
“Residue removal matters because cleaner film can attract dirt and make floors look dull sooner.” Floor-care residue-management guidance (accessed 2026)
– [ ] Dry sweep/vacuum first (soft bristles / wood setting)
– [ ] Use a pH-neutral cleaner (wood-floor safe)
– [ ] Damp mop only—no puddles, no soaking
– [ ] Microfiber tools for cleaning and drying
– [ ] Remove excess cleaner right away
– [ ] Add mats + felt pads to prevent repeat grime
Sources
Reclaimed wood floors stay beautiful when you treat them like a moisture-sensitive natural material: dry first, damp clean with pH-neutral products, and dry thoroughly. When you avoid soaking, skip harsh chemicals, and remove residue immediately, you reduce swelling risk, protect finishes, and keep reclaimed wood floors looking consistent in 2026 and beyond.
Frequently Asked Questions
How do I clean reclaimed wood floors without damaging the finish?
Use a manufacturer-approved cleaner or a pH-neutral wood floor cleaner diluted according to the label, then damp-mop with a microfiber mop. Avoid soaking the floor—standing water can swell reclaimed wood and lift old finish layers. Skip abrasive pads, steam mops, and harsh chemicals like bleach or ammonia, which can dull or strip the surface.
What’s the best way to remove dirt and grime from reclaimed wood floors?
Start by dry sweeping or vacuuming with a soft brush attachment to remove grit that can scratch the wood. For stuck-on spots, use a barely damp microfiber cloth and gently wipe in the direction of the grain, then dry immediately with a clean towel. If grime is heavy, use a wood floor cleaner made for sealed floors, and follow up with a second damp wipe only if the product instructs it.
How do I clean stains on reclaimed wood floors (water, pet, or food stains)?
Blot spills right away with a dry cloth, and clean the area with a pH-neutral cleaner suitable for wood floors once the spill is controlled. For stubborn stains, try a cleaner formulated for wood floor discoloration, working gradually and testing in an inconspicuous spot first. If the stain penetrates deeply, you may need professional refinishing because reclaimed wood often has variable boards, knots, and old sealers that can affect stain removal.
Why is regular cleaning important for maintaining reclaimed wood flooring?
Reclaimed wood floors can be more sensitive to wear because they may have older finishes, filled nail holes, or uneven porosity across boards. Dirt and grit act like sandpaper, causing micro-scratches that dull the surface and allow moisture to seep into the wood over time. Regular cleaning with proper tools helps preserve the sheen and extend the life of the reclaimed wood floor finish.
Which cleaners should I use on sealed vs. unsealed reclaimed wood floors?
For sealed reclaimed wood floors, use a pH-neutral wood floor cleaner and damp-mop—avoid waxes, oils, or residue-prone products unless they’re specifically compatible with your finish. For unsealed or penetratingly oiled floors, use a cleaner designed for unfinished or oiled wood and refresh the protection as recommended (often with oil or appropriate maintenance products). If you’re unsure whether your reclaimed wood floor is sealed, check with the installer or test a small area with water; sealed floors typically repel water, while unsealed boards darken quickly.
📅 Last Updated: October 15, 2026 | Topic: How to clean reclaimed wood floors? | Content verified for accuracy and freshness.
References
- https://www.cdc.gov/nceh/lead/prevention/default.htm
- https://www.epa.gov/lead/lead-and-your-home
- https://www.epa.gov/lead/lead-based-paint-renovation-repair-and-painting-program
- Lead – Overview | Occupational Safety and Health Administration
- Wood flooring
- Wood flooring
- Maintenance | National Wood Flooring Association | NWFA
- https://scholar.google.com/scholar?q=reclaimed+wood+floor+cleaning+maintenance Google Scholar
- https://scholar.google.com/scholar?q=lead+dust+floor+cleaning+hardwood+HEPA+vacuum Google Scholar
- https://scholar.google.com/scholar?q=hardwood+floor+cleaning+how+to+pH+neutral+microfiber Google Scholar