Cutting laminate flooring is straightforward when you have the right tools and techniques. Start with a circular saw or jigsaw, using a fine-toothed blade to minimize chipping. Measure accurately and mark your cut lines clearly with a carpenter's square. For straight cuts, support the planks on a stable surface and follow your guide. For curves, use a jigsaw, tracing any patterns beforehand. Always wear safety goggles and a dust mask for protection. Once you've cut your pieces, smooth the edges with fine-grit sandpaper. There's plenty more to share about achieving a professional finish that you'll find helpful.
Tools Needed for Cutting
When you're ready to cut laminate flooring, having the right tools on hand can make the process smoother and more efficient. A circular saw is a popular choice for straight cuts, allowing you to glide through multiple planks quickly. Just make certain you use a fine-toothed blade to prevent chipping. For more intricate cuts, consider jigsaw options; they're perfect for curves and notches. A jigsaw gives you the freedom to navigate around obstacles with ease. Don't forget to wear safety goggles and a dust mask to protect yourself during the cutting process. With these tools at your disposal, you'll be well-equipped to tackle your laminate flooring project confidently and efficiently. Enjoy the freedom of transforming your space!
Measuring and Marking Planks
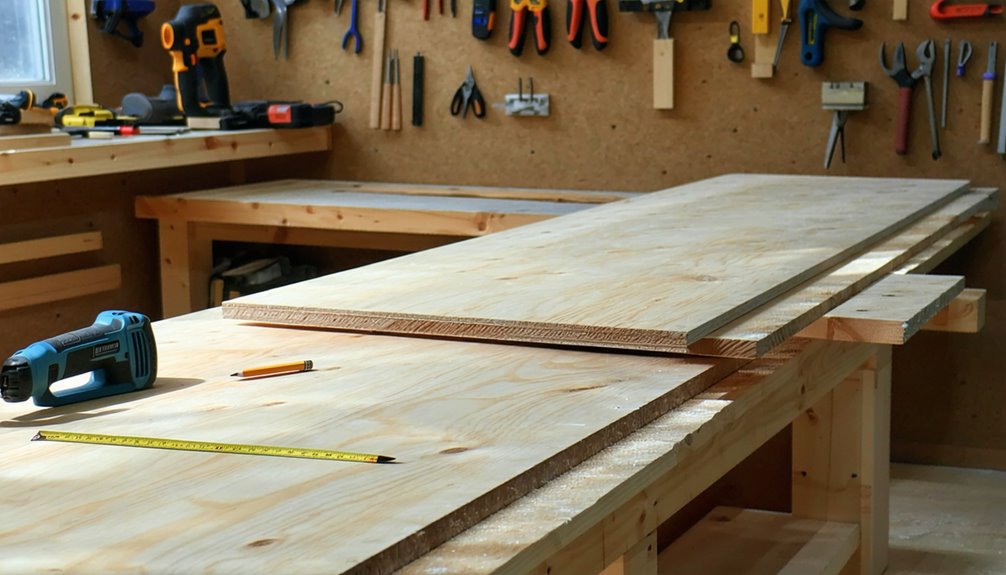
Measuring and marking planks accurately is essential for a successful laminate flooring installation. Start by determining the length you need for each plank, factoring in any necessary cuts for corners or edges. Use reliable marking techniques, like a carpenter's square, to guarantee straight lines. Align your planks carefully, making sure they fit snugly together when laid out. Mark your cut lines clearly, as this will guide your saw and help prevent mistakes. Remember to account for expansion gaps along walls, which can affect your measurements. Double-check your markings before cutting; it's better to take a little extra time now than to waste planks later. With precise measurements and careful marking, you'll set yourself up for an efficient installation.
Techniques for Straight Cuts
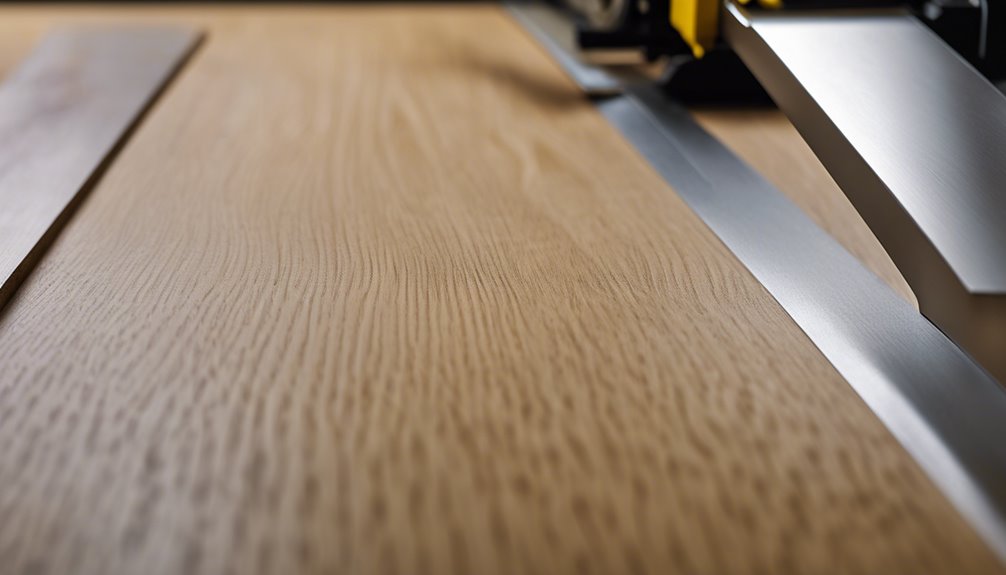
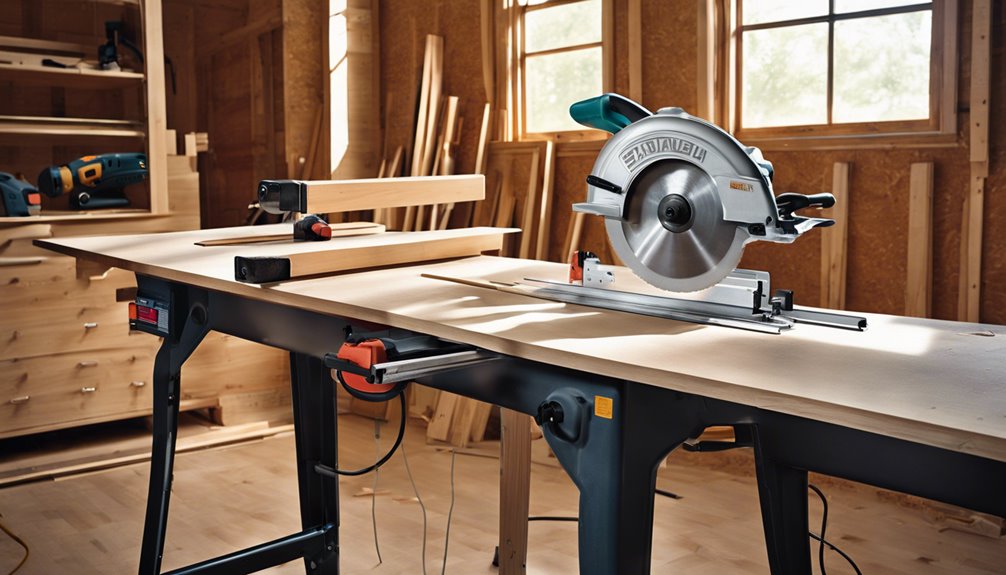
Cutting laminate flooring with precision is key to achieving a professional look in your installation. When it comes to straight cuts, you have several effective cutting methods at your disposal. A circular saw is a popular choice, especially when equipped with a fine-tooth blade designed for laminate. This guarantees clean edges and minimizes chipping. Alternatively, a jigsaw can work for shorter cuts, but be sure to select a blade meant for laminate materials. For the best results, always measure and mark your planks accurately before cutting. Support the plank on a stable surface, and use a straight edge as a guide to maintain a consistent cut. With the right blade selection and technique, you can create straight, precise cuts effortlessly.
Making Curved Cuts
When you need to make curved cuts in laminate flooring, having the right tools is essential for achieving clean edges. Start by measuring and marking your curves accurately to guarantee a precise fit. Then, you can explore various cutting techniques that will help you navigate those tricky shapes with ease.
Tools Required for Curves
To achieve smooth, precise curves in laminate flooring, you'll need a few specialized tools that can handle the intricacies of curved cuts. First, a jigsaw is essential; it's perfect for curve cutting due to its maneuverability. Make certain to equip it with fine-toothed jigsaw blades designed for laminate to minimize chipping. A router can also be handy for refining edges after the initial cut, providing a polished finish. Additionally, a circle cutter can help create consistent, circular shapes with ease. Finally, a sturdy straightedge or guide will guarantee your cuts remain straight where necessary. With these tools in hand, you'll have the freedom to create beautiful, customized curves in your laminate flooring project.
Measuring and Marking Tips
Accurate measuring and marking are essential for achieving seamless curves in laminate flooring. To start, use measuring tools like a flexible ruler or a measuring tape to determine the curve's dimensions. Once you have your measurements, choose suitable marking methods, such as a chalk line or a pencil, to outline your curve effectively.
For tighter curves, consider using a compass or a template made from cardboard to guarantee precision. Always double-check your measurements before marking, as even small inaccuracies can lead to misfits. When you're ready, mark clearly and boldly, ensuring your lines are easy to see during cutting. This attention to detail will help you maintain that desired freedom in your design while guaranteeing a snug fit for your laminate flooring.
Cutting Techniques Explained
Although making curved cuts in laminate flooring can seem challenging, using the right techniques will simplify the process. Start by creating a cutting pattern on paper that outlines your desired curve. Then, transfer this pattern onto the laminate types you're working with, guaranteeing accurate placement. For the actual cutting, a jigsaw is your best bet, as it easily navigates curves. Use a fine-toothed blade to prevent chipping and guarantee a clean edge. Remember to secure the laminate firmly to avoid movement while cutting. If the curve is complex, consider making multiple shallow cuts instead of one deep cut, which allows for more control. With practice, you'll master curved cuts and enjoy the freedom of customizing your flooring!
Safety Precautions to Follow
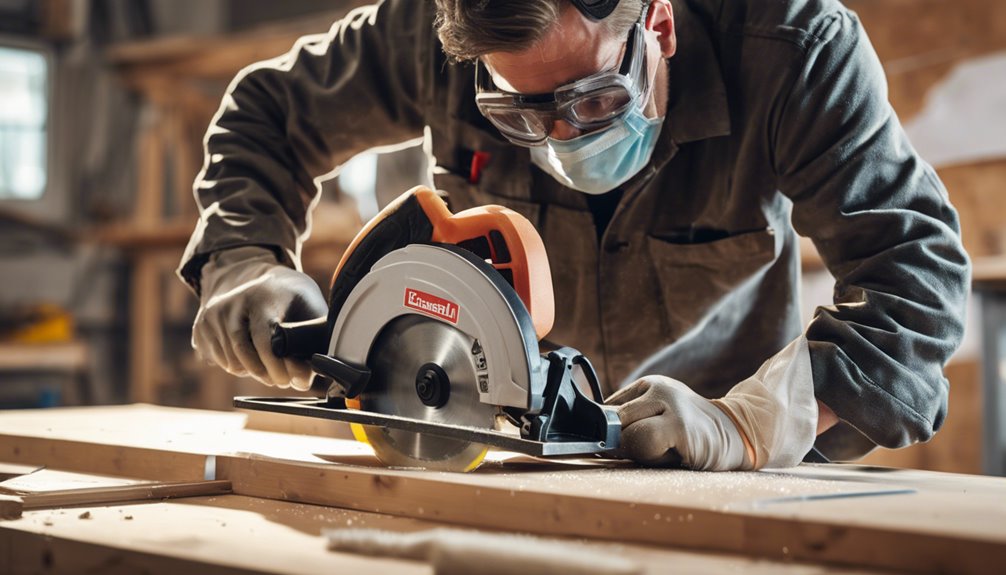
Before you begin cutting laminate flooring, it's essential to take safety precautions to protect yourself and guarantee a smooth project. Start by wearing appropriate safety gear, such as goggles to shield your eyes from dust and debris, and a dust mask to prevent inhaling particles. Don't forget sturdy gloves to protect your hands from cutting hazards. Confirm your workspace is well-lit and organized to minimize accidents. If you're using power tools, familiarize yourself with their operation and maintain a safe distance from the cutting area. Always keep your fingers clear of the blade path and secure the laminate firmly before cutting. Being mindful of these precautions will not only enhance your safety but also contribute to a more enjoyable flooring installation experience.
Tips for a Professional Finish
To achieve a professional finish when cutting laminate flooring, you'll want to use the right tools for precision and ease. Remember to measure twice and cut once to avoid costly mistakes, and take the time to sand the edges smoothly for a clean look. These simple steps can make a significant difference in the overall appearance of your flooring project.
Use Proper Tools
When you're cutting laminate flooring, having the right tools can make all the difference in achieving a professional finish. Choosing the appropriate cutting methods and guaranteeing your tools are well-maintained will elevate your project. Here's what you need:
- Miter Saw – Perfect for precise angle cuts.
- Circular Saw – Great for long straight cuts; just use a fine-tooth blade.
- Jigsaw – Ideal for cutting curves or intricate shapes.
- Straight Edge or Guide – Essential for straight cuts, guaranteeing accuracy.
Before you start, check your tools for wear and tear. Proper tool maintenance not only improves performance but also guarantees your safety. With the right tools, you'll have more freedom to create a flawless laminate flooring installation.
Measure Twice, Cut Once
Although it might seem tedious, measuring twice before you cut is an essential step in guaranteeing a professional finish with your laminate flooring. By taking the extra time to measure accurately, you enhance cutting accuracy, reducing waste and avoiding unnecessary frustration. Start by measuring the space where the planks will fit, and mark your measurements clearly on the laminate. Double-check these measurements against the planks for consistency. When cutting, keep plank alignment in mind; misalignment can lead to gaps or uneven edges. A straight cut contributes to a seamless look, so verify your saw is aligned properly. Remember, a little patience in this stage will save you time and effort later on, giving you the freedom to enjoy your beautifully installed floor.
Sand Edges Smoothly
Smoothing the edges of your laminate flooring cuts is essential for achieving a polished, professional look. By using effective sanding techniques, you can guarantee a seamless finish that enhances the overall appearance of your flooring. Here are some practical tips for edge finishing:
- Select the Right Sandpaper: Use fine-grit sandpaper (220 grit) for smoother edges.
- Sand with Care: Gently sand the cut edges, moving in a circular motion to avoid creating flat spots.
- Check for Roughness: Run your fingers along the edges to feel for any remaining rough patches.
- Clean the Surface: Wipe away dust with a damp cloth to prepare for installation.
Frequently Asked Questions
Can I Cut Laminate Flooring Without a Power Saw?
You might be wondering if you can tackle laminate flooring without a power saw. The good news? You can! With the right hand tools and cutting techniques, you can achieve a clean cut. A utility knife and a straight edge can work wonders for thinner planks. Just score the laminate several times, then snap it along the line. It's a satisfying process that gives you the freedom to create a beautiful space without heavy machinery.
How Do I Fix Mistakes in Cutting Laminate Planks?
If you've made mistakes while cutting laminate planks, don't worry! You can often salvage the situation. First, assess the errors—if the cuts are uneven, use a fine-toothed saw for better cutting techniques. For plank alignment issues, try to reposition the planks or trim the edges carefully to fit. Remember, it's important to measure twice and cut once in the future to avoid similar mistakes. You've got this!
Is It Necessary to Acclimate Laminate Before Cutting?
Is it necessary to acclimate laminate before cutting? Yes, it is. Acclimation benefits your flooring and guarantees cutting precision. By letting the planks adjust to the room's temperature and humidity, you minimize expansion or contraction later. This process helps maintain the integrity of your cuts, reducing the chance of mistakes. So, before you plunge into your project, take the time to acclimate the laminate for a smoother, more successful installation.
What Is the Best Time of Year to Install Laminate Flooring?
When considering the best time for laminate flooring installation, think about the contrast between chilly winter drafts and summer heat. Ideally, spring or fall is your installation season, as the flooring temperature is more stable. This helps prevent expansion or contraction of the laminate, ensuring a smoother finish. You'll also enjoy the freedom of working without the extremes of weather impacting your project. Timing it right can make all the difference in your results!
Can I Reuse Leftover Laminate Pieces After Cutting?
Absolutely, you can reuse leftover laminate pieces after cutting! There are several reuse techniques you can try. For instance, consider using those scraps for small projects like creating coasters or picture frames. You can also patch up any damaged areas in your flooring. If you've got enough leftover, you might even create a unique design or pattern in another room. Don't let those pieces go to waste; get creative with your leftover projects!


