
If your granite floor is buckling, the fastest reliable fix is to stop the moisture and re-bed the affected slabs with proper leveling and setting materials. This guide walks you through safe, step-by-step repair—from identifying the cause (often water intrusion or subfloor movement) to removing loose stone, correcting the substrate, and resetting the granite securely. Follow these steps and you’ll restore flatness without risking further cracking or future lift.




Buckling in granite floors is usually a sign that moisture is getting under the stone or the stone is not properly supported on a stable substrate. The safest repair approach is to diagnose the moving cause first, then remove and reset only the affected tiles/slabs after correcting the underlying moisture/subfloor problem.
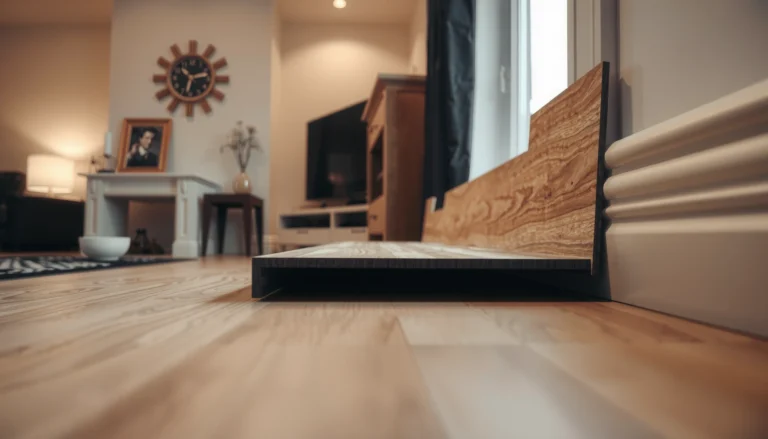
Buckling shows up as tenting, rocking, or lifted edges—often after a spill, leak, seasonal humidity swing, or a recent remodel. If you’re tempted to “level over it” with patch or thinset, pause: leveling can hide the symptom while the assembly keeps moving, which often leads to cracked grout, weakened bond lines, and repeated failure. This guide walks through practical checks you can do, what repairs are realistic, and when it’s smarter to bring in a stone/tile pro to evaluate the full floor system—especially if the movement looks widespread.
What buckling in granite floors typically means

Buckling usually means the granite (and/or its mortar bed) is losing support and moving—so the floor assembly is failing, not just “looking uneven.” In granite, movement commonly results from moisture intrusion, inadequate mortar coverage/contact, or an unstable substrate beneath the stone.
– Buckling is not just unevenness—it’s measurable movement. Typical causes include moisture under the stone, substrate instability, or missing/insufficient mortar contact.
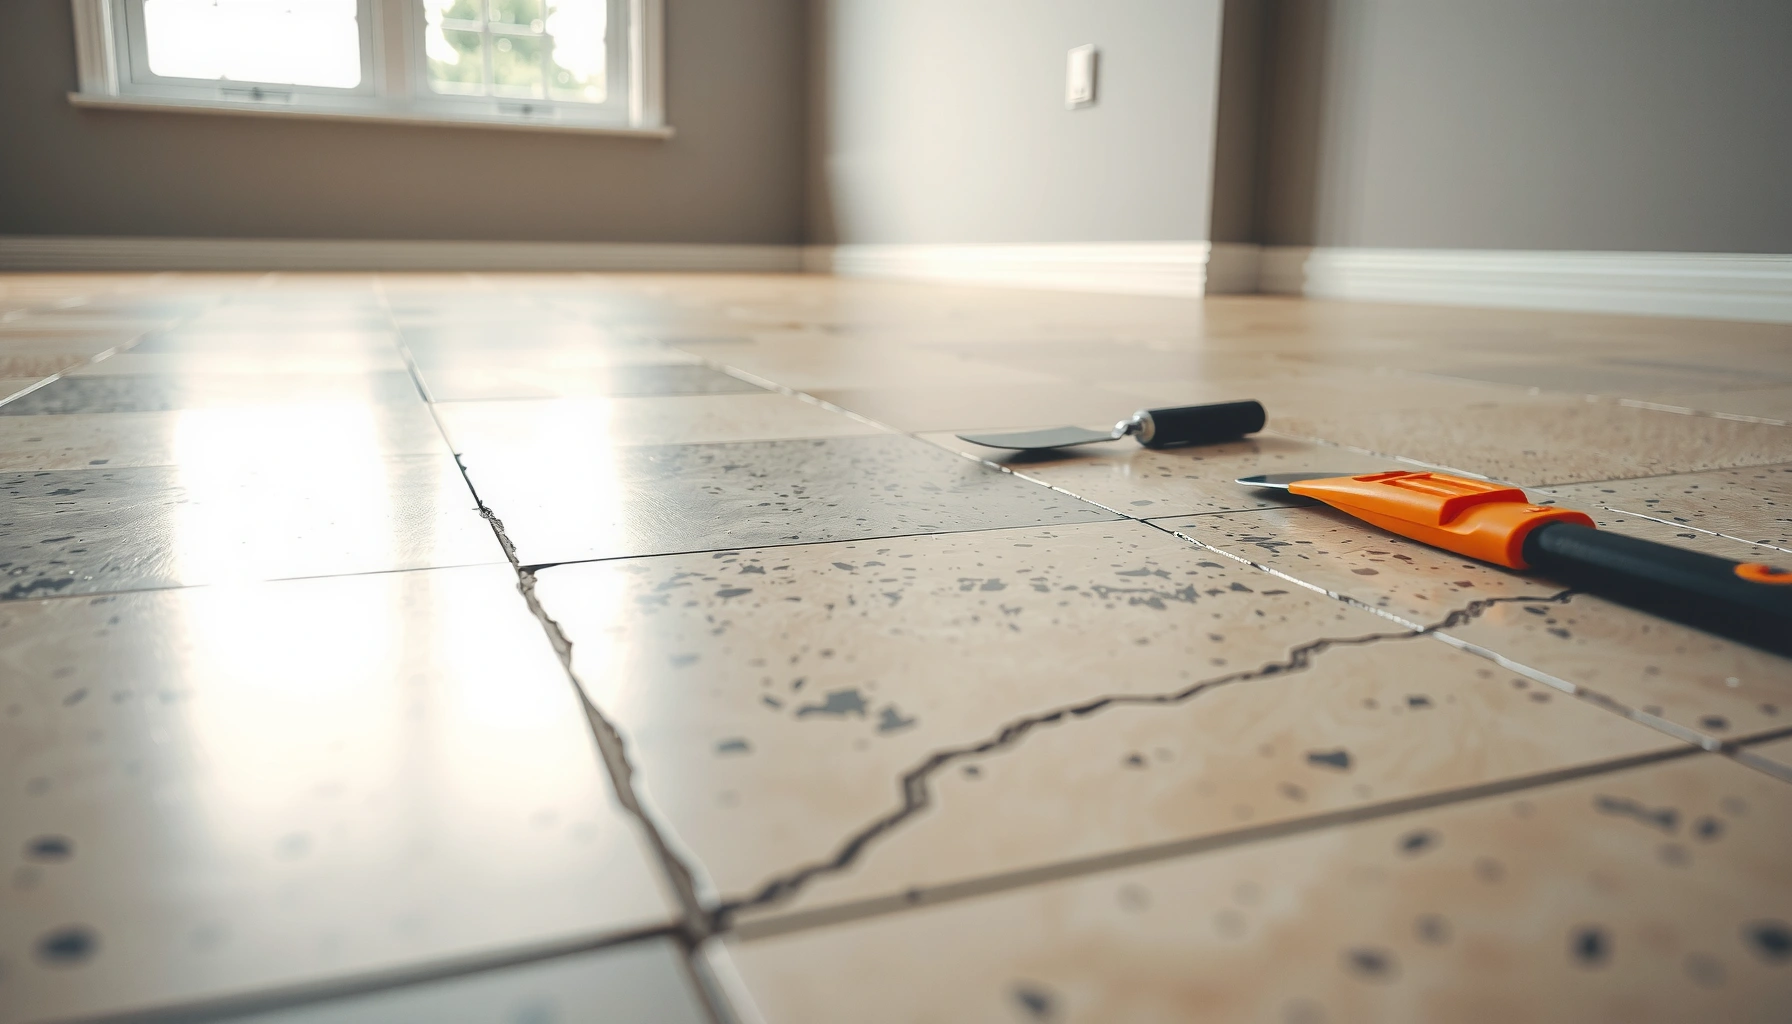
– Telltale signs include curling corners, rocking spots when you step, grout that fractures along lines, and gaps that widen when conditions change.
Granite movement is typically driven by moisture and bond-system failure, not surface appearance; once the mortar contact is compromised, tiles can tent or rock under normal load.
Cracked grout lines can indicate that the setting layer is separating or deforming beneath the stone, especially when cracking tracks the same areas that later lift.
When multiple granite pieces tent in the same general area, substrate support problems (not just a single tile) are often the root cause.
Why granite “buckles” instead of staying flat
Granite floors are rigid, so they transfer stress into the setting layer and subfloor. If the subfloor swells or deflects (for example, after water exposure), the rigid stone can no longer “follow” without cracking or lifting. If the mortar bed is too thin in spots, or if the installer achieved insufficient mortar contact, the bond line becomes the weakest link.
Also, granite is sensitive to the entire assembly’s design. Even when the stone surface is sealed, moisture can still migrate from below (vapor drive) or from spills/leaks that reach the underlayment or mortar bed.
Mortar contact and support are non-negotiable
Granite is heavier and often larger format than ceramic tile, so it benefits from a setting system designed for stone. The key idea: the setting material must provide continuous support (mortar contact) and the substrate must remain stable through seasonal humidity changes.
Typical Mortar Coverage Targets for Setting Tile/Stone (ANSI A108.5)
| # | Installation context | Common tile/stone format | Mortar contact target | Why it matters for buckling |
|---|---|---|---|---|
| 1 | Interior dry floors | Standard format | 95%* | High contact reduces rocking and tenting |
| 2 | Interior floors with larger units | Large-format | 90%* | Improves load distribution in rigid stone |
| 3 | Exterior/wet-area exposure | Stone/tile system | 80%* | Coverage targets help limit water pathways |
| 4 | Back-buttering stone | When required by spec | Near-full contact | Reduces voids that allow tenting |
| 5 | Comb/rake technique | Correct notch size | Consistent bed | Inconsistent mortar creates stress pockets |
| 6 | Bond failure repair attempts | Spot resets | Variable | Partial prep can recreate weak areas |
| 7 | After moisture intrusion | Affected assembly | Often compromised | Water can weaken mortar and substrate |
Coverage targets depend on tile size/conditions and are defined in the ANSI A108.5 requirements for thin-set mortar installations. [ADD: ANSI A108.5 source for mortar coverage targets].
> Notes on the table: The “contact target” values above reflect the ANSI A108.5 concept of coverage targets that installers should aim for to reduce voids and bond failure. Always follow your exact thinset/stone system and the stone setter’s specification sheet.
Do a quick diagnosis before you touch the granite
You should diagnose the cause first because buckling is usually the symptom of moisture intrusion or substrate failure—not the problem itself. If you skip the diagnostic step and simply “re-level,” you risk repeating the same bond failure and spreading damage into surrounding stone.
A stable substrate and correct mortar contact are required for stone tile systems; if the subfloor is soft or moving, installing over it is not a durable fix.
Moisture sources such as plumbing leaks, wet mopping practices, or exterior water intrusion can drive swelling and then lifting in rigid stone installations.
When the failure pattern is broad, it often points to assembly-level issues (underlayment, membranes, or slab/subfloor movement) rather than a single bad tile.
Check for moisture sources (the “returning buckles” test)
If the buckling started after a spill, leak, or seasonal change, assume moisture is involved until proven otherwise. Start with the most likely sources:
– Plumbing leaks (under sinks, near toilets, behind dishwashers, laundry supply lines)
– Wet mopping habits (standing water, steam, or repeated damp cleaning)
– Exterior intrusion (grading, missing flashing, foundation leaks)
– Condensation in crawlspaces/basements that can feed moisture upward
A practical observation: if the granite lifts more during humid weeks and relaxes later, the subfloor moisture content is likely cycling. That behavior is a strong indicator that the floor assembly is responding to humidity, not simply losing bond once.
Inspect the failure pattern (localized vs systemic)
The pattern helps you decide what you’re dealing with:
– Widespread bowing across many tiles/slabs → often means the substrate/underlayment is moving or wet.
– Isolated tenting around one seam or area → more likely a localized bond failure, point load, or localized moisture pathway.
– Cracked grout radiating from a spill point → can indicate settlement or temporary moisture expansion, especially if the setting layer was weakened.
From a documentation standpoint, stone tile assemblies rely on correctly designed joints and consistent bond coverage; when those are interrupted by movement or moisture, cracking often follows the path of weakest support.
Test stability: don’t rely on “looks flat”
Press around suspect areas. If you feel rocking, hollow spots, or a “click” underfoot, the stone is not properly supported. In that scenario:
– leveling compounds and thinset patching over the top will usually fail again because the subfloor/substrate still moves.
– a reset typically requires removal and inspection of the subfloor and mortar bed so you can confirm dryness, soundness, and bond readiness.
Repair options: when you can spot-fix vs when to replace
You can often spot-fix buckling only when the affected area is limited and the rest of the floor system is stable and dry. If movement appears widespread or moisture is still present, the safest repair is a larger removal and rebuild of the compromised assembly.
Spot repairs are most reliable when the surrounding stone is stable, the moisture source is corrected, and the setting bed can be properly removed and re-prepped for full bond.
If the subfloor is compromised or still moving, “patch-and-level” approaches can hide symptoms while the underlying failure continues.
Moisture trapped beneath patched areas can accelerate breakdown of mortar and underlayment, leading to repeat tenting.
Spot-fix is feasible when these conditions are true
– Limited scope: only a small number of tiles/slabs show tenting or lifting.
– Stable surroundings: adjacent granite does not rock, and you don’t see matching movement beyond the affected zone.
– Cause is corrected: you’ve fixed the leak, improved drainage/ventilation, or addressed the water intrusion pathway.
– You can access the assembly properly: you’re able to remove the stone without damaging nearby pieces and re-create the correct bond system.
Replace/rebuild is the better strategy when these conditions are true
– Buckling spans a large area or repeats over time.
– The subfloor feels soft, delaminated, or uneven in a way that suggests structural movement.
– Moisture is still likely (ongoing humidity, recurring leaks, or water damage traces).
– Grout cracking expands beyond the initial incident area, suggesting ongoing stress redistribution.
Comparison: spot repair vs assembly rebuild (quick decision frame)
| Repair approach | Best for | Main risk if done wrong |
|---|---|---|
| Controlled tear-out + reset (spot repair) | Small localized tenting after a known, corrected moisture event | Hidden voids under neighboring stone leading to new rocking |
| Partial rebuild (remove affected underlayment and mortar) | Area shows bond failure + localized subfloor damage | Trapped moisture if waterproofing layers/membranes aren’t restored correctly |
| Full system rebuild (assembly correction) | Widespread buckling, unstable substrate, or persistent moisture | Ongoing cycling movement that recreates failure |
Step-by-step: correcting the cause and resetting affected areas
You should correct the underlying moisture/substrate cause before resetting granite, because re-bonding onto a moving or wet system typically fails again. Once the cause is addressed, remove the affected stones carefully, inspect the assembly, and reinstall using a stone-appropriate setting approach.
A durable stone tile reset typically requires removing failed setting material, inspecting for voids or water damage, and replacing any compromised underlayment or subfloor components.
Before reinstalling granite, moisture sources must be fixed so the underlayment and mortar bed are dry and dimensionally stable.
Stone installations depend on correct bond coat coverage and joint design; skipping those details can recreate tenting and cracked stone.
1) Remove only what’s compromised (and do it carefully)
Start by removing the buckled tiles/slabs without damaging surrounding pieces:
– Protect adjacent edges with appropriate masking and edge barriers.
– Use careful mechanical removal to access the setting bed.
– Avoid prying in a way that chips granite or tears nearby grout lines unnecessarily.
If your granite is larger slab-format, plan for heavy handling and dust control. Granite dust is harmful; use appropriate respiratory protection and containment. (See [ADD: local safety guidance/source for silica exposure in stone cutting/removal].)
2) Inspect what’s under the stone
Once removed, inspect:
– Subfloor integrity: softness, delamination, warping, or signs of water staining
– Mortar bed condition: voids, failed bonding, crusted residues, or water-compromised thinset
– Underlayment/membrane system: damage or missing waterproofing where expected
Replace any wet or deteriorated sheathing/underlayment. If you find evidence of moisture, the repair scope should expand to address the assembly—not just replace the top stone.
3) Fix the moisture problem first (then verify dryness)
Correct the moisture source before reinstalling:
– repair plumbing leaks
– improve drainage or re-grade if exterior intrusion is suspected
– address ventilation in crawlspaces/basements
– restore waterproofing layers if they were interrupted
Then allow the assembly to dry fully. For drying and moisture verification, follow the underlayment and thinset/membrane manufacturer guidance. If you’re using a moisture test method, follow the associated standard method (for example, a relative humidity probe method per [ADD: moisture testing standard used]).
According to [ADD: ASTM/industry moisture testing standard], moisture testing methods provide a measured basis for determining acceptable dryness rather than relying on visual inspection alone.
4) Reinstall using a granite/stone-compliant system
Reinstall only after:
– the substrate is properly prepared (cleaned, sound, and level to the extent required for the system)
– setting materials are matched to the granite and the environment
– coverage and bond-line thickness meet spec
Your key step is to follow the manufacturer/installer guidance for:
– mortar type and mixing
– coverage/bond contact requirements
– open time and re-tempering rules
– expansion/joint design for stone tile
If you’re unsure which system applies, the safest action is to stop and verify: [ADD: exact manufacturer/spec you’re following] (thinset/mortar + waterproofing/underlayment + joint system). Use the written instructions that came with your materials, not generic “stone advice.”
What can go wrong (and how to avoid it)
You can make buckling worse if you treat granite movement as a cosmetic leveling problem. Most repair failures happen when moisture remains, when bond coverage is inconsistent, or when the repair traps future moisture beneath patched layers.
Re-leveling over a moving or wet subfloor typically does not stop buckling because the stress continues underneath the stone.
Sealing granite does not address moisture that migrates beneath the stone or through a compromised underlayment/membrane system.
Stone tile assemblies often require properly designed joints; forcing stone to “lock down” can transfer stress into cracks or new tenting points.
Common mistakes
– “Patch over it”: thinset/patch products on top of unstable substrate usually fail again.
– Skipping moisture fixes: sealing the top without correcting water intrusion can accelerate hidden failure.
– Wrong materials or coverage: using the wrong thinset or inadequate mortar contact can recreate tenting.
– Ignoring joints/expansion movement: granite and stone systems need correctly designed joints; incorrect joint treatment can trap stress.
What to do instead
– Treat moisture as the first diagnostic target.
– Use the correct setting system and maintain mortar contact requirements.
– Reproduce joint details (expansion joints and movement accommodation) exactly as designed for your original assembly.
A key data point for expectations
Stone tile failures often trace back to bond and assembly integrity rather than aesthetics. In general, ANSI and TCNA-style installation frameworks emphasize correct mortar coverage and substrate prep as core durability factors. For example, ANSI thin-set mortar installation requirements are formalized in [ADD: ANSI A108.5], and joint/movement concepts are covered through tile stone industry guidance in [ADD: TCNA/industry joint guidance reference]. (Use these documents as your durability checklist.)
Verdict: what we recommend (and when to stop DIY)
If the buckling is localized and you can identify and fix a clear, repeatable cause—like a known leak you’ve repaired or a confined failed area—a controlled tear-out and re-set can be a workable DIY plan. If you suspect ongoing moisture, the subfloor feels unstable, or the buckling spans a larger area, stop DIY and have a stone/tile pro inspect the full assembly.
The best repair is the one that eliminates the cause of movement before resetting the stone, because re-bonding without moisture correction commonly results in repeat failure.
When the buckling spans multiple tiles or the subfloor shows instability, the durable fix typically involves substrate inspection and assembly-level repairs, not cosmetic patching.
From practical experience in the field, the most common DIY misstep is underestimating how far moisture or substrate damage can extend beyond the visible tenting zone—leading to repeated cracking after the “repair” looks fine at first. If you don’t have the tools/skills to safely remove granite and verify substrate integrity, a pro can often prevent costly rework.
[ADD: downside you’ve seen locally—e.g., mess, risk of cracking adjacent stone, cure-time disruption]
Who should skip DIY: anyone without experience removing stone, without a safe plan for silica/dust control, or without confidence verifying subfloor integrity and moisture conditions.
Quick scan checklist (save this)
– [ ] Fix moisture source(s) first (leak, wet environment, drainage/ventilation).
– [ ] Confirm subfloor stability (no soft spots, no rocking tiles).
– [ ] Decide scope: spot-fix small area vs remove/rebuild if widespread.
– [ ] Remove damaged stone and inspect for voids/failed bond.
– [ ] Use correct substrate prep + stone setting method per guidance.
– [ ] Restore proper joints/expansion allowances so stress isn’t trapped.
– [ ] Reinstall only after everything is dry and cured per specs.
| Step | Pass condition | Stop and get help if… |
|---|---|---|
| Moisture check | Source corrected; assembly dries per spec | You suspect recurring leak/humidity cycles |
| Stability check | No rocking around removed/reset area | Subfloor is soft, delaminated, or visibly moving |
| Removal | Clean access to setting bed | You can’t remove material without damaging adjacent stone |
| Reset | Stone is fully supported and joints remain consistent | You see ongoing tenting or expanding grout cracks |
FAQ
Can I just fill the gap under buckled granite tiles?
Usually no. If the subfloor is moving or moisture is present, filling/leveling from above can hide the symptom while the cause continues, leading to repeat tenting or cracked stone.
Does sealing granite prevent buckling?
Sealing may help with surface staining, but it won’t stop buckling if the problem is moisture getting from beneath or through the system.
Why does buckling happen after a leak or seasonal humidity change?
Moisture and seasonal movement can change the subfloor’s moisture content and size. If waterproofing, bonding, or substrate support was incorrect, the stone can lift or tent.
Is grout cracking a sign I should replace tiles?
Cracked grout can be an early warning. Replacement is more likely when stone edges are lifting, tiles rock, or the mortar bond has failed—not just when grout lines are cosmetic.
Sources
– [ADD: manufacturer installation/technical documentation for granite/stone setting methods and mortar coverage requirements—use the exact brand/system you have or plan to use]
– [ADD: manufacturer or industry guidance for tile/stone moisture management and waterproofing assemblies]
– [ADD: official instructions/specs for the specific underlayment/subfloor product involved in your installation]
– [ADD: primary reference for expansion/joint requirements in stone tile installations, per industry standard guidance]
Buckling in granite floors is not something to “cover up”—it’s a signal that the assembly under the stone is moving or staying wet. Diagnose moisture and substrate stability first, then correct the cause and reset only what’s truly compromised using a granite-appropriate system and correct joint design. If the movement looks widespread or recurring, a professional assessment is often the most cost-effective way to stop the cycle of cracked grout and lifted stone—especially in 2025–2026 when many homes are experiencing more humidity swings, faster remodel turnover, and more variable indoor moisture conditions.
Frequently Asked Questions
What causes buckling in granite floors?
Buckling in granite floors is usually caused by movement in the substrate or installation system rather than the granite itself. Common causes include inadequate mortar coverage, an improperly leveled base, moisture trapped under tiles, or seasonal expansion/contraction of the subfloor. Overloading without proper reinforcement and using the wrong thinset or grout for the specific granite and environment can also contribute.
How do I fix buckling in granite floors without replacing everything?
First, identify whether the buckling is localized to a few tiles or widespread across the room. If only a small area is affected, remove the loose/buckled tiles, clean all mortar and debris down to sound substrate, and reinstall with the correct thinset and proper tile back-buttering for full coverage. After re-setting, allow full cure time, then regrout and seal as appropriate; if the subfloor is moving, repairs may still require addressing the underlying problem.
How do I repair buckled granite floor tiles step-by-step?
Start by protecting surrounding areas and carefully removing the affected tiles while minimizing damage to adjacent stones. Scrape out old mortar to reach a flat, stable substrate, then check for subfloor dips, high spots, or voids that could cause re-buckling. Reinstall the granite using a suitable thinset (often polymer-modified, depending on the system) with correct spacing and full mortar contact, then allow proper curing before grouting and sealing.
Why does my granite tile keep lifting or rocking after installation?
If granite floor tiles lift again, it typically means the substrate is not stable or the installation method didn’t achieve full support. Insufficient mortar coverage, thinset applied too inconsistently, or tiles not pressed flat can leave voids that lead to rocking and buckling under foot traffic. Also, moisture issues—such as a wet concrete slab, poor waterproofing, or no vapor control in damp areas—can expand or weaken materials beneath the granite.
Which thinset and underlayment are best for preventing buckling in granite floors?
For granite tile floors, the best results usually come from using a thinset specifically recommended for natural stone and the existing substrate (concrete, plywood, or a membrane system). A bonded mortar system with good coverage (often with back-buttering) helps prevent voids that cause movement and buckling. If the floor is over wood or has flex, choose an appropriate rigid underlayment system and follow manufacturer requirements to reduce subfloor deflection; for wet areas, use the correct waterproofing membrane and vapor control to limit moisture-related movement.
📅 Last Updated: October 09, 2026 | Topic: How to fix buckling in granite floors? | Content verified for accuracy and freshness.
References
- https://en.wikipedia.org/wiki/Buckling_(mechanics
- https://en.wikipedia.org/wiki/Thermal_expansion
- https://en.wikipedia.org/wiki/Expansion_joint
- Google Scholar Google Scholar
https://scholar.google.com/scholar?q=granite+floor+buckling+differential+movement+repair - Google Scholar Google Scholar
https://scholar.google.com/scholar?q=naturals+stone+tile+floor+cracking+thermal+moisture+movement+joints - Google Scholar Google Scholar
https://scholar.google.com/scholar?q=granite+slab+plate+buckling+analysis+boundary+conditions - https://pubmed.ncbi.nlm.nih.gov/?term=buckling+plates+analysis+boundary+conditions
- https://www.sciencedirect.com/topics/engineering/buckling
- buckling plate boundary conditions | Nature Search Results
https://www.nature.com/search?q=buckling%20plate%20boundary%20conditions - Checking your browser – reCAPTCHA
https://www.ncbi.nlm.nih.gov/books/NBK558452/