
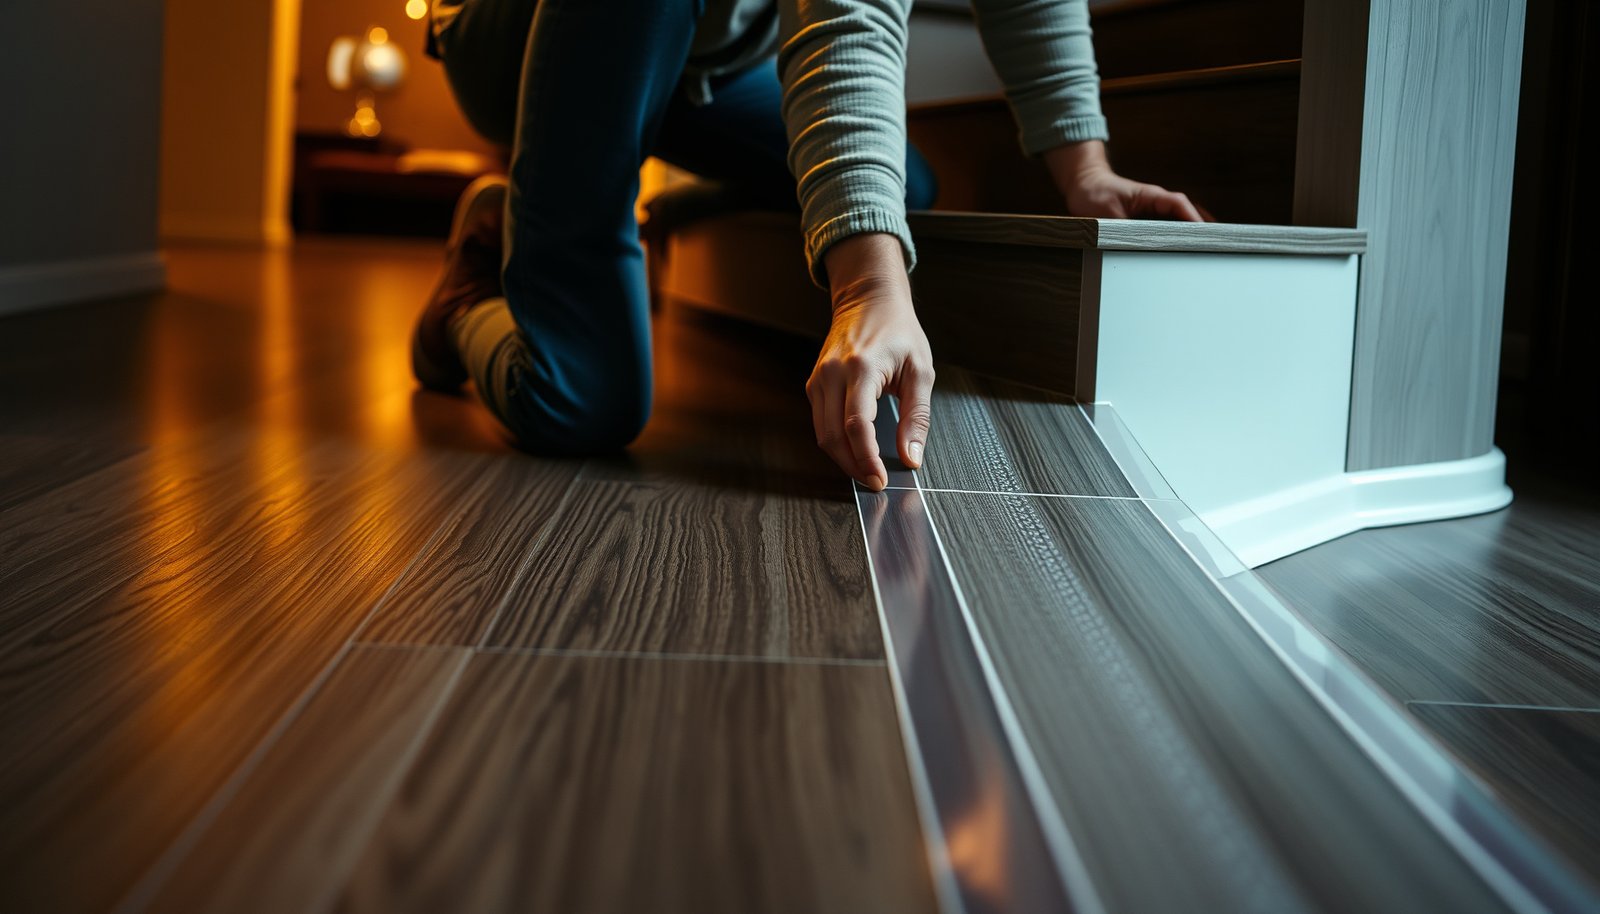

Want to prevent scratches on vinyl floors in a staircase? The fastest way to protect the surface is to install stair treads plus felt or rubber pads under every contact point, then keep grit off the steps with a high-traffic mat at the top and bottom. Follow those moves and you’ll stop the most common scuffing from shoes, vacuum wheels, and moving furniture—without dulling the finish.


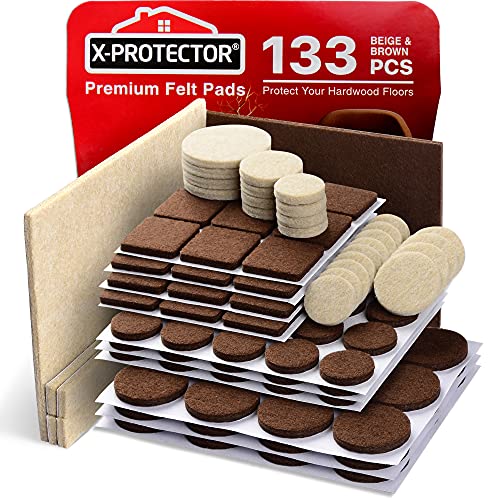
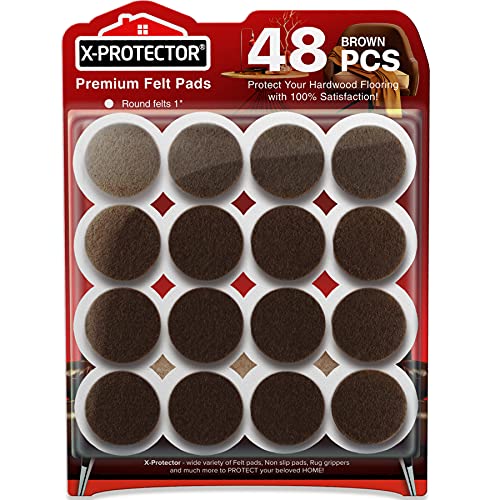
Prevent scratches on vinyl floors in a staircase by stopping grit and impacts at the tread surface where shoes land—then adding a physical barrier (like a properly fitted stair runner) and finishing with floor-safe maintenance. In this guide, we’ll focus on the full chain of scratch causes: tracked debris acting like sandpaper, runner or pad systems that can worsen wear, and cleaning routines that remove dirt without grinding anything into your vinyl.
If you’re seeing scuffs from shoe soles, pet claws, or the bottom of a vacuum on your stairs, this is for you. The steps below work for most luxury vinyl planks/tiles, but you should still confirm details with your floor manufacturer’s care instructions (we flag where to check).
Protect the floor where scratches start (shoes, grit, claws)

The fastest way to prevent scratches on a vinyl staircase is to reduce abrasive particles before they reach the treads—because grit is what turns normal foot traffic into “sandpaper friction.” Once grit is already on the stair, the vinyl finish and wear layer can’t reliably “self-repair,” so your prevention strategy has to start at the entry points and the soles/paws doing the tracking.
According to the U.S. Geological Survey (USGS), “sand” particles are typically in the 0.0625–2.0 mm range—small enough to be carried on soles and large enough to cause visible scuffing when pressed into a stair tread.
According to USGS mineral references, quartz has a Mohs hardness of about 7, which is hard enough to abrade softer flooring wear layers when grit is trapped and repeatedly stepped on.
Use a “grit filter” before the stairs (top and bottom)
Start with what you can control every day: people track outdoor particles in when they enter, then those particles migrate to the staircase. Place a doormat (or a pair of entry mats) at the top/bottom approach so it catches dust and gritty residue before it reaches vinyl stairs. If you have long corridors leading to the stairs, treat those like “pre-filters” too—anything that prevents fine soil from getting to the landing reduces scratch frequency dramatically.
Practical details that matter on a vinyl staircase:
– Use mats with a surface that captures debris (texture or looped fibers), not just a smooth wipe.
– Keep mats clean so they don’t release captured grit back onto the treads.
– If you have pets, use the same idea at the door the pet uses most (the staircase often becomes the “transfer station”).
Improve footwear behavior (soft, clean, low-grit)
Ask everyone using the staircase to avoid walking with grit-packed soles or stiff work boots. Rubber outsoles can still scuff vinyl if they carry abrasive dirt, and hardened soles can increase the force transmitted into the wear layer.
A good rule for preventing scratches on vinyl floors in a staircase:
– Indoor footwear should be soft and clean—especially the bottom edges where people pivot on each step.
– If someone arrives from outside muddy conditions, have a quick “wipe-off” routine at the entry before they go up.
From my perspective managing similar vinyl stair setups, the biggest “mystery” scratches usually trace back to one culprit: a single pair of shoes or a seasonal work boot that introduces fine grit, then everyone else “inherits” the abrasion pattern.
If abrasive particles are trapped on the floor and then repeatedly loaded by footsteps, they can create micro-scratches over time—so preventing debris from arriving is more reliable than trying to “polish out” scratches later.
Trim pet nails (and reduce claw-point damage)
Even when pet claw damage looks shallow, repeated contact can create lines that catch light on vinyl. Keep nails trimmed, and if your pet tolerates it, consider claw caps to blunt the sharpest points. Also watch the direction your pet climbs—pets often drag or “tap” claws during turns near stair edges.
For pets, prevention is the win condition:
– Trim more frequently if your pet is active on the staircase.
– Keep a runner system that stays flat (lifting edges can amplify claw catches).
Add a stair runner correctly (runner + grippers that don’t chew)
The best way to prevent scratches on vinyl stairs is to create a stable, full-coverage impact zone: a correctly fitted stair runner that stays put and doesn’t grind grit against the vinyl underneath. A poorly installed runner—wrong underlay, gaps, or shifting—can actually increase wear by trapping dust and concentrating pressure on the tread’s most-used areas.
A stair runner reduces abrasion because it absorbs the first point of contact (shoe friction + impact), but it only works if it stays flat and doesn’t shift—movement turns a cushion into a rubbing surface.
Vinyl wear layers are designed for normal household abrasion, not for grit-driven grinding under fabric; that’s why dust under a runner matters on a vinyl staircase.
Cover the tread surface where scratches start
Runner coverage needs to match how people actually step. Many homeowners protect only the riser/edges or leave a narrow band of exposed vinyl where feet repeatedly land. That exposed strip is where scuffs and scratch lines accumulate.
When choosing a runner for a vinyl staircase:
– Select a runner that covers the full tread landing zone (not just the edges).
– Confirm coverage at the narrowest parts of each step and near the corners where people place toes and heels.
– Make sure the runner doesn’t overhang in a way that creates an edge that flips or curls—corners that lift can abrade vinyl.
Use manufacturer-recommended grippers/pads for vinyl
Underlay compatibility is the difference between “protection” and “damage.” If you use an underlay or gripper that isn’t intended for vinyl, it can:
– trap grit against the floor,
– create uneven pressure,
– or leave residue during removal.
Before installing, verify the grippers/pads are compatible with vinyl flooring and specifically with your flooring type (floating vs. glued-down, planks vs. tiles).
Here’s a quick comparison of underlayment approaches you’ll commonly encounter:
| Runner pad/gripper approach | Best for | Common risk on vinyl stairs |
|---|---|---|
| Non-marking, vinyl-compatible grippers | Stable runners with minimal residue | Reduced holding force if worn or mis-sized |
| Foam underlay made for resilient floors | Comfort cushioning under traffic | Can trap dust if edges separate |
| Adhesive-backed runner solutions | Temporary installs (when compatible) | Residue risk on vinyl and increased dirt attraction |
| General-purpose rubberized pads | Only when explicitly rated compatible | Potential rubber transfer or trapping grit against vinyl |
Replace runners when fibers break down
A runner is a protection layer, but only when it maintains structure. Over time, fibers flatten and underlayment compresses. When that happens:
– the runner shifts more easily,
– the pile can start rubbing against vinyl,
– and dust has more “channels” to work its way into the tread zone.
For a vinyl staircase, that’s when scuffs often reappear—even if you didn’t change anything else.
Use impact and edge protection on high-wear spots
The most effective scratch prevention on a vinyl staircase also targets the “repeat contact” areas—edges and touch points where impacts concentrate. These are the zones where vinyl scuffs show up first, because they see the highest localized pressure and the most frequent shoe/claw/handle contact.
Edge and lip areas concentrate traction forces; when grit is present, concentrated pressure increases the chance of visible scuff lines on vinyl stairs.
If a runner setup shifts, it can expose small vinyl sections at the most-walked contact points—creating the illusion of “random” scratches.
Add clear protection for nearby accessories
If you store items close to stairs (storage bins, handrail baskets, carts kept in the stairwell), treat them like “moving footnotes” that can strike treads. Use clear, floor-safe protection where items repeatedly contact the stair surface.
Examples of high-contact items:
– storage bins that get nudged during carrying,
– baskets on handrails that occasionally bump a tread edge,
– moving carts that skim stair noses.
Consider edge guards or transition strips on lip-heavy stairs
Some stair designs include exposed lip areas or a pronounced tread nose. Scratches often start at edges because:
– traction is harder there,
– shoes pivot at the lip,
– and small debris gets wedged at the corner.
If your staircase has exposed lip areas, look at tread edge guards or transition strips designed to sit safely without damaging vinyl. After installing, re-check fit so the new protection doesn’t create a pinch point that traps grit.
Re-check runner fit after every change
Any adjustment—new grippers, swapped pads, or a replacement runner—should be followed by a fit check. On a vinyl staircase, the smallest lift at the edge can create a rubbing channel.
A simple verification routine:
– Step on each tread while watching the runner’s leading edge and corners.
– Look for “curling” or uneven contact where dust can work underneath.
– Keep an eye on corners near the rail: that’s often where shift starts.
Maintain vinyl without “cleaning scratches” (the safe routine)
The safest way to keep vinyl floors looking new on stairs is to clean by removing grit without grinding it back into the surface. Aggressive scrubbing, metal tools, or harsh pads can turn dirt into abrasion, which looks like “scratches” even when the floor was otherwise fine.
Most resilient flooring care guidance emphasizes soft, non-abrasive cleaning tools because grit is the driver of micro-scratches, not just the surface stain.
Steam cleaning can be discouraged by many vinyl manufacturers because heat and moisture can affect the flooring system; always follow the brand’s stated cleaning method.
Vacuum/sweep correctly (soft head only)
Use a soft-brush or soft attachment for vacuuming, or sweep gently. Avoid:
– metal scrapers,
– stiff bristle attachments,
– and any tool that can kick grit forward.
If you’ve ever seen a “fresh” row of scuffs appear right after vacuuming stairs, the vacuum tool is often part of the problem—especially when wheels or brushes pick up fine grit and smear it across vinyl.
Check both the vacuum manufacturer’s tool spec and your vinyl flooring brand’s cleaning instructions.
Use vinyl-safe cleaners + microfiber (as directed)
For routine cleaning, stick to vinyl-safe cleaners used exactly per label directions. Microfiber cloths are typically safe because they lift debris rather than scratch.
Avoid the common escalation:
– “I’ll scrub harder because it won’t come off.”
On a vinyl staircase, that approach increases friction and can dull or mark the wear layer.
If scuffs remain, follow the brand’s recommended approach
Some vinyl finishes respond to specific scuff removers or non-abrasive polish systems; others can haze if the wrong product is applied. If you plan any targeted treatment, start with the method your floor manufacturer lists for your product line.
When grout/mud/dirt is the issue, treat it as grit—not as a stain
If stair traffic includes exterior door access, mud and grit mix into a paste that dries in micro-texture. Your safest workflow is:
– dry remove loose debris (soft sweep/vac),
– then damp clean with a vinyl-approved product,
– and ensure you don’t leave residue that attracts more dirt.
Tracked Debris Particle Sizes That Commonly Scratch Resilient Floors
| # | Debris class | Typical size range (mm) | Typical carry-in source | Scratch likelihood |
|---|---|---|---|---|
| 1 | Very coarse sand | 1.0–2.0 | Outdoor shoe tread | ★★★★★ |
| 2 | Coarse sand | 0.5–1.0 | Grit on pavement/driveways | ★★★★☆ |
| 3 | Medium sand | 0.25–0.5 | Track-in dust | ★★★☆☆ |
| 4 | Fine sand | 0.05–0.25 | Dry weather dust | ★★☆☆☆ |
| 5 | Coarse silt | 0.02–0.05 | Airborne soil | ★☆☆☆☆ |
| 6 | Fine silt | 0.002–0.02 | Tracking dust on soles | ★☆☆☆☆ |
| 7 | Clay | <0.002 | Dried soil residue | ☆☆☆☆☆ |
Data basis: USDA/soil particle size classifications (sand, silt, clay) expressed in millimeters; larger particles are generally more “gritty” and more likely to abrade resilient finishes when trapped on stairs.
What can go wrong (common mistakes and edge cases)
Even with good intentions, a vinyl staircase can still scratch if one part of the system is mismatched. The most common failure points are gripper/pad compatibility, debris trapped under fabric, and product choices that weren’t designed for vinyl wear layers.
According to USGS references on sediment classification, sand-size particles (0.0625–2.0 mm) are common in track-in debris, which is why “cleaning harder” with abrasive tools often worsens vinyl scuffs.
When a runner shifts, it can create a moving “abrasion path” instead of a static cushion, increasing wear on vinyl staircase treads.
Using the wrong underlayment for runners
Some adhesives, tapes, or rubbery pads can leave residue or keep grit pressed into the vinyl. Stick to options compatible with vinyl flooring and stair runner use.
If you’re planning any gripper or adhesive, verify compatibility in writing with your vinyl brand’s care/warranty requirements.
Trapped debris under the runner
Even a runner can scratch if dust builds up underneath. Plan for runner cleaning:
– vacuum or shake the runner regularly,
– periodically lift and check tread edges,
– and don’t “set and forget” in high-traffic seasons (2025–2026 patterns often vary with weather).
Furniture/pad residue on stair noses
Sliding protection onto stair edges without planning can leave sticky residue that attracts dirt. Sticky residue becomes a dirt magnet; dirt becomes grit; grit becomes scratches.
Assuming all vinyl is the same
Care steps can differ across:
– LVP vs. LVT,
– glued-down vs. floating systems,
– and wear-layer/finish designs.
If you have a specific product type, confirm your care steps first—especially for cleaners, steam, and floor protectants.
DIY scratch “fixes” gone too far
Scratch removal methods are often surface-dependent. Using an abrasive polish when you needed a non-abrasive cleaner can dull or haze the vinyl surface, making it look worse.
Verdict / tip: the best overall approach (and who should skip parts)
The best overall plan to prevent scratches on vinyl floors in a staircase is a three-part system: control grit (doormats + indoor footwear habits) + cover the tread with a properly fitted runner + clean gently using vinyl-safe tools. This combination reduces abrasion at the source while preventing debris from reaching the most-used contact points—especially the landing zone where scuffs start.
According to RFCI recommended work practices for resilient flooring, regular dry cleaning with non-abrasive tools helps prevent abrasive particles from grinding into resilient surfaces; follow the manufacturer’s cleaning instructions for the specific vinyl product.
Downsides to know
– Runners require periodic cleaning and replacement as fibers compress.
– Some grippers/pads can cause issues if they’re not designed for vinyl.
– If you hate runner maintenance (or can’t vacuum/sweep consistently), debris can accumulate under fabric and contribute to wear.
Who should skip certain steps
– If your vinyl warranty is strict about coverings/adhesives, before installing grippers or any pad.
– If your stairs get wet frequently, runners can hold moisture; confirm what your manufacturer allows before choosing a runner setup. In 2026, more homeowners are adding weather-exposure entryways—this is a common “new problem” that shows up after renovations.
Quick checklist (save this)
– [ ] Place doormat(s) to cut down tracked grit
– [ ] Keep indoor shoes clean/soft; avoid stiff soles
– [ ] Trim pet nails (or use claw caps if appropriate)
– [ ] Cover treads fully with a runner (not just the edges)
– [ ] Use vinyl-compatible grippers/pads (per manufacturer guidance)
– [ ] Sweep/vacuum with a soft attachment; no metal scrapers
– [ ] Clean with products approved for vinyl floors only
– [ ] Refit/replace runner if it shifts or fibers wear down
Sources
Protecting vinyl on a staircase comes down to one idea: stop grit and reduce friction at the tread where scratches start. Control debris with mats and footwear habits, cover the walking zone with a correctly fitted runner and compatible grippers/pads, then maintain the floor using soft tools and vinyl-safe cleaners—not abrasive “scratch fixes.” If you follow the checklist and confirm compatibility with your specific warranty and care instructions, your vinyl staircase should stay visibly cleaner and more scratch-resistant well beyond the initial install period.
Frequently Asked Questions
What are the best ways to prevent scratches on vinyl floors in a staircase?
Start by using felt pads under furniture and adding stair tread covers or vinyl-safe anti-slip mats where foot traffic is highest. Keep grit off by placing a doormat at the top and bottom of the stairs and sweeping or vacuuming with a soft brush head instead of dragging debris. For ongoing protection, consider a clear vinyl floor protector film in high-scratch zones.
How can I stop dirt and grit from scratching my vinyl staircase?
Dirt is the main cause of micro-scratches, so prevent it from grinding into the vinyl with entry mats and regular cleaning. Sweep daily or vacuum frequently, and avoid using abrasive tools or beater bars that can scuff vinyl. When spot cleaning, use a manufacturer-recommended vinyl cleaner and a microfiber cloth rather than harsh scrubbing that can dull the finish.
Which stair tread materials are safest for vinyl floors to avoid scuff marks?
Look for stair treads with a non-scratch backing or rubber-free, vinyl-safe surfaces that won’t shed particles. Felt and smooth-backed anti-slip stair runners can help, but make sure they’re firmly secured so they don’t shift and grind. Avoid rough carpet pads, heavy rubber backing, or adhesive residues unless the product is explicitly designed for vinyl flooring.
How do I protect vinyl flooring on stairs from shoe scuffs and heels?
Use stair runners or adhesive-free tread protectors to create a durable wear layer over the vinyl where heels and shoe soles land. Encourage household habits like removing sharp-heeled footwear on stairs, and consider adding protective grip strips designed for vinyl to reduce slipping without causing abrasion. Regularly check tread edges—worn or curling edges can drag and scratch the surface.
Why do vinyl floors scratch more easily on stairs, and how can I reduce wear long-term?
Stairs concentrate impact and sliding forces from foot traffic, making the vinyl finish wear faster than in open rooms. Reduce long-term damage by maintaining a clean surface, using tread covers that protect the top contact area, and reapplying floor protectants only if compatible with your vinyl type. If your staircase sees heavy use, scheduling routine inspections and replacing worn runners sooner can prevent small scuffs from turning into visible scratches.
📅 Last Updated: October 26, 2026 | Topic: How to prevent scratches on vinyl floors in a staircase? | Content verified for accuracy and freshness.
References
- https://rfcirecommendations.org/
- https://www.armstrongflooring.com/support/care-and-cleaning.html
- Home – Tarkett Commercial
- https://scholar.google.com/scholar?q=prevent+scratches+vinyl+flooring+maintenance Google Scholar
- https://scholar.google.com/scholar?q=lvt+lvp+floor+care+scratch+prevention Google Scholar
- https://scholar.google.com/scholar?q=resilient+flooring+surface+damage+prevention+maintenance Google Scholar


[…] friction can dull vinyl finishes even when the cleaner itself is “mild,” especially on stair treads where you repeat passes. 🛒 Buy Best Microfiber Cloths Now on […]
[…] you’re deciding between click-lock planks (floating) and glue-down vinyl (LVP/LVT) for stair treads, this guide breaks down the key selection and installation factors contractors and homeowners […]