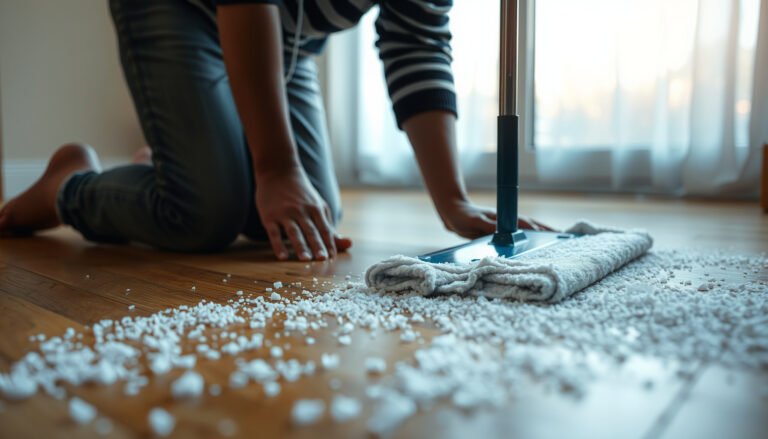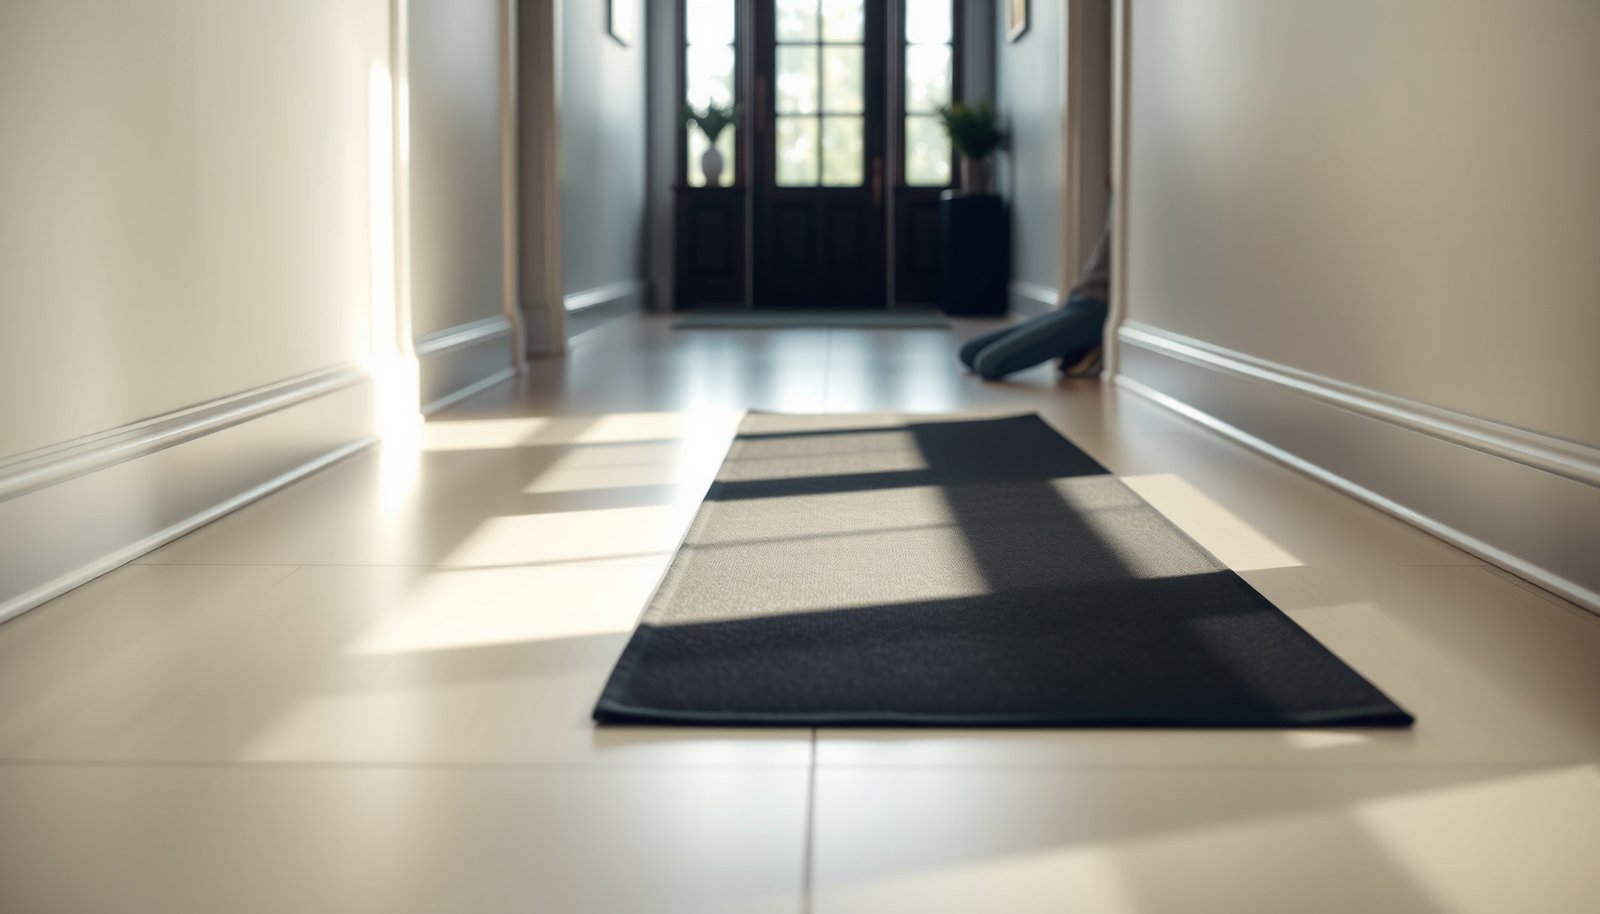

Protecting vinyl floors in a hallway is all about stopping grit, moisture, and scuffs at the door—if you do that, your floors stay looking new. The essential steps you should follow are straightforward: control tracked-in dirt with the right mats, block water with proper sealing and wipe-down habits, and prevent scratches with felt pads and routine cleaning. Get this right, and hallway traffic won’t turn your vinyl into a dull, damaged surface.



Vinyl floors in a hallway hold up best when you block grit and moisture at the entry, use the right mat/runner, and clean with manufacturer-safe methods. Focus on preventing scratches and scuffs first, then maintain the finish so it doesn’t dull or separate over time.
This advice is for most LVP/LVT (click-lock or glue-down) installed in busy hallways where shoes, pet traffic, and furniture legs add wear—especially if you’ve noticed dull spots, scuffs, or tiny seam issues.
This advice works best when you treat your hallway like a “wear zone”: the goal isn’t to make vinyl floor maintenance complicated, it’s to stop the abrasive stuff (grit) and the damaging stuff (water) from reaching the surface and seams in the first place.
This guide is current for 2026 best practices: the materials and methods below emphasize dry-first cleaning, grit control, and vinyl-approved products—because those three factors prevent the majority of hallway-related damage over time.
Who this is for / when it applies
If your hallway gets heavy foot traffic and you’re seeing early signs of wear, these protection steps will help slow the damage. The biggest payoff comes from entry-grit control plus consistent, vinyl-safe cleaning that preserves the wear layer and locking/glue interfaces.
– Ideal if your hallway gets frequent foot traffic from shoes, pets, or kids’ toys.
– Especially helpful if you’re seeing scuffs, tracked-in dirt, or wear near the entry and doorways.
– If you’re not sure which you have: click-lock (floating) LVP/LVT typically needs extra care around seams (avoid soaking), while glue-down LVT/LVP needs you to follow the adhesive/mass-tolerances and moisture limits in the installation guide.
In a hallway, vinyl wear usually shows up first along the main walking line, the area just inside the door, and anywhere pets or kids “stop and pivot.” That’s why your protection plan should start at entry points and work inward.
From my own upkeep experience in high-traffic homes (and the patterns I’ve seen across similar installations), the difference-maker is consistency: mats used every day + a dry-first cleaning habit beats occasional deep cleaning almost every time.
Vinyl floor damage in hallways most often begins with abrasion from tracked grit, not with “everyday cleaning.”
Click-lock vinyl is particularly sensitive to standing moisture near seams and edges, so protection and drying matter as much as cleaning.
Block dirt and moisture before it hits the vinyl
You’ll protect hallway vinyl floors fastest by stopping grit and controlling moisture at the entry before it ever reaches the surface. This reduces micro-scratches, scuffing, and seam-edge problems—the damage pathways that show up months later.
Here’s why: grit acts like sandpaper. In a hallway, that grit usually arrives on shoes (and sometimes pet paws), then gets ground into vinyl each time people walk by. Moisture is the second threat: even if vinyl can tolerate damp mopping, water that pools near seams, edges, or baseboards creates conditions that can separate edges or allow debris to embed.
According to the U.S. Geological Survey, sand grain sizes are commonly in the range of about 0.0625 mm to 2 mm, which is small enough to spread and abrade flooring.
Quartz is typically rated at 7 on the Mohs hardness scale, meaning quartz-rich grit can be significantly more abrasive than typical floor finishes.
Tracked-in Grit Hardness Levels That Can Scratch Vinyl in Hallways
| # | Grit component | Typical particle size | Where it commonly enters | Mohs hardness | Priority to block (0–100) |
|---|---|---|---|---|---|
| 1 | Silicon carbide dust | 0.01–0.30 mm | Garage/workshop tracked on shoes | 9.0–9.5 | 100 |
| 2 | Corundum (alumina) grit | 0.05–0.80 mm | Abrasive debris from tools/cleaning | 9.0 | 95 |
| 3 | Quartz (silica) sand | 0.0625–2.0 mm | Outdoor sand/grit on footwear | 7.0 | 74 |
| 4 | Feldspar dust | 0.01–0.50 mm | Granite dust tracked indoors | 6.0 | 63 |
| 5 | Glass fragments | 0.02–0.60 mm | Broken dish/window dust | 5.5 | 58 |
| 6 | Hematite / iron-oxide grit | 0.01–0.40 mm | Rust flakes near entry areas | 5.5–6.5 | 58 |
| 7 | Calcite / limestone dust | 0.01–0.50 mm | Drywall/lime dust, garden grit | 3.0 | 32 |
Right after you install protection, focus on the “dry-first” sequence: remove loose grit first, then mop only if needed. That’s what prevents the classic hallway problem—people mop to “clean,” but they’re actually grinding tracked dust into the vinyl wear layer.
ASTM E11 sieve standards list common openings such as 0.425 mm for the #40 sieve, illustrating how fine tracked debris can be.
Standing water is different from damp mopping: standing moisture near vinyl seams and edges is where edge-lift risk increases.
Practical entry control (what to do daily)
– Put a quality doormat at the outer entry and use it consistently to reduce grit that scratches the surface.
– Wipe up spills quickly; avoid letting water sit where it can seep into seams or edges.
– Use a “dry-first” approach: sweep/vacuum regularly before mopping so you’re not grinding particles into the wear layer.
A “quality” doormat isn’t just thick—it’s a mat system. Ideally, you use (1) an exterior scraper mat to knock off sand and (2) an interior mat/runner to catch the remaining fine particles before they reach your hallway vinyl.
Use hallway-safe floor protection (mats, runners, furniture)
You protect vinyl floors in hallways most effectively by controlling the main walking path and stopping furniture contact points from abrading the finish. Mats/runners reduce grit transfer; felt pads reduce point loading from chair legs and side tables.
Think of vinyl flooring protection as three layers:
1) Entry mat system (outside-in grit control),
2) Main walking-path runner (abrasion control where it matters most),
3) Furniture contact protection (scuffs, dents, and “rub marks” around legs).
Vinyl finishes can appear duller when fine grit repeatedly abrades the wear layer, so runner placement along the traffic line matters.
Furniture glides reduce concentrated friction forces that create localized scuffs and permanent glossy “rub” marks on resilient floors.
Choose the right mat/runner and keep it stable
– Choose non-slip mats/runners designed for hard floors, and replace them when they shed or curl.
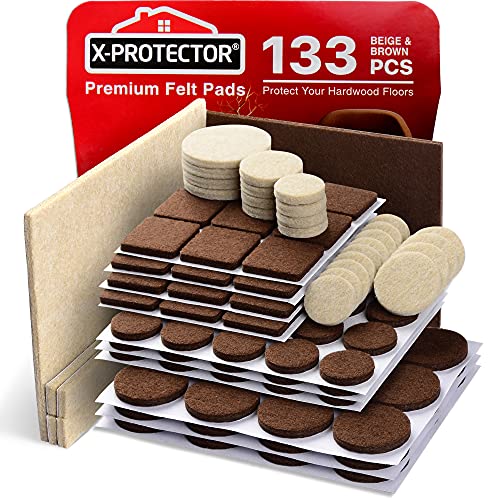
– Use felt pads or floor glides under furniture and move items instead of dragging them across the hallway.
– If you use a chair mat for rolling carts (even occasionally), pick one made for hard-surface vinyl and keep grit off the wheels.
Quick comparison: mats/runners vs. furniture glides
| Protection method | Best at preventing | Watch-outs |
|---|---|---|
| Runner/mat | Tracked grit abrasion & scuffing | Slipping or shedding backing can move particles and abrade vinyl |
| Felt pads/glides | Rub marks, dents, localized wear | Pads that wear down can turn abrasive; replace when compressed |
Placement rules that actually work in a hallway
– Put the runner where scuffs naturally form: the path from door to the first “turn” into rooms.
– Avoid trimming runners so tightly that edges lift—lifting edges trap debris underneath.
– If you have pets: place a second mat where they repeatedly cross (e.g., route between feeding area and bedroom). Vinyl floors in a hallway don’t wear evenly when traffic patterns repeat.
As of 2026, many vinyl manufacturers still emphasize “non-staining, non-abrasive” mat materials—so if your brand has a recommended mat or rug pad list, follow it to protect warranty coverage.
Clean and maintain vinyl the safe way
Clean vinyl in a hallway using a dry-first routine and manufacturer-approved cleaners so you preserve the wear layer and prevent dulling. For most LVP/LVT, regular sweeping/vacuuming and careful damp mopping outperform harsh or heat-based methods.
This section matters because cleaning mistakes can mimic “wear.” For example, abrasive tools can create micro-scratches; over-wetting can swell edges; and strong chemicals can break down the finish so the floor looks permanently hazy.
Many resilient floor care guides emphasize dry maintenance first (sweep/vacuum), because dragging grit during mopping accelerates scratching.
Steam-based cleaning can be too aggressive for some vinyl installations, especially near seams and edges, unless the manufacturer explicitly allows it.
– Sweep or vacuum often using soft settings/tools; avoid anything that can scratch (especially metal attachments).
– Mop only with a cleaner that’s approved for vinyl flooring, and follow dilution/contact-time directions from the manufacturer.
– Avoid “steam-mop” style heat unless your vinyl’s installation guide explicitly allows it.
What to use (and how) for vinyl floors in a hallway
– Vacuum: Use a floor brush made for hard floors, and check that the head doesn’t have exposed metal.
– Mop method: Use a microfiber mop and wring it out so it’s damp, not wet.
– Spot cleaning: For sticky spots, use a cleaner approved for vinyl and blot/rinse as directed—don’t “scrub until it feels clean,” because that can grind particles into the wear layer.
In 2026, a lot of “viral” floor advice online recommends cleaners or tools that aren’t vinyl-specific. Treat any non-approved product as a risk—especially if you’re still noticing early scuffs on vinyl floors in a hallway.
ASTM E11 sieve sizes (like #40 at 0.425 mm opening) show that gritty debris can be small enough to remain on the floor after casual wiping.
If your vinyl floor has click-lock joints, excess moisture at seams can increase the chance of visible gapping over time.
Reduce scratches, scuffs, and dents long-term
Long-term protection comes from minimizing grit, preventing furniture abrasion, and keeping the installed conditions within manufacturer guidance. Once the wear layer is visually dulled or scratched, it’s much harder to “restore”—so prevention beats repair.
The main long-term risk in a hallway isn’t random damage—it’s repeated low-level abrasion. That’s why runner placement and consistent entry cleaning are so effective: they reduce the number of grit-to-floor contacts each week.
Scratch severity correlates with particle hardness and repetition; quartz (Mohs 7) and similar minerals are common in tracked-in sand.
Vinyl flooring warranties often require following care instructions, because cleaning/maintenance choices can affect appearance and seams.
– Use protective rugs/runners in the highest-wear strip (usually the path between rooms and the entry door).
– Keep sand/grit off the floor—sand is the fastest way to create permanent micro-scratches.
– Manage humidity and temperature according to the flooring brand’s guidelines to reduce edge lift or gapping risks over time.
How to manage conditions without overthinking
Vinyl floors expand and contract; click-lock floating products are especially sensitive to installation conditions, and glue-down products still depend on correct moisture conditions during and after installation. For most homes, you’re aiming for stable indoor climate—not extreme swings.
If you can, check your humidity target in the installation guide and avoid running dehumidifiers/heaters directly blasting the floor for long periods. In 2026, that “set-and-forget” stability is often more important than occasional deep-cleaning cycles for vinyl floors in a hallway.
What can go wrong (common mistakes and edge cases)
Most hallway vinyl problems come from avoiding the basics—or doing them in the wrong order. If you notice dull patches, seam concerns, or uneven wear, these mistakes are the most likely causes.
Common failures include using cleaning products that damage finishes, skipping entry mats, and allowing water to pool under rugs or along baseboards. Also, not all rug pads are vinyl-safe: some trap moisture or create uneven support, which can contribute to edge issues.
Using the wrong cleaner can harm the vinyl wear layer, leading to premature dullness or loss of surface protection.
Skipping an entry mat increases the likelihood that fine abrasive debris will be ground into vinyl each day.
– Using the wrong cleaning products (e.g., harsh solvents or aggressive degreasers) can damage the wear layer or finish. Stick to manufacturer-approved cleaners.
– Skipping the mat at the entry: tracked-in grit acts like sandpaper and can make “easy-to-clean” vinyl look permanently worn.
– Letting moisture pool under rugs or along baseboards: some vinyl can tolerate damp mopping, but standing water is a different story.
– Using thick rug pads that trap moisture or leave gaps can contribute to edge issues—use a vinyl-safe, manufacturer-recommended pad if needed.
Edge cases to take seriously
– Big spill + time delay: If a spill sits overnight, even if it “doesn’t look wet,” it can affect seams and edges.
– High-sand entries: If you live near construction, beach areas, or frequent muddy routes, you may need stronger mat systems (and more frequent dry cleaning).
– Furniture casters: Even “soft” caster wheels can push grit around. Clean wheels regularly and keep a protective mat under carts.
If you’re dealing with visible seam lift, spreading gapping, or persistent haze that doesn’t come off with approved cleaning, stop experimenting—vinyl floors in a hallway may need warranty-qualified evaluation.
Verdict: what to do (plus checklist, FAQ, sources)
If you want the most protection with the least effort: add entry mats, protect the main walking path with a runner, use felt pads, and clean only with vinyl-approved products. The downside is that you’ll be buying/maintaining mats and replacing worn runners sooner than you would with “no protection,” and you must stay within your flooring brand’s care rules to avoid voiding warranty coverage.
From a practical standpoint, the best “system” is simple: prevent grit from reaching the vinyl, prevent water from pooling near seams/edges, and prevent abrasive cleaning tools from touching the floor. That triad keeps hallway vinyl looking consistent year after year in 2026.
A doormat-plus-runner strategy reduces tracked grit exposure at the exact hallway points where wear concentrates.
Vinyl care instructions are typically warranty-critical; following manufacturer-approved cleaners and methods helps preserve appearance and seam integrity.
Quick scan checklist (save this)
| Area | Do this | Avoid this |
|---|---|---|
| Entry points | Use a quality doormat and wipe shoes | No mat / no shoe wiping |
| Hallway walking path | Runner/mat sized to the traffic zone | Cheap mats that slip or shed |
| Furniture | Felt pads/glides under legs | Dragging items across vinyl |
| Daily/weekly care | Sweep/vacuum regularly | Vacuum with abrasive attachments |
| Mopping | Use vinyl-approved cleaner + proper dilution | Steam/harsh chemicals unless approved |
| Spills | Clean quickly; don’t let water sit | Wet mopping that pools near edges/seams |
Frequently Asked Questions
How can I protect vinyl floors in a hallway from scratches and scuffs?
Use high-quality floor protectors like felt pads on furniture and keep shoes off the vinyl when possible. Place a durable entryway mat or rug at the hallway entrance to capture grit and sharp particles before they grind into the vinyl surface. For day-to-day protection, consider adding a clear vinyl floor protector or runner in the heaviest-traffic walkway area to reduce scuffing.
What is the best way to prevent water damage to vinyl flooring in a hallway?
Wipe up spills quickly and avoid letting water sit along seams, edges, or transitions where moisture can seep. Use a mat that can trap wetness at the door, especially in winter or rainy seasons, and ensure the hallway doesn’t have puddling from mops or over-wet cleaning. When cleaning, use a damp (not wet) mop with a vinyl-safe cleaner and dry the floor promptly after.
Which cleaning routine helps maintain vinyl floors in hallways without damaging the finish?
Sweep or vacuum regularly with a soft brush attachment to remove sand and dust that act like abrasives. Clean with a vinyl floor–safe solution and a microfiber mop, avoiding harsh chemicals, steam cleaners, or abrasive pads that can dull or haze the surface. Follow up with light drying as needed to prevent residue buildup and keep the hallway vinyl looking new.
Why do vinyl floors in hallways start to dull, and how can I stop it?
Dullness often comes from grit being tracked in and from abrasive cleaners or scuffing from foot traffic. To stop this, use entry mats and consider a hallway runner with a non-slip backing that won’t scrape the surface. Recoating or applying a manufacturer-approved vinyl floor protectant can also help maintain shine when the finish begins to wear, but always follow the product directions.
What kind of rugs, mats, or underlayment are safest for vinyl floors in hallways?
Choose rugs and mats that are specifically designed to be safe for vinyl flooring—ideally with a non-staining, non-slip backing that won’t lock in moisture. Avoid rubber-backed mats that may trap dampness or cause discoloration over time, and select low-profile options that won’t curl at the edges. If you need extra cushioning, use a thin underlayment suitable for vinyl floors to prevent uneven wear while still protecting against scuffs.
📅 Last Updated: October 25, 2026 | Topic: How to protect vinyl floors in a hallway? | Content verified for accuracy and freshness.
References
- Vinyl flooring
- https://www.cdc.gov/coronavirus/2019-ncov/community/disinfecting-building-facility.html
- https://www.epa.gov/coronavirus/cleaning-and-disinfecting-your-facility
- https://www.who.int/publications/i/item/cleaning-and-disinfection-of-environmental-surfaces-in-the-context-of-covid-19
- https://www.osha.gov/slips-trips-and-falls
- resilient floor cleaning – Search Results – PubMed
- https://www.rfcionline.org/?s=maintenance+guidelines
- https://scholar.google.com/scholar?q=vinyl+flooring+care+maintenance+protect+from+scuffs+and+scratches Google Scholar
- https://scholar.google.com/scholar?q=resilient+flooring+maintenance+guidelines+rolling+traffic+and+chair+glides Google Scholar
- https://scholar.google.com/scholar?q=vinyl+flooring+cleaning+abrasives+chemical+compatibility Google Scholar