
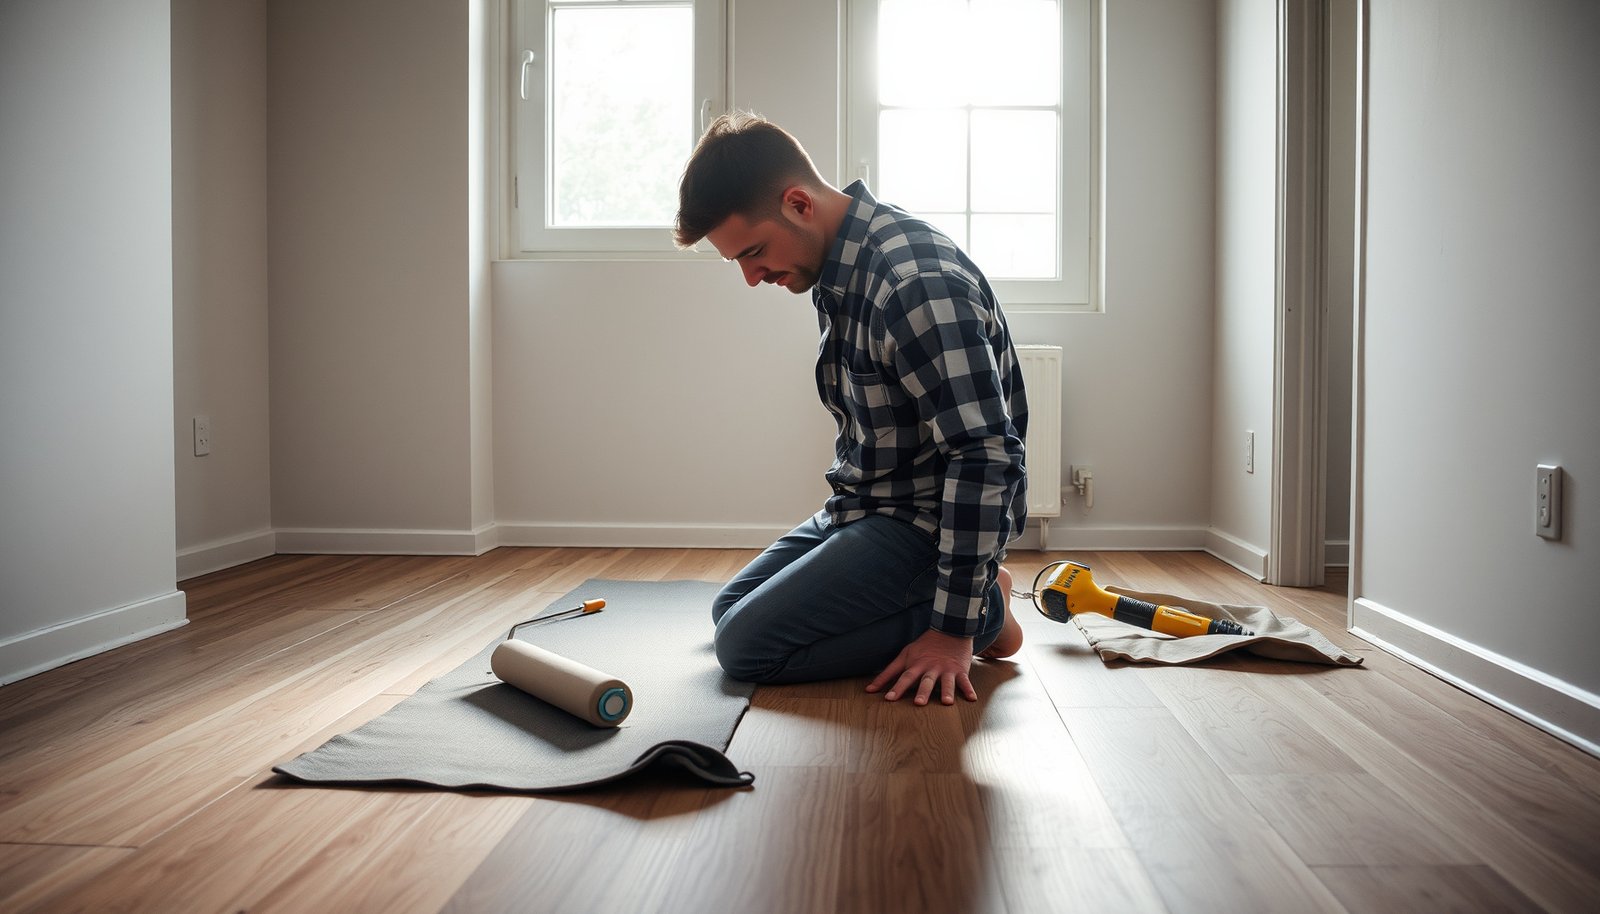

Replacing vinyl floors in an apartment is a straightforward DIY upgrade when you follow the right order of steps: remove the old material, prep the subfloor, and install the new planks or sheets correctly. This step-by-step guide tells you exactly what to do—from measuring and choosing the right replacement vinyl to cutting around doors and vents—so you avoid bubbles, gaps, and uneven seams. If you want a clean, durable finish, this is the fastest path to getting it done right.




Replacing vinyl floors in an apartment usually comes down to choosing the right removal method, preparing the subfloor correctly, and installing the new planks/tiles to match your product type (peel-and-stick, click-lock, or glued-down). If you take care of flatness and moisture control first, the new floor is far less likely to buckle or separate. This guide walks you through the process from measuring and removing old flooring to prepping, installing, and finishing.
If you’re replacing vinyl because it’s worn, damaged, lifting, or outdated—and you’re working within an apartment’s constraints (limited demo ability, need for minimal downtime)—this layout is built for you. It focuses on the practical decisions that matter most before you start cutting or pulling up material.
Check your current vinyl type and apartment constraints

You can replace vinyl floors faster (and with fewer surprises) if you identify the vinyl type and confirm what your lease allows before you remove anything. The vinyl type determines whether you should lift in sections, scrape for adhesive, or use solvents/heat carefully—while apartment constraints determine how much damage you’re permitted to cause.
Start by treating your apartment like a “system,” not just a floor: your vinyl type, the subfloor under it, and your building rules all interact. In 2026, most manufacturer instructions still hinge on the same basics—attachment method, flat subfloor tolerance, and moisture control—so this step prevents rework later.
Vinyl flooring removal depends on whether the product is peel-and-stick, click-lock (floating), or glued-down, because the attachment method dictates the tool and effort required.
Moisture testing standards like ASTM F1869 (moisture vapor emissions) and ASTM F2170 (in-situ RH) exist specifically to help determine whether subfloors are too wet for resilient floor coverings.
In apartment settings, protecting adjacent finishes and keeping dust to a minimum is not optional—adhesives, underlayment, and subfloor patching all affect how disruptive the job becomes.
– Identify whether your vinyl is peel-and-stick, click-lock (floating), or glued-down so you use the correct removal approach.
– Confirm what’s allowed in your lease/HOA rules (for example, whether you can remove underlayment or damage subflooring).
– Check the condition under seams/edges (lifting corners, water damage, or soft spots) before planning the rest.
Quick “type → removal method” comparison (so you pick the right first move):
| Vinyl type | How it’s attached | Typical removal approach | Apartment-risk level |
|---|---|---|---|
| Peel-and-stick | Pressure-sensitive adhesive layer | Lift in layers/sections, then clean residue | Medium (residue) |
| Click-lock (floating) | Interlocking joints (often with underlayment) | Disassemble row-by-row; minimal adhesive removal | Lower (if edges aren’t glued) |
| Glued-down | Full-spread adhesive beneath planks/tiles | Scrape carefully; remove adhesive for flatness | High (time + surface preparation) |
One more apartment constraint check: if you’re replacing vinyl in a unit with shared or tightly managed utilities, plan around ventilation. Adhesive solvents (when allowed) and dust from scraping are the most common reasons a “quick refresh” turns into a multi-day disruption.
Measure, plan the layout, and gather tools/materials
You’ll get the cleanest installation (and the least waste) when you measure first, decide plank direction second, and buy based on a realistic waste factor. In apartments, where rooms can be narrow and doorways are close together, planning for cuts and transitions is what keeps your vinyl floor from looking uneven or “stretched.”
This is also where you reduce downtime. When tools are ready and you understand where your seams and joints will land, you avoid stopping mid-job to re-measure a hallway, re-cut a threshold, or run out of product.
Most click-lock and resilient vinyl products require controlled movement via expansion gaps, so layout planning directly affects long-term seam stability.
Moisture and flatness problems usually show up after installation, which is why planning for leveling/patch materials before you start vinyl replacement is a best practice.
– Measure the room accurately and plan plank direction (often the look ties to the main light source or hallway length).
– Account for waste (especially around doors, closets, and irregular areas) and confirm you have enough replacement material.
– Gather essentials like a utility knife, floor scraper, straightedge, spacers, measuring tape, and the right subfloor prep supplies for your situation.
Practical layout decisions that matter in apartments
1) Determine plank direction based on visual flow. Many installers align planks with the main light source or the longest, most continuous wall run. In an apartment, that reduces how noticeable cuts look near doorways.
2) Map your “no-surprises” points. Mark cabinet toes (where vinyl replacement is allowed), door jambs, and any HVAC vents. If your lease restricts drilling or you can’t remove certain trim pieces, your plan needs to reflect that before you cut vinyl.
3) Waste planning is not optional. Even if your room is “rectangular,” apartments frequently have angled spaces, built-in shelving, or off-center closets. Use a waste factor recommended by your specific vinyl product manufacturer—common industry practice is often in the 5%–15% range, but confirm the number for your product.
Tool list that prevents mid-job failures
For most vinyl floor replacements, you’ll be most productive with:
– Utility knife with fresh blades (for crisp cuts)
– Floor scraper + replacement blades (for residue removal on peel-and-stick or glue-down vinyl)
– Straightedge/level for flatness checks (and to guide patching)
– Spacers (to keep perimeter expansion gaps consistent)
– Tape measure + chalk line (or pencil marks for layout)
– PPE: safety glasses and a respirator if you’ll be scraping old adhesive (follow the SDS for any chemicals)
Remove the old vinyl safely and efficiently
You’ll avoid damaging the subfloor (and avoid expensive patching) if you remove the old vinyl in the correct sequence for your attachment type. Work from edges/accessible sections inward, and treat seams and corners gently—those are where the weakest bond and hidden moisture issues often live.
Apartment vinyl replacement is rarely “clean,” but it can be controlled. Peel-and-stick may lift in sections; click-lock usually disassembles; glued-down typically requires adhesive cleanup so the new vinyl can sit flat.
Glued-down resilient flooring removal typically requires adhesive residue removal for flatness, because thin vinyl can telegraph ridges or leftover adhesive bumps.
Ventilation and safety instructions matter during vinyl removal when adhesives or solvents are involved; manufacturers’ SDS documents describe required PPE and exposure controls.
– Start with edge/section removal and work methodically to avoid gouging the subfloor; use careful heat/solvent only if your vinyl type calls for it.
– Remove any remaining adhesive residue and underlayment that interferes with flat installation.
– Dispose of materials properly and ventilate if you’re dealing with adhesives—follow the product’s safety instructions.
Removal by vinyl type (what to do first)
Peel-and-stick vinyl:
Lift slowly to minimize tear-out. If sections resist, that’s a signal to check whether adhesive has aged or whether moisture softened the bond. After removal, residue cleaning is usually the limiting step.
Disassembly usually happens row-by-row. The goal is to avoid prying that can gouge the subfloor or damage underlayment.
Glued-down vinyl:
Expect scraping and surface prep. A sharp scraper blade and controlled technique beat “force.” If you gouge the subfloor, you’ll likely need patching that costs both time and flatness.
Safety note that’s specific to apartments
If you’re in a building with shared air handling or close neighbors, keep the work contained:
– Seal doorways with plastic sheeting if allowed
– Use wet methods for dust control where your surface-prep plan allows
– Store removed material in sealed bags to reduce debris
For adhesive removal chemicals, rely on the product’s SDS. The SDS will specify PPE (gloves/respirator) and ventilation requirements—don’t guess.
Prep the subfloor for a flat, stable base
You get a successful vinyl replacement by treating subfloor preparation as the real installation—not the cutting. Clean, dry, structurally sound, and sufficiently flat surfaces are what prevent buckling, seam separation, and “telegraphing” of imperfections through thinner vinyl.
In 2026, the most common apartment floor failures we see in DIY projects are not from the vinyl product itself—they’re from patching that wasn’t sanded flat, residual adhesive that wasn’t cleaned, or moisture that wasn’t diagnosed early.
ASTM F1869 measures moisture vapor emission rates in units of lb/100 sq ft/24 hours, helping determine whether concrete moisture levels are compatible with resilient floor coverings.
ASTM F2170 evaluates in-situ relative humidity (RH) in concrete, supporting decisions about whether moisture mitigation is needed before installing vinyl flooring.
Most resilient vinyl failures are related to subfloor flatness, cleanliness, and moisture control—especially when adhesive residue or ridges remain after removal.
– Make sure the subfloor is clean, dry, and structurally sound; patch soft or damaged areas before installing anything new.
– Flatten high spots and fill low areas so the new vinyl doesn’t “telegraph” imperfections.
– Verify moisture issues early—if you see signs of water intrusion, resolve that root cause before replacing the floor.
Flatness: the “invisible” requirement that becomes visible later
Vinyl is forgiving compared with some flooring types, but it’s not magic. If the subfloor has dips or ridges, the click-lock joints can stress, or glued seams can separate.
What to do:
– Scrape off residue, then vacuum thoroughly.
– Check for high spots and sand/flatten where allowed by your subfloor type.
– Patch dips with a compatible floor-leveling compound.
– Re-check flatness after cure and sanding.
Moisture: diagnose first, then replace
If you see bubbling edges, persistent odor, dark staining, or soft spots, stop and identify the source. Replacing vinyl over an active moisture issue usually leads to repeat failure.
Moisture testing methods (what the standards measure):
– ASTM F1869: moisture vapor emission (MVER) using a testing kit; results are reported in lb per 1,000 sq ft per 24 hours.
– ASTM F2170: in-situ relative humidity using probes drilled into the slab.
If your apartment has a subfloor type other than concrete (e.g., plywood over joists), the testing approach changes—follow the vinyl manufacturer’s guidance.
Vinyl Replacement Benchmarks Used in Apartment Install Plans (Common Industry Targets)
| # | Prep/Install Parameter | Common Target | Units / Notes | Compatibility Signal |
|---|---|---|---|---|
| 1 | Perimeter expansion gap (floating vinyl) | 6 | mm (≈ 1/4 in) | Meets movement need |
| 2 | Minimum plank end-joint stagger | 150 | mm (≈ 6 in) | Reduces weak alignment |
| 3 | Subfloor flatness for resilient installation | 4.8 | mm over 3 m (≈ 3/16 in over 10 ft) | Prevents telegraphing |
| 4 | Concrete moisture vapor emission limit (adhesive-based resilient floors—typical) | 14.4 | g/m²/24 hr (≈ 3.0 lb/1,000 sq ft/24 hr) | Supports adhesive bond |
| 5 | In-situ RH target (adhesive systems—typical) | 75 | % RH maximum (verify product manual) | Avoids moisture-driven failure |
| 6 | Moisture barrier film thickness (under floating floors—typical) | 1.5 | mm (≈ 6 mil polyethylene) | Improves moisture resistance |
| 7 | Acclimation window (commonly required) | 48 | hours at room conditions | Reduces movement/warp |
Use this table as a planning baseline—not a substitute for your vinyl flooring manual. Apartment units vary (concrete slab vs. plywood subfloor, prior moisture damage, and product-specific specs). Always verify the exact flatness/moisture targets in your specific installation instructions.
Install the new vinyl flooring (planks or tiles)
You’ll get the best look and longest wear when you follow the manufacturer’s installation method precisely for your vinyl type—especially around locking joints, adhesive application (if glued), and expansion gaps. The installation process matters because apartment subfloors and transitions are rarely perfect, and vinyl needs consistent conditions to perform.
Click-lock (floating) vinyl depends on correct joint engagement and perimeter expansion space to prevent buckling as temperature and humidity change.
Peel-and-stick vinyl installs by achieving full, even contact; poor adhesion at seams or edges often shows up as lifting corners.
– Follow the manufacturer’s installation method for your product type (click-lock vs glued vs peel-and-stick) and respect acclimation requirements if specified.
– Use spacers where needed to keep correct expansion gaps and maintain consistent alignment across rows.
– Cut around obstacles carefully (door jambs, vents, cabinets where allowed) and ensure seams are tight and properly staggered (for plank systems).
Installation approach by vinyl type
Click-lock (floating):
– Start with a straight reference line (use a chalk line or guide).
– Engage joints without forcing. Misalignment early will compound across a room.
– Keep the perimeter expansion gap consistent with spacers.
Peel-and-stick:
– Plan your first row carefully; peel-and-stick alignment errors are hard to fix without rework.
– Apply from one end to the other (when the instructions advise) to reduce trapped air.
– Roll/press seams if the manual recommends it—this supports long-term edge adhesion.
Glued-down:
– Use the correct adhesive specified by the vinyl manufacturer (adhesive type and trowel pattern matter).
– Apply adhesive within the open time window described by the adhesive and flooring instructions.
– Avoid over-application that squeezes through seams.
Cuts and transitions in real apartments
Doorways, hallway thresholds, and bathroom entries create “weak visual moments.” To keep transitions clean:
– Undercut door jambs if allowed by your lease and if your install method calls for it.
– Use matching transitions/trims recommended for resilient flooring.
– Maintain consistent seam staggering across major plank runs.
If your apartment rules limit demo, you may need to work around existing trim rather than remove everything. That’s okay—just plan the layout so the cut pattern looks intentional.
What can go wrong (and how to prevent it)
You prevent most vinyl replacement problems by addressing the root causes: subfloor flatness, moisture exposure, and correct installation technique. When vinyl fails—buckles, separates at seams, or lifts at edges—those symptoms almost always point back to specific prep or install steps.
This section is the “rework prevention” part. In 2026, many product manuals still recommend the same risk controls: flatness checks, moisture diagnosis, and adherence to manufacturer joint/adhesive rules. If you skip any one of those, the apartment tends to punish the shortcut later.
Buckling commonly results from insufficient expansion space, because floating vinyl needs room to move with seasonal humidity and temperature changes.
Seam separation is often linked to inadequate subfloor preparation—particularly residue left behind or installing over a surface that isn’t sufficiently flat.
When thin vinyl is installed over ridges, the texture can “telegraph” through the new floor, making bumps visible even if the seams look fine.
– Buckling or gaps from an uneven subfloor, missing expansion space, or improper acclimation.
– Seam separation or lifting from inadequate subfloor cleaning, residue left behind, or adhesive applied incorrectly (for glued systems).
– Damage during removal (scraped subfloor, broken seams, or punctures) that later shows through—especially on thinner vinyl products.
Common mistakes apartment DIYers make
1) Installing before moisture issues are solved.
If moisture is active, no vinyl will truly fix it. Look for recurring stains or soft spots.
2) Assuming “close enough” flatness is fine.
If you can feel ridges with your hand or see dips under a straightedge, you need prep.
3) Skipping adhesive/residue cleanup.
Residual adhesive bumps and grime can create voids under glue-down or peel-and-stick installs.
4) Not respecting expansion gaps.
Floating vinyl needs perimeter space; otherwise, seams can separate or the floor can tent.
Verdict: Should you DIY vinyl replacement?
DIY is usually a good option if your subfloor is in decent shape and you can identify the vinyl type you’re replacing. It’s also a solid choice when you’re comfortable doing careful prep (scraping, leveling, and precise cuts).
That said, apartment vinyl replacement can become a bad DIY fit when there’s moisture damage, major subfloor deterioration, or lease rules limiting demo beyond surface layers—because those issues often require repair work beyond what a typical renter can do.
The most defensible DIY success factors for vinyl replacement are identifying the attachment type correctly and meeting the manufacturer’s prep requirements for flatness and moisture.
When moisture is present or the subfloor is soft, replacement alone can fail quickly; the root cause typically needs repair before new vinyl can perform.
– DIY is usually a good option if your subfloor is in decent shape and you can identify the vinyl type you’re replacing.
– Skip DIY—or plan for help—if you find moisture damage, major subfloor deterioration, or if your lease/permits restrict removal beyond surface layers.
When to consider a contractor or handyman:
If glued-down removal is extensive, if you discover structural subfloor issues, or if you need moisture mitigation, a pro can reduce risk and timeline length.
Quick checklist before you start
Use this scan-and-go checklist to avoid the “missed one thing” problem that turns an apartment vinyl replacement into a multi-week delay.
– Identify vinyl type: peel-and-stick / click-lock / glued-down
– Measure room + plan direction + account for waste ()
– Confirm lease/HOA rules about removal and underlayment
– Remove old flooring and all interfering residue/underlayment
– Subfloor checks: clean, dry, solid, and sufficiently flat ()
– Install following the new vinyl’s method + expansion gap guidance
– Final steps: transitions, trim, and cleaning per manufacturer instructions
A “flat, clean, dry” subfloor checklist is the most reliable predictor of resilient vinyl floor performance after installation.
Expansion gaps and correct joint engagement are installation variables that can’t be retroactively fixed without lifting vinyl flooring.
Sources
– If you’re dealing with adhesive-related removal or safety, use the adhesive/vinyl safety data sheet (SDS) provided by the manufacturer ()
– ASTM F1869 (test method for measuring moisture vapor emission from concrete)
– ASTM F2170 (test method for in-situ relative humidity in concrete)
If you do one thing differently in 2026, make it this: treat apartment vinyl replacement as a prep-and-method project, not just a flooring swap. Identify your vinyl type, confirm what your lease allows, verify flatness and moisture, then install using the exact attachment method your product requires—so your new vinyl looks clean on day one and holds up after the first seasonal change.
Frequently Asked Questions
How do you replace vinyl floor in an apartment without damaging the subfloor?
Start by removing the baseboards and any transition strips, then lift the old vinyl carefully—especially if you have a peel-and-stick or click-lock vinyl. Inspect the subfloor for moisture damage, soft spots, and leftover adhesive, and scrape or sand any high ridges. Patch holes with a vinyl-safe floor filler, let it fully cure, and make sure the surface is clean, dry, and smooth before installing new vinyl flooring.
What is the best way to remove glued-down vinyl flooring in a rental?
Use a utility knife to cut the vinyl into manageable sections, then work with a floor scraper to remove the sheet or tiles while keeping the subfloor intact. Heat (like a heat gun on low) can soften stubborn adhesive, but keep it controlled to avoid damaging the subfloor. After removal, thoroughly clean adhesive residue—often with a manufacturer-approved adhesive remover—then allow the area to dry and verify the subfloor is level before installing replacement vinyl.
Which vinyl flooring type is easiest to install in apartments?
For most renters, click-lock vinyl planks or vinyl tile with a floating installation are the easiest because they typically don’t require full-spread adhesive. Peel-and-stick vinyl can be faster too, but it demands a very smooth, well-prepped subfloor to prevent bubbles and lifting. If you’re replacing vinyl floors over an existing surface, floating vinyl is usually more forgiving and offers a cleaner, reversible approach.
How do you measure and calculate how much replacement vinyl flooring you need?
Measure the length and width of the room and calculate square footage, then add 10–15% for waste, cuts around corners, and door clearances. If you’re replacing only part of an apartment floor, measure each section separately and account for transitions between areas. Bring measurements to the store to confirm roll width or plank/tile coverage, and consider checking the box for total coverage per carton.
Why do vinyl floors fail after replacement, and how can you prevent it?
Common issues include poor subfloor prep (unevenness or loose material), inadequate acclimation of vinyl flooring, and moisture problems that cause lifting or buckling. To prevent this, ensure the subfloor is flat (no bumps), clean of dust and adhesive, and fully dry before installation. Also acclimate vinyl per the manufacturer’s instructions and use the correct underlayment or vapor barrier—especially in apartments where moisture can be a concern.
📅 Last Updated: October 26, 2026 | Topic: How to replace vinyl floors in a apartment? | Content verified for accuracy and freshness.
References
- Vinyl flooring
- RFCI – Resilient Flooring Covering Institute
- Lead Renovation, Repair and Painting Program | US EPA
- https://www.cdc.gov/nceh/lead/tips/renovation.htm
- Asbestos | US EPA
- Asbestos – Overview | Occupational Safety and Health Administration
- https://www.cdc.gov/niosh/topics/asbestos/
- https://scholar.google.com/scholar?q=vinyl+flooring+replacement+apartment+installation Google Scholar
- https://scholar.google.com/scholar?q=vinyl+plank+floor+removal+subfloor+preparation Google Scholar
- https://scholar.google.com/scholar?q=resilient+flooring+installation+guidelines+sheet+vinyl+tile Google Scholar

[…] get the subfloor clean, level, and dry so the planks or sheets lay flat and lock in securely. This step-by-step guide walks you through the exact order—checking moisture, removing old flooring and debris, repairing […]