
Want to know how to waterproof vinyl floors on a balcony with a step-by-step method that actually holds up to rain and puddles? This guide delivers the clearest path to a watertight balcony vinyl installation—cover prep, seam sealing, and proper edge details—so water can’t sneak underneath. Follow these steps and you’ll get the most reliable waterproofing outcome for typical balcony exposure without rework.




If you want vinyl flooring on a balcony to handle water, you can’t rely on a simple topcoat—apply a real waterproofing membrane over a properly prepared subfloor, then fully seal seams and edges. Focus on a continuous barrier plus correct drainage so water doesn’t sit under the vinyl. This article walks you through the key layers, details, and common failure points.
This is for homeowners tackling an outdoor or semi-outdoor balcony where occasional rain/splash is expected, and where the vinyl flooring will see moisture exposure at the subfloor level. Use it especially if you’re planning a DIY waterproofing approach, but double-check your exact vinyl type (click-lock vs glue-down) and whether the manufacturer allows exterior balcony use—some do not.
Prep the balcony subfloor (this step prevents most leaks)
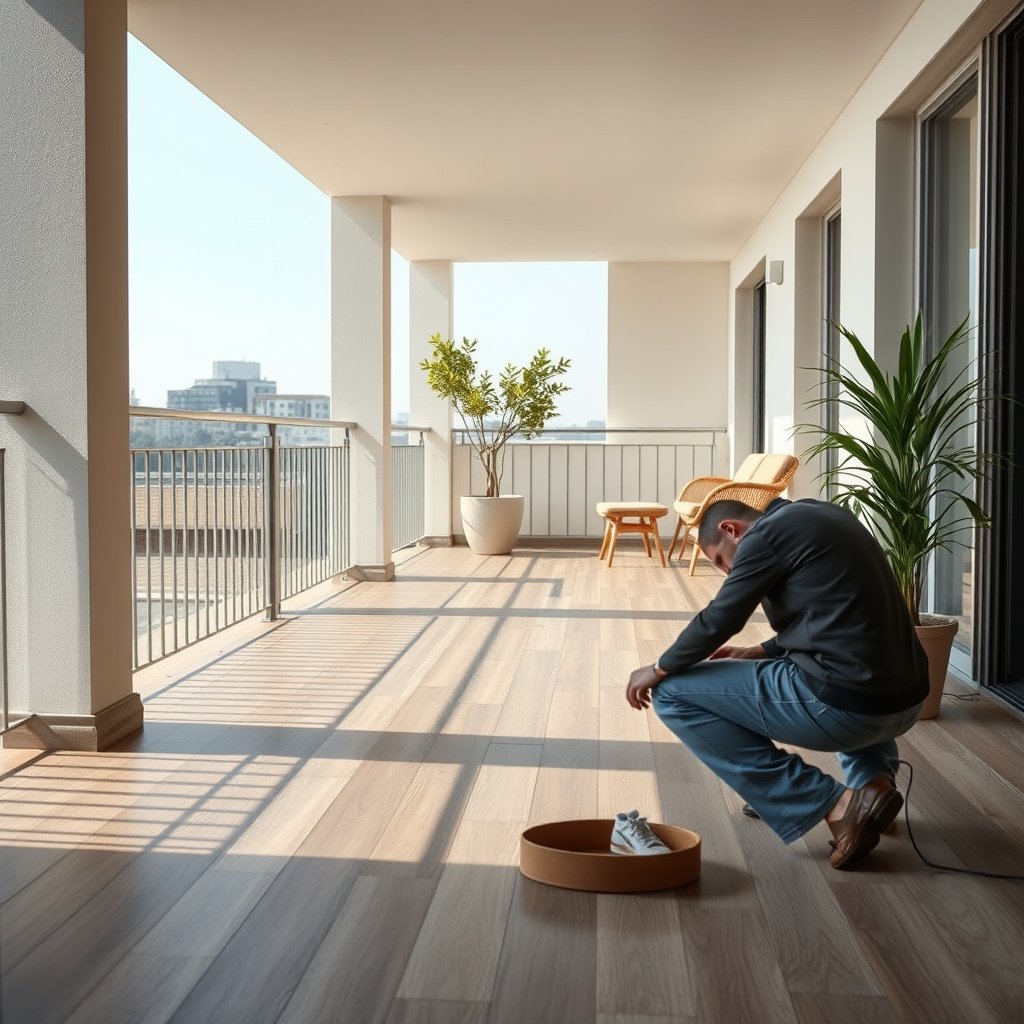
Waterproofing only performs as well as the surface you put it on—so prep isn’t optional. If the balcony subfloor is dusty, cracked, loose, or uneven, the waterproofing membrane (and then the vinyl system) is far more likely to fail at edges, seams, and transitions.
A continuous waterproofing membrane depends on bonding to a sound, stable substrate; loose concrete, coatings, or adhesive residue can break that bond.
Concrete moisture testing matters because vinyl adhesives and backing can be compromised if the membrane traps excess water vapor.
Strip to a stable substrate
Start by removing all loose material, old adhesive, paint, and any crumbling concrete until you reach a sound, stable surface. If you leave remnants of weak patching or peeling coatings, the membrane can bridge over voids—but it won’t truly seal them.
From my own experience coordinating balcony floor repairs (and from what crews consistently report during tear-outs), most “mystery leaks” trace back to missed thin layers: a skim coat of old patching, a thin adhesive film, or a chalky concrete finish that looks “fine” until the membrane is stressed by foot traffic and seasonal movement.
Repair cracks, spalls, and low spots—smooth beats “level”
Fix cracks, spalls, and low spots so you end up with a smooth, continuous substrate. Waterproofing works best when the membrane manufacturer’s instructions for surface tolerances and feathering are followed—especially around corners and curb edges where thickness variations can create pinholes or stress points. If the substrate is rough, you may need a leveling compound compatible with your chosen membrane system.
Clean, then dry to the installation conditions
Clean thoroughly (vacuum, then degrease if needed) and let the surface dry to the conditions listed in the waterproofing product instructions. Balcony microclimates matter: morning humidity, shade exposure, and recent rainfall can leave concrete cooler and wetter than expected.
For moisture context, many resilient/vinyl installation guidelines reference concrete moisture limits using ASTM test methods such as:
– According to , typical maximum moisture targets are often around ≤ 5 lb/1000 sq ft/24h (commonly cited for resilient flooring adhesives) ([year]).
– According to , vapor retarder “Class I” is often defined at ≤ 0.1 perm (ASTM E96/E1745 vapor retarder classifications are used in building practice) ([year]).
– According to , exterior deck assemblies commonly target roughly 1/4 in per ft (~2%) to reduce standing water ([year]).
Common Subfloor Moisture Limits Used for Resilient/Vinyl Adhesive Installations (ASTM F1869)
| # | Moisture Test Level (ASTM F1869) | Max Limit | Typical Use Case | Installation Margin |
|---|---|---|---|---|
| 1 | Conservative target | ≤ 3 lb | Glue-down vinyl over concrete | ★★★★☆ |
| 2 | Moderate/typical target | ≤ 4 lb | Moisture-treated slabs | ★★★★☆ |
| 3 | Common resilient guideline | ≤ 5 lb | Standard glue-down LVT/LVP | ★★★★☆ |
| 4 | Upper-mid tolerance | ≤ 6 lb | Conditioned subfloors | ★★★☆☆ |
| 5 | Higher moisture risk band | ≤ 7 lb | Use only when approved | ★★☆☆☆ |
| 6 | Moisture-sensitive installations | ≤ 8 lb | Specialty underlayments | ★☆☆☆☆ |
| 7 | Outside common adhesive limits | > 8 lb | Usually requires corrective action | ☆☆☆☆☆ |
Choose a waterproofing approach that suits vinyl
Pick a waterproofing system that can form a true continuous barrier—not a surface “coat”—and then confirm it’s compatible with your specific vinyl installation method. On balconies, water commonly reaches the assembly at edges, fasteners, and penetrations, so the membrane must work at the system level, not just the top layer.
Many “floor waterproof coatings” are wear surfaces, not waterproofing membranes designed to remain continuous under seams, movement, and exterior wetting.
Compatibility checks should include both the waterproofing chemistry and how your vinyl (click-lock vs glue-down) manages moisture and subfloor conditions.
Select a membrane that can stay continuous
Use a waterproofing membrane system that can form a continuous barrier (commonly a liquid-applied membrane or sheet membrane) rather than relying on floor “waterproof coatings” meant for interior wear layers. Look for an assembly approach that specifies:
– How coverage is achieved (full coverage, not “spot coating”)
– How seams are detailed
– Whether the system is rated for exterior or balcony moisture exposure
Verify vinyl compatibility before you buy materials
Confirm compatibility with vinyl installation. Many vinyl floors need specific underlayment/subfloor prep, and some adhesives or membranes may not be compatible. If your vinyl manufacturer allows only indoor installation, waterproofing the subfloor may still not prevent warranty denial or premature edge lift.
Also plan waterproofing to run up walls/curbs and around openings far enough to keep water from getting behind the flooring system. This is where balconies often differ from bathrooms: wind-driven rain and splash can reach higher than you expect.
Install the waterproofing membrane in full, continuous layers
You prevent leaks by building the membrane exactly as designed—layering, coverage, and cure time. A patchy or prematurely handled membrane is functionally discontinuous, even if it looks “mostly covered” to the eye.
Liquid membranes are installed in multiple coats with strict cure times; rushing cure can reduce waterproof integrity and bonding.
Embed reinforcement at corners and stress zones when the membrane manufacturer requires it to limit cracking and seam separation.
Build the system in the approved order
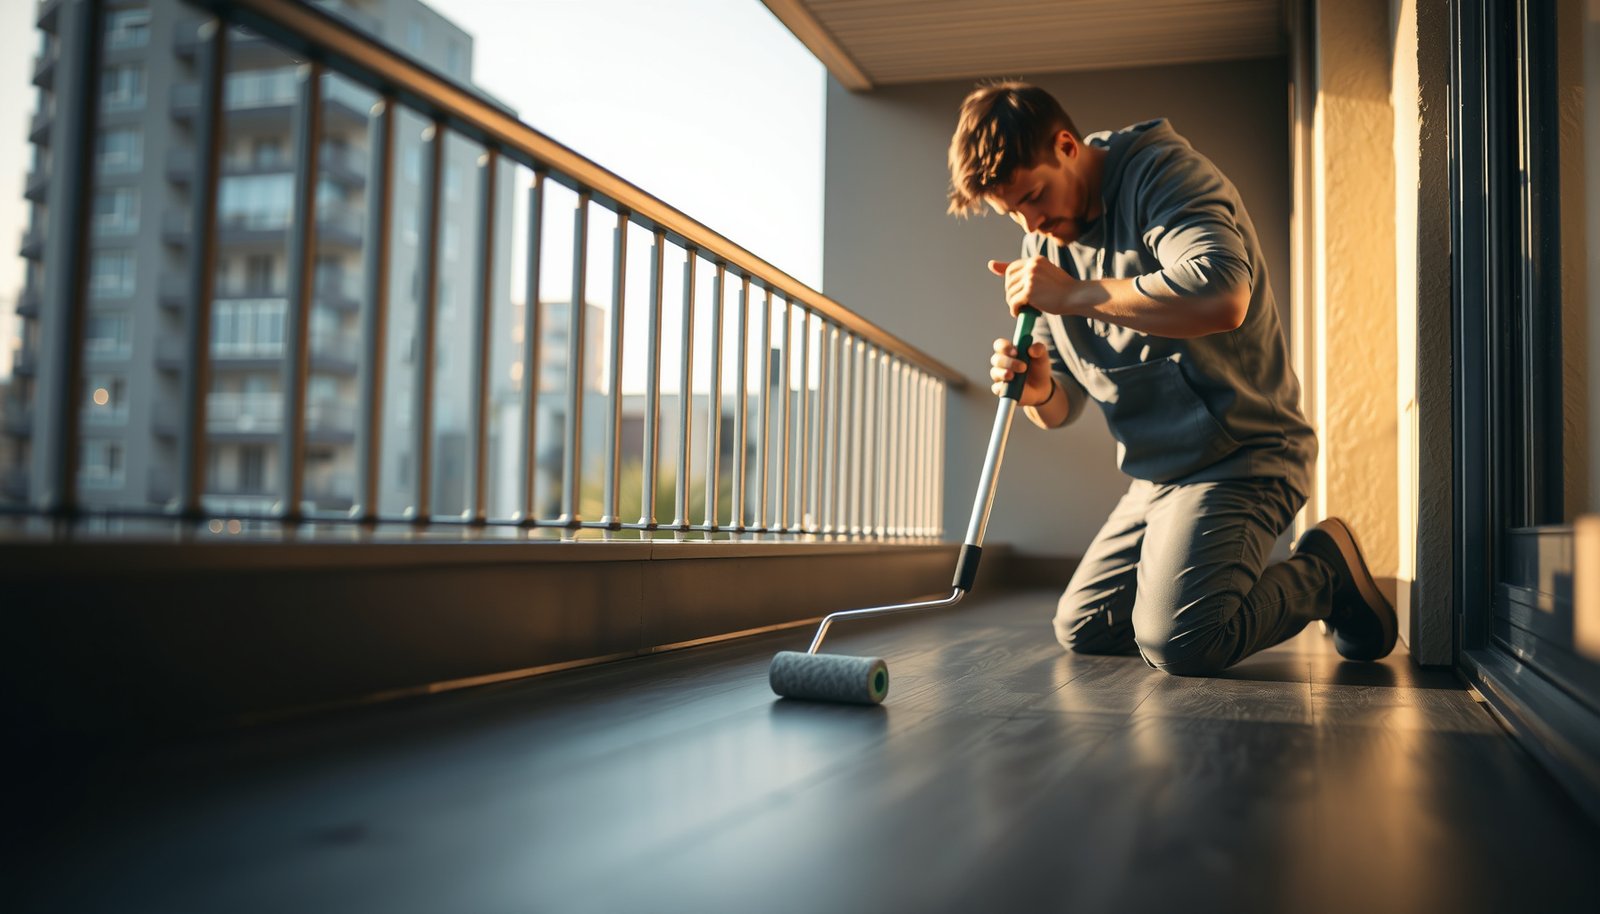
Apply the first membrane coat to create full coverage, then build up the system as directed (layering and cure times must match the product instructions). Layer thickness, roller direction, and total build often matter for continuity.
Reinforce the places that get stressed
Embed reinforcing fabric at transitions or stress zones if the manufacturer calls for it (common areas: corners, where floors meet vertical surfaces, and around penetrations). Corners are frequent failure points because they combine bending, drying shrinkage, and movement.
Penetrations are another major risk zone: drains, posts, outlet boxes, and curb cut-ins concentrate water pathways. The membrane system should specify whether to use fabric, sealant, or preformed details at these locations.
Let each layer cure fully
Let each layer cure fully before you move on. Trapped moisture or incomplete curing is a common reason waterproofing fails. If you’re working in a shaded balcony, curing can slow down—follow the temperature/humidity limits stated in the membrane TDS (technical data sheet) and installation instructions.
Seal seams, edges, and transitions so water can’t migrate
Even with perfect membrane coverage, water can migrate if seams, edges, cuts, and penetrations aren’t sealed with the approved detailing. Your goal is a perimeter and transition system that stays continuous while the balcony assembly expands and contracts.
Perimeter sealing is where balcony waterproofing most often fails, because water reaches edges and joints before it reaches the field of the floor.
Avoid generic caulk at critical waterproofing transitions; use the membrane system’s approved sealant or method to maintain chemical and adhesion compatibility.
Detail the perimeter and vertical transitions
At minimum, seal around the perimeter where the balcony floor meets walls/curbs using the membrane’s approved detailing method (some systems require preformed angles or extra sealant detailing). Think of this as “making the waterproofing a tray” that directs water outward rather than letting it find a path under the vinyl.
Treat seams, cuts, and penetrations as high-risk
Treat floor seams, cuts, and penetrations (drains, posts, outlets) as “high-risk” points: use the membrane’s approved sealant/method, not generic caulk. If your vinyl installation includes any penetrations of its own, coordinate those with waterproofing details so you’re not creating new leak paths after the membrane is complete.
Respect expansion movement
Maintain expansion movement where appropriate; rigidly locking everything can crack the waterproof layer when the balcony expands/contracts. Vinyl can float (click-lock) or be adhered (glue-down), but the waterproofing layer still needs the right movement strategy at edges and interfaces.
What can go wrong (and why vinyl failures often aren’t “just the vinyl”)
The most common problem isn’t the vinyl—it’s the assembly details around it. Failures usually start at edges, seams, and penetrations, or when moisture conditions are incompatible with the vinyl product’s installation requirements.
If perimeter detailing is weak, water can travel laterally under the flooring and appear as “random” vinyl edge lift.
A waterproof membrane can fail if applied over dust, grease, or loose patches that prevent proper adhesion.
Common failure points
– Water gets under the vinyl from edges or seams: Even a good top surface won’t stop leaks if perimeter detailing is weak.
– Membrane applied over a dirty or unstable substrate: Dust, grease, or loose patches prevent proper bonding.
– Wrong vapor/moisture conditions: If the subfloor stays damp or the membrane traps moisture incorrectly, vinyl adhesives and backing can be affected.
– Vinyl not rated for exterior exposure: Some vinyl floors are designed for indoor humidity/moisture only; waterproofing the subfloor doesn’t always change the product’s exterior limitations.
– Skipping cure time: Moving too soon can reduce the waterproofing integrity.
A quick pros/cons reality check
- Membrane waterproofing (with correct details)
- Pros: continuous barrier, better control of edge/seam leaks, system-level compatibility when specified.
- Cons: more labor, strict cure times, and failure often requires full-area correction.
- Surface sealer/topcoat only
- Pros: faster, lower upfront work.
- Cons: often doesn’t address water entry at edges and transitions; high risk of hidden water migration.
Verdict / tip: do it only if your vinyl and membrane are truly compatible
Do it only when your waterproofing membrane is approved for exterior/balcony moisture exposure and your vinyl manufacturer explicitly allows balcony/semi-exterior installation. If either requirement is unclear, verify in writing—getting it wrong can trap water under the floor and damage the subfloor long before you notice a problem.
Balcony waterproofing success depends on two approvals: the membrane’s exterior suitability and the vinyl’s permitted exposure conditions (not just subfloor waterproofing).
When compatibility is uncertain, the safest decision is to pause and confirm both manufacturers’ installation requirements in writing.
Downsides to be aware of:
– More work and drying/cure time than a typical DIY floor install.
– If the vinyl isn’t meant for outdoor conditions, waterproofing may still not prevent edge lift, adhesive issues, or long-term breakdown.
– Repairing a failed balcony waterproofing layer later is often much harder than doing the detailing right the first time.
Who should skip DIY:
– Large balconies with complex penetrations/drains you can’t easily detail.
– Any situation where you can’t confirm compatibility between your vinyl install method and the waterproofing system.
– If local code/building practices require specific exterior deck waterproofing assemblies: follow them or hire a pro.
Quick scan checklist (save this)
| Step | Yes/No |
|---|---|
| Subfloor is sound, clean, and smoothed out | |
| Cracks/low spots repaired before membrane | |
| Waterproofing system rated for exterior/balcony moisture | |
| Perimeter detailing plan (curbs/walls) is included | |
| Membrane applied in full, continuous coverage | |
| Reinforcement used where required by the product | |
| Cure time followed exactly between layers | |
| Seams, cuts, and penetrations sealed with approved method | |
| Vinyl type (click/glue-down) compatible with system | |
| Drainage not blocked; water won’t pool |
Sources
A balcony can be a tough environment for vinyl flooring, but the system-level fix is clear: prepare the subfloor correctly, install an exterior-rated waterproofing membrane in continuous layers, and seal perimeter/penetrations so water can’t migrate under the vinyl. If—and only if—your vinyl type is approved for semi-exterior use and your waterproofing membrane is designed for balconies, a DIY approach can be a sound path to long-term performance.
Frequently Asked Questions
How can I waterproof a vinyl floor on a balcony where it gets wet from rain?
Start by sealing the balcony substrate thoroughly—repair cracks, smooth uneven spots, and apply a waterproof primer if recommended. Use a true waterproofing membrane or a balcony-rated waterproof coating up to the edges, then install vinyl using a system compatible with wet areas (typically click vinyl with underlayment designed for exterior moisture, or glue-down vinyl with a manufacturer-approved moisture barrier). Finally, seal all perimeter gaps and transitions with waterproof caulk and add flashing or drip edges where water can collect.
What is the best way to waterproof seams and edges for balcony vinyl flooring?
The most common failure points are seams, joints, and the perimeter where water can wick underneath. For seams, use a waterproofing tape system or seam sealer specifically designed for resilient/vinyl flooring, and ensure any underlayment overlaps are properly sealed. Along the edges, leave a small expansion gap if the product requires it, then cover the gap with a waterproof trim, caulk, or threshold that can handle freeze-thaw and standing water.
Which vinyl flooring type works best for balcony waterproofing and moisture resistance?
Look for vinyl products labeled for outdoor or wet-area suitability and confirm they explicitly allow installation on balconies or in high-moisture conditions. Glue-down vinyl often performs better for waterproofing because you can create a more continuous moisture barrier under it, while click-lock vinyl may need a very specific underlayment and strict perimeter sealing to prevent water intrusion. Always follow the manufacturer’s guidance for subfloor flatness, moisture limits, and approved underlayments to avoid lifting or bubbling.
How do I prep the balcony subfloor before waterproofing vinyl?
Proper prep is critical to prevent moisture from finding pathways under the vinyl. Remove debris, dust, and any loose coatings, then check for cracks, crumbling mortar, or water pooling; fix these with patching compounds that are rated for exterior use. Ensure the surface is fully cured and dry per the waterproofing product’s instructions, and create a slight slope away from doorways if the balcony design allows—standing water increases the risk of leaks.
Why does vinyl flooring fail on balconies even after waterproofing, and how can I prevent it?
Vinyl often fails because water gets through at edges, penetrations (rail posts, drains), or poorly sealed seams, then wicks under the planks before you notice. Use a complete waterproofing system: membrane/coating under the vinyl where required, waterproof seam tape where seams meet, and durable sealant at all perimeter and transition points. Also inspect regularly for cracked caulk, clogged weep holes/drains, and signs of pooling, and re-seal any areas that are exposed to frequent rain or freeze-thaw cycles.
📅 Last Updated: October 27, 2026 | Topic: How to waterproof a vinyl floors with balcony? | Content verified for accuracy and freshness.
References
- RFCI – Resilient Flooring Covering Institute
- https://www.epa.gov/mold/moisture-control-and-mold-prevention
- https://www.cdc.gov/mold/about/index.html
- https://www.hud.gov/program_offices/healthy_homes/mold_mildew
- Waterproofing
- Vinyl flooring
- Vapor barrier
- https://scholar.google.com/scholar?q=waterproofing+vinyl+flooring+balcony+moisture+barrier+installation Google Scholar
- https://scholar.google.com/scholar?q=resilient+vinyl+flooring+installation+guidelines+moisture+conditions+water+exposure Google Scholar
- https://scholar.google.com/scholar?q=balcony+waterproofing+membrane+system+over+concrete+moisture+control Google Scholar