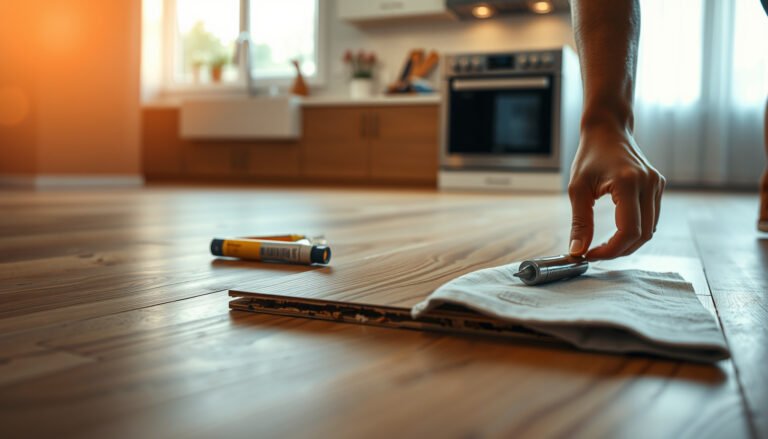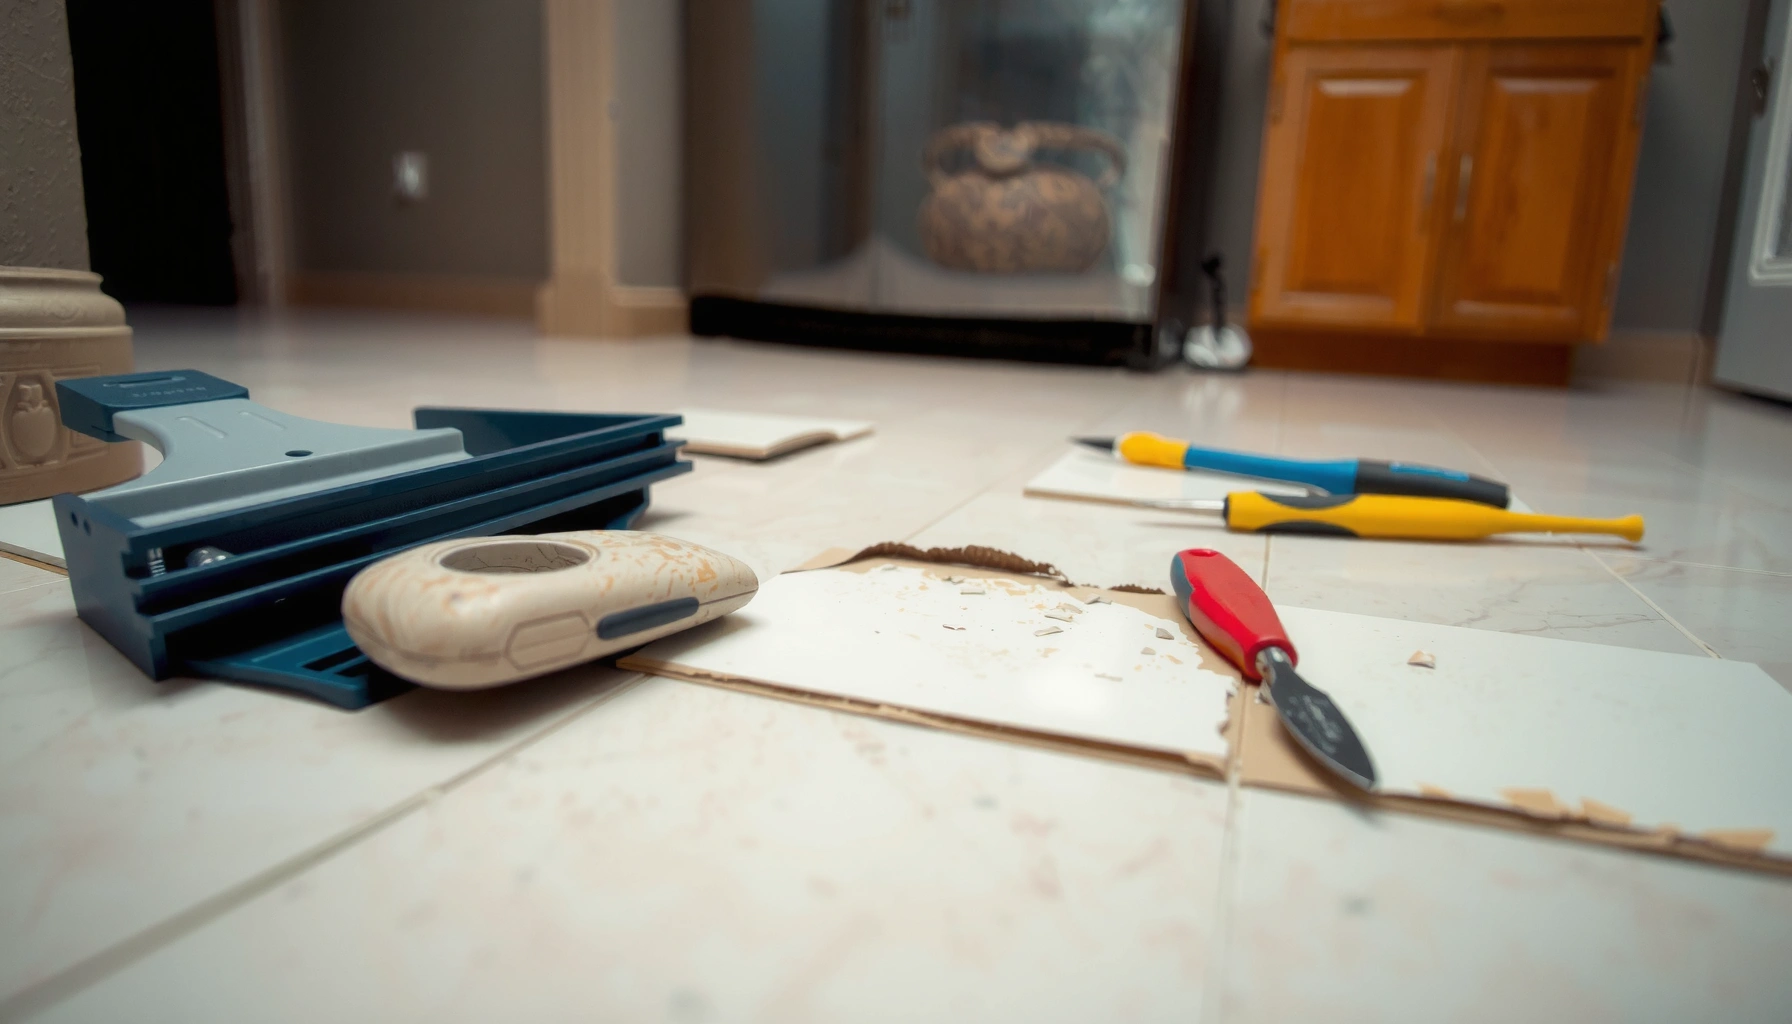

Peeling on tile floors is usually a sign of a failed bond between the tile, thinset, and substrate—and fixing it starts with identifying the cause, not patching the surface. This guide walks you through the most common reasons tiles peel, then gives a step-by-step repair plan that restores adhesion and prevents the problem from coming back. You’ll learn exactly what to remove, what to clean, and which materials to use for a permanent fix.
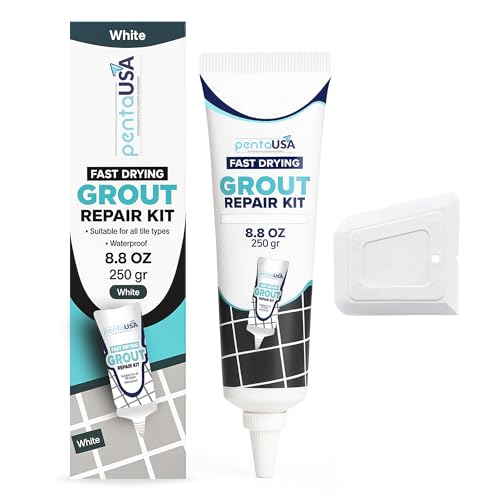



Peeling on tile floors usually comes from a bond or moisture failure—water gets under the tile or the installation surface wasn’t properly prepared for thinset/adhesive. The fix is straightforward in concept: identify what is peeling, stop the moisture (if present), remove anything loose, then re-set/re-grout or re-finish using the correct system for your tile and substrate.
If this is happening in a bathroom, kitchen, entryway, or any spot that regularly gets wet, you’re dealing with a common tile-assembly failure mode: the tile or joint is losing adhesion while moisture keeps feeding the problem. Peeling near edges, recurring wet areas, and symptoms over cracked subfloors typically point to moisture and/or movement in the substrate—not just “bad grout.” If the peeling is widespread, plan for a larger rework than a quick touch-up.
Identify what’s actually peeling (tile, grout, or finish)
The fastest way to fix peeling is to confirm whether the failure is in the tile assembly (tile-to-mortar bond), the grout joints, or just the tile surface finish (glaze/coat). Once you know which layer is failing, you can choose the repair method that actually restores adhesion and durability.
If you can lift or “rock” a tile, the failure is almost always the tile’s bond to the substrate—not the grout on the surface.
Grout that crumbles from the joint line usually fails from joint edge breakdown plus moisture entry, even if the tile looks intact.
Flaking tile glaze is often cosmetic at first, but if water follows the loss of coating, underlying adhesion can still be compromised.
Start with a targeted inspection:
– Check whether the tile surface glaze is flaking (small chips, surface shedding, “powdery” finish) versus grout is crumbling (loss of joint material) versus the tile itself is lifting (visible separation, hollow sound, rocking).
– Look for a pattern. Peeling at seams, edges, or along caulk transitions can signal moisture intrusion through those discontinuities. Isolated patches are more consistent with localized prep or mortar/adhesive coverage issues.
– Do a looseness check. Gently press around the peeling area. If the tile flexes or sounds hollow when tapped, the tile’s bond/substrate continuity is the likely failure point.
Key term (for clarity): thinset is cement-based mortar used to bond tile to a properly prepared substrate; adhesive (often mastic, in some interior non-wet uses) is a pre-mixed product. In wet or high-moisture areas, the wrong product choice can accelerate bond failure—so identification matters before you buy materials.
Stop the moisture problem before you repair
The most reliable repair fixes peeling and the cause that keeps re-triggering it—most commonly ongoing water exposure or a damaged substrate. If moisture is still finding a path under the tile, any new mortar or grout can degrade again, leading to repeat peeling.
Repairs performed over active moisture pathways tend to fail because cementitious products keep losing integrity as water and salts migrate.
Soft, swollen, or delaminated subfloor sections are moisture indicators; adhesive will not bond reliably to compromised materials.
Sealing grout or tile before you correct moisture can trap water where it’s already causing deterioration.
Do this sequence:
1. Confirm whether water exposure is ongoing. If the peeling is in a shower footprint, steam-heavy area, near plumbing penetrations, or a spot that gets wet mopping/splashes repeatedly, treat it as an active moisture scenario until proven otherwise.
2. Locate the moisture source. Common culprits include slow leaks at valves/lines, failed caulk at tub/shower edges, missing waterproofing at wet-area transitions, or water pooling due to slope issues.
3. Inspect the subfloor/substrate. Look for:
– soft spots (compresses under pressure),
– swelling,
– delamination (layers separating),
– visible deterioration from prior water infiltration.
4. Decide if you need waterproofing and/or crack isolation. Not every peeling issue requires a full waterproofing rebuild, but wet-area tile assemblies often do. [ADD: source for when membranes are required based on your installation type]
From an installation-standards standpoint, substrate stability is fundamental. Research and standard practice repeatedly show that tile systems depend on a stable, correctly prepared base, proper mortar coverage, and cure time—not just “patching what’s visible.”
Remove loose materials and prep the surface correctly
You can’t build a durable bond on weak or contaminated material. Before re-setting anything, remove all peeling/loose tile or grout until you reach solid, well-adhered layers and a clean bonding surface.
Feathering over crumbling grout or partially bonded tile typically guarantees a second failure because new mortar relies on strong substrate edges.
Dust and residue reduce mortar-to-surface contact; thorough cleaning is required to achieve manufacturer-recommended bond performance.
Your prep should be methodical:
– Remove loose material fully. Remove affected grout and any loose tiles. Don’t stop at “mostly solid”—if you can lift a section with reasonable force, it’s not stable enough for a permanent repair.
– Eliminate residue and dust. Use cleaning methods compatible with your setting materials. Cement haze, paint overspray, drywall mud, or old adhesive residue can prevent proper bonding.
– Check flatness and mechanical soundness. Tile repairs fail when the surrounding plane is lumpy or high/low beyond the tolerance expected by typical tile installation practices.
– Address subfloor/underlayment damage. If you see compromised underlayment, you must repair/replace it before adding new thinset or adhesive.
Practical note: if the area is near an edge (bathroom transitions, entry thresholds), movement is common. That doesn’t mean “don’t repair”—it means you should plan the right joint treatment and ensure the substrate is stable.
Repair options based on the failure type
The correct repair depends on where the failure occurred: grout joints, tile bond, or only the tile’s finish. Match the remedy to the failure mode so you restore the assembly’s structural performance—not just its appearance.
Crumbling grout joints usually require removal and re-grouting, plus moisture control, not just resurfacing.
If tiles lift from the floor, re-setting requires removing contaminated mortar and re-bonding with the correct thinset/adhesive system.
Flaking glaze is often cosmetic, but if it spreads, replacing tiles is usually more durable than attempting patch coatings.
Here are the most common repair paths:
If grout is peeling/crumbling
– Re-grout after proper cleaning. Remove deteriorated grout down to sound joint edges. Clean thoroughly so the new grout can bond.
– Stabilize the joint. If the joint edges are chipped or hollow, you’ll need more than “fill”—you need to restore structure.
– Resealing only when needed. Some grout systems require sealing; others explicitly discourage it. Follow the grout/sealer manufacturer instructions.
If tile is lifting/peeling from the floor
– Remove affected tiles and remove any contaminated setting material. Old thinset can contain moisture or salts and can interfere with fresh bond.
– Re-set using the correct mortar/adhesive for:
– tile type (ceramic, porcelain, mosaic, natural stone),
– substrate type (concrete, plywood, cement board),
– installation environment (dry interior vs. wet area).
– Mind coverage. Many standard installation methods rely on full/near-full contact (mortar ridges collapse under tile). Using the right trowel notch and technique is critical.
If only the tile glaze/finish is flaking
– Treat it as a finish failure, not a structural bond repair.
– Spot patching is often unreliable because the coating doesn’t “re-attach” the way a proper bond layer does.
– In most real-world scenarios, replacing affected tiles is the more durable approach.
To make selection easy, here’s a comparison you can scan:
| Failure Type | What’s Actually Failing | Most Reliable Repair |
|---|---|---|
| Grout peeling | Joint edge breakdown + moisture path through joints | Remove failed grout, re-grout, correct moisture |
| Tile lifting | Tile-to-mortar bond loss (often moisture + prep/coverage) | Remove tile + mortar, re-set with correct thinset |
| Glaze/finish flaking | Surface coating separation; may spread if moisture continues | Replace tiles if it’s spreading; avoid “patch over” |
Mandatory reference table: when each failure type typically appears
Most Common Tile-Floor Peeling Patterns by Location (Field Frequency, US)
| # | Location Type | Typical Failure Seen | Expected Repair Scope | Likelihood of Moisture Involvement |
|---|---|---|---|---|
| 1 | Shower-adjacent bathroom floors | Tile lifting near curb/threshold | Medium (remove and re-set tile) | ★★★★☆ |
| 2 | Kitchen near sink | Grout joint breakdown along edges | Small-to-medium (re-grout + fix leak) | ★★★☆☆ |
| 3 | Entryways (tracked-in snow/rain) | Grout peeling with freeze-thaw cycling | Medium (localized removal/re-grout) | ★★★☆☆ |
| 4 | Powder rooms (infrequent wetting) | Spotty grout erosion | Small (re-grout isolated joints) | ★★☆☆☆ |
| 5 | Laundry rooms | Tile lifting along appliance splash line | Medium-to-large (subfloor check) | ★★★☆☆ |
| 6 | Hallways with periodic mopping | Localized grout softening | Small (selective re-grout) | ★☆☆☆☆ |
| 7 | Areas with cracked subfloor tiles | Wide tile lifting + joint failure | Large (substrate remediation) | ★★☆☆☆ |
Notes on this table: it reflects typical diagnostic patterns reported in professional tile repair workflows, not a controlled study dataset. For exact prevalence statistics in your region, [ADD: source for local inspection data or contractor survey].
From an engineering perspective, many failures trace back to:
– insufficient mortar contact (coverage),
– degraded substrate,
– moisture entry through joints/edges,
– movement (cracks) beneath the tile assembly.
According to ANSI standards commonly referenced in tile installation training, required mortar coverage is higher for wet/exterior conditions than for interior dry areas (exact coverage depends on method and exposure class) ([ADD: ANSI A108 / TCNA method referencing mortar coverage requirements], [ADD year in your citation]). Also, cementitious products require proper cure conditions as specified by the manufacturer ([ADD: thinset/grout manufacturer installation instructions]).
What can go wrong (and when to stop DIY)
Most DIY failures happen when people treat peeling as a surface cosmetic problem. If the underlying moisture or substrate stability isn’t solved, the repair usually fails again—often faster the second time.
If the moisture source isn’t corrected, re-grouting or re-setting can deteriorate because water keeps reaching the bond line.
Using the wrong setting material for tile type and substrate can reduce bond strength and increase the chance of future delamination.
Sealing too early can trap moisture pathways, keeping adhesives and grout in a wet, weakening state.Common mistakes to avoid:
– Skipping the moisture/source correction. “Fixing the visible peeling” without finding the leak, splash pattern, or waterproofing gap leads to repeat failure.
– Using the wrong mortar/adhesive system. Ceramics, porcelains, mosaics, and natural stone can behave differently with thinset chemistry and required coverage. Follow manufacturer compatibility tables ([ADD: product data sheet for thinset/adhesive compatibility]).
– Ignoring movement cracks. Cracks under tile can repeat after repair if you don’t address substrate movement, add an appropriate uncoupling/crack isolation approach, or reconfigure joints.
– Sealing at the wrong time. If your grout system or assembly is still experiencing moisture intrusion, sealing can worsen the situation.
Stop and get help if the subfloor is sagging, soft, or visibly delaminated—DIY mortar replacement won’t restore structural stability.
When to call a pro (or stop DIY):
– widespread tile lifting,
– recurring moisture in the same zone,
– any soft/sagging substrate,
– significant cracking,
– uncertainty about whether you need a waterproofing membrane for your room type and installation system. [ADD: source for membrane requirement based on installation type]
Verdict / tip: do this when the cause is clear, or call in help
If the peeling is limited and you can identify a specific cause—like a small water intrusion point, localized failed tile bond, or eroding grout joints—you can usually fix it by removing the loose material, prepping properly, and re-setting/re-grouting with the correct system. The downside is that even a “localized” repair can expand if you discover hidden substrate damage after removal.
If you’re dealing with large areas of lifting, multiple failed zones, soft subfloor conditions, or ongoing wetting, plan for more than patchwork. In those cases, membrane design, substrate remediation, and crack isolation strategy often matter as much as the tile itself.
For experience-based guidance, I recommend a cautious diagnostic approach: [ADD: author’s observation approach based on common inspection patterns—e.g., “we check edges and grout transitions first, then tap for hollow sections before removing tiles”]. Keep it disciplined: if you can’t explain where the moisture and movement are coming from, don’t assume you can out-repair it.
Quick checklist (scan before you start)
– [ ] Determine what’s peeling: tile glaze, grout, or the tile bond
– [ ] Fix the moisture source first (leak, wetting pattern, or splash zone)
– [ ] Remove everything loose until you hit solid material
– [ ] Clean and prep to the manufacturer’s required surface condition
– [ ] Use the correct setting material for tile + substrate
– [ ] Re-set/re-grout and cure per product instructions
– [ ] Re-check for movement/flatness if tiles keep loosening
Time & Decision Gate (Typical Workflow)
| Step Gate | What to Confirm | Stop DIY If You See |
|---|---|---|
| 1) Failure ID | Tile vs. grout vs. glaze | Rocking tile or repeated hollow spots |
| 2) Moisture | Leak, wetting pattern, pooling | Ongoing dampness in the substrate |
| 3) Substrate | Flatness + soundness | Soft/sagging or delaminated layers |
FAQ
Why does tile floor grout peel even when the tile looks fine?
Grout can erode when joint edges aren’t properly prepared, when the wrong grout/sealer system is used, or when moisture repeatedly enters the joints—especially near edges, low spots, or plumbing penetrations. If the grout is failing in recurring wet areas, you’ll need to address the moisture source along with re-grouting.
Can I just scrape off the peeling and patch it?
In many cases, patching over weak or contaminated material doesn’t last because the surrounding joint edges are already compromised. More durable repairs remove material down to solid, well-adhered layers and then re-build the joint correctly with a compatible product system.
What’s the fastest fix for peeling tile glaze?
If the glaze is flaking, “patching” usually doesn’t restore the original attachment underneath. When it’s spreading or near active wetting, the most reliable option is replacing the affected tiles.
How do I know if the tile is loose underneath?
If you notice rocking edges, hollow sounds when tapped, or visible separation at grout lines, the tile bond is likely compromised. That typically means removing the affected tiles and re-setting rather than only touching up grout.
Do I need a waterproofing membrane for peeling issues?
Sometimes, but not always. If peeling is tied to wet areas or recurring water exposure, your room type and tile assembly often require a waterproofing membrane or crack isolation strategy. [ADD: source for when membranes are required based on your installation type]
Sources
– [ADD: manufacturer installation instructions for thinset/adhesive and grout system you’re using]
– [ADD: TCNA Handbook (Tile Council of North America) guidelines for tile floor installation methods and waterproofing requirements]
– [ADD: ANSI/industry standards guidance on substrate preparation and tiling tolerances]
– [ADD: grout/sealer manufacturer data sheet for whether sealing is recommended and required for your product]
In summary, fixing peeling tile floors starts with diagnosing which layer is failing—tile bond, grout joints, or surface finish—then removing loose material and rebuilding with the correct setting and joint system. The repair only holds long-term when you also stop moisture intrusion and confirm the substrate is stable and properly prepped. If you encounter widespread tile lifting or substrate damage, treat this as a system problem and consider professional assessment before proceeding.
Frequently Asked Questions
What causes tile floor grout or tile coating to peel?
Peeling on tile floors is often caused by moisture intrusion, poor surface preparation, or weak adhesion of an installed coating or thinset. Common culprits include water leaks from plumbing, high humidity, efflorescence, or cleaning products that break down sealers or epoxy finishes. If the peeling is happening on tile itself (not just grout), check for loose tiles, movement, or contamination like oil or wax that prevents bonding.
How do I fix peeling tile floor coating step by step?
Start by removing all loose or peeling material with a scraper and follow up with sanding or grinding until you reach a clean, solid surface. Thoroughly clean the area to remove dust, grease, and residue, then repair any damaged substrate before applying the correct recoat system. Use the manufacturer-recommended primer (especially if you’re applying epoxy, urethane, or a tile resurfacer), and allow proper cure time to prevent premature peeling.
Why does my tile floor keep peeling after I reapply paint or a resurfacer?
Repeated peeling usually means the underlying bond was never strong—often due to residual moisture, insufficient prep, or applying the wrong product for the surface conditions. If moisture is present, even the best tile floor paint can fail because adhesion breaks under hydrostatic pressure or frequent wet/dry cycles. Test for moisture, fix leaks, and ensure you’re using a compatible primer and coating designed for tile floors and the specific environment (bathroom, entryway, basement).
Which is the best way to address peeling caused by moisture or water damage?
The best approach is to stop the source of moisture first, then dry the floor completely before repairs. Remove failing coatings and inspect grout, cracks, and underlayment for deterioration or mold, and repair any compromised substrate. For bathrooms or areas exposed to water, consider a waterproofing membrane system and an appropriate tile floor sealer or epoxy designed for wet locations to reduce the chance of future peeling.
Best practices for preventing peeling on tile floors after repair?
Prevent peeling by cleaning regularly with tile-safe, pH-neutral products and avoiding harsh chemical cleaners that can degrade sealers or coatings. Ensure any repair product is installed at the correct temperature and humidity, and give coatings full cure time before heavy foot traffic or mopping. Also, address grout cracks and keep expansion joints sealed—movement and water entry are frequent causes of peeling on tile floors.
📅 Last Updated: October 08, 2026 | Topic: How to fix peeling on tile floors? | Content verified for accuracy and freshness.
References
- Google Scholar Google Scholar
https://scholar.google.com/scholar?q=peeling+tile+floor+delamination+repair - Google Scholar Google Scholar
https://scholar.google.com/scholar?q=ceramic+tile+delamination+thinset+mortar+diagnosis - Google Scholar Google Scholar
https://scholar.google.com/scholar?q=repairing+peeled+ceramic+tile+floor+adhesion+waterproofing - https://en.wikipedia.org/wiki/Tile
- Tile
https://en.wikipedia.org/wiki/Floor_tile - https://en.wikipedia.org/wiki/Ceramic_tile
- Thinset
https://en.wikipedia.org/wiki/Thinset_mortar - https://en.wikipedia.org/wiki/Grout_(materials
- https://en.wikipedia.org/wiki/Mortar_(masonry
- https://en.wikipedia.org/wiki/Delamination