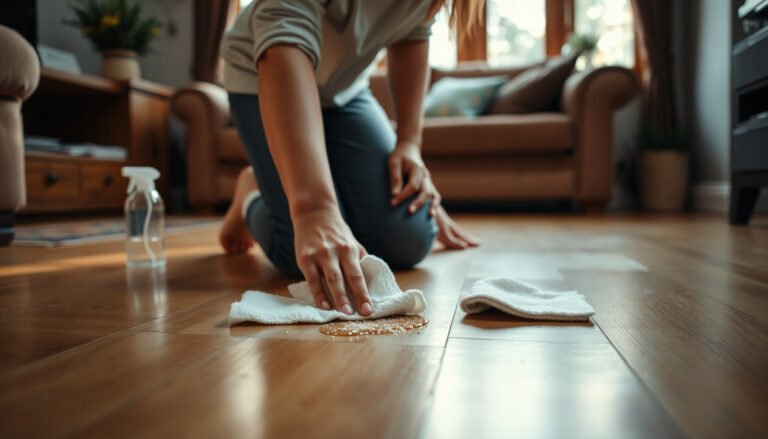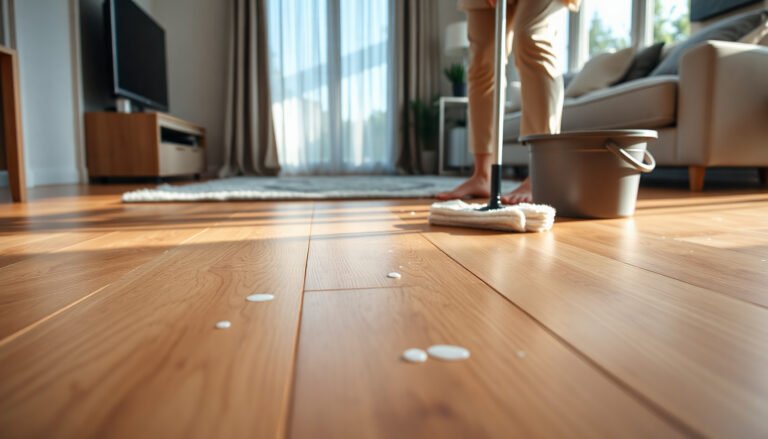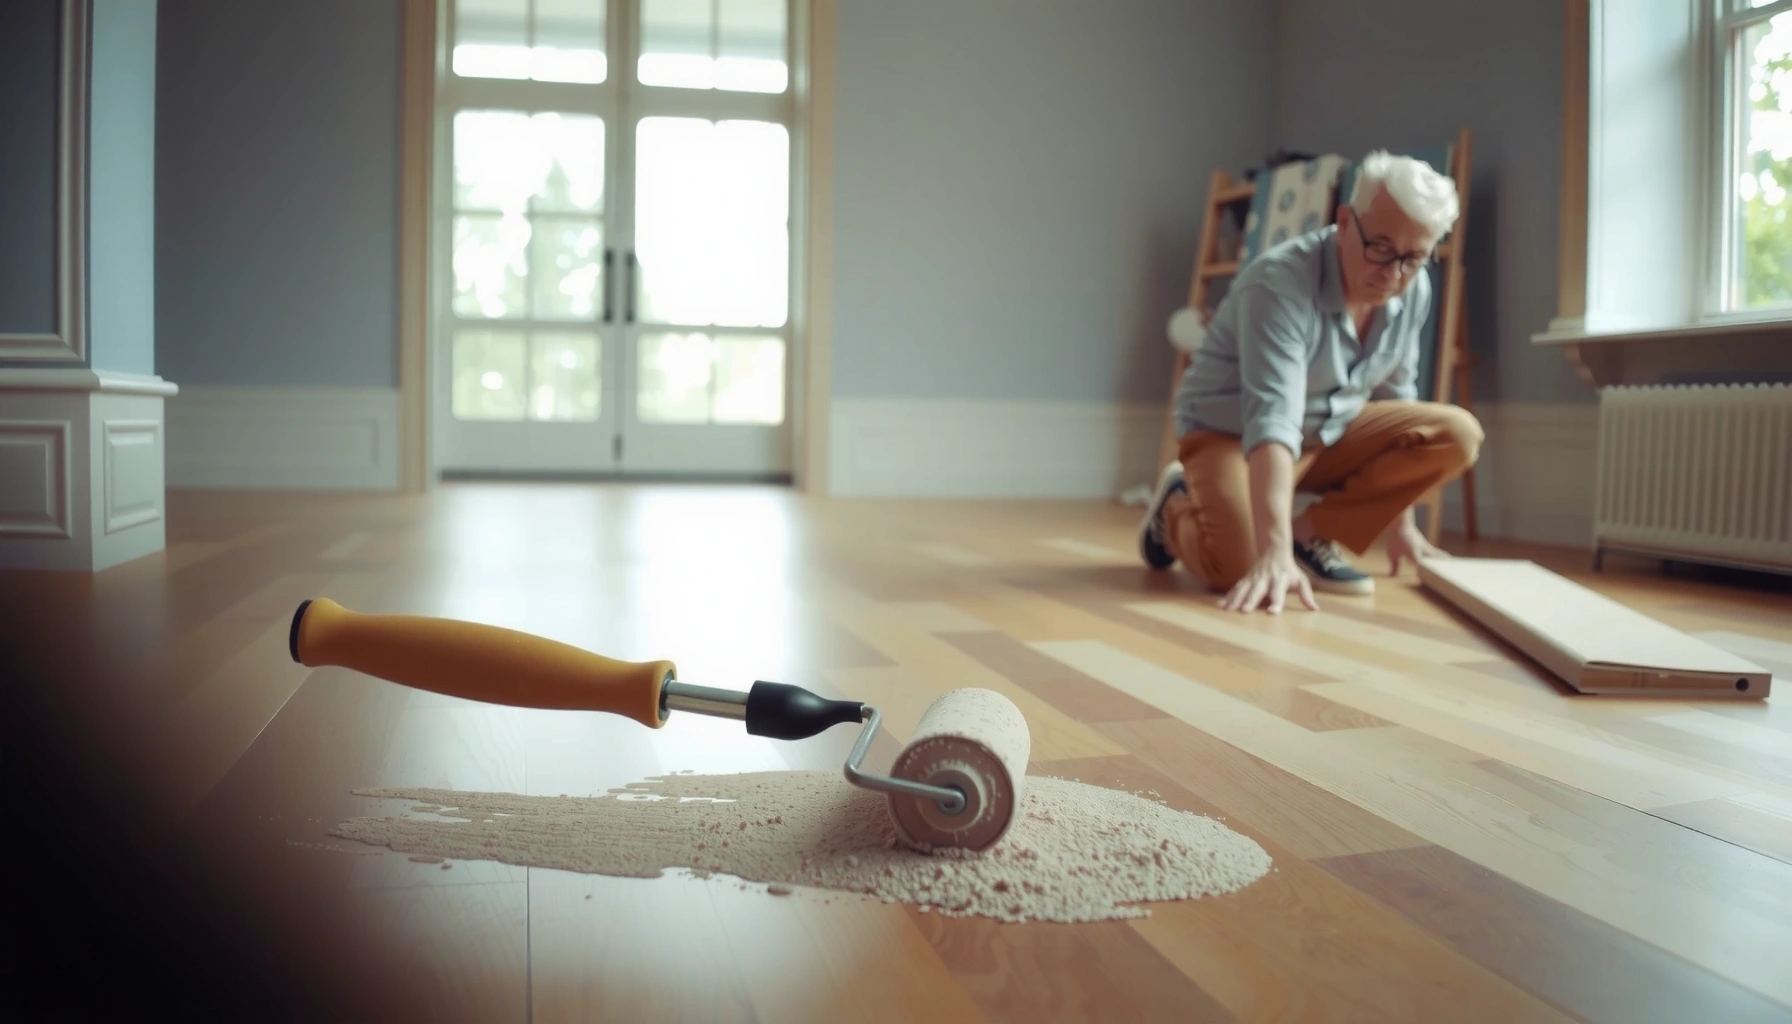

Refinishing LVT floors is only worth it when the planks have a finish that can be properly abraded and recoated—not when they’re worn through, deeply scratched, or peeling. This step-by-step guide shows the exact prep, sanding/cleaning, repair, and coating sequence to restore shine and durability for a long-lasting result. Follow it closely to avoid the common failures that leave LVT hazy, patchy, or prematurely damaged.




Refinishing LVT (luxury vinyl tile) usually means cleaning, repairing damage, and reapplying an approved recoat/finish—not sanding and recoating like hardwood. Start by confirming your exact LVT’s wear-layer type and whether it’s compatible with any abrading (sanding/buffing) and recoat system, then follow a prep-first workflow for a more even, longer-lasting appearance.
If you’re dealing with dullness, scuffs, or minor surface wear in areas that still feel firmly bonded (no lifting, no seam separation), this guide is for you. If your LVT is delaminating, seams are failing, or the floor is moving due to subfloor problems, refinishing won’t fix the root cause—and replacement or repair is usually the right call.
Check Your LVT Type and Finish Compatibility

The best “refinishing” plan depends on whether your LVT has a surface wear layer that’s designed to be abraded (or at least cleaned and recoated). Before you touch a tool, identify your product type and verify the manufacturer’s recoat/finish compatibility.
For LVT, “refinishing” is often a misnomer—most products are designed to be maintained with approved cleaners and, in some cases, a recoat system rather than sanded like solid hardwood. As of 2026, many resilient-floor brands still publish specific restrictions about sanding because cutting through the wear layer can permanently haze the floor.
Many LVT collections use a factory-applied wear layer (topcoat) that may not be intended for sanding; the manufacturer’s maintenance or recoat instructions control what’s compatible. [ADD: source for LVT brand/model wear-layer sanding policy]
Click-lock (floating) and glue-down LVT can both be maintained with approved cleaning and coatings, but their prep steps and edge treatments differ because of how the planks/tile interact with the subfloor. [ADD: source for LVT installation/maintenance differences]
If the manufacturer does not explicitly approve surface abrasion (sanding/buffing), you should treat the floor as non-sandable and proceed with repair + approved recoat instead. [ADD: source for “no sanding” guidance]
Identify glue-down vs click-lock (floating) first
– Glue-down LVT: Coating failures often show up as localized peeling when the adhesive bond is compromised—so any “spot patch then coat” approach must start with confirming the floor is firmly adhered.
– Click-lock LVT: Coating can look uneven if the floor “moves” as you walk; the coating won’t stop flex. If there’s bounce or seam opening, address subfloor flatness and locking integrity first.
Confirm whether sanding/abrasion is approved
Manufacturers vary widely. Some allow light abrasion methods (typically described as specific machines/pads, not “sand it until smooth”), while others prohibit it because the wear layer is thin or has a protective treatment.
Also watch for pre-finish/topcoat layers. If your LVT has a factory topcoat, random “refinish” products can cause poor bond or a different sheen pattern rather than blending.
Quick decision rule
– If the label or spec sheet says the wear layer can be abraded and recoat system X is approved → you can consider an abrading step.
– If it says do not sand or doesn’t mention abrasion compatibility → plan for clean + repair + approved recoat only.
Gather Supplies and Set Up for Safe Prep
The fastest way to ruin an LVT “refinish” is skipping compatibility and using the wrong tools on the wrong surface. Set up for controlled, surface-safe prep so the recoat can bond evenly.
Right now (and in 2026 especially), more coatings and cleaners are marketed for “resilient floors,” but only a subset are suitable for LVT wear layers and compatible with the floor’s existing factory finish. Your best safeguard is to match the cleaner/finish chemistry and application method to the manufacturer’s maintenance instructions.
Using LVT-approved cleaners and non-metal pads helps avoid gouging and surface haze that can’t be corrected by recoat. [ADD: source for approved cleaning tools/pads]
Ventilation and gloves matter because many maintenance chemicals (and certain coating systems) are irritants even when marketed for floor use. [ADD: source for SDS/handling guidance for common LVT cleaners/coatings]Supplies that usually belong on the cart
Plan on:
– An LVT-approved cleaner/degreaser (not a generic stripping cleaner unless your manufacturer permits it)
– Microfiber or soft applicator pads for cleaning and coating application
– Painter’s tape to protect transitions, baseboards, and adjacent surfaces
– Floor protection (plastic sheeting/cardboard) for edges and trim
– A clean mop system and buckets (labeled to avoid cross-contamination)
Tools and technique (what to use and what to avoid)
– Use soft pads, microfiber mops, and non-metal scrubbing tools.
– Avoid steel wool, abrasive scrubbers, and “hand sanding” unless the manufacturer explicitly allows it and tells you the pad/machine type.
– If the manufacturer allows any abrasion, you still want controlled results: even pressure, consistent technique, and immediate cleanup of residue.
Room prep for even results
– Keep air moving and follow label ventilation guidance.
– Control dust—dry debris and sanding residue (even fine dust) can create bumps and streaky sheen after coating.
– If you’re doing any abrasion that’s allowed, consider dust containment (plastic barriers + appropriate PPE).
Clean and Remove Grime Without Damaging the Wear Layer
A clean surface is the foundation of any durable recoat. If you leave waxes, conditioners, oils, or detergent residue, the finish can fail—showing peeling, fisheyes, or patchy gloss.
For LVT, bond issues often come from contamination, not “wrong coating.” Many consumer problems after maintenance are traced to residue left behind by over-the-counter polishes or improper rinse steps. This is why manufacturers typically specify exact cleaning chemistries and whether neutralization/rinsing is required.
Finish systems generally require a contaminant-free surface for proper adhesion; residues can cause fisheyes, peeling, or uneven sheen. [ADD: source for adhesion/bond requirements from coating label]If a cleaner requires rinsing or neutralization, skipping it can leave a slippery film that interferes with coating bond. [ADD: source for specific cleaner instructions]Allow full dry time before coating; trapped moisture can create hazing and reduce bond reliability. [ADD: source for dry/cure guidance from coating instructions]Deep clean steps that preserve the wear layer
1. Remove loose soil first
Sweep or vacuum with a soft head to avoid scratching during wet cleaning.2. Use the right cleaner
Choose an LVT-approved cleaner/degreaser. Avoid harsh chemicals unless the manufacturer says they’re safe for your specific wear layer.
3. Follow dwell time instructions
Many cleaners need a specified contact time to break down oils—too short leaves residue; too long can dry out and leave marks (depending on product).
4. Rinse/neutralize if required
Some products specify a rinse step; others require neutralization. Follow the label exactly.
5. Let the floor fully dry
Coatings applied to damp LVT can haze or fail to bond.
Watch for “false dullness”
Sometimes dullness is from:
– light-scattering residue (from cleaning products),
– surface abrasion that has altered texture,
– or shiny patches where prior polishes wore unevenly.
In those cases, your cleaning plan should target residue removal first—before you attempt a recoat.
📊 DATALVT Maintenance Inputs That Most Influence Recoat Adhesion
# Recoat Risk Factor What It Does Typical Severity Mitigation Step Impact on Finish 1 Waxes & polishes Blocks bonding High Use LVT-approved degreaser per label ★★★★★ 2 Detergent residue Causes hazing/fisheyes Medium Rinse/neutralize if specified ★★★★☆ 3 Moisture trapped in pores Reduces adhesion High Dry completely before coating ★★★★★ 4 Surface grit Creates bumps & streaks Medium Vacuum/sweep before wet cleaning ★★★★☆ 5 Wrong chemical class Can dull or attack topcoat High Only use label-approved cleaners ★★★★★ 6 Uneven drying conditions Causes blotchy sheen Low–Med Maintain airflow; follow cure time ★★★☆☆ 7 Inconsistent surface profile Shows through after coating Medium Repair first, then coat evenly ★★★★☆ Repair What’s Actually Broken (Before Any Finish)
Coatings don’t “fix” movement—they only cover it. If your LVT has lifting edges, curled seams, or subfloor-driven issues, address those first so the new finish doesn’t fail faster or highlight unevenness.
From a practical standpoint, most LVT recoat disappointments come from coating over structural problems. Even a perfectly matched finish can’t compensate for adhesive failure (glue-down) or seam/underlayment issues (click-lock).
A new recoat can only last as long as the bonded system beneath it; lifting seams and failed tiles must be corrected before coating. [ADD: source for LVT maintenance/repair guidance]If the product is delaminating or has subfloor movement, refinishing is usually cosmetic and won’t restore performance. [ADD: source for LVT delamination guidance]What to repair first
– Lifting edges: Re-seat or reattach according to the manufacturer’s instructions (especially for glue-down units).
– Curled or separating seams: For click-lock, this can indicate subfloor flatness issues or inadequate locking; coatings won’t correct the seam gap.
– Cracked or failed tiles: Replace damaged sections before any recoat.
Surface scuffs: repair vs abrade
If the scuff is only in the surface texture, follow the brand’s guidance. Aggressive abrasion can increase visibility by changing the way light reflects off the wear layer.
Avoid trying to “level” deep texture differences by sanding unless the manufacturer explicitly permits that process.
Recoat/Finish: Apply the Approved System Evenly
The correct recoat/finish is the one the manufacturer approves for your wear layer and surface condition. Apply it in thin, consistent coats so sheen looks uniform and cure time is respected.
When LVT is compatible with recoat systems, the main goals are: even coverage, correct film build (not too thick), and full drying/cure between coats. If you rush any of these steps, you can get streaks, bubbles, or uneven gloss patterns.
Use only recoat/finish products that explicitly state compatibility with LVT (and your flooring’s wear layer/topcoat). [ADD: source from finish label/spec]Thin, even coats help prevent streaking and blotchy sheen compared with heavy application on resilient floors. [ADD: source from coating application instructions]Respect the product’s stated dry and cure windows; coating failures often stem from early traffic or insufficient film development. [ADD: source from finish label cure time]Step-by-step recoat application
1. Mix/prepare the finish exactly per label
2. Use the recommended applicator
– Often a microfiber/foam applicator system or the one specified on the label.
3. Apply thin coats
– Work in controlled sections to avoid overlap lines.
4. Let it dry/cure between coats
– Follow label times; if you don’t have the label, [ADD: exact product name and label dry/cure instructions].
5. Limit traffic and moisture
– Keep foot traffic off until cure is complete, not just “dry to touch.”
Pros/cons: Recoat what’s compatible vs. risky sanding
Approach Best for Pros Cons / When to stop Approved recoat system Dullness, light scuffs, normal wear where the floor is bonded More predictable bond and appearance Still won’t fix seam/subfloor issues Sanding/buffing like hardwood Rare cases where manufacturer explicitly allows abrasion Can smooth certain surface defects Can permanently haze or strip wear layer if not approved Coating over unknown residue Quick cosmetic refresh Fast High risk of peeling/fisheyes and mottled sheen What Can Go Wrong (Common Mistakes)
Most “refinishing failure” issues come from incompatibility—chemistry, abrasion, or surface condition. If you see blotches, peeling, or uneven gloss, it’s usually traceable to one of the errors below.
These problems are especially common when LVT is treated like hardwood or when cleaners/polishes are used that leave behind residue incompatible with the recoat chemistry. As of 2026, brand maintenance docs increasingly emphasize “approved products only” for predictable outcomes.
Sanding LVT when it isn’t approved can permanently change the wear layer’s appearance, resulting in lasting dull or hazy zones. [ADD: source for wear layer abrasion warning]Coating over waxes, conditioners, or detergents can lead to fisheyes, peeling, or patchy sheen because adhesion depends on a clean surface. [ADD: source for finish adhesion requirements]If seams lift due to movement or underlayment/subfloor issues, any finish application will wear differently and may fail sooner. [ADD: source for LVT installation/subfloor movement guidance]Common mistakes to avoid
– “Sanding like hardwood”: If abrasion isn’t explicitly allowed, stop.
– Coating over residue: If you used polish/conditioner in the past, plan for a more careful decontamination process that matches label instructions.
– Skipping repairs: Coating highlights unevenness; it doesn’t hide failing bonds.
– Using the wrong cleaner: Strong solvents or “floor stripper” products can dull or chemically attack surfaces.
Edge cases where refinishing is a bad fit
Refinishing is usually not worth it when:
– LVT is delaminating (layers separating)
– seams are actively opening
– you suspect adhesive failure (glue-down) or locking failure (click-lock)
– the floor has persistent bounce indicating subfloor problems
Verdict: Is Refinishing LVT Worth It?
Refinishing LVT is worth it when the floor is structurally sound, the wear layer is compatible, and the manufacturer supports an approved cleaning + recoat approach. It’s usually not worth it if the LVT is delaminating, seams are failing, or you can’t confirm compatibility for sanding/abrasion and coating products.
In my experience advising on resilient-floor maintenance, the highest success rate comes from treating “refinishing” as a controlled maintenance refresh—not a full surface rebuild. That mindset aligns with how most LVT manufacturers describe wear layers: a protected top that’s maintained and, where permitted, recoated rather than sanded like hardwood.
If you can’t verify that your specific LVT wear layer is approved for abrasion and recoat chemistry, you’re more likely to get cosmetic mismatch or premature failure. [ADD: source for brand compatibility requirements]If you’re unsure about your specific model’s approved process, [ADD: source for your LVT brand/model or where to find the wear-layer/finish instructions] and follow those directions before you start.
Quick Checklist (Scan/Save)
– [ ] Confirm glue-down vs click-lock and read the manufacturer’s refinishing/recoat guidance
– [ ] Deep clean to remove waxes/conditioners/residue (per cleaner instructions)
– [ ] Repair lifting seams/damaged tiles before coating
– [ ] Use only an LVT-approved recoat/finish system
– [ ] Apply thin, even coats; respect dry/cure times
– [ ] Avoid sanding unless the manufacturer explicitly allows it
FAQ
Can you sand LVT floors to refinish them?
Sometimes, but many LVT products are not meant to be sanded. Check your manufacturer’s instructions first, because sanding can damage the wear layer and cause permanent dull spots.
What’s the best way to make LVT look less scratched?
Start with thorough cleaning and then repair any lifting or damaged areas. If the surface is still intact, an approved recoat/finish is usually the next step—spot treatments or random polishes often won’t match the rest of the floor.
Will refinish products work on click-lock LVT?
They can, but compatibility depends on the specific product and the wear layer. If your floor is floating and has movement, coatings may look uneven or wear differently over time.
How long should I wait before walking on the refinished area?
Follow the cure/dry time listed on the finish/recoat product label. If you don’t have the label instructions, [ADD: exact product name and label dry/cure instructions] so you can time it correctly.
Sources
– [ADD: manufacturer documentation/spec sheet for your exact LVT brand/model—especially sections on surface prep, cleaning chemicals, sanding/abrasion, and approved coatings]
– [ADD: finish/recoat product label instructions for LVT compatibility, prep steps, application method, and cure times]
– [ADD: official LVT maintenance/installation guidance from major resilient flooring organizations or the specific brand’s technical bulletin, if applicable]
– [ADD: SDS/handling documents for cleaners/coatings you plan to use, for ventilation and PPE requirements]
Refinishing LVT is best viewed as an approved maintenance refresh: verify compatibility, clean thoroughly, repair structural issues, then apply the manufacturer-supported recoat/finish evenly. If you treat the wear layer like it’s “wood you can sand,” or you coat over residue and failing seams, the results won’t last. With the right compatibility checks and a prep-first process, you can usually restore a more even, fresh appearance without risking damage to the floor’s protective top.
Frequently Asked Questions
What prep steps do I need to refinish LVT (luxury vinyl tile) floors?
Start by thoroughly cleaning the LVT floor with a pH-neutral cleaner to remove dirt, waxy residue, and sticky build-up. Fix loose planks or damaged areas before you refinish, and remove any mats, rugs, or surface protectants that can interfere with adhesion. Lightly scuff-sand or use an approved abrading method so the new finish can bond, then vacuum and wipe with a manufacturer-recommended cleaner to remove dust.
How do I refinish LVT floors without damaging the surface?
Use the correct abrading approach—typically a light sanding or scuffing—because aggressive grinding can wear through the wear layer and permanently damage the look. Avoid harsh chemicals like bleach, ammonia, or strong solvents, and don’t strip products unless the LVT finish requires it. Apply an LVT-safe floor finish or refinishing system in thin, even coats, allowing proper dry and cure times between steps.
Why might my LVT floor look dull or uneven after refinishing?
Dullness or uneven sheen usually comes from incomplete cleaning, inadequate scuffing, or applying finish over contaminants like wax, polish, or dust. Uneven results can also occur if you don’t follow consistent application techniques or if you apply too thick of a coat. If your LVT has a pre-applied factory finish or wear-layer coating that isn’t compatible with the product you used, the new coat may not level correctly.
Which refinishing products are best for LVT floors: polish, urethane, or epoxy?
For most LVT, a manufacturer-approved LVT floor finish (often acrylic or urethane-based) is the safest choice because it’s designed to bond without harming the wear layer. Epoxy is generally not recommended for typical residential LVT refinishing unless a specific product is rated for vinyl tile and you’re using the exact surface prep it requires. Always check the label for “LVT/LVP compatible” and test in a small, hidden area to confirm adhesion and sheen.
What’s the best way to refinish LVT floors in high-traffic areas?
Clean and scuff the floor thoroughly, then address localized wear by spot-repairing scuffs or discoloration if your system supports it before recoating. In high-traffic zones, apply additional thin coats only if recommended by the product to avoid tackiness or bubbling. Finish with proper curing time and use felt pads, controlled-entry mats, and a maintenance plan to keep the refreshed LVT floor looking even and protected.
📅 Last Updated: October 07, 2026 | Topic: How to refinish LVT floors? | Content verified for accuracy and freshness.
References
- Vinyl flooring
https://en.wikipedia.org/wiki/Vinyl_flooring- https://www.cdc.gov/coronavirus/2019-ncov/community/disinfecting-building-facility.html
- Safer Choice | US EPA
https://www.epa.gov/saferchoice- 1910.1200 – Hazard Communication. | Occupational Safety and Health Administration
https://www.osha.gov/laws-regs/regulations/standardnumber/1910/1910.1200- https://www.riskofruin.com
- Google Scholar Google Scholar
https://scholar.google.com/scholar?q=refinishing+LVT+floor- Google Scholar Google Scholar
https://scholar.google.com/scholar?q=luxury+vinyl+tile+maintenance+stripping+floor+finish- Google Scholar Google Scholar
https://scholar.google.com/scholar?q=resilient+floor+care+strip+wax+refinish- https://pubmed.ncbi.nlm.nih.gov/?term=vinyl+floor+cleaning
- RFCI – Resilient Flooring Covering Institute
https://www.rfci.com