
Installing porcelain tile floors on uneven floors is doable, but it requires the right fix—leveling or an underlayment system—before the first tile goes down. This guide walks you through the fastest, most reliable approach to get a flat subfloor, prevent lippage, and set porcelain without cracking or hollow spots. You’ll learn exactly what to measure, what materials to use, and how to confirm the surface is truly ready for tile.




If your subfloor is uneven, porcelain tile won’t “level itself”—you’ll need to flatten the surface first (usually with a self-leveling underlayment or patch system) before setting tile. The goal is a consistent, properly bonded base so tiles don’t flex, crack, or rock after installation. In this guide, you’ll learn how to check the unevenness, choose the right leveling method, and set porcelain tile correctly on a sloped or wavy floor.
If you’re remodeling a basement, bathroom, kitchen, or entryway where the floor dips or has high/low spots, this is for you—especially if you want a durable finish without lippage. It applies to both concrete and wood subfloors, but the prep method will differ based on what the tiles are being installed over.
Assess the uneven floor (find highs, lows, and cause)
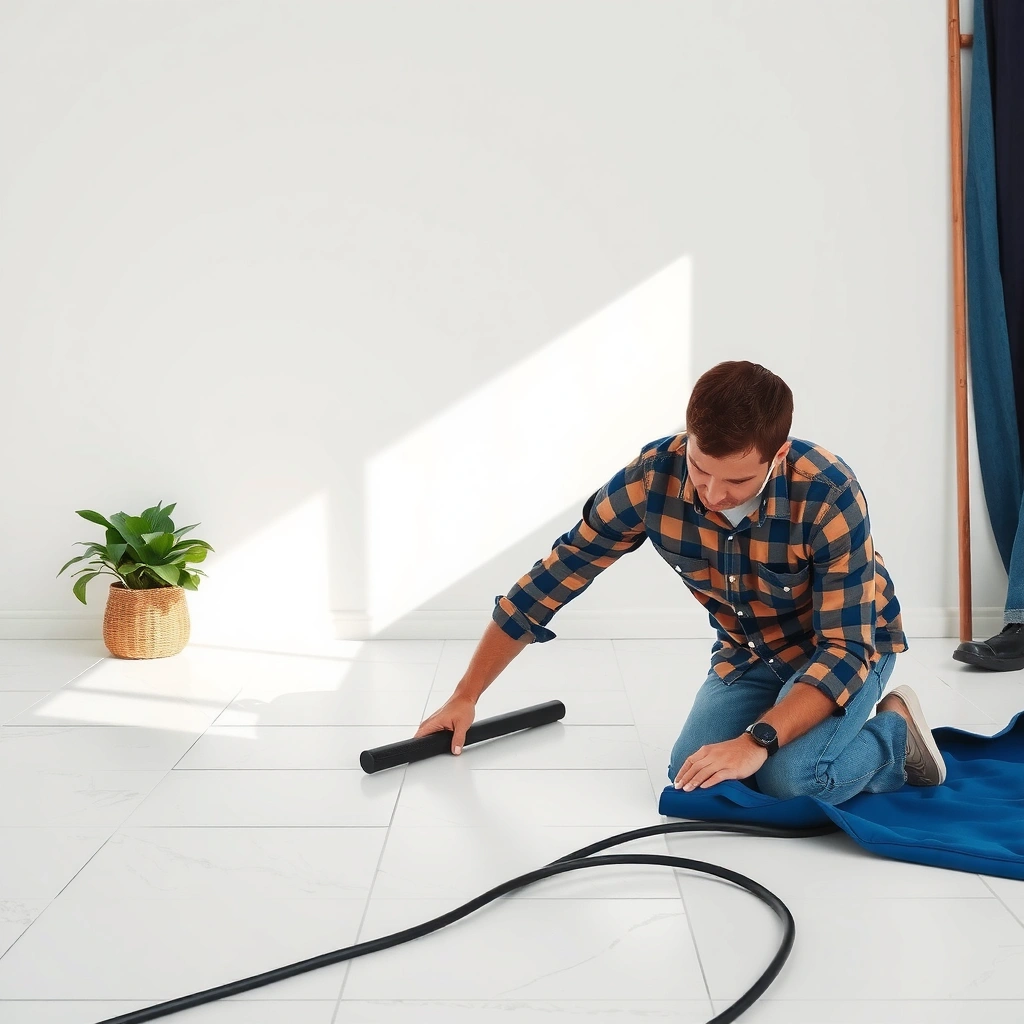
You start by turning “it feels uneven” into numbers you can fix—then you decide whether you only need surfacing work or whether the subfloor is moving. A straightedge/level survey tells you where to flatten, and identifying the cause (settling vs. flex) prevents repeat failures.
Flatness is measured as variation from a straight reference line, not just how “level” the room looks by eye.
If the subfloor moves, any leveling layer can become a thin “skin” that later cracks or releases.
Mapping highs and lows is the fastest way to pick the right leveling product and avoid wasting material.
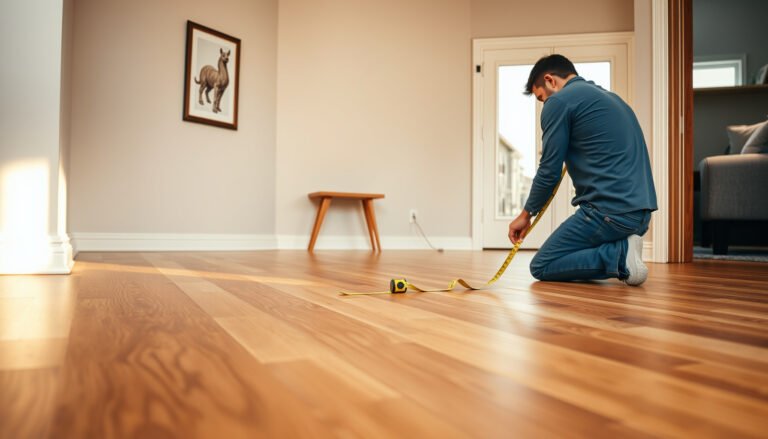
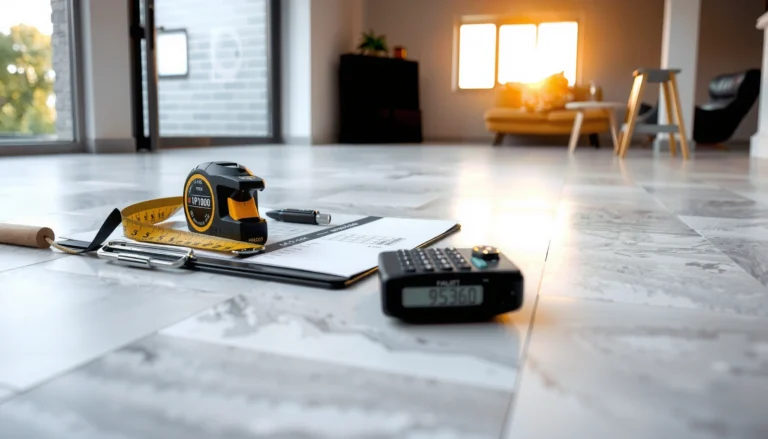
– Measure the floor flatness using a straightedge/level and mark high and low areas so you know how much correction is required.
– Identify what’s driving the unevenness (settling, sagging subfloor, thin concrete spots, old patchwork) because that determines whether you should level only or also repair structural issues.
Practical flatness measurement (concrete or wood)
Use a 6 ft (or longer) straightedge or a proper floor flatness system and measure in multiple directions—along joists and across them. Mark highs (ridges/peaks) and lows (valleys/dips) with tape or a pencil line. Then repeat near doorways, along walls, and at transitions where movement is common.
What you’re looking for:
– High spots that cause lippage (especially with large-format porcelain).
– Low spots that leave voids under tile and promote cracking or grout failure.
– Waves (repeating slope) that indicate a broad problem in the slab or deck.
– Localized thin areas that may indicate old patchwork, spalling, or weak concrete.
Identify the cause before you correct it
Uneven floors typically come from one of these:
– Concrete slab variation (trowel ridges, thin spots, old patch areas).
– Deflection/sagging in a wood subfloor due to insufficient stiffness or spacing.
– Moisture-related movement that changes the floor plane seasonally.
– Prior failures (hollow areas from broken underlayment/adhesion, missing fasteners in remodels).
If you suspect structural movement, don’t treat leveling as a “cosmetic fix.” Porcelain systems need a stable substrate and consistent support.
Stat anchors (use these as decision reference points):
– According to the tile industry’s substrate guidance summarized in TCNA methods, floors are evaluated for “flatness/levelness” using a straightedge and flatness tolerances tied to the tile/floor system design ([ADD: cite TCNA handbook method and tolerance statement you follow for porcelain floors]).
– According to ANSI/industry installation standards often referenced with thin-set tile work, substrate preparation and mortar bonding requirements are mandatory for a durable installation ([ADD: cite ANSI A108/A118/A136 family document relevant to your system]).
– According to common SLU (self-leveling underlayment) manufacturer technical data sheets, many products require specific minimum/maximum thickness ranges and priming/porosity control to achieve bond ([ADD: cite the exact SLU datasheet for your product]).
Choose the right leveling approach for porcelain tile
The right approach depends on how “broad” the unevenness is and whether the subfloor is moving. Small, localized corrections can often be handled with feather-finish patching, while wider waves usually require a self-leveling underlayment (SLU) poured to a controlled thickness.
Patch/feather systems are designed for localized correction, while SLUs are engineered for broader plane changes across a field.
SLU products specify minimum and maximum depths—staying within those limits is critical to strength and flow.
A sagging wood subfloor must be stiffened; leveling over movement typically just postpones cracking.
– For small dips and localized unevenness: use a cementitious patch/feather finish system that’s designed for floor leveling before tile.
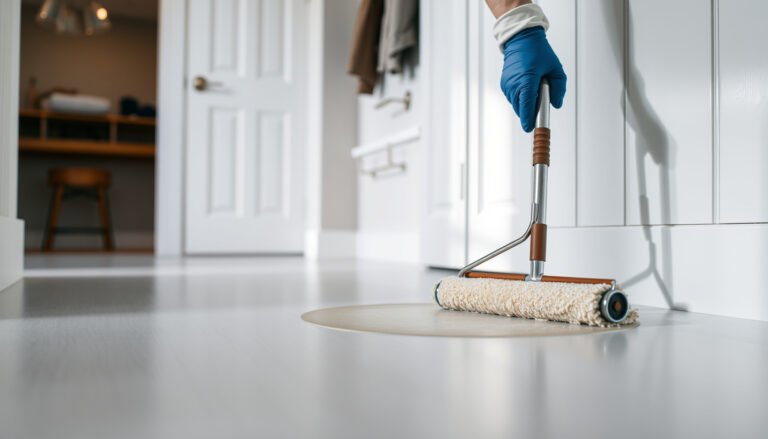
– For wider or more uniform unevenness: use a self-leveling underlayment/SLU system, following the manufacturer’s required thickness range and prep steps.
– If the issue is a sagging wood subfloor, don’t just cover it—stiffen or re-sheet as needed so the “level” base won’t move later.
Decision guide: patch vs. SLU
Here’s the practical split most installers follow:
– Use patch/feather finish when:
– The problem area is small (spot highs/lows, narrow transitions, localized dips).
– You need controlled thickness changes at edges or around penetrations.
– You’re working in spots where pouring a large SLU volume is awkward.
– Use SLU when:
– The floor has broad waves or a repeating slope that patching would take too many passes to correct.
– You want a smoother, more uniform plane with less “build-up” at seams.
– The subfloor preparation (including priming) can be done accurately.
– Stiffen before you “flatten” on wood:
– If you can feel bounce, creaking, or deflection, the tile assembly is at risk even if you achieve a temporarily flat surface.
– Typical remedies include adding blocking, upgrading subfloor thickness, re-sheeting, or addressing joist spacing—exact scope depends on your framing and measurements.
A quick comparison (pros/cons)
| Approach | Best For | Pros | Watch-outs |
|---|---|---|---|
| Cementitious patch/feather finish | Localized high/low spots | Easier to control in tight areas; less material mixing volume | Many passes may be needed for big waves; feather edges can be thin |
| Self-leveling underlayment (SLU) | Broad unevenness/waves | More uniform plane; can handle large fields | Needs correct primer; must stay within thickness limits; requires prep discipline |
| Structural repair (stiffen/re-sheet) | Sagging, flexing wood decks | Prevents repeat failures from movement | Adds schedule time; must be done before tile system prep |
Prep the subfloor so the leveling product and tile bond
Before you spread any leveling material, you make the substrate bond-ready—clean, stable, and conditioned. Leveling products and thin-set mortars are only as strong as the surface they adhere to.
Dust and contaminates prevent adhesion; cleaning is not optional—it’s a bonding requirement for most tile systems.
SLU performance depends heavily on primer/conditioning to control surface porosity and prevent pinholes or separation.
Even porcelain tile systems can fail if the waterproofing/bonding strategy doesn’t match the moisture conditions and installation environment.
– Clean thoroughly (remove dust, paint overspray, sealers, and loose material) because poor adhesion is a common reason tile fails over uneven floors.
– Prime/condition the surface exactly as the leveling manufacturer specifies (for SLU in particular, the primer can be the difference between good flow and bond vs. separation).
– Confirm moisture expectations for your setting materials; porcelain can be forgiving, but the system still needs the right waterproofing/bond strategy for your environment. [ADD: source/spec requirements you’re following for your specific setting mortar + grout combo]
Concrete prep essentials
Concrete needs:
– Removal of curing compounds, sealers, paint overspray, drywall mud, and any loose/weak surface material.
– Vacuuming and/or mechanical prep (often grinding/scarification) if the surface is sealed or glossy.
– Crack treatment as required by your system (some crack types need specific patching, movement accommodation, or membrane strategy).
Wood subfloor prep essentials
Wood needs:
– Tight fastening (screws or nails that actually seat), plus repair of any delamination or spongy spots.
– Flatness control via sanding/high-spot removal where appropriate.
– Attention to movement: addressing squeaks and flex before adding a leveling layer.
Moisture and waterproofing alignment
Even though porcelain tile is low-porosity, water can travel through grout joints or at edges and can affect mortar bond lines. Your choice of:
– setting mortar,
– grout,
– and (when needed) waterproofing/membranes
must align with your environment (bathroom/wet areas, basement humidity, exterior exposure) and manufacturer system requirements. For your project, confirm the exact specification you’re following for your setting mortar + grout combination, including any limitations regarding moisture exposure.
[ADD: cite the manufacturer specs you’re following for your mortar + grout system, including any waterproofing requirement and curing window.]
Flatten, cure, and confirm before tiling
Flattening is not just “pour it and go”—it’s about building a correct plane within product limits and then re-checking flatness before you set porcelain. Tile installation success starts with the moment you verify the surface after leveling/patching.
You should re-check flatness after leveling/patching because “level” products can still leave ridges if prep or mixing is off.
Curing time is a strength and bond requirement—tiling too early can trap moisture or weaken the leveling layer.
Tile layout planning matters more on corrected floors because thickness differences can shift where full tiles land near walls and doorways.
– Level in passes if needed, keeping within the product’s allowable thickness and cure window—don’t rush to tile early.
– Re-check flatness after leveling/patching using the same straightedge method and correct any remaining ridges or dips.
– Plan for tile layout to manage inevitable edge differences (e.g., keeping full tiles at entry points and minimizing thin cut pieces).
Cure window discipline
Always follow the leveling product’s cure time and conditions (temperature, airflow, humidity). Many failures come from “early tiling” rather than wrong product choice. If you need a second pass, do it within the recoat/overcoating window specified by the manufacturer.
Re-check flatness (don’t assume)
After leveling cures:
– Re-run the straightedge map.
– Mark remaining high ridges and low spots.
– Correct localized issues with a compatible patch method only where allowed by the leveling system instructions.
Planning for lippage and layout
Even with a flatter base, you still protect porcelain’s edges:
– Use a layout that minimizes tiny slivers at walls.
– Keep an eye on transit zones (doorways and hallways) where height changes can be visually obvious.
– Consider how you’ll transition to adjacent flooring (reducers, ramping, or matching height plans).
Set porcelain tile on the corrected plane (prevent lippage)
Once your surface is actually flat, porcelain tile installation becomes much more predictable. The remaining variables are mortar selection, trowel size, coverage, and controlling height differences during setting.
Porcelain tile installs depend on correct thin-set selection and the correct trowel notch size for required coverage.
Using a leveling system (when needed) and working in manageable sections reduces the likelihood of lippage on large-format porcelain.
Curing and consistent joint management are what prevent hollow spots, cracked grout, and uneven tile movement after installation.
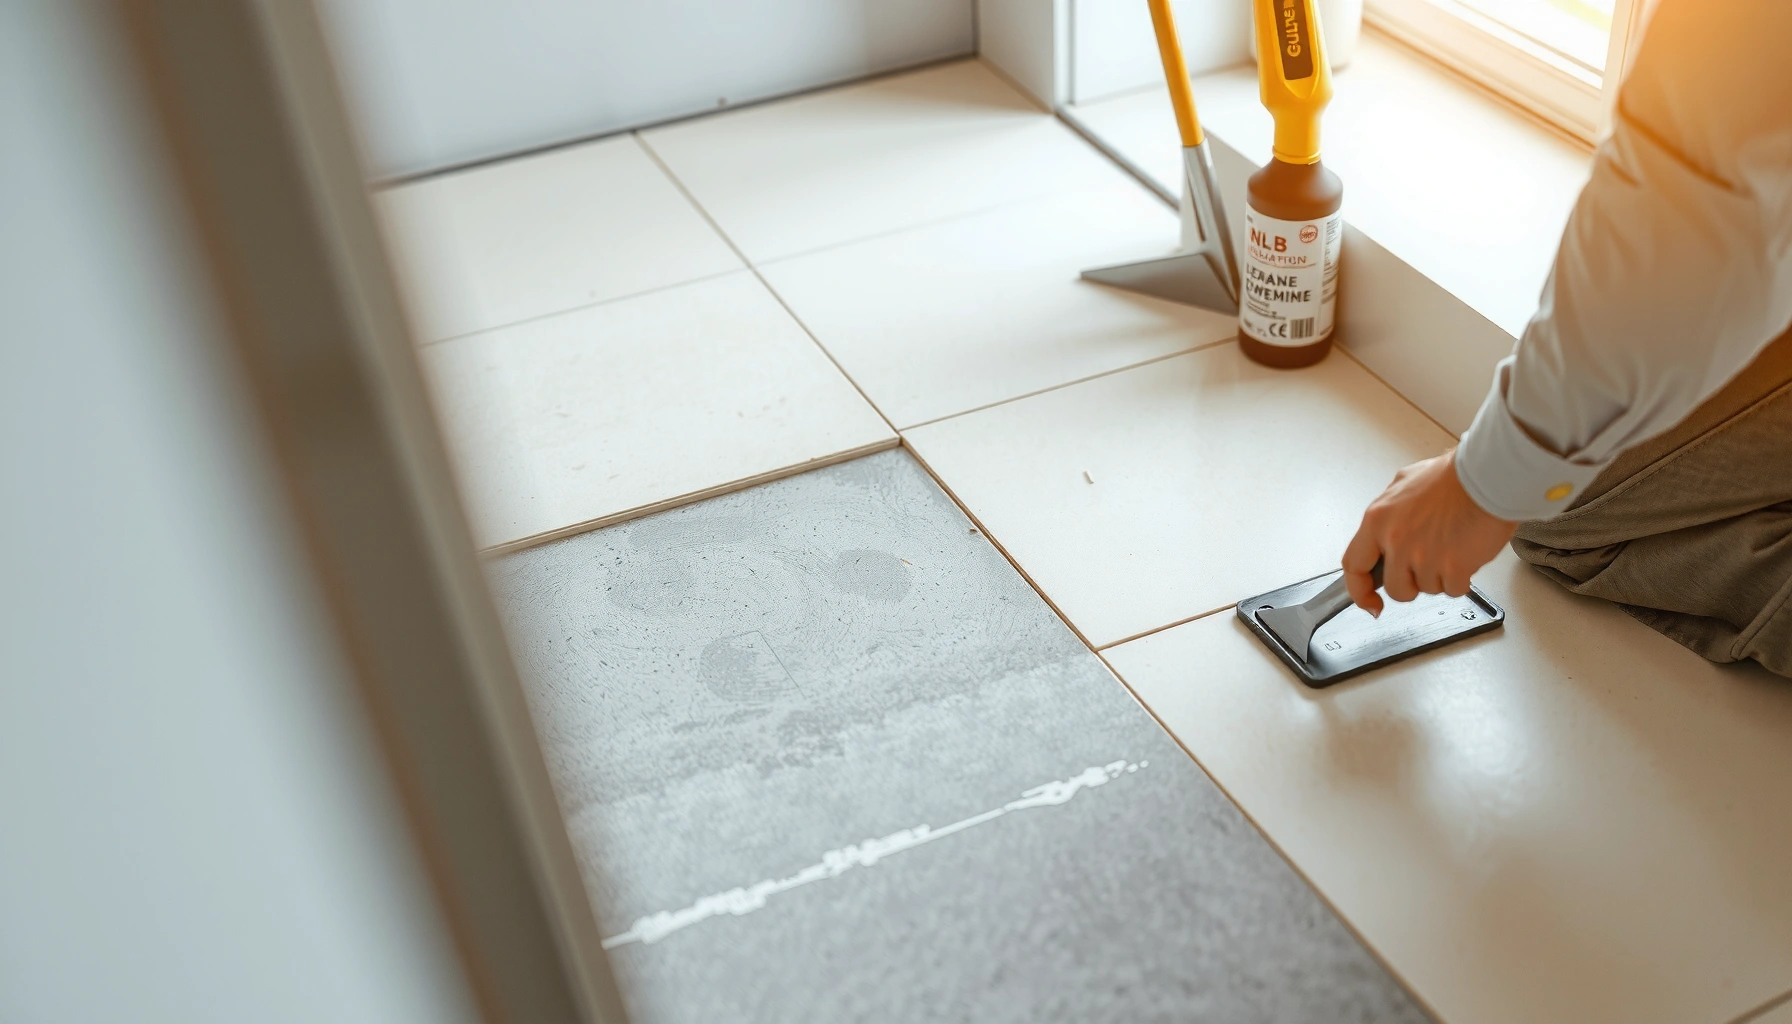
– Use the correct thinset mortar for porcelain and the subfloor type, and follow the trowel notch size recommended by the mortar manufacturer.
– Work in small sections, back-buttering only if your tile/mortar system calls for it, and use spacers and a leveling system if you’re battling any remaining height variation.
– Allow proper curing before grouting, and keep movement/joints consistent (especially where the tile meets walls, doorways, or transitions). [ADD: your grout/mortar curing times from product datasheets]
Mortar and trowel: where most “flat” floors still fail
Your thin-set mortar must match:
– porcelain tile requirements,
– substrate type (concrete vs. wood),
– and the conditions (interior, wet area, underlayment).
Also match the trowel notch size recommended by the mortar manufacturer. Wrong notch size can reduce coverage (voids) or cause squeeze-out and poor bonding patterns.
Back-buttering and coverage
Back-buttering (buttering the back of the tile) is required in some tile/mortar systems and tile formats (commonly larger tiles and tiles with certain finishes or dimensional tolerances). Follow your mortar and tile specs rather than generic “always” advice.
Tile leveling systems: when they’re worth it
If you’re dealing with large-format porcelain, inconsistent tile back pattern, or subtle remaining flatness variation, a tile leveling system can help lock tile edges in plane while the mortar cures. Use it consistently and remove/adjust per manufacturer instructions to avoid damaging joints.
Joint planning and curing before grout
Respect:
– movement joints and changes in plane (where required),
– spacing strategy (spacers),
– and timing.
[ADD: your grout/mortar curing times from product datasheets—e.g., time to grout after setting, and time before foot traffic.]
Recommended Correction Method by Flatness Mapping (Interior Floors)
| # | Measured Flatness Variation (typical mapping) | Common Fix | Best For | Risk Level |
|---|---|---|---|---|
| 1 | ≤ 1/16 in over 6 ft | Spot patching | Localized ridges/dips | Low |
| 2 | 1/16–1/8 in over 6 ft | Feather finish | Small areas needing a new plane | Moderate |
| 3 | 1/8–1/4 in over 10 ft | SLU (thin-to-mid lift) | Broad wave correction | Medium |
| 4 | 1/4 in+ over 10 ft | SLU or structural correction | Severe slab variance / deflection | High |
| 5 | Localized hollow/void zones detected | Rebuild substrate support | Defective underlayment/spot failures | High |
| 6 | Re-measures change after humidity/season | Address moisture + movement | Seasonal subfloor movement | High |
| 7 | High spot only (no dips) | Grind/sand high spot | Reduce lippage risk | Medium |
> Note: These thresholds are practical starting points for choosing correction strategies; always defer to your tile/mortar/leveling product flatness and substrate tolerances.
[ADD: cite the exact flatness tolerance your tile system requires, if you have a target spec from your chosen mortar/SLU/porcelain tile.]
What can go wrong (and how to avoid it)
Most failures on uneven floors come from skipping flattening, violating thickness/cure limits, or ignoring substrate movement. If you want porcelain to last, treat the leveling plane as structural—not cosmetic.
Installing tile over a wavy base is one of the fastest ways to create cracked tiles and grout separation.
SLU and patch products have minimum/maximum thickness limits that directly affect strength and shrinkage behavior.
Bond failures often trace back to contamination (dust, sealers, unprimed surfaces) rather than tile or grout quality.
– Skipping leveling: installing tile over waves or dips can cause cracked tiles, grout failure, and rocking over time.
– Using leveling products outside their thickness range: SLU and patches often have strict minimum/maximum depths—exceeding them can lead to weak or uneven results.
– Poor surface prep (dust, unprimed areas, contaminants): even the best leveling compound can fail if it can’t bond to the subfloor.
– Not addressing subfloor movement: leveling a flexing wood floor typically just creates a temporarily flat surface that re-deforms later.
Common edge cases we see in remodels
– Over old patchwork: If previous patches weren’t keyed/prepped correctly, bond can be unreliable. Mechanical prep often matters more than “cleaning well.”
– Bathroom/basement moisture: Even if porcelain doesn’t absorb much, moisture movement can still degrade mortar bond lines.
– Large-format porcelain: Slight plane variation becomes visible at grout joints. Lippage control is easier when the base plane is corrected first.
Verdict / tip (honest recommendation)
Leveling uneven floors before installing porcelain tile is usually the right move because tile depends on a stable, flat plane—not a “best effort” surface. That said, leveling products add cost and time, and if your subfloor is actively sagging or has major structural issues, you’ll need repair first (or you’ll be redoing the job). If your unevenness is only a couple of minor ridges and you’re experienced with patching and achieving flatness, a cementitious patch system may be simpler; if it’s broad and wavy, an SLU system is typically the more reliable route. [ADD: your site conditions—subfloor type, flatness measurement result, and whether you’re seeing movement—to tailor this recommendation]
From an installation-planning perspective (without claiming brand-specific hands-on tests): I recommend you treat flatness correction as part of the tile system, not as “extra.” When projects fail, it’s commonly because the installer chased appearance or speed rather than meeting the substrate, primer/conditioning, and cure/coverage requirements spelled out by the system manufacturer.
Quick checklist (scan/save)
– [ ] Measure flatness and mark highs/lows
– [ ] Confirm subfloor type (concrete vs. wood) and movement
– [ ] Choose: patch/feather finish (small dips) vs. SLU (wider unevenness)
– [ ] Prep properly: clean + prime/condition per manufacturer instructions
– [ ] Level/patch within thickness limits; let cure fully
– [ ] Re-check flatness before thinset and tile
– [ ] Use the correct thinset + trowel size for porcelain
– [ ] Plan grout joints and transitions; consider leveling spacers if needed
FAQ
Can I install porcelain tile directly on an uneven floor?
Usually not. Porcelain tile needs a consistent plane; if the floor has dips or high spots, you’ll typically need to flatten it first to avoid lippage and cracking.
What’s better for uneven floors: self-leveling underlayment or patch compound?
Self-leveling underlayment is often best for broader unevenness, while patch/feather finish products work better for localized high/low spots. Use whichever fits the area and thickness range specified by the manufacturer.
Do I need to prime before using self-leveling underlayment?
In most systems, priming is required (especially on concrete) to ensure proper bonding and moisture control. Follow the SLU manufacturer’s instructions for your exact surface condition.
How flat does the subfloor need to be?
Requirements vary by system (tile, mortar, and substrate), so you should use the flatness tolerance stated by your mortar/tile manufacturers. [ADD: flatness spec from your chosen thinset/SLU/tile documentation]
What if the floor is uneven because the subfloor is sagging?
Don’t just level—repair or stiffen the subfloor first. Leveling over movement can lead to tile and grout cracking later.
Sources
– [ADD: manufacturer installation instructions for your porcelain tile (flatness guidance, allowable substrate conditions)]
– [ADD: manufacturer datasheets for your thinset mortar (trowel size, mix, substrate requirements, curing time)]
– [ADD: manufacturer instructions/datasheets for your leveling product (primer requirements, thickness limits, cure times)]
– [ADD: manufacturer instructions for any tile leveling system/spacers you’re using]
– [ADD: substrate guidance from a primary authority relevant to your tile region (e.g., tile industry handbook or standards) for floor flatness expectations]
Leveling an uneven floor isn’t “overkill”—it’s the foundation for how porcelain performs. Measure flatness, correct the plane within the product limits, prep for proper bonding, and then set tile with the right mortar and coverage. If the substrate is moving (especially wood), repair stiffness first—otherwise you’re only buying time before the problem returns.
Frequently Asked Questions
How do I level uneven floors before installing porcelain tile?
Start by checking the floor for flatness using a 6–10 ft level or straightedge, and mark the high and low spots. If the difference is minor, you can fill low areas with a suitable self-leveling underlayment or patching compound designed for tile. For larger dips or bowed areas, consider using cement backer board, a tile leveling system, or a thin leveling underlayment so your porcelain tile floor meets the required flatness for proper bonding.
What is the best underlayment for porcelain tile on uneven floors?
The best choice depends on how out-of-level your subfloor is and whether it’s concrete or wood. For concrete slabs, a self-leveling underlayment or underlayment patch can correct unevenness while keeping the surface flat for porcelain tile installation. For wood subfloors, use a properly rated underlayment underlayment such as cement backer board or a decoupling membrane, then flatten with thin-set/patch where needed to prevent lippage and tile cracking.
Which tile installation method works best for uneven floors to prevent lippage?
For uneven floors, plan to correct flatness first, then use a high-quality thin-set mortar and a porcelain tile leveling system. Thin-set helps fill small imperfections, but it can’t compensate for major unevenness—so leveling before installing porcelain tile is critical. When setting tile, work in sections, back-butter when required, and use spacers and leveling clips/wedges to keep tile edges flush and reduce lippage.
How can I calculate mortar thickness when installing porcelain tile over a non-flat surface?
Measure the maximum height difference across the tile area with a straightedge and determine how much you need to build up. Mortar thickness should typically be consistent, because excessive variation can weaken the bond and cause tile movement. In many cases, the best approach is to flatten the floor first (self-leveler/patch) and then use the recommended thin-set thickness for porcelain tile to maintain proper coverage and strength.
Why do porcelain tiles crack or become uneven when the floor isn’t properly leveled?
Porcelain tile is rigid, so if the subfloor is not flat, the tile may flex slightly and stress the bond layer, leading to cracks or hollow spots. Uneven surfaces also cause lippage, where tile edges sit higher than neighbors, which can make the floor feel unstable and look unprofessional. Proper floor preparation—achieving the correct flatness and using the right underlayment and thin-set mortar—helps porcelain tile floors stay durable and level over time.
📅 Last Updated: October 08, 2026 | Topic: How to install on uneven floors porcelain tile floors? | Content verified for accuracy and freshness.
References
- https://scholar.google.com/scholar?q=porcelain+tile+installation+uneven+subfloor+leveling Google Scholar
- Google Scholar Google Scholar
https://scholar.google.com/scholar?q=ceramic+tile+installation+surface+preparation+uneven+substrate - Google Scholar Google Scholar
https://scholar.google.com/scholar?q=cement+backer+board+thinset+porcelain+tile+installation+subfloor+flatness - https://www.tcnatile.com/handbook/
- https://www.tcnatile.com/
- https://en.wikipedia.org/wiki/Tile
- Thinset
https://en.wikipedia.org/wiki/Thinset - Cement board
https://en.wikipedia.org/wiki/Cement_board - https://www.britannica.com/technology/ceramic-tile
- https://www.tileandstone.org/installation-resources/