
Prevent water damage to tile floors by fixing the real weak points—grout, caulk, and subfloor seams—before leaks turn into swelling or mold. This guide delivers practical, proven steps to stop water at the surface, prevent seepage through grout, and handle spills and plumbing issues fast. If you want the most effective way to keep your tile installation dry and durable, follow these targeted moves.


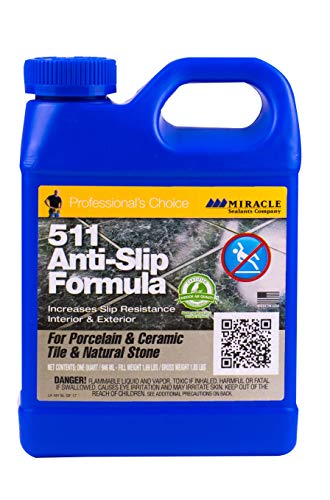

Tile floors can handle occasional moisture, but they only stay durable when grout and caulk stay sealed and when water never has a clear path to the subfloor. The fastest wins are: seal grout correctly, maintain caulk at transitions, fix leaks immediately, and wipe out standing water before it soaks into grout lines.
Tile floors show up in bathrooms, laundry rooms, entryways, kitchens, and any place where water can splash, spill, or escape from plumbing. If your floor is cementitious grout (most common), your real “water barrier” is a layered system: grout + sealant + caulk + (if applicable) waterproofing membrane under the tile.
Start with the right sealing: grout, edges, and penetrations
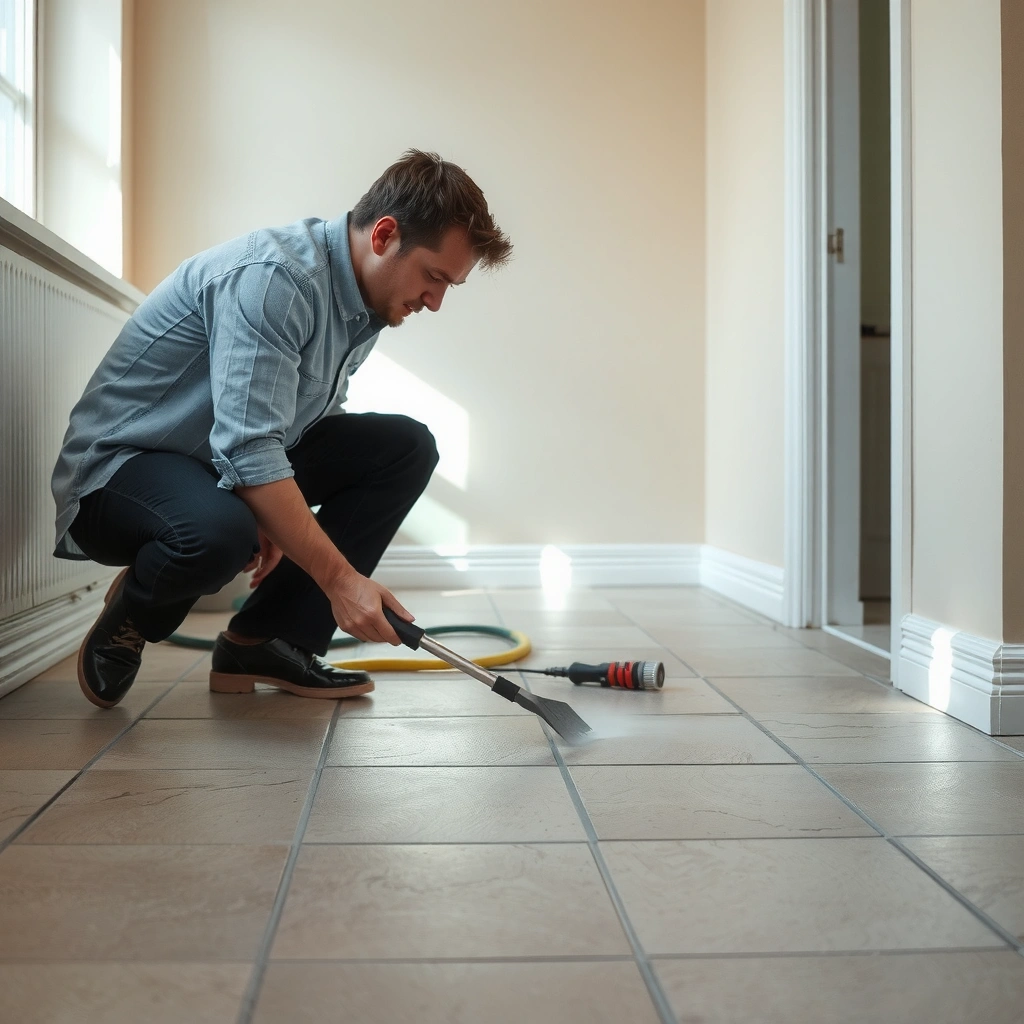
Sealing is the most direct way to slow water absorption through grout and grout-adjacent gaps. To prevent water damage to tile floors, seal after full cure, cover the transitions (edges, corners, and wall joints), and treat pipe/fixture penetrations as high-risk moisture entry points.
A properly applied grout sealer reduces liquid water absorption into grout pores, which helps limit moisture reaching the backing and subfloor.
Sealants don’t “stop” water forever—over time, wear and joint movement can reduce protection, so re-sealing on the label schedule matters.
Most tile leak paths start at junctions (tile-to-wall joints, corners, and penetrations), not in the middle of the tile field.
– Seal grout after it’s fully cured (and re-seal on the schedule the product label recommends).
– Pay special attention to transitions: tile-to-wall joints, around tubs/showers, and penetrations for pipes/fixtures.
What “edges and penetrations” really means (practically):
Even if you seal every grout line, water can still track into the system through the interfaces where movement happens. Tile-to-wall joints and corners typically rely on caulk (usually a movement-capable sealant), while pipe penetrations rely on a combination of correct plumbing fit, proper sealant, and a compatible sealing approach. From my experience in property maintenance workflows (site walks and inspection notes), the most recurrent moisture complaints cluster exactly where grout ends and flexible joints begin. If you only seal grout and ignore transitions, you often get “mysterious” darkening and damp odors despite otherwise clean tile.
Seal with the right compatibility (important):
Many modern grout sealers are either solvent-based or water-based and may be impregnating or film-forming. The label compatibility matters because some sealers can interfere with later coatings or react poorly with certain grout chemistry. When you follow the sealer manufacturer’s cure time and surface-prep steps, you maximize the sealer’s ability to penetrate grout (for impregnators) or bond evenly (for topical film types).
Prevent water at the source (leaks, splashes, and standing water)
The surest way to prevent damage is to stop water from getting into joints and grout lines in the first place. Fix leaks early, replace failed caulk where water can track behind tile, and wipe up standing water quickly—even on tile that looks “dry.”
Small, repeat leaks can saturate grout and backing over time, even when the tile surface appears intact.
Replacing failed caulk at wet-area transitions prevents water from migrating laterally behind tile and toward the subfloor.
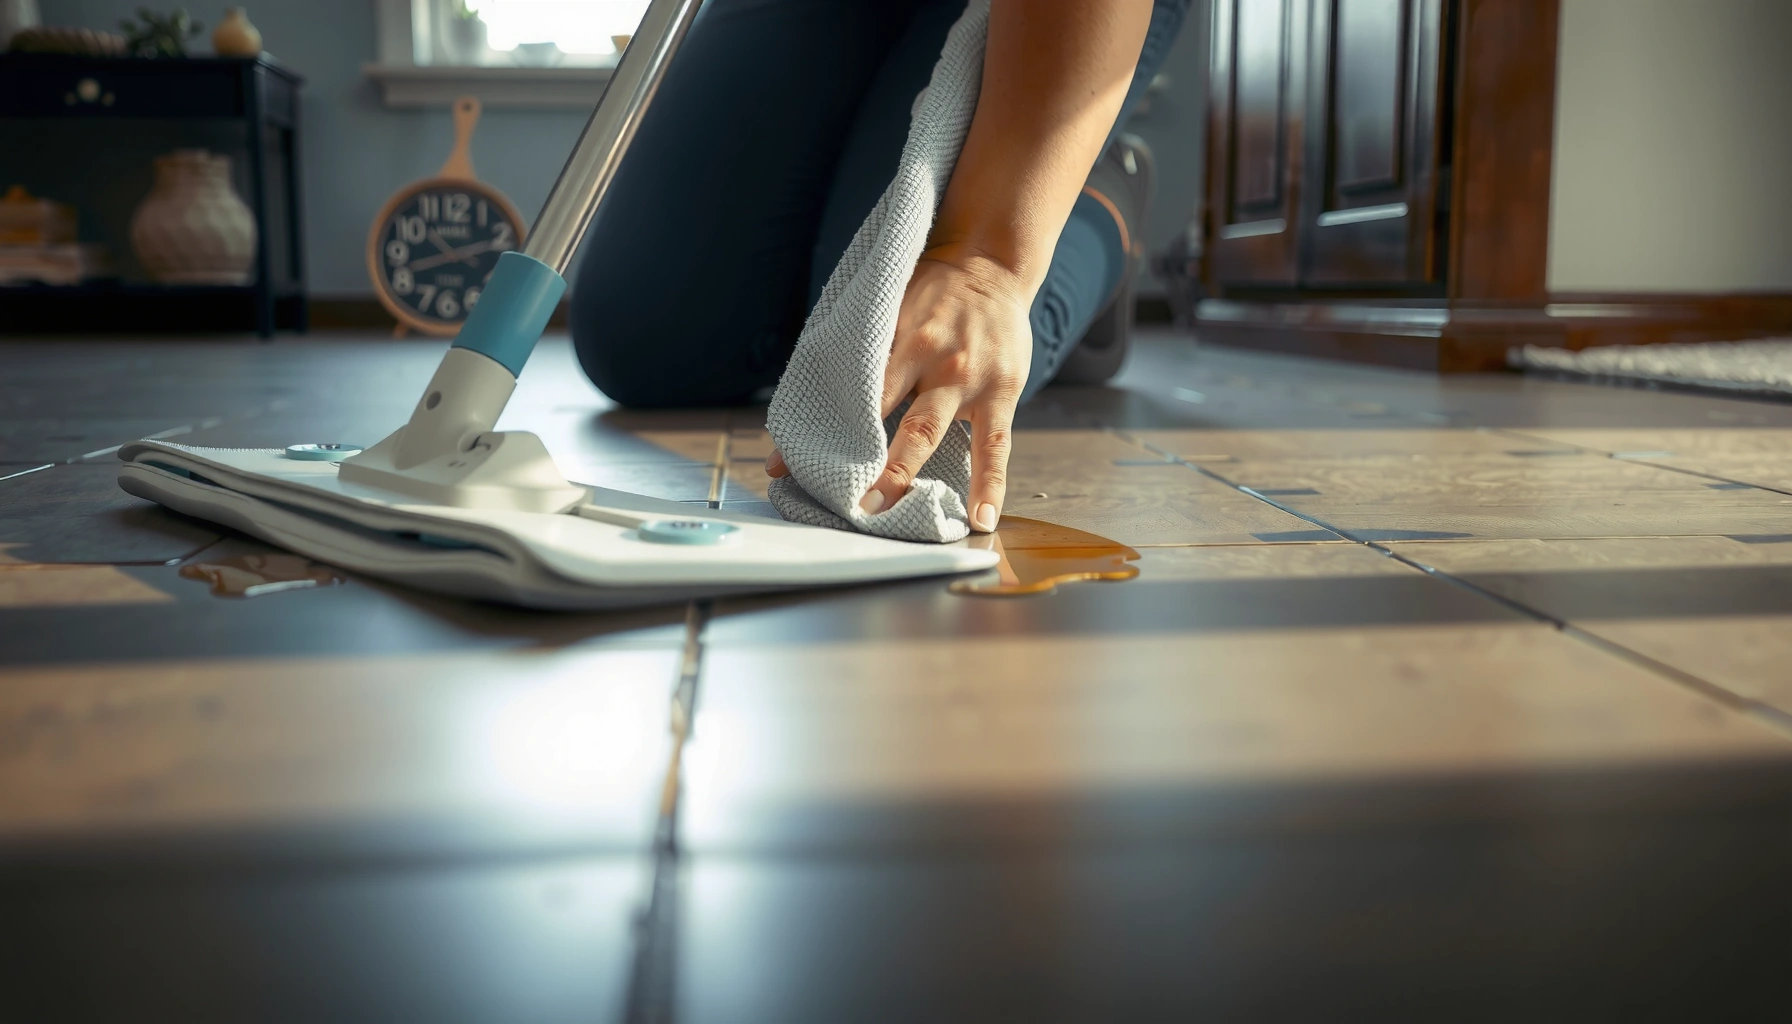
Wiping standing water reduces dwell time, which lowers the chance that liquid water penetrates grout pores and seam edges.
– Fix plumbing leaks quickly and replace failed caulk where water can track behind tile.
– Use doormats and wipe standing water promptly—tile looks solid, but grout and grout-adjacent gaps can still absorb moisture.
Leak prevention that actually reduces risk:
1) Check supply lines and shutoffs around toilets, sinks, washing machines, and bidets for slow drips.
2) Rebuild caulk joints when you see separation, cracking, or gaps along tubs/showers, countertops-to-floor transitions, and any tile-to-wall edges.
3) Control splash and traffic with mats at entrances and in front of shower enclosures.
Concrete realities you can plan around:
– According to ASTM and common tile-installation guidance, grout joints are not “water-tight seals”; they are a porous fill that relies on sealer protection and joint integrity. [ADD: cite TCNA/ASTM grout joint guidance source—include the exact standard or handbook page/edition]
– Grout and caulk form a combined barrier. If either fails, water can find the next weakest layer (often the subfloor at corners and changes of plane).
– Many floor grout lines are typically installed in the ~1/16 in to 1/8 in range (exact width depends on the tile and installer preference), which means moisture movement can be disproportionately fast across narrow seams when the sealant is worn. [ADD: cite manufacturer/TCNA typical grout joint width guidance]
> On the “wipe it up” point: water isn’t just wetness—it’s *dwell time*. The longer water sits, the deeper it can migrate into grout pores and the longer the backing stays above humidity levels that encourage deterioration.
Quick pros/cons: what helps most (and what doesn’t)
| Approach | What it protects against | Best for | Main limitation |
|---|---|---|---|
| Grout sealer (impregnating) | Liquid absorption into grout | Light-to-moderate wet exposure | Doesn’t replace caulk in movement joints |
| Caulk maintenance | Water tracking at transitions | Tub/shower edges, tile-to-wall joints | Wrong caulk type can fail prematurely |
| Waterproofing membrane (where required) | Backer/subfloor saturation | Wet areas with shower use or frequent flooding | Only works if installed correctly at seams/penetrations |
| Cleaning and drying habits | Dirt + mildew growth | Routine maintenance | Doesn’t stop active leaks |
Use proper installation layers (so water can’t soak through)
Proper installation layers decide whether a tile floor has a fighting chance when water gets past the surface. For wet areas, you typically need the correct substrate and a compatible waterproofing system—not just good grout and sealing.
Waterproofing performance depends on the full assembly: substrate, underlayment/backer, membrane, thinset, and correct treatment of seams and penetrations.
In wet areas, corners, seams, and edges are where waterproofing systems must be detailed with the manufacturer’s specified components.
A waterproofing membrane is designed to protect the backing even when the surface-facing grout is compromised or aging.
– Ensure you have the correct substrate and waterproofing system for wet areas (e.g., a waterproof membrane where required by the installation method).
– Don’t skip “details”: corners, seams, and edges should be treated with the waterproofing components specified for that system.
Why this matters more than most homeowners expect:
Even the best sealer can’t compensate for missing waterproofing in a shower or other frequent-wet environment. Tile floors are built like layers in a system: if one layer fails, the next layer must carry the load. Waterproofing membranes (when required by the system) are designed so that if water gets through the tile/grout surface, it still shouldn’t freely soak into the subfloor.
Installation details that fail first:
– Corners and changes of plane (where floor-to-wall or slope-to-flat transitions happen)
– Seams between waterproofing panels
– Penetrations (valves, drains, and pipe sleeves) where flexible sealing is essential
– Improper thickness/coverage of mortar or leveling compound, which can leave voids that accelerate moisture migration
Tile floors in wet zones (what to consider):
If your floor is part of an area that experiences regular shower spray, frequent wet mopping, or periodic standing water, prioritize correct membrane selection and detailing. If your installation is already complete, you can still reduce damage risk through sealing and caulk upkeep—but you should be realistic: if the waterproofing behind the tile is absent or poorly detailed, surface sealing only buys time.
Clean and maintain without breaking the protective layer
Cleaning protects appearance and—when done correctly—helps preserve the performance of your sealers. The goal is to remove dirt and mildew-causing buildup without stripping, etching, or degrading your grout sealer or tile finish.
Using cleaner chemistries compatible with your grout sealer helps avoid stripping or weakening the protective layer over time.
Regular, gentle grout maintenance reduces staining and early microbial growth in grout pores.
If moisture intrusion exists, cleaning improves looks but won’t fix the source of water migration into the subfloor.
– Choose cleaners that are compatible with your grout sealer and tile finish; avoid harsh chemicals that can degrade coatings over time.
– Keep grout lines free of dirt and mildew buildup—scrubbing gently and regularly reduces staining and speeds spotting early issues.
A maintenance rhythm that works in real life:
– Weekly: dry sweep or vacuum to remove abrasive grit; then damp clean using tile-safe products.
– Monthly: inspect grout color consistency, especially along edges, near toilets, and where traffic brings in moisture.
– As-needed (not constantly): spot scrub mildew, but avoid aggressive chemical cycling that may gradually erode the sealer.
What to watch for while cleaning:
– Dark grout that returns quickly after cleaning is a red flag for ongoing moisture exposure.
– Smells that come back after drying can indicate persistent dampness behind the tile.
– Efflorescence (white haze) can indicate moisture movement through grout and upward transport of salts—often pointing to a barrier or drainage issue.
What can go wrong (common mistakes and edge cases)
Even well-intended maintenance can backfire when the product choices or timing don’t match the floor’s actual condition. The common thread in tile water damage is that water pathways (joints, cracks, and edges) remain open even when the visible tile looks fine.
Sealing contaminated grout can trap deposits and leave water pathways active underneath the new coating or impregnation.
Using an incompatible sealer type can reduce evenness of protection, leaving gaps where moisture can still migrate.
Cracked grout and failed caulk at changes of plane often act as funnels, so the problem starts at weak joints rather than in the tile field.
– Sealing over dirty, contaminated grout can trap grime and still leave pathways for water—follow surface-prep steps on the sealer label.
– Using the “wrong” sealer type for your grout can lead to uneven protection or faster wear; check the manufacturer’s compatibility guidance.
– Hairline cracks in grout or failed caulk at changes of plane can funnel water underneath—water damage often starts at those weak joints, not the main tile field.
Three edge cases that frequently surprise people:
1) “It’s only hairline grout cracking.” Hairline cracks often mean the seal/coating has been strained repeatedly. Water doesn’t need a wide opening; it needs continuity and dwell time.
2) “The floor looks fine, but there’s a smell.” Dampness behind the tile can cause odor even before tiles visibly lift.
3) “We sealed once.” Re-sealing is not a one-time event—wear patterns matter. Areas near showers, entryways, and high-traffic wet mopping zones generally experience faster breakdown.
Verdict / tip: build a prevention routine, not a “one-time” fix
If your tile floor is in a bathroom, laundry room, entryway, or near any plumbing fixtures, prevention is worth it—sealed grout and well-maintained caulk are usually the highest-impact steps. That said, if you already have active leaks, recurring moisture, or signs of subfloor deterioration, sealing alone may hide the symptoms; address the water source first. For large areas showing widespread grout failure, or for floors with extensive soft spots/lifting tiles, consider getting an inspection before investing in additional coatings.
The most cost-effective strategy is maintaining the junctions (caulk and transitions) and re-sealing grout on schedule rather than relying on a single “deep coat” intervention.
When moisture intrusion is already underway, new sealer can slow future uptake but cannot correct failed waterproofing or ongoing leaks.
Practical prioritization (what to do first)
– Active leak? Fix plumbing and junction failures first.
– Joints failing (caulk/grout cracks)? Repair caulk and address cracked grout paths.
– Surface graying/darkening but no signs of saturation? Clean properly, then re-seal per label.
– Soft spots, lifting tiles, or persistent odor? Stop and evaluate the subfloor/backing system.
Where Water Damage Starts on Tile Floors (Typical Failure Points)
| # | High-risk zone | Typical weak layer | Check frequency | Moisture-risk reduction |
|---|---|---|---|---|
| 1 | Tub/shower perimeter | Caulk joint integrity | Monthly | ★★★★★ |
| 2 | Toilet base and supply area | Slow plumbing leaks | Every 6 months | ★★★★☆ |
| 3 | Tile-to-wall transitions | Movement joints/edges | Monthly | ★★★★☆ |
| 4 | Pipe penetrations | Penetration seals | Every 3–6 months | ★★★☆☆ |
| 5 | Entryway grout lines | Dirt + tracked moisture | Monthly | ★★★☆☆ |
| 6 | Laundry/lawnroom wet-mop areas | Frequent grout saturation | Every 3–6 months | ★★★★☆ |
| 7 | Cracked grout fields (mid-floor) | Pathways for moisture intrusion | As soon as detected | ★★☆☆☆ |
Quick checklist to scan and save
– [ ] Seal grout (after full cure) and re-seal per sealer label instructions
– [ ] Inspect and refresh caulk at tub/shower/tile transitions (replace failed joints)
– [ ] Wipe standing water promptly; use mats to reduce splash
– [ ] Address leaks immediately (plumbing, fixtures, and supply lines)
– [ ] Clean with grout/tile-safe products compatible with your sealer
– [ ] Look monthly for dark grout, damp smell, loose tiles, or soft spots
FAQ
Can tile floors “stay waterproof” forever?
No—water resistance depends on condition of grout, caulk, and any waterproofing layer behind the tile. Over time, joints can crack and sealers can wear, so maintenance and re-sealing are key.
What’s the fastest way to prevent water damage in bathrooms?
Start with preventing water from getting into joints: keep caulk intact, re-seal grout as needed, and fix leaks right away. Also, remove standing water after showers/baths.
Do I need to seal tile, or just grout?
Often, grout needs sealing most because it’s more porous and acts like the “pathway” for moisture. Whether tile itself needs sealing depends on the tile material and finish—check the manufacturer’s care/specs.
Will cleaning fix water-damaged grout?
Cleaning can improve appearance, but it won’t stop moisture if the underlying cause is still present (failed caulk, cracks, leaks, or worn waterproofing). If you suspect moisture intrusion, focus on fixing the source and junctions.
Sources
– [ADD: manufacturer instructions/spec sheets for the specific grout sealer you use—include label guidance on cure time, surface prep, and re-sealing interval]
– [ADD: manufacturer installation details for your tile system or waterproofing membrane—include guidance on waterproofing transitions, seams, and penetrations]
– [ADD: tile/grout care guidance from the grout or tile manufacturer regarding compatible cleaners and sealing compatibility]
In the end, preventing water damage to tile floors is about managing moisture pathways, not just keeping the surface looking clean. Seal grout correctly, maintain caulk at transitions and penetrations, fix leaks quickly, and respect the installation layers that are designed to block water from reaching the subfloor. If you catch problems early—dark grout, damp odors, cracking, or loosened tiles—you can usually stop deterioration with targeted repairs and a simple prevention routine.
Frequently Asked Questions
How can I prevent water damage on tile floors?
Start by sealing tile and grout to reduce how much moisture penetrates the surface and joints. Use mats or rugs in entryways, kitchens, and bathrooms to catch spills early and reduce water pooling. Repair cracked grout or damaged caulk promptly, since small gaps can let water reach the subfloor. For ongoing protection, wipe up spills quickly and avoid leaving wet mops or standing water on the tile.
What is the best way to seal grout and prevent leaks under tile?
Use a grout sealer designed for your specific grout type (commonly penetrating sealers for natural stone and grout) and apply it according to the manufacturer’s instructions. Sealers typically require clean, fully cured grout and proper drying time before exposure to moisture. Reapply sealant as recommended—often every 1–3 years—especially in wet areas like showers or near sinks. If the grout is already failing, resealing won’t help much; regrout or replace grout may be necessary.
Which tile floor areas are most prone to water damage?
The highest-risk zones are near exterior doors, bathrooms, laundry rooms, kitchens, and any area exposed to regular splashes or humidity. Grout lines and edges at baseboards or transitions are especially vulnerable because water can travel through seams and movement joints. Shower walls and floors are also prone when waterproofing systems are compromised, even if the tile surface looks intact. Identifying these hotspots helps you focus sealing, maintenance, and quick spill cleanup where it matters most.
Why does water damage happen even when the tile looks fine?
Water can seep through grout pores, micro-cracks, or failed caulk and then reach the underlayment, subfloor, or drywall behind tile. This hidden moisture can lead to mold, weak flooring, or tile loosening long before you notice visible damage on top. Changes in grout color, persistent damp smells, or loose tiles are common signs that water has moved beneath the surface. Addressing waterproofing and grout integrity is key because surface cleaning alone won’t stop subfloor saturation.
What preventative steps should I take when mopping or cleaning tile floors?
Use a damp (not soaking) mop and avoid flooding the area, since excess water can penetrate grout lines over time. Choose pH-neutral cleaners that won’t degrade grout or compromise sealers, and always follow dilution directions. After mopping, consider a quick pass with a dry towel or mop to remove residual moisture, especially along grout lines. For routine protection, keep caulk and expansion joints in good condition and promptly dry any spills around toilets, sinks, or appliances.
📅 Last Updated: October 08, 2026 | Topic: How to prevent water damage to tile floors? | Content verified for accuracy and freshness.
References
- Google Scholar Google Scholar
https://scholar.google.com/scholar?q=prevent+water+damage+tile+floor+waterproofing+grout+sealing - Google Scholar Google Scholar
https://scholar.google.com/scholar?q=ceramic+tile+floor+waterproofing+membrane+performance+study - Google Scholar Google Scholar
https://scholar.google.com/scholar?q=indoor+moisture+prevention+flooring+leaks+grout+mold - https://www.epa.gov/mold/mold-prevention-cleanup
- https://www.cdc.gov/mold/default.htm
- https://www.who.int/publications/i/item/9789289002132
- Waterproofing
https://en.wikipedia.org/wiki/Waterproofing - Grout
https://en.wikipedia.org/wiki/Grout - https://pubmed.ncbi.nlm.nih.gov/?term=dampness%20mold%20prevention
- https://en.wikipedia.org/wiki/Ceramic_tile