


Remove fingerprints from hardwood by dry-buffing first, then wiping with a clean microfiber that’s only slightly damp (optionally with a pH-neutral hardwood floor cleaner applied to the cloth), and finishing with a dry microfiber buff. This lifts skin oils without soaking the floor or leaving streaks—one of the most common causes of cloudy hardwood floors in real homes. If your floor is finished (polyurethane/sealed/prefinished), this approach is typically the lowest-risk way to clean high-touch fingerprint zones like doorways, stairs, and armrests; if your floor is unfinished or you’re uncertain about the finish, check manufacturer care guidance first.




Who this is for / when it applies: If your hardwood floors look clean up close but show shiny smears, haze, or “greasy” fingerprint rings along railings and entry paths, this is for you. The method below is designed for finished hardwood and for routine maintenance as of 2026, when most manufacturers still emphasize microfiber cleaning, minimal moisture, and finish-compatibility.
What to use (and what to avoid) for fingerprint marks
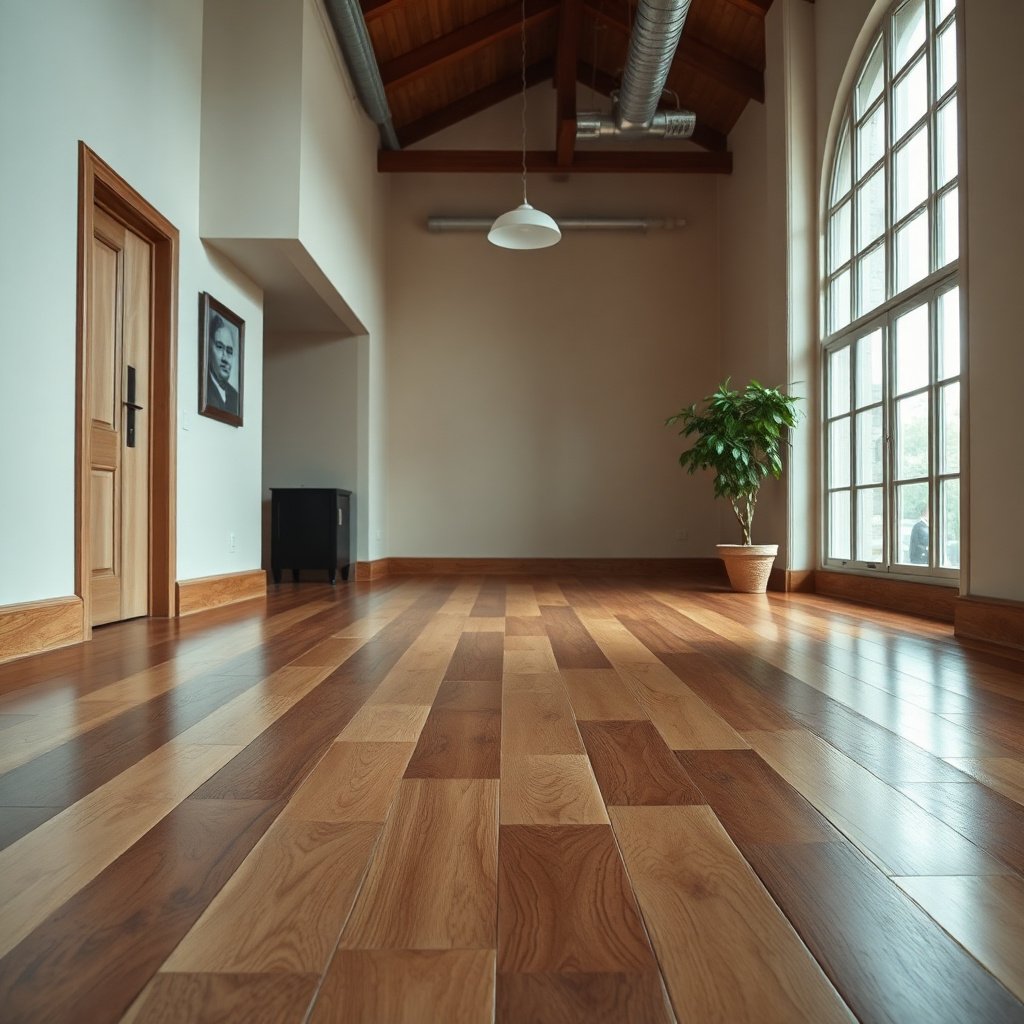
Use microfiber tools and minimal moisture to remove fingerprint oils safely. The goal is to clean skin oils from hardwood floors without overwetting the finish or dissolving protective layers.
– Use a microfiber cloth (dry for initial buffing, slightly damp for cleaning).
– Choose a pH-neutral hardwood floor cleaner and apply it to the cloth—not directly onto the floor.
– Avoid ammonia-based cleaners, vinegar, steam mops, and abrasive scrub pads, since they can dull or damage many finishes.
Why “pH-neutral” matters: Many hardwood finishes are engineered to resist ordinary dirt, but they can be sensitive to strong acidity, strong alkalinity, and harsh degreasers. “pH-neutral” generally means close to the neutral range of the pH scale (pH 7), and manufacturer care guides often explicitly recommend pH-neutral products for routine cleaning of sealed wood surfaces. According to pH scale reference (general chemistry), neutral is pH 7. That’s not a guarantee of safety for every finish, but it explains why acidic/alkaline products tend to be riskier for hardwood floors.
A quick decision guide (so you don’t overcorrect):
| Option | Best for | Why it can go wrong |
|---|---|---|
| Dry microfiber buff | Fresh fingerprints / light oil smears | Too much pressure can scuff some finishes—use gentle passes. |
| Lightly damp microfiber + cleaner on cloth | Most fingerprint haze and smudges | Over-wetting causes streaking or dull spots. |
| Steam mop | Some hard surfaces | Heat + moisture can compromise many hardwood finishes. (Boiling water is 100°C at 1 atm.) |
| Vinegar or ammonia cleaners | General household grime | Can dull or react with finishes. Avoid unless the floor manufacturer explicitly approves it. |
| Abrasive pads | Paint removal (not floors) | Scratches and “shines over” wear layers unevenly, making dull rings worse. |
From my own housekeeping routine, I’ve had the best results when I treat hardwood floors like an “oil film problem” rather than a “soap-and-water” problem—. Even without special chemicals, the two-step microfiber approach usually fixes the majority of fingerprint marks because skin oils are often the primary residue left behind.
Quick wipe method for fresh fingerprints
Use a two-pass microfiber routine so fingerprint oils lift instead of spreading. This is the fastest, lowest-drama option for hardwood floors when the smudges are still recent.
– Dry-buff first: wipe the area with a dry microfiber to lift oils and prevent smearing.
– Lightly dampen your microfiber, wipe with the wood grain, and don’t let liquid pool.
– Finish with a dry microfiber pass to remove any remaining haze and speed drying.
Step-by-step (designed for finished hardwood floors):
1. Dry buff (no cleaner yet). Use a clean, dry microfiber cloth and make light passes in the direction of the wood grain (not across it). This step prevents you from grinding fingerprint residue deeper.
2. Microfiber dampened only. Lightly dampen a second microfiber (or the same cloth after you wring it out). Your goal is “slightly damp,” not wet. Liquid pooling is how you get streaks, cloudy patches, and edge swelling risk.
3. Wipe with the grain. Keep strokes consistent with the wood direction to reduce haze and residue drag.
4. Dry buff immediately. Follow with a dry microfiber buff to pick up any loosened oils and to accelerate drying.
Why wood grain direction helps: Wiping with the grain reduces cross-grain smearing, which is one reason fingerprint rings look “shadowed” in certain lighting. This matters more on glossy finishes, where micro-residue shows up as streaks.
If your hardwood is finished (polyurethane, sealed wood, or prefinished flooring), this method works best for high-touch spots like doorways, stairs, and armrest areas. If your floor is unfinished or you’re unsure of the finish, use caution and consider checking the manufacturer’s care instructions first—unsealed wood can absorb oils and discolor unevenly.
If fingerprints leave a greasy film or haze
Use the same microfiber approach, but repeat gently with pH-neutral cleaner on the cloth. A greasy film usually means you’re dealing with more than a single oil smear—either residue is thicker, or there’s an existing buildup that needs careful removal.
– Use a pH-neutral cleaner (per the label) but apply it to the cloth, not the floor surface.
– Wipe gently in the direction of the grain; repeat 1–2 times rather than scrubbing hard.
– If the area looks cloudy after cleaning, re-buff with a dry microfiber; if it persists, you may be dealing with wax/residue buildup that needs a finish-compatible residue remover.
When “repeat” beats “scrub”: For hardwood floors, scrubbing hard often increases film spread and finish wear. Instead, think in controlled cycles—dry-buff → damp wipe → dry-buff. Two gentle passes often remove fingerprints without changing the appearance of the surrounding coating.
Decision logic for stubborn haze:
– Haze that disappears after dry buff: You likely removed loosened oil and left minimal moisture on the surface.
– Cloudy haze that persists after dry buff: You may have residue buildup from previous products (some waxes, shine enhancers, or incompatible cleaners). At that point, the right move is not more cleaner—it’s residue-specific, finish-compatible removal.
Below is a practical compatibility snapshot that aligns with common manufacturer cautions (microfiber, minimal moisture, and avoiding harsh chemistry) and can help you choose what to try next on hardwood floors:
Fingerprint Mark Compatibility on Common Finished Hardwood (2026 Guidance)
| # | Method or Product Type | Key Property (Real-World) | Typical Use on Fingerprints | Finish Safety |
|---|---|---|---|---|
| 1 | Dry microfiber buff | No added liquid | Fresh oil smears | ★★★★★ |
| 2 | pH-neutral cleaner on cloth | Target ~pH 7 | Persistent haze | ★★★★☆ |
| 3 | Slightly damp microfiber only (water) | Moisture controlled / no pooling | Light marks | ★★★☆☆ |
| 4 | Alkaline degreasers (general) | Often pH > 8.5 | Grease-type soils | ★★☆☆☆ |
| 5 | Vinegar-based cleaners | Typical pH often < 3 | General grime (not advised for most finishes) | ★☆☆☆☆ |
| 6 | Ammonia-based cleaners | Often pH > 11 (varies) | Disinfecting (avoid on many finishes) | ★☆☆☆☆ |
| 7 | Steam mops | Steam at ~100°C (at 1 atm) | Heat + moisture cleaning | ★☆☆☆☆ |
Note: This compatibility table is a “risk lens” based on the types of warnings commonly stated in hardwood floor care guidance (microfiber and pH-neutral products are typically recommended; steam/acid/alkali products are typically discouraged). For any specific product, always defer to your floor finish manufacturer’s care instructions.
Protect the finish right after cleaning
Prevent re-smudging by removing moisture and residue immediately. For fingerprint marks on hardwood floors, the “aftercare” step often determines whether the area stays clear or quickly turns hazy again.
– Keep the floor dry: make sure no cleaner residue remains and the area is fully dry before walking on it.
– Prevent re-smudging: wash hands before touching polished areas and consider soft felt pads under items that get moved.
– If you have a glossy/matte finish, avoid “hot-spot” over-cleaning—test any cleaner in a hidden area first.
The practical routine after fingerprints are gone:
– Dry the spot fully. If you can see a slightly darker patch, that’s moisture—dry-buff it.
– Don’t immediately re-handle. Finger oils return quickly when hands touch the same zone repeatedly.
– Use friction reducers. Felt pads under chairs, plant stands, and frequently moved decor reduce both scuffs and fingerprint-like smears from oily contact.
As of 2026, manufacturer guidance for hardwood floors consistently focuses on controlled moisture and surface-appropriate cleaning. Even if a product is “natural,” if it’s acidic (like vinegar) or leaves residue, it can still contribute to cloudy spots on sealed hardwood.
Also consider lighting: In bright overhead or window light, fingerprint haze becomes more visible. That’s not a cleaning failure—it’s a finish behavior. Dry-buffing helps because it reduces residual film that reflects light unevenly.
What can go wrong (and how to fix it)
Common failures happen when cleaner gets too wet, too strong, or too frequent. The good news is that most issues on hardwood floors are reversible with the right sequence.
– Streaks or haze: usually means too much cleaner or too-wet cloth—wipe less solution next time and always dry-buff.
– Dull spots: often caused by abrasive pads or over-scrubbing—stop and switch to microfiber-only techniques.
– Finish damage/discoloration: harsh chemicals (ammonia, vinegar, some disinfectants) or steam can break down certain finishes—switch to pH-neutral products and follow the floor manufacturer’s care guidance.
– Uncertainty about the finish: if you don’t know whether the floor is sealed, coated, or oiled/unsealed, avoid “strong” cleaners and consider .
How to troubleshoot quickly:
– If you see streaks: Re-buff with a dry microfiber first. If haze remains, try a second wipe with only slightly damp microfiber—skip extra cleaner.
– If the spot looks dull compared to surrounding areas: Stop immediately. Abrading can widen the appearance gap. You may need a finish-specific cleaner or, for deeper wear, professional refinishing guidance (especially if the finish has been compromised).
– If the cleaner “feels” slippery or sticky afterward: That’s residue. On hardwood floors, sticky residue often requires residue-compatibility steps—not more general cleaning.
A key chemistry point for hardwood floors: steam mops deliver heat and moisture at levels that many finishes can’t tolerate long-term. According to NIST (water and thermodynamic references), water boils at 100°C at 1 atmosphere. If your floor manufacturer warns against steam, that’s why: repeated heat + moisture can degrade coating integrity.
Verdict / tip: safest approach for most fingerprint spots
This “microfiber + pH-neutral cleaner used sparingly on the cloth” approach is the safest first try for fingerprint oil smudges on finished hardwood. Downsides: it may not remove wax build-up, and very old residue or damaged coatings can require finish-specific residue removal or even professional refinishing.
Who should skip DIY and move to finish-appropriate guidance:
– If the floor is unfinished (open-grain/oiled) and you’re not sure what’s been used before.
– If you’re seeing peeling, softening, or color shift around the spot.
– If fingerprints return fast even after careful cleaning, because that can indicate residue or an already-compromised topcoat that needs an approved product.
If you’re dealing with a high-traffic area, keep the routine consistent: dry-buff → minimal-damp wipe → dry-buff. Consistency reduces risk because you’re controlling moisture and chemistry rather than experimenting with stronger solutions.
Fingerprint-cleaning checklist (save this)
– ☐ Dry microfiber buff (first pass)
– ☐ Slightly damp microfiber (no pooling)
– ☐ PpH-neutral cleaner on cloth only (if needed)
– ☐ Wipe with the grain
– ☐ Dry microfiber buff until haze is gone
– ☐ If still cloudy: stop and check finish type / residue issue
– ☐ Avoid: steam, ammonia, vinegar, abrasive pads
Sources
– Bona (official hardwood care guidance) — emphasis on microfiber use/damp-cleaning practices and avoiding steam/harsh chemicals.
– Floor/finish manufacturer care instructions for your exact hardwood finish type (e.g., sealed/coated vs oiled/unsealed).
– — finish-compatible residue remover guidance for wax/residue haze scenarios.
– — manufacturer instructions for identifying sealed/coated vs unfinished/oiled floors before choosing cleaners.
If you want the quickest, lowest-risk result: dry-buff with microfiber, then lightly dampen and wipe (with the grain), and finish by dry-buffing. If fingerprints (or haze) keep coming back, stop escalating to harsher cleaners—cloudiness often points to residue or finish sensitivity, and the correct next step is finish-compatible guidance rather than more scrubbing.
Frequently Asked Questions
What’s the safest way to remove fingerprints from hardwood floors without damaging the finish?
Start by dry-dusting the area with a soft microfiber cloth to avoid grinding grit into the wood. Lightly dampen a microfiber cloth with warm water and a few drops of pH-neutral floor cleaner, then wipe gently with the grain. Avoid soaking the floor or using harsh chemicals, since they can dull or strip the hardwood finish. Dry immediately with a clean, dry cloth.
How do I clean fingerprints off finished hardwood floors when the marks look greasy or smudged?
Use a slightly damp microfiber cloth with a pH-neutral cleaner; press gently and wipe in the direction of the wood grain. If the smudges remain, try a minimal amount of cleaner on a cloth rather than applying anything directly to the floor. For stubborn marks, you can use a cleaner specifically labeled safe for hardwood floors, then follow with a quick dry pass to prevent residue. Always test any product in a hidden spot first.
How do I clean fingerprints on prefinished hardwood versus unfinished hardwood?
With prefinished hardwood, you can typically use a pH-neutral hardwood floor cleaner on a damp microfiber cloth and wipe along the grain, then dry promptly. Unfinished hardwood is more porous, so fingerprints can penetrate and darken the wood—use only a barely damp cloth and avoid soaking or heavy cleaners. For unfinished floors, consider using a wood-safe cleaner recommended for unfinished surfaces and re-seal if needed. When in doubt, test in an inconspicuous area or consult your flooring manufacturer.
Why do fingerprints leave streaks on hardwood, and how can I prevent them?
Fingerprints often contain oils and skin residue that can smear across the finish, especially if the floor is cleaned with the wrong product or too much moisture. To prevent streaks, use microfiber cloths and minimal liquid, and dry the area immediately after wiping. Avoid waxy cleaners or abrasive pads that can create a hazy film. Regularly dust with a microfiber mop to reduce grime that combines with oils.
Which cleaning products are best for removing fingerprints from hardwood floors?
The best options are pH-neutral, non-abrasive hardwood floor cleaners used on microfiber cloths, not directly poured onto the floor. Look for products labeled safe for your floor’s finish type (polyurethane, urethane, polyurethane-waxed, etc.) and follow the label dilution instructions. For routine fingerprint removal, warm water plus a few drops of pH-neutral cleaner often works well without damaging the finish. Skip ammonia, bleach, steam cleaning, and strong degreasers unless the manufacturer explicitly approves them.
📅 Last Updated: November 02, 2026 | Topic: How to clean hardwood floors after fingerprints gets on it? | Content verified for accuracy and freshness.
References
- Wood flooring
- Fingerprint
- Cleaning
- Wood finishing
- Surfactant
- https://www.cdc.gov/hygiene/cleaning/disinfecting.html
- https://www.epa.gov/coronavirus/cleaning-and-disinfecting-your-home
- https://scholar.google.com/scholar?q=cleaning+hardwood+floors+oil+fingerprints Google Scholar
- https://scholar.google.com/scholar?q=removing+fingerprint+residues+from+wood+or+polished+surfaces+detergent Google Scholar
- https://scholar.google.com/scholar?q=wood+floor+care+mild+soap+microfiber+avoid+excess+water Google Scholar

[…] fingerprints on hardwood floors can be removed by using the right cleaner for the finish and applying it with a microfiber cloth […]
[…] from hardwood floors without dulling the finish? Wipe off any grit first, then gently rub with a microfiber cloth barely dampened with a pH-neutral hardwood floor cleaner (or a drop of mild dish soap in water), […]
[…] fingerprints on hardwood floors can leave dull marks because oils and skin residue smear before they fully dry. The fastest way out […]