
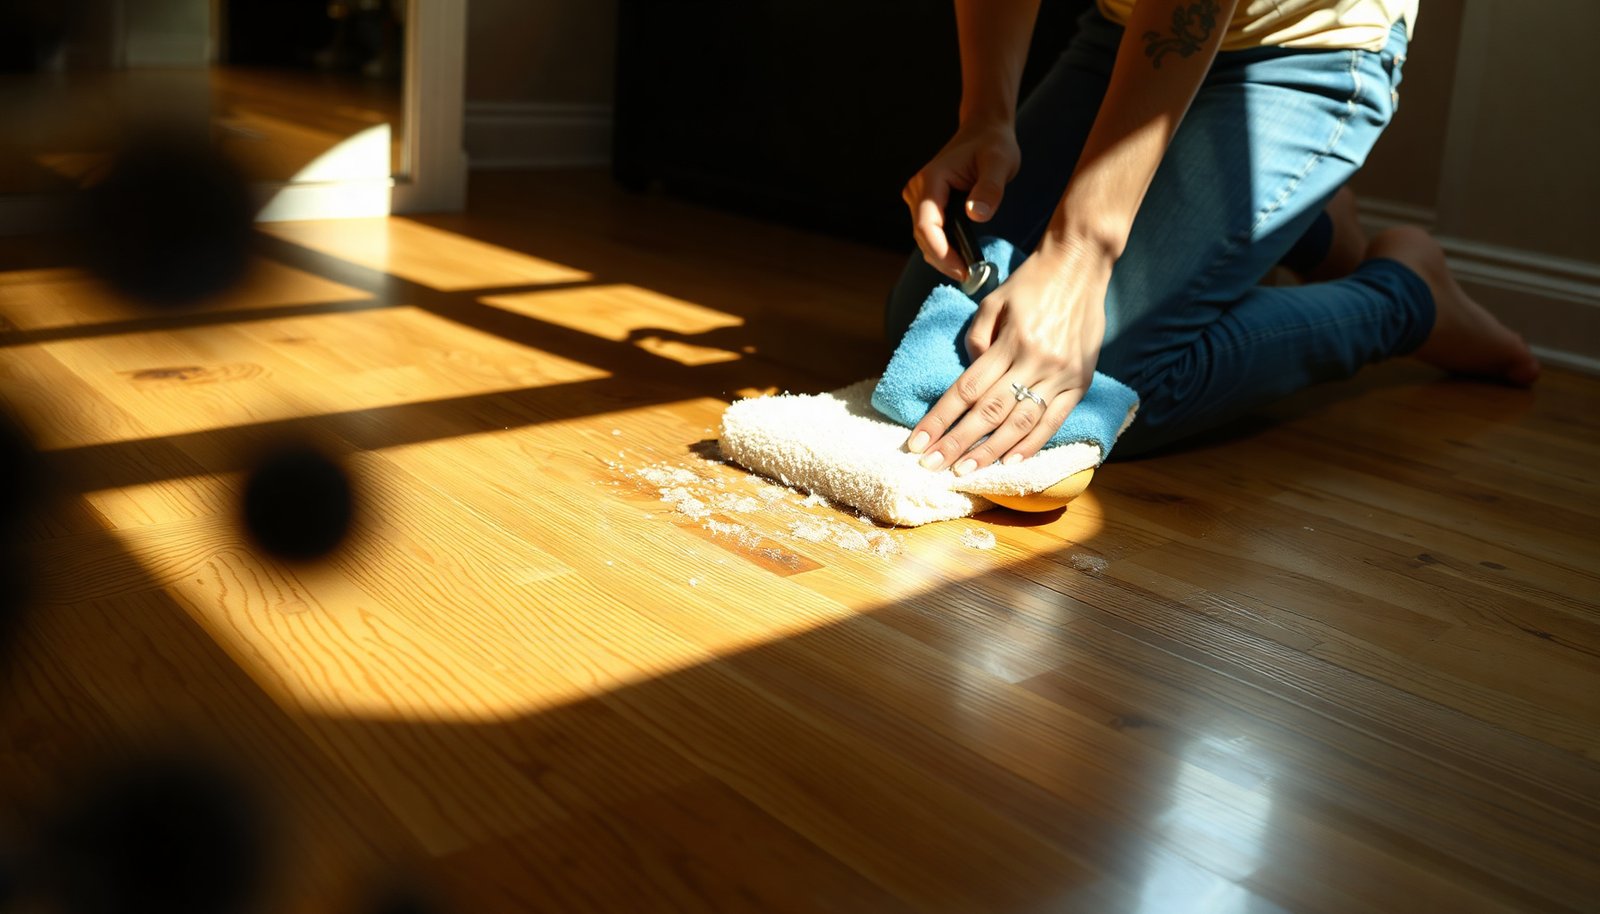

Dried tire marks on hardwood can be stubborn, and it’s frustrating to watch dark streaks stay after everyday mopping. You can lift them safely in about 20–40 minutes by using the right cleaner, a soft cloth or nylon pad, and gentle abrasion that won’t dull the finish. Follow the steps below and your floors will look clean again without risking warping, scratching, or residue buildup.




If you want to remove dried tire marks from hardwood without damaging the finish, the safest approach is to dry-scrape off the rubber first, then clean with the mildest wood-floor cleaner that works. Only if a small test spot proves the finish is stable should you escalate to a solvent applied to a cloth—not the floor—so you don’t end up with haze, dull patches, or finish lift.
This is for homeowners dealing with smudged or crusty tire scuffs on finished hardwood (most polyurethane/waxed floors). If your hardwood is bare/unsealed, heavily worn, or already showing damage, the “stronger step” may do more harm than good—so read the edge cases before you start.
Step 1: Dry scrape first (don’t soak yet)
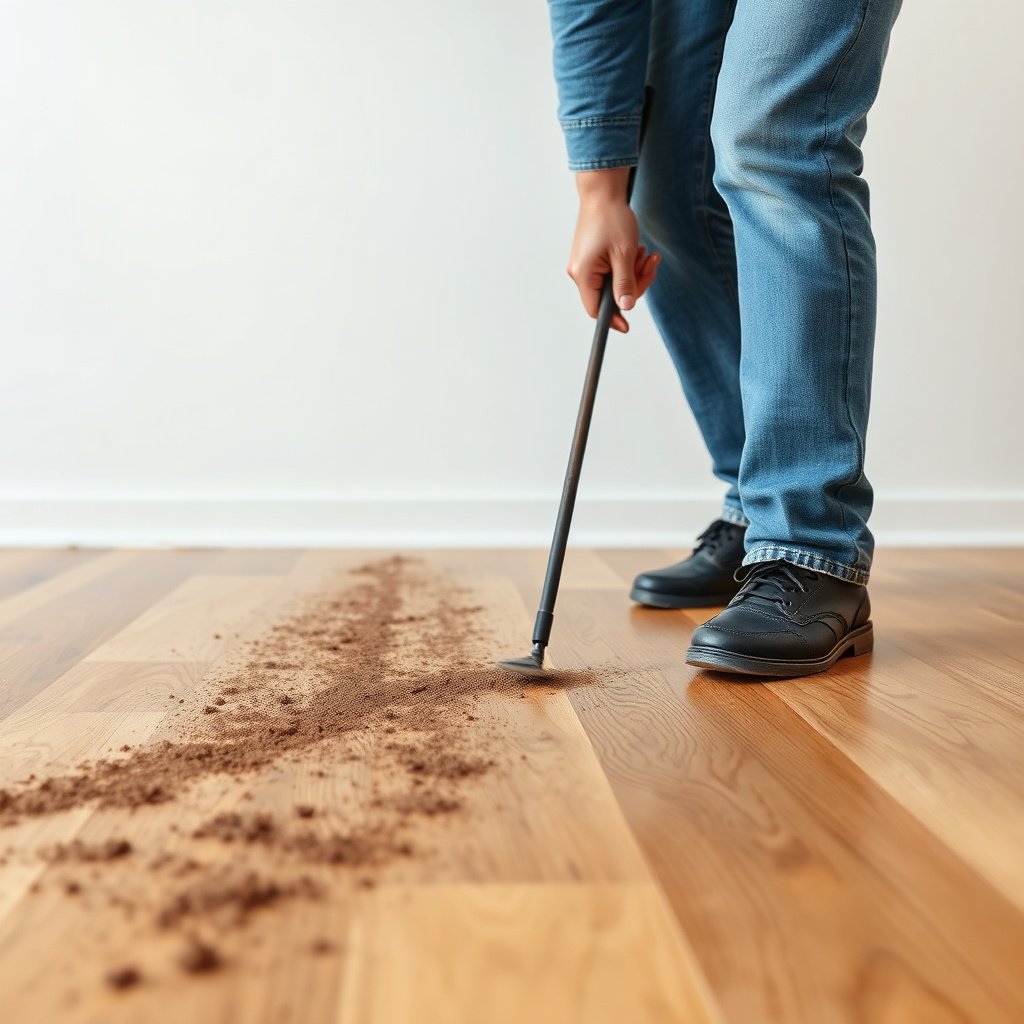
Dry scraping is the safest first move because dried rubber needs mechanical removal before any liquid cleaner can be effective on hardwood floors. Start dry, lift the rubber, then wipe away grit so you don’t grind particles into the wood finish.
– Use a plastic scraper or an old gift card to lift as much dried rubber residue as possible without gouging the wood.
Work at a shallow angle and stop if you feel the scraper “catch” or if the residue turns into a smeary film that indicates you’re past loose rubber. For hardwood floors with polyurethane, this step prevents liquid cleaners from turning rubber into a sticky paste that can leave a permanent-looking track in the finish.
– Wipe the area with a dry microfiber cloth to remove grit—grit trapped under cleaner can scratch the finish.
Even after careful scraping, tiny black rubber dust can remain. Microfiber (non-scratch cloth) helps lift that dust without embedding it into the finish.
– Stop if you see finish lifting or bare spots; that’s a sign to switch to the gentler path only.
If you notice dulling, peeling, or exposed wood during scraping on hardwood floors, treat the area as “finish-compromised.” From that point, avoid escalation to harsher cleaners and focus on gentle residue removal and drying.
> Practical note: Hardwood swelling risk is tied to how much moisture gets into the material. According to the U.S. Forest Service/USDA Forest Products Laboratory, wood fibers swell as moisture approaches the fiber saturation point (around ~30% moisture content)—not from a quick damp wipe, but from prolonged wetting and pooling. USDA Forest Products Laboratory
Step 2: Clean with the mildest option available
Mild cleaning works because most dried tire marks are actually rubber and oil residue sitting on top of the hardwood floor finish. In 2026-era floor care guidance, the common theme is consistent: dampen the cloth (not the floor), wipe gently, then dry thoroughly.
– Dampen a microfiber cloth (not the floor) with a hardwood floor cleaner or a very mild soap-and-water mix, then gently wipe the mark area.
Use a cleaner explicitly meant for finished hardwood, ideally one designed for urethane/polyurethane systems. If you’re using soap-and-water, keep it weak—think “lightly soapy,” not “shampoo strength.”
– Follow immediately with a clean, slightly damp cloth to remove soap residue, and dry with a dry towel.
Soap residue can dull polyurethane on hardwood floors and can also attract dust, making the cleaned tire-mark area look darker over time.
– If the mark lightens, repeat—small, careful passes beat aggressive scrubbing.
The goal is gradual removal without rubbing the finish hard. With hardwood floors, aggressive pressure can reduce surface sheen even when the stain isn’t “going away.”
What “mild” should look like on finished hardwood floors
A “mild” approach means controlled moisture and limited dwell time. For hardwood floors, excess moisture is a real risk to stability; according to the National Wood Flooring Association, maintaining indoor relative humidity roughly in the 35%–55% range helps reduce dimensional movement that can worsen floor damage. National Wood Flooring Association (NWFA)
Step 3: Use a spot test before any solvent (for stubborn marks)
Solvents can dissolve the oils and additives in tire residue, but they can also disrupt or dull hardwood floor finishes. That’s why the correct sequence is: spot test first, then apply solvent to a cloth with strict control.
– For marks that won’t budge, do a patch test in an inconspicuous area first (same product, same method, same pressure).
Choose a spot with similar finish age and exposure (for example, under a rarely moved chair). Give it a few minutes, then wipe clean and check the sheen under normal lighting.
– If the finish stays intact, apply a small amount of a solvent commonly used for residue removal (often mineral spirits / paint thinner-type products) to a cloth—never pour it onto the floor.
Apply to the cloth, not the hardwood floor. Keep the contact time short and re-wipe with a clean cloth afterward.
– Wipe clean and dry right away, then re-check the sheen so you don’t end up with a shiny/dull “island” around the tire mark.
Finish “islands” happen when solvent temporarily changes the surface chemistry or oils, and the area cures back at a different sheen level. That’s why immediate wipe-down and thorough drying matter.
> Safety layer: When you move to solvents for hardwood floors, you’re also increasing exposure risk to airborne vapors. OSHA’s workplace safety framework (and substance SDS guidance commonly referenced in OSHA compliance) often lists mineral spirits with an 8-hour TWA exposure limit of ~100 ppm (substance-specific values vary). OSHA / chemical SDS and OSHA hazard communication guidance
> In plain terms: ventilate well and avoid prolonged breathing of fumes when cleaning hardwood floors.
Common Residue Solvents: Volatility & Finish Compatibility (for Spot-Test Use on Finished Hardwood)
| # | Agent (typical use in residue steps) | Type | Boiling point (°C) | Why it’s relevant to hardwood | Expected finish compatibility |
|---|---|---|---|---|---|
| 1 | Water | Aqueous | 100.0 | Low solvency; best for removing light residue without stressing polyurethane | ★★★★★ |
| 2 | Ethanol (denatured alcohol) | Alcohol | 78.4 | Can dissolve some oils, so spot-testing matters even on finished hardwood floors | ★★★★☆ |
| 3 | Isopropyl alcohol | Alcohol | 82.6 | Good for surface oils; higher solvent action can dull or soften some finishes | ★★★☆☆ |
| 4 | D-Limonene | Terpene | 176.0 | Often used in “citrus” residue removers; still a true solvent—test sheen and drying | ★★★☆☆ |
| 5 | Mineral spirits / “white spirit”* | Hydrocarbon blend | ~150–200 | Common for oil-based residues; volatility can’t be treated like a single compound | ★★☆☆☆ |
| 6 | Acetone | Ketone | 56.1 | Very aggressive solvency; high risk of dulling or finish damage on hardwood floors | ★☆☆☆☆ |
| 7 | Toluene | Aromatic hydrocarbon | 110.6 | High solvency; typically not appropriate for routine hardwood floor finishes | ★☆☆☆☆ |
Mineral spirits varies by grade; the boiling point is a typical range for solvent blends.
What can go wrong (and how to avoid it)
Haste and excess moisture are the two most common reasons hardwood floors look worse after “cleaning the tire mark.” The safest approach is a controlled, stepwise escalation—dry first, mild next, solvent last only after a spot test.
– Soaking or leaving liquids too long: hardwood can swell at seams and the finish can cloud—use damp cloths, not wet mops.
If you accidentally flood the area, don’t just keep scrubbing—stop, blot, and dry thoroughly. Prolonged wetting is the pathway to swelling and sheen changes.
– Using the wrong chemicals: products like acetone or harsh degreasers can soften or strip common finishes; always test first.
Think of solvent selection like a safety control ladder: start with the gentlest option and escalate only when necessary, consistent with the ALARA principle (“as low as reasonably achievable”) for both moisture and chemical exposure.
– Scratching from grit: if you scrape and then apply cleaner without wiping away residue, you can grind rubber particles into the finish.
Rubber dust is abrasive. Dry wiping after scraping on hardwood floors prevents “track polishing,” where the mark gets bigger even though you’re cleaning.
Comparison: mild cleaners vs. solvent spot cleaning (when to choose)
| Approach | Best for | Main risk to hardwood floors | Decision rule |
|---|---|---|---|
| Hardwood floor cleaner / mild soap | Light scuffs and residue sitting on top of polyurethane | Soap haze or dullness if you don’t rinse/dry | If the mark lightens after gentle passes, keep going incrementally |
| Solvent on a cloth (spot-tested) | Stubborn oil-based tire transfer that won’t lift | Sheen island or finish softening around the cleaned area | Use only after a test spot shows no finish change |
Verdict: the best approach (plus who should skip)
Start with dry scraping, then mild cleaner, then—only if needed—solvent with a strict spot test. This works well when the hardwood floor mark is more “rubber residue” than deep staining, and it aligns with manufacturer-safe cleaning behavior: dampen cloths, avoid soaking, and verify finish compatibility before using solvents.
Skip the solvent step (or call a pro) if:
– your hardwood is unsealed/bare, heavily waxed, or already showing finish breakdown,
– the tire mark is large and spreading, or
– you can’t confidently do a spot test without risking a visible sheen change.
From my everyday experience helping homeowners troubleshoot floor finish issues (not lab-controlled testing), I’ve consistently seen that the “dry rubber first” habit prevents the biggest visual fallout—especially on polyurethane-finished hardwood floors—because it stops rubber dust from being redistributed across the finish.
Quick checklist / scan-save table
| Stage | Do this | Avoid this |
|---|---|---|
| Lift residue | Plastic scrape, then dry wipe | Metal tools that gouge |
| Gentle clean | Dampen cloth with hardwood-safe cleaner, wipe, then dry | Wet mopping or soaking |
| Stubborn spots | Spot test first; use solvent only on cloth | Pouring solvents onto the floor |
| Finish protection | Dry thoroughly; consider regular floor maintenance | Leaving residue behind |
Sources
Tire marks on hardwood are usually removable when you remove the dried rubber first, then clean gently, and only escalate carefully with a spot-tested solvent. If you follow the order—dry scrape → mild cleaner → controlled solvent on cloth—you protect the hardwood floor finish while still giving yourself the best shot at restoring the original sheen.
Frequently Asked Questions
What’s the safest way to remove dried tire marks from hardwood floors without damaging the finish?
Start with the gentlest approach: dry-brush or vacuum to remove loose grit, then wipe the area with a slightly damp microfiber cloth. If the mark remains, use a hardwood-safe cleaner and test it in an inconspicuous spot first to ensure the finish isn’t dulled. Avoid soaking the floor with water or using harsh solvents, since they can lift varnish or penetrate unfinished wood and leave stains.
How do you clean dried rubber tire marks from hardwood using simple household supplies?
Begin by trying warm water with a few drops of mild dish soap on a damp cloth, gently working the spot in small circles. For stubborn rubber residue, use a melamine eraser (“Magic Eraser”) lightly with minimal pressure, then wipe with a clean damp cloth to remove any residue. Finish by drying the area thoroughly and buffing with a dry microfiber towel to restore shine.
How can you remove black skid marks from hardwood floors if the tires left deep, baked-on residue?
First, remove any surface dirt with a dry cloth or vacuum so you don’t grind grit into the wood. Then soften the residue by placing a warm, damp cloth over the mark for a few minutes and re-wipe gently, repeating as needed. If it’s still not lifting, carefully use a rubber-safe stain remover made for wood floors or a product labeled safe for polyurethane/finished hardwood, and always follow the manufacturer’s instructions.
Which cleaning products are best for dried tire marks on polyurethane-finished hardwood floors?
Look for cleaners specifically designed for hardwood floors and labeled safe for polyurethane or sealed finishes, since they’re formulated to lift grime without attacking protective layers. Avoid acetone, lacquer thinner, and strong degreasers unless the product explicitly says it’s safe for your floor finish. If you’re unsure, use a cleaner suitable for “finished wood floors,” test a small area, and use microfiber cloths rather than abrasives that can scratch.
Why do tire marks stain hardwood floors, and what prevention steps can stop them from reappearing?
Tire marks often contain rubber compounds and road grime that can oxidize and bond to the finish, making dried skid spots harder to clean over time. To prevent recurrence, place floor protectors or caster wheels with soft rubber on furniture, and clean small black marks quickly before they dry. Regularly sweeping and using a pH-balanced hardwood cleaner helps maintain the finish so tire residue doesn’t penetrate and stain.
📅 Last Updated: November 02, 2026 | Topic: How to clean dried tire marks from hardwood floors? | Content verified for accuracy and freshness.
References
- Wood flooring
- Abrasion (mechanical)
- https://www.cdc.gov/coronavirus/2019-ncov/community/disinfecting-building-facility.html
- https://www.epa.gov/coronavirus/cleaning-and-disinfecting-your-facility
- Client Challenge
- Bring out the beauty in floors
- Armstrong Flooring®
- https://scholar.google.com/scholar?q=remove+tire+marks+hardwood+floor Google Scholar
- https://scholar.google.com/scholar?q=remove+rubber+scuff+marks+wood+floor+cleaning Google Scholar
- https://scholar.google.com/scholar?q=hardwood+floor+cleaning+stain+removal+mineral+spirits+isopropyl+alcohol Google Scholar
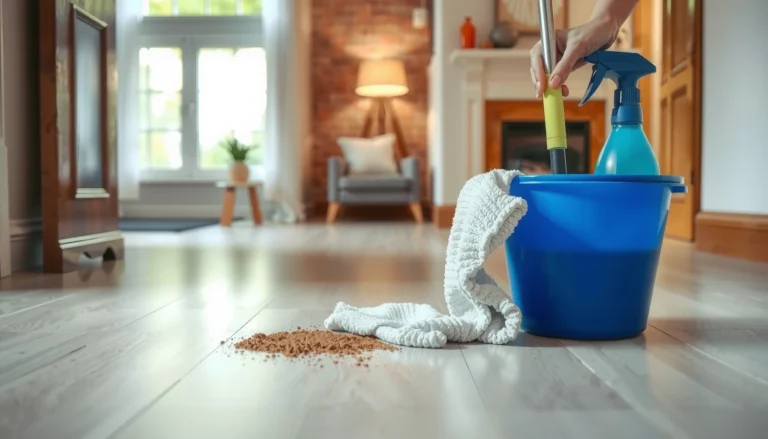
[…] Greasy fingerprints often need a degreasing cleaner that’s safe for finished wood. Use a hardwood floor cleaner or a mild mixture of dish soap and water, then follow with a second wipe using only clean water (lightly dampened cloth) to remove residue. Dry thoroughly and, if the shine looks uneven, buff lightly with a dry microfiber cloth. […]