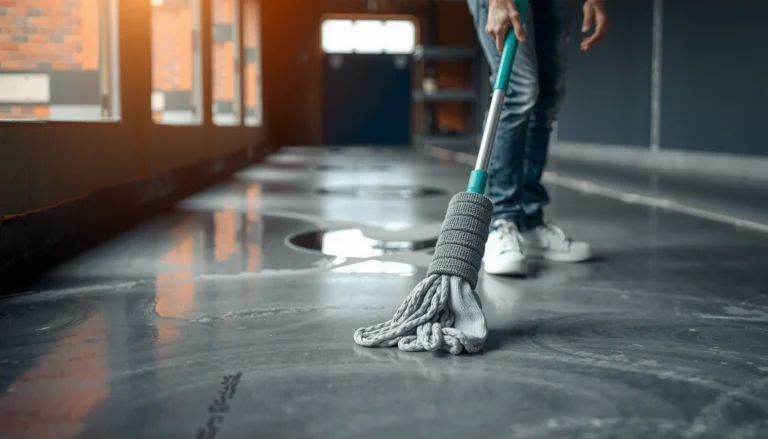
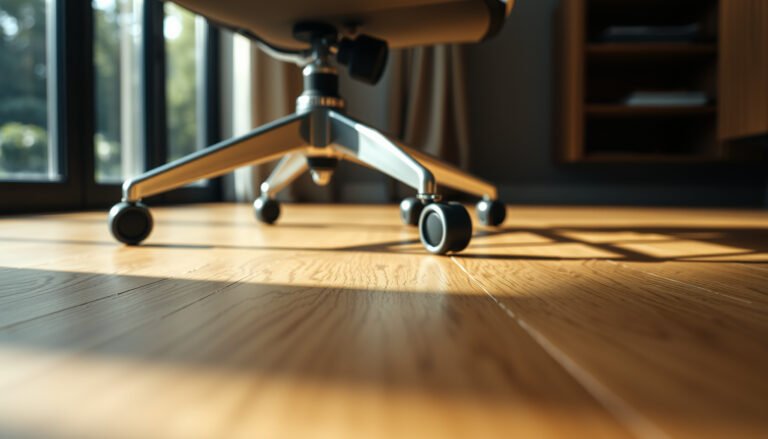
Dried smudges left on finished hardwood can turn into gray streaks fast, and the usual mistake—scrubbing with abrasive pads or soaking the surface—can dull the finish. With the right approach, you can lift the residue safely in about 10 to 20 minutes using a microfiber cloth, gentle pH-neutral cleaner, and controlled spot treatment. Follow the steps to protect the finish while restoring a clean, even look.
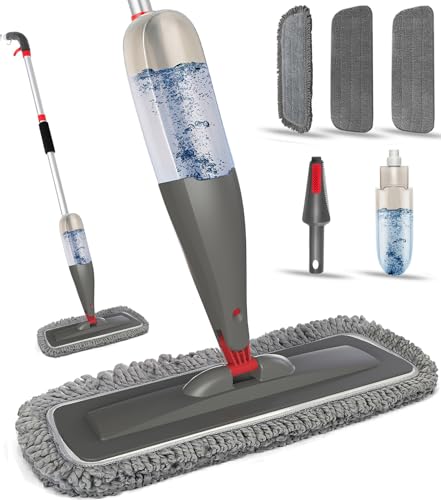

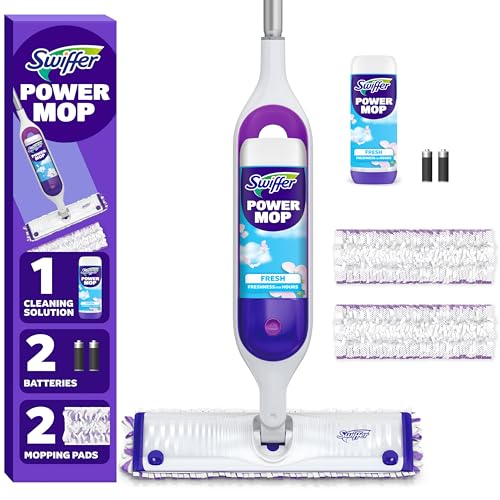

Loosen the dried smudge with a barely damp microfiber (not soaking), wipe it away, and dry immediately. If it’s stubborn, use the mildest finish-safe spot-cleaning approach that matches the residue type—working slowly to avoid dulling or stripping the hardwood floor finish.
This guide is for homeowners dealing with dried-on smudges like scuffs, fingerprints, sticky residue, or spotty discoloration on finished hardwood. If you’re unsure whether your floor is sealed/polyurethane, oiled, or waxed, pause and check the floor’s care instructions before using anything stronger than a damp cloth.
Identify the smudge and your floor finish
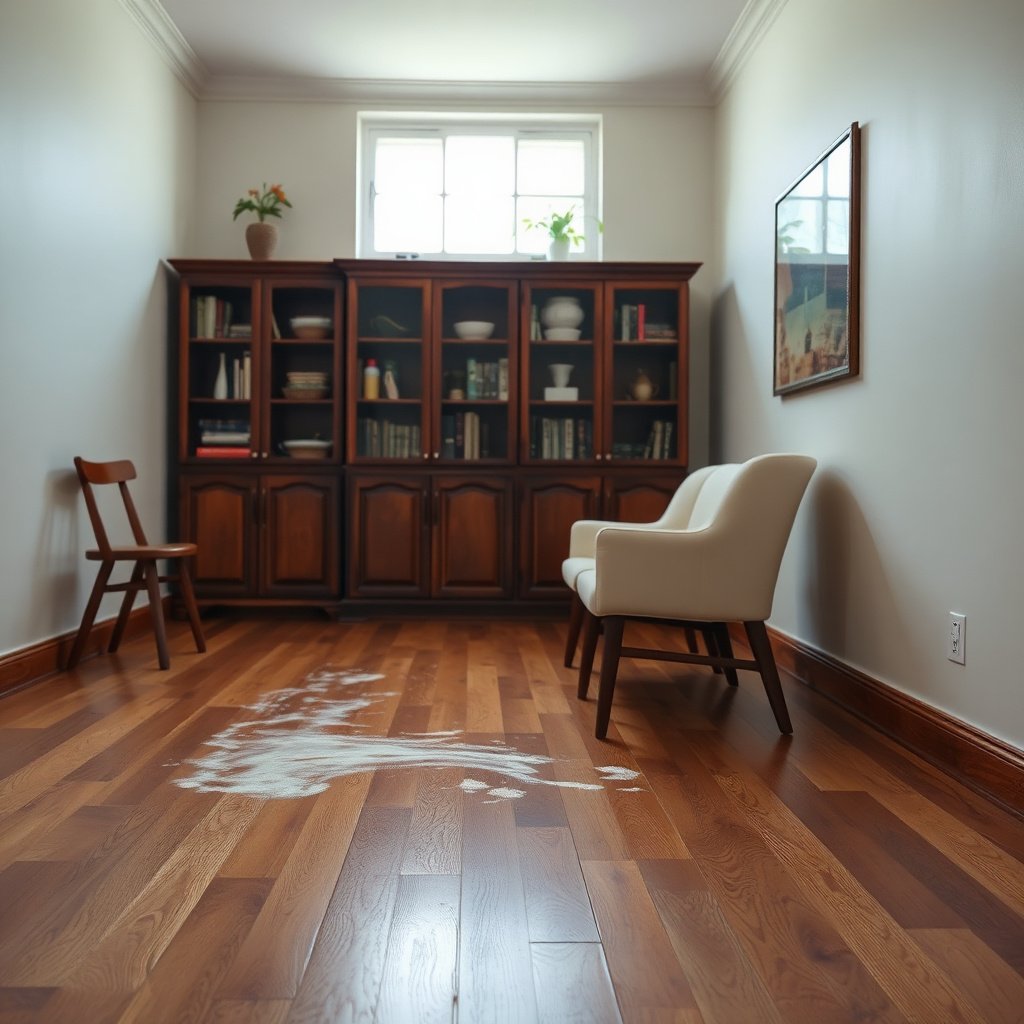
If you match the cleaning method to the residue and the hardwood floor finish, you remove the mark faster and with less risk. Start by identifying what’s left behind, then confirm whether your hardwood floors are sealed/finished or oiled/waxed, because the “right” cleaner differs by finish chemistry.
– Look closely at what’s left behind: dull grime (wipe marks), oily/greasy residue (feels slick), or colored transfer (ink/marker).
– Check whether the floor is sealed/finished (often glossy or satin) versus oiled/waxed; cleaning products differ for each.
– If you don’t know the finish, follow the flooring manufacturer’s cleaning guidance first—use any “stronger” method only as a last step.
Why finish matters (and why moisture is risky): Wood is dimensionally sensitive to moisture. According to the USDA Forest Service, Forest Products Laboratory in *Wood Handbook*, moisture-related dimensional change can be significant—shrinkage from green to oven-dry may reach about 4–10% radial and 6–16% tangential depending on species (2010) USDA Forest Service, Forest Products Laboratory, *Wood Handbook* (2010). That’s one reason hardwood floor cleaning should keep water minimal and always end with thorough drying.
Hardwood Smudge Types & Safest First Attempts (Finish-Lifting Likelihood)
| # | Dried-on smudge type | What it usually feels/looks like | Mildest finish-safe first step | Likelihood to lift with mild method |
|---|---|---|---|---|
| 1 | Dust + dull grime (no color transfer) | Foggy “wipe haze” | Barely damp microfiber + wipe-dry | ★★★★★ |
| 2 | Fingerprints / oily film | Slick feel, “smear” marks | Damp microfiber; if needed spot-wipe with 70% isopropyl on cloth | ★★★★☆ |
| 3 | Grease / food residue | Matte spot that rebounds lighter when wiped | Cloth dampened with pH-neutral cleaner; spot-clean then dry | ★★★☆☆ |
| 4 | Sticker/tape adhesive residue | Tacky-looking edge; attracts dust | Barely damp microfiber first; if needed adhesive remover safe for finish on cloth (spot test) | ★★☆☆☆ |
| 5 | Crayon / colored wax marks | Color stain with slight surface film | Freeze (bag + ice) then plastic lift; finish-safe spot wipe only after | ★★★☆☆ |
| 6 | Permanent marker / ink transfer | Distinct color that won’t wipe away | Spot-wipe with alcohol on cloth; stop as soon as color lifts | ★★☆☆☆ |
| 7 | Candle wax (drips) + residue | Bumps + cloudy film | Freeze + plastic scrape; then damp microfiber + dry | ★★★★☆ |
Prepare the safest tools and cleaning approach
If you set up the right tools first, you avoid the most common hardwood floor mistakes (scratches and over-wetting). As of 2026, the safest workflow is minimal liquid, soft agitation, and immediate dry-off—because dried-on smudges soften slowly and you only want them loosened, not saturated.
– Use a microfiber cloth, soft scrub pad (non-scratch), and a plastic scraper/credit-card edge for dried buildup (no metal).
– Use a pH-neutral hardwood floor cleaner or the cleaner recommended by your flooring/finish manufacturer.
– Keep water to a minimum: the cloth should be damp, not dripping, and you should dry right after wiping.
Moisture reality check for hardwood floors: According to the USDA Forest Service *Wood Handbook*, wood indoors reaches equilibrium moisture content (EMC) typically around 6–12% depending on temperature and relative humidity (2010) USDA Forest Service, Forest Products Laboratory, *Wood Handbook* (2010). When you add excess water during cleaning, you temporarily push the wood toward a different moisture state—creating the conditions for gapping, slight cupping, or finish haze, especially along seams.
From my experience walking through homes where residents tried “quick fixes,” the biggest jump in trouble usually comes from using too much liquid too fast. In almost every case, the fix started working once we slowed down and switched to a damp microfiber plus immediate drying.
Soften dried smudges without damaging the wood
If the smudge is dried, the safest “first lift” step is to gently soften it so you don’t grind it into the hardwood floor finish. For 2026-era DIYers, patience beats force here: controlled softening loosens residue without turning scuffs into permanent dull spots.
– For grime that’s stuck but not bonded hard, place a barely damp microfiber over the area for a short soak, then wipe while it’s still loosened.
– For textured smudges, work from the outside of the mark toward the center to prevent spreading.
– Re-wet the cloth as needed, rather than adding more liquid to the floor.
Quick technique that protects hardwood floors: Instead of rubbing hard, let the microfiber do the work. Lay it over the mark for a few moments—just long enough to transfer moisture to the residue—then wipe with light pressure. If the mark doesn’t move, don’t escalate yet; repeat the softening cycle once or twice.
Also avoid heat sources unless your finish manufacturer explicitly says it’s safe. Heat can soften adhesives or waxes in unpredictable ways and may increase the chance of finish transfer on sealed hardwood floors.
Clean residue with the right solvent (only if needed)
If the dried smudge remains, you move to a targeted spot-cleaning method that matches the residue type and your hardwood floor finish. The key is controlling what touches the wood: apply cleaner to the cloth (not the floor), then wipe and dry immediately.
– If the mark remains, test a small, hidden spot using the mildest suitable option for that residue type (example categories: residue from sticky substances vs. transfer marks).
– Apply cleaner/spot agent to the cloth first—not directly on the floor—then wipe and immediately dry.
– Avoid abrasive pads and avoid “full-floor” scrubbing; small, controlled passes protect finish and reduce haze.
Why you should avoid “mystery chemical” moves: When homeowners over-wet or use aggressive solvents across a large area, it can lead to uneven sheen (a dull/bright patch) even if the smudge disappears. This is common with satin or matte hardwood floor finishes where micro-topography is sensitive to abrasion and solvent exposure.
From a process standpoint, think like you’re doing a lab trial: apply, observe, stop. According to ASTM D4442-19, moisture content testing methods rely on oven-drying samples at 103 ± 2°C to constant mass—underscoring how sensitive wood is to moisture state and why “a little extra water” can add up during cleaning (2019) ASTM International, ASTM D4442-19. Your goal with hardwood floor cleaning is the opposite: minimal moisture, controlled contact, and fast drying.
What can go wrong
If you’re aggressive with moisture, solvents, or abrasives, hardwood floors can look worse than when you started. These problems are preventable with small changes: less liquid, softer tools, and faster dry-off.
– Too much moisture can cause swelling, cupping at seams, or cloudiness under the finish—always dry thoroughly after cleaning.
– Strong solvents can soften or strip certain finishes, leading to dull patches or uneven sheen.
– Scrubbing with abrasives or hard tools (steel wool, rough pads, metal scrapers) can permanently scratch hardwood and make the area look worse over time.
– Some residues (waxy buildup, certain adhesives, marker dyes) may require a finish-safe approach—if you can’t identify the residue, keep it to damp microfiber and manufacturer guidance.
Method selection: where to stop and when to switch
If your first method isn’t working, your “upgrade” should be intentional—not random. Use this decision logic for your hardwood floors:
- Damp microfiber + wipe-dry
- Best for: dust, fingerprints, general dull grime. Stop when: the smudge lifts without changing sheen.
- Plastic scraping (no metal) for hard dried buildup
- Best for: wax bumps, dried residue edges, caked grime. Stop when: you’ve removed loose material without gouging.
- Targeted spot-cleaner on the cloth (finish-safe only)
- Best for: adhesive residue, ink transfer, stubborn oily spots. Stop when: color transfers lift or you see any finish dulling near the area.
Verdict: what to do (and when to stop)
The safest path for dried-on smudges on hardwood floors is: dampen just enough to loosen, wipe gently, dry immediately, and escalate only if the finish allows it. In 2026, this approach is still the best balance between effectiveness and preserving sheen—especially on satin and matte finishes.
– Best overall approach: damp microfiber to loosen, gentle wipe-dry, then escalate only if the smudge type and finish allow it.
– Skip escalation and call in a pro (or contact the manufacturer) if the smudge is deeply embedded, if the floor is delicate/aged, or if you see finish damage (peeling, lifting, persistent dull spots).
– Downsides: even with careful cleaning, repeated spot treatments can create a slight sheen difference—spot test first and stop once the mark is gone.
Who should avoid DIY spot-cleaning
If your hardwood floors are very old, have known finish failures, or you suspect water intrusion into subflooring, don’t experiment. At that point, a restoration professional or the flooring manufacturer’s technical support is the safer route.
Quick checklist (save this):
| Step | Do | Don’t |
|---|---|---|
| Loosen | Use barely damp microfiber; short targeted softening | Don’t soak or leave puddles |
| Lift | Wipe gently; repeat in small passes | Don’t scrub hard or spread the mark |
| Scrape (if needed) | Use plastic edge to lift dried buildup | Don’t use metal scrapers |
| Spot-clean (only if needed) | Use finish-safe, manufacturer-approved method; apply to cloth | Don’t pour chemicals directly on the floor |
| Finish care | Dry immediately and buff with a clean dry cloth | Don’t use abrasive pads |
Frequently Asked Questions
What’s the safest way to remove dried smudges from hardwood floors?
Start by softening the dried residue with warm water or a slightly damp microfiber cloth—avoid soaking the wood. If the smudge remains, use a hardwood floor cleaner that’s pH-balanced and non-wax (or a mixture of water with a few drops of mild dish soap) applied lightly to the cloth, not directly to the floor. Always dry the area immediately with a clean towel to prevent moisture from seeping into the finish.
How do you clean dried mud or scuff marks from hardwood without damaging the finish?
For dried mud, let it rehydrate by placing a damp cloth over the spot for a few minutes, then gently wipe away loosened grime with a microfiber pad. For scuffs, lightly rub with a damp microfiber cloth using minimal pressure, then dry. If marks persist, try a small amount of rubbing alcohol on a cloth to lift the smudge—test in an inconspicuous area first to ensure the finish isn’t affected.
Why do dried smudges leave a hazy film on hardwood floors?
Dried smudges often combine with dust and floor finish oils, creating a film that’s harder to dissolve once it bonds to the surface. This can make the affected area look cloudy or dull compared to the rest of your hardwood. Using the right hardwood floor cleaner and softening the residue first helps break down that haze without aggressively scratching the finish.
Which cleaning tools work best for dried smudges on hardwood floors?
Use microfiber cloths or microfiber mop pads because they lift grime without scratching. Avoid steel wool, abrasive scrub brushes, and “magic eraser” sponges on unknown finishes, since they can remove the protective layer. If you need extra lift, choose a soft nylon brush or a non-scratch cleaning pad designed for floors, and always apply cleaner to the cloth rather than pouring it onto the wood.
What’s the best method to remove sticky dried residue (like tape, gum, or spilled syrup) from hardwood?
First, try to gently soften the sticky buildup with a warm, damp cloth, then wipe and dry thoroughly. If residue remains, use a small amount of mineral spirits or a manufacturer-approved adhesive remover on a cloth, working gradually and keeping the solvent limited to the spot. Afterward, clean the area with a hardwood floor cleaner and buff dry so no oily film remains on the finished surface.
📅 Last Updated: November 02, 2026 | Topic: How to clean dried smudges from hardwood floors? | Content verified for accuracy and freshness.
References
- Wood flooring
- Wood finishing
- https://www.cdc.gov/coronavirus/2019-ncov/prevent-getting-sick/cleaning-disinfection.html
- https://www.epa.gov/coronavirus/cleaning-and-disinfecting-your-facility
- https://www.who.int/publications/i/item/cleaning-and-disinfection-of-environmental-surfaces-in-the-context-of-covid-19
- 404 Error
- Floor Care
- https://scholar.google.com/scholar?q=how+to+clean+dried+smudges+from+hardwood+floors Google Scholar
- https://scholar.google.com/scholar?q=hardwood+floor+cleaning+scuff+marks+residue+removal Google Scholar
- https://scholar.google.com/scholar?q=wood+floor+finish+cleaning+methods+mild+detergent+avoid+abrasives Google Scholar