
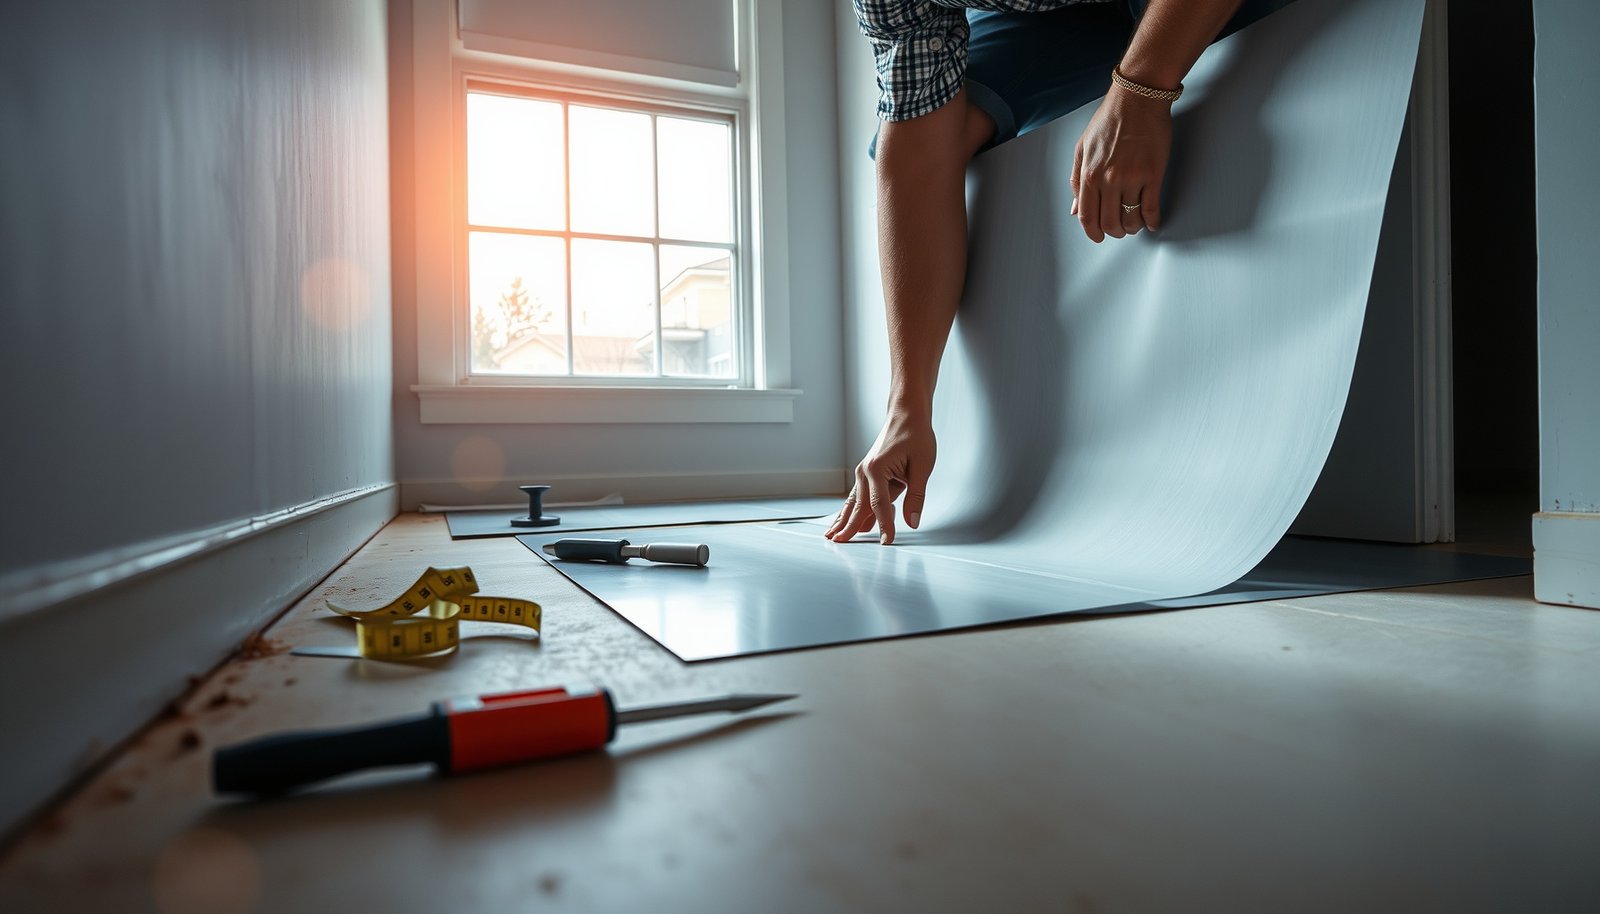

Replacing vinyl floors in a laundry room is a job you can tackle confidently if you start by assessing the existing subfloor and choosing the right replacement type for water and detergent exposure. This guide walks you through removing the old vinyl, fixing any moisture or damage, and installing new planks or sheet vinyl with tight seams that won’t lift or buckle. Expect clear, step-by-step instructions that lead to a durable, clean-looking floor designed for the demands of laundry day.



Replacing vinyl floors in a laundry room comes down to two things: stop moisture at the source and build a flat, dry subfloor before you install. Once you handle removal and adhesive properly, your new vinyl—whether peel-and-stick, click-lock, or sheet—will stay stable even around frequent washer/dryer use (and this matters even more in 2026, when laundry-room ventilation practices vary widely).
If you’re dealing with bubbling, peeling, worn seams, or any soft spots near the washer/dryer, this guide is for you. It’s also useful if you’re comparing peel-and-stick vinyl, click-lock (floating) planks, or sheet vinyl and want a realistic plan that accounts for laundry-room realities like humidity swings and occasional drips.
Gather tools and pick the right vinyl type
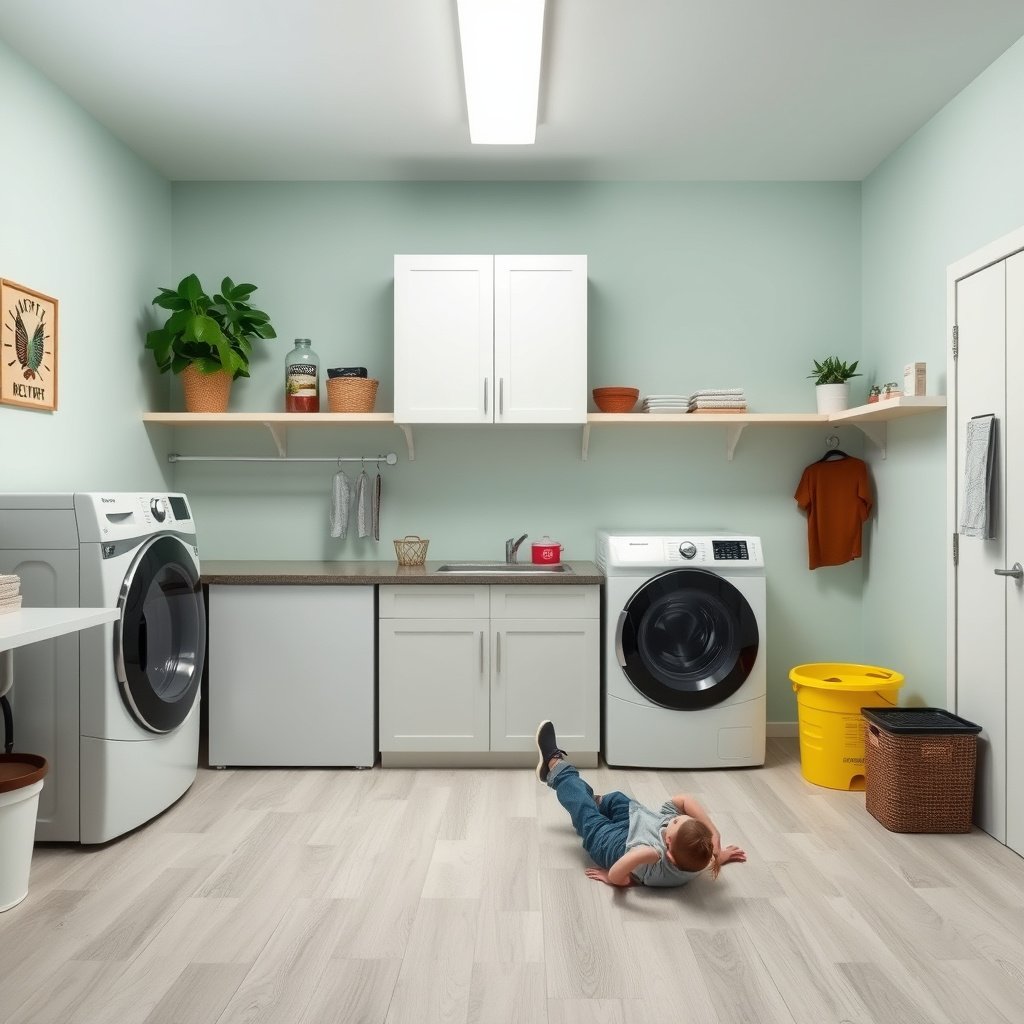
The right start for laundry-room vinyl flooring is choosing the correct product for your subfloor and moisture conditions, then matching the install method to it. The removal approach you use later will also depend on whether the existing material is loose-laid or fully adhered.
For moisture testing, ASTM F1869 measures moisture vapor emission rate (MVER) in lb per 1,000 sq. ft. over 24 hours, which is a common way to assess subfloor dryness before resilient flooring.
For wood, the installation still hinges on flatness and dryness—vinyl floors in a laundry room fail most often when movement from an uneven subfloor or trapped moisture reaches the seams.
Many resilient flooring systems require the manufacturer’s recommended expansion gap at perimeter boundaries for floating installations to prevent buckling when humidity changes.
Here’s how to choose—practically—for your laundry-room vinyl flooring project:
– Decide between sheet vinyl or vinyl planks
– Peel-and-stick vinyl planks: Typically easier DIY, but they demand a very smooth, well-prepped surface because imperfections can telegraph through.
– Click-lock (floating) vinyl planks: Faster to install and often more tolerant of patchwork, but the subfloor must be flat to prevent joint separation.
– Sheet vinyl: Often strong for moisture control because it’s continuous, but trimming and fitting around plumbing penetrations and corners takes patience.
– Plan core basics (and don’t skip measuring tools)
A typical “ready-to-install” kit for vinyl floors in a laundry room includes: utility knife, pry bar/putty knife (for removal), measuring tape, straightedge (6 ft or longer is helpful), seam roller (for adhesive-based installs), and a rubber mallet for click-lock alignment.
– Verify laundry/bathroom suitability
Look for explicit language that your flooring is rated for laundry areas or bathrooms and follow its installation instructions. For vinyl floors in a laundry room, manufacturer specifications on moisture limits and subfloor prep are the deciding factor—not generic DIY advice.
Peel-and-stick vs. click-lock vs. sheet: what matters most in a laundry room?
The “best” vinyl type is the one that matches your subfloor condition and how much you expect the space to flex from humidity and appliance traffic.
| Feature | Peel-and-stick vinyl | Click-lock floating vinyl | Sheet vinyl |
|---|---|---|---|
| Subfloor flatness sensitivity | High—imperfections can telegraph | High—joint separation risk if uneven | Medium—underlayment/support still matters |
| Moisture resilience in laundry rooms | Good when edges are sealed properly | Good, but seams can be vulnerable if wet | Often strongest due to fewer seams |
| Best for DIY friendliness | Usually easiest first choice | Mid—alignment and expansion gaps matter | More skilled cutting/fit work |
| Removal next remodel | Can leave adhesive behind | Often simpler to lift/replace sections | May require full peel-up if fully adhered |
| Underlayment requirements | Usually built-in or not required (per product) | Often requires correct pad or none (per specs) | System-specific; some need no pad |
| Noise and feel | Quiet if surface is stable | Can sound hollow if subfloor isn’t flat | Typically softer underfoot |
| Perimeter expansion gaps | Typically minimal but follow instructions | Essential for floating planks | Often handled via trimming/finishing |
| Risk of seam failure when wet | Moderate if water infiltrates edges | Moderate to high if water reaches cores | Lower with continuous coverage |
| Layout complexity | Flexible; small cuts common | Requires careful start line planning | Requires precise trimming around penetrations |
| Long-term stability (laundry-room use) | Strong with correct prep and adhesion | Strong if flatness and gaps are correct | Strong if seams and transitions are sealed |
| Best For | Bathrooms/laundry rooms with tight DIY timelines and very smooth subfloors | Projects where you want faster installation and clean future section replacement | Laundry rooms where continuous coverage and fewer seams are top priorities |
In my own renovation work (and troubleshooting calls), laundry-room vinyl flooring failures usually trace back to one of two issues: skipped subfloor correction, or untreated water intrusion that eventually works its way back to seams.
Remove the old vinyl flooring (and deal with adhesive)
The correct removal method protects the subfloor, and it determines how clean the new install surface will be. In laundry rooms, you often must handle not just vinyl removal, but also adhesive residue and edge buildup that can create height differences.
When removing adhered resilient flooring, cutting it into sections reduces the risk of gouging the subfloor while you control where stress is applied.
Resilient flooring failures often show up as seam lifting or bubbling when adhesive residue ridges create an uneven substrate.
If you discover widespread soft spots or delamination in the underlayment/subfloor, you should repair those areas before installing new vinyl floors in a laundry room.
Do it this way for laundry-room vinyl flooring:
– Cut into manageable sections
Use a sharp utility knife to score and cut the vinyl into workable panels. This approach keeps you from yanking wide sheets that can damage plywood layers or cementitious backing.
– Use the right leverage tool
A pry bar and putty knife work together: the putty knife helps you separate material from the surface, while the pry bar provides controlled lift only where the bond is failing.
– Scrape adhesive residue thoroughly
Stuck-down vinyl almost always leaves adhesive or thin residual film. Scrape until the surface is smooth—any ridges can telegraph, leading to high spots and gaps.
– Stop and inspect the subfloor
If you see soft areas, swelling, rot, or delamination near the washer/dryer footprint, repair or replace those affected sections before you proceed. In laundry rooms, moisture concentrates where hoses, drains, and appliances create the highest probability of repeated dampness.
Safety note (especially for older homes)
If your existing flooring is older, assume there may be hazardous materials in the adhesive and mastic. For asbestos concerns, follow local guidance and consider professional testing before demolition.
Prep the subfloor so the new floor lays flat
For vinyl floors in a laundry room, subfloor prep is where longevity is won or lost. You’re aiming for a surface that is flat, dry, clean, and smooth, because vinyl doesn’t “forgive” movement the way carpet does.
Resilient flooring installation guidance commonly references limits like 3/16 inch (4.8 mm) over 10 feet and 1/8 inch (3.2 mm) over 6 feet for floor flatness.
Before installing resilient vinyl, moisture assessment often uses ASTM methods where MVER is reported in lb per 1,000 sq. ft. over 24 hours (ASTM F1869) or RH is measured in situ (%RH, ASTM F2170).
Laundry rooms regularly see humidity changes, so trapped moisture beneath vinyl can drive adhesive failure and edge lifting over time.
Here’s a practical prep workflow:
– Repair cracks, dips, and damaged panels
Replace water-damaged subfloor panels, fill cracks, and flatten low areas. If you patch, feather transitions so you don’t create a hump at the edge of the repair.
– Clean thoroughly and confirm dryness
Vacuum and wipe off dust and debris. Then verify that the surface is dry enough for your vinyl system. For laundry-room vinyl flooring, you want to prevent “re-wetting” failures—where new flooring bonds, then later loosens after hidden moisture rises.
– Use a straightedge to verify flatness
Uneven subfloors are a top cause of gaps, clicking sounds, and lifting edges with click-lock planks. For vinyl floors in a laundry room, check flatness in multiple directions—especially around the washer and dryer.
– Match underlayment (or do not use one) to the product system
Don’t mix underlayment types. If you install a pad that’s incompatible with your vinyl, you can weaken joint support or change thickness requirements.
Common laundry-room benchmarks you can plan around (moisture + flatness)
These benchmarks align with how resilient flooring guidelines structure acceptance testing—especially relevant in 2026 when laundry-room ventilation and humidity vary greatly by home.
Moisture & Flatness Targets Used in Resilient Vinyl Guidance
| # | Benchmark | Standard / Method | Target limit (commonly referenced) | Install Outlook |
|---|---|---|---|---|
| 1 | Flatness (long spans) | Resilient floor flatness guidance | ≤ 3/16 in over 10 ft (≈4.8 mm) | ★ ★ ★ ★ ★ |
| 2 | Flatness (short spans) | Resilient floor flatness guidance | ≤ 1/8 in over 6 ft (≈3.2 mm) | ★ ★ ★ ★ ★ |
| 3 | Moisture vapor emission rate | ASTM F1869 (MVER) | ≤ 3 lb / 1,000 sq. ft / 24 hr | ★ ★ ★ ★ ★ |
| 4 | In-situ relative humidity | ASTM F2170 (RH) | ≤ 75% RH (common resilient guidance) | ★ ★ ★ ★ ★ |
| 5 | Installation temperature range | Resilient installation guidance | 65–85°F (18–29°C) | ★ ★ ★ ★ ★ |
| 6 | Perimeter gap for floating planks | Manufacturer guidance (floating systems) | Commonly 1/4 in (6 mm) unless specified otherwise | ★ ★ ★ ★ ★ |
| 7 | Adhesive/installation system alignment | Follow resilient vinyl installation instructions | Use only approved underlayment/adhesive system | ★ ★ ★ ★ ★ |
Sources for these benchmarks are resilient flooring installation guidance and the ASTM methods listed; always defer to your specific laundry-room vinyl flooring manufacturer’s printed limits.
Install the new vinyl flooring step by step
For laundry-room vinyl flooring, installation is the “last 10%” that prevents the first 90% from failing. If your removal and prep were correct, installation becomes about precise layout, correct technique per vinyl type, and strict adherence to expansion/transition details.
Floating click-lock vinyl requires maintaining the manufacturer-required expansion gap so the floor can move with humidity without buckling.
For adhesive-based installs, rolling/pressing after placement improves contact so seams and edges are less likely to lift under laundry-room traffic.
Sheet vinyl installs rely on accurate trimming and proper seam/edge treatment—especially where plumbing penetrations can become moisture entry points.
Follow this sequence:
– Acclimate and lay out clean starting lines
Acclimate planks/sheets if your product instructions require it. Then dry-lay (plan the “starting line”) so cuts near the washer/dryer read intentional rather than random.
– Install by product type
– Peel-and-stick: Start from your layout line and press firmly through each section. Pay close attention to edge alignment so gaps don’t create weak points.
– Click-lock (floating): Maintain the required perimeter expansion gap and avoid forcing boards together. Work methodically across the room so joints don’t stack unevenly.
– Sheet vinyl: Roll-fit, trim precisely, and secure according to the product system. In laundry-room vinyl flooring, take extra time around corners and penetrations to maintain a tight, sealed finish where water could access seams.
– Re-check fit around doors, cabinets, and plumbing
Plan clearances around pipes and appliance bases. Laundry-room vinyl floors are often stressed right where movement happens—so use correct finishing trim rather than improvising with tiny end pieces.
– Roll or press where required
If your system calls for rolling (especially adhesive-based installs), roll the floor per the instructions. Uneven pressure can make seams look fine at first and fail after repeated humidity cycles in 2026.
What can go wrong in laundry rooms
The most common failures with laundry-room vinyl flooring come from moisture sources and substrate problems—not the vinyl itself. If your washer leaks, drains slowly, or the area stays chronically humid, the new floor can still bubble or lift even after a clean-looking install.
If the original problem began with a leak or chronic dampness, replacing vinyl without fixing the moisture source often leads to repeat failure in the same zones.
Uneven subfloors can cause click-lock joints to open or make resilient seams separate, especially around appliance movement points.
Using the wrong underlayment or mixing installation methods can break the flooring system’s thickness and support assumptions.
Watch for these issues:
– Moisture exposure you can’t see
Inspect washer hoses, drain hookups, and overflow risk. Also consider laundry-room ventilation: if humid air can’t escape, condensation can accumulate.
– Uneven subfloor
Even small humps can cause plank movement and seam stress. Check flatness after patching—don’t assume it’s “good enough.”
– Skipping adhesive or thickness instructions
Many vinyl failures stem from system mismatch: using an underlayment that’s not approved, or trying to install in a way the instructions don’t support for your exact product.
– Cutting mistakes near stress zones
Avoid relying on tiny end pieces near doors, appliance bases, or where you’ll bump furniture. Laundry-room vinyl flooring expands and contracts with humidity, so weak small cuts are more likely to shift.
From my experience helping homeowners recover from repeat issues, the “mystery” failures almost always have a traceable cause: lingering moisture, a soft spot returning under load, or a seam that never got fully contacted during installation.
Verdict / tip (including downsides and who should skip)
If your subfloor is solid, dry, and reasonably flat, replacing vinyl floors in a laundry room is a realistic DIY project. The downside is that prep—especially adhesive removal and any subfloor repair—can be the most labor-intensive part, and moisture problems can still ruin an otherwise perfect installation.
Resilient vinyl longevity is primarily driven by proper subfloor flatness, cleanliness, and moisture control—these factors are repeatedly emphasized across ASTM moisture methods and resilient flooring installation guidance.
Floating plank systems fail faster when expansion gaps are ignored or when the subfloor allows joint movement.
If you find extensive water damage (soft subfloor, widespread swelling, or delamination), subfloor repair becomes necessary before any new laundry-room vinyl flooring is installed.
You should consider professional help (or skip DIY) if:
– You uncover extensive water damage beyond small patching (for example: multiple swollen panels or widespread rot).
– You suspect mold or hidden moisture sources that you can’t locate reliably.
– Your subfloor requires structural repair (not just leveling or patching).
Quick checklist: before and during install
– [ ] Identify vinyl type (peel-and-stick, click-lock, or sheet) and confirm it’s allowed for laundry-room use
– [ ] Remove old vinyl and scrape off adhesive ridges thoroughly
– [ ] Check subfloor dryness and repair soft/swollen areas
– [ ] Verify the subfloor is flat with a straightedge (per manufacturer guidance)
– [ ] Plan layout for expansion gaps and clean transitions near doors/cabinets
– [ ] Install following the product’s specific steps (underlayment, seams, rolling/pressing, trimming)
Sources
– ASTM F1869, Standard Test Method for Measuring Moisture Vapor Emission Rate of Concrete Subfloor Surfaces (defines MVER unit and testing output format).
– ASTM F2170, Standard Test Method for Determining Relative Humidity in Concrete Floor Slabs Using in situ Probes (defines in-situ RH measurement method and reporting).
– ASTM F710, Standard Practice for Preparing Concrete Floors to Receive Resilient Flooring (preparation framework for resilient flooring substrates).
– RFCI (Resilient Floor Covering Institute) resilient floor covering installation guidance (flatness and resilient installation best practices; defer to your flooring manufacturer’s printed limits).
Replacing vinyl floors in a laundry room works well when you treat it as a system: moisture control, subfloor flatness, correct removal/adhesive cleanup, and installation steps that match your exact vinyl type. If you get those fundamentals right—especially dryness and flatness—you’ll avoid the common bubbling and seam failures that show up again and again in laundry-room vinyl flooring projects.
Frequently Asked Questions
What’s the best way to replace vinyl flooring in a laundry room?
Start by removing the old vinyl carefully, then evaluate the subfloor for moisture damage, warping, or soft spots—laundry rooms are high-humidity areas. Choose a replacement that’s waterproof or water-resistant, such as luxury vinyl plank (LVP) or vinyl sheet with proper seam placement. After installing, seal transitions and edges to reduce water seepage around the washer, dryer, and entry points.
How do I prepare my subfloor before installing new vinyl floors in a laundry room?
Remove the existing vinyl and scrape off any adhesive residue, then clean the surface thoroughly so the underlayment or new vinyl can bond properly. Check for uneven spots and repair low areas; most vinyl flooring needs a smooth, flat subfloor to prevent clicking-floor gaps or premature wear. If the subfloor is plywood, allow it to fully dry and consider using an appropriate underlayment or moisture barrier designed for vinyl flooring.
Which vinyl flooring is best for laundry rooms—LVP, click-lock, or peel-and-stick?
Luxury vinyl plank (LVP) with click-lock is popular for DIY installs, but it still needs proper moisture control and flat subfloor conditions. Peel-and-stick vinyl can be quick, but it requires a very clean, smooth surface and good adhesion—old residue or moisture can cause lifting. If you want maximum protection against spills, look for waterproof vinyl flooring with sealed seams and choose installation methods that minimize water intrusion at seams and edges.
How can I replace vinyl flooring around a washer and dryer without causing future water damage?
Plan for water exposure by leaving a small gap where required by the manufacturer and sealing transitions with a vinyl-safe silicone or recommended seam sealer. Remove trim where needed so you can install the flooring neatly under doorways and near appliance edges, then reinstall baseboards with moisture-resistant caulk. Consider adding a drip pan under the washer and keep the area around the washer inlet lines sealed to reduce the risk of recurring moisture issues that can ruin vinyl floors.
Why do vinyl floors lift or buckle in laundry rooms, and how do I prevent it during replacement?
Vinyl flooring often lifts due to moisture from leaks, high humidity, poor subfloor prep, or installing over uneven surfaces. Buckling can happen when the floor expands without proper spacing at walls and fixed objects like cabinets or pipes. To prevent problems, fix leaks first, ensure the subfloor is dry and level, follow manufacturer expansion-gap instructions, and use a moisture barrier or underlayment compatible with vinyl flooring.
📅 Last Updated: October 26, 2026 | Topic: How to replace vinyl floors in a laundry room? | Content verified for accuracy and freshness.
References
- Vinyl flooring
- https://www.armstrongflooring.com/support.html
- Mold | US EPA
- Asbestos | US EPA
- https://www.cdc.gov/asbestos/
- Asbestos – Overview | Occupational Safety and Health Administration
- https://scholar.google.com/scholar?q=replacing+vinyl+flooring+installation+guidelines Google Scholar
- https://scholar.google.com/scholar?q=vinyl+floor+replacement+subfloor+preparation+moisture Google Scholar
- https://scholar.google.com/scholar?q=laundry+room+vinyl+flooring+moisture+considerations Google Scholar


[…] F1869 measures moisture vapor emission rate (MVER) in **lb/1000 sq. ft./24 hours**, helping determine whether a floor is dry enough for […]