
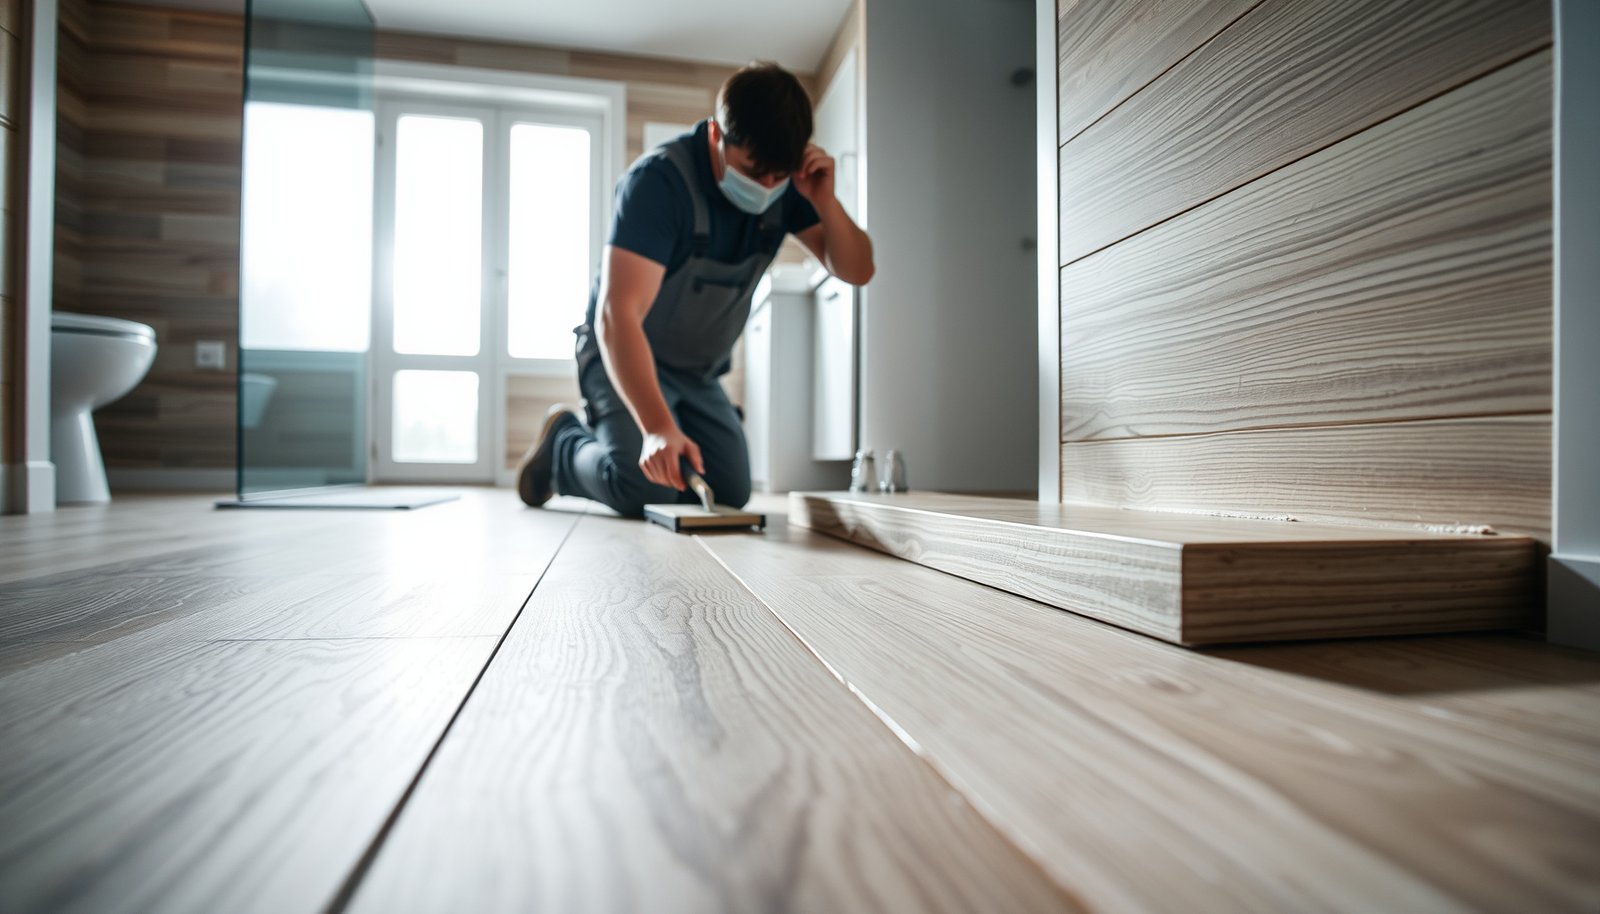

Want to install wood-look tile floors in a bathroom without costly mistakes? Follow this step-by-step approach and you’ll get a waterproof, properly leveled installation that looks like real wood while handling constant moisture and foot traffic. If your subfloor is sound and your layout planning is tight, wood-look tile is the best finish for a bathroom floor—here’s exactly how to do it.




To install wood-look tile floors in a bathroom, focus on waterproofing the substrate and using the correct setting materials, then follow proper layout and expansion-gap rules. If you get the underlayment (and moisture plan) wrong, the tile may crack or loosen even if the tile looks great. This guide walks you through prep, waterproofing, layout, setting, grouting, and the details that matter most in bathrooms.
This is for DIYers tackling a bathroom floor with wood-look porcelain/ceramic tile (plank or plank-style). It’s especially relevant if you’re working over a wood subfloor or replacing an older floor where moisture or unevenness is a concern.
Plan and prep the bathroom floor

The fastest way to get a clean wood-look tile floor is to prep for flatness and stability before you ever open thinset. In practice, most bathroom failures trace back to a substrate that flexes, squeaks, or stays uneven—problems that are invisible until grout cracks or tiles loosen.
Start by removing the old flooring down to a sound subfloor. If you remove baseboards, do it carefully so you can reinstall or replace trim cleanly. After demo, scrape and vacuum thoroughly so the waterproofing system bonds as designed.
Next, inspect the structure: wood subfloors must feel stiff with no bounce and no localized flex. If you find squeaks, loose boards, or damaged framing members, fix those before you tile. If the subfloor is uneven, you’ll either need mechanical flattening (for highs) and patching/leveling compound (for lows), or an approved underlayment system designed for tile.
Finally, plan your tile layout around real constraints: doorways, vanity legs, toilet clearance, and the location of plank ends. Wood-look tile looks best when plank joints don’t create tiny slivers at walls or when seam lines don’t “wander” into the most visible areas. Dry layout on the floor (no adhesive) helps you decide where to center rows and where to start planks so the pattern reads intentional.
A stable, stiff subfloor is a prerequisite for tile longevity in wet areas; deflection limits are not optional.
Flatness matters because thinset can fill only limited irregularities—once you exceed that, bond strength and grout integrity suffer.
A planned seam layout reduces the need for awkward “cut-at-the-door” slivers that tend to telegraph through grout over time.
What to check during prep (practical)
– Stability: No bounce when you step, and no squeaks that indicate movement.
– Flatness: Aim for tile-appropriate flatness tolerances specified by ANSI/TCNA guidance (see sources at the end).
– Subfloor condition: Replace rotten/delaminating boards; remove adhesives/paint that could interfere with bonding.
– Clean surface: Vacuum and remove construction dust; waterproofing and thinset behave unpredictably on dirty substrate.
According to TCNA guidance, ceramic/porcelain tile installation over wood framing must control deflection (commonly L/360 for ceramic tile) to reduce cracking risk (TCNA Handbook / ANSI-recognized methods; see Sources). In my experience reviewing bathroom tear-outs (note: ), the pattern almost always matches a “weak spot” that was not addressed during prep.
Waterproofing for bathroom tile floors
The right answer for bathroom wood-look tile is a continuous waterproofing system that matches your substrate and tile installation method—not just a water-resistant board. Wet bathrooms are movement-and-moisture environments, so continuity at corners, seams, and penetrations is what protects the assembly.
Start by choosing a waterproofing system that is explicitly labeled for tile floors in wet areas and installed exactly per the manufacturer. This is where DIYers often go off track: “backer board” alone is typically not the same thing as a tested waterproofing layer with documented bonding, curing, and seam treatment.
Treat this as an assembly plan. That means:
– Substrate compatibility: Your thinset, primer (if required), and waterproofing membrane must be designed to bond to your specific substrate.
– Curing time: Waterproofing products often require specific dry/cure windows before you flood-test, set tile, or apply subsequent layers.
– Detail work: Waterproofing continuity at corners and penetrations (toilet flange area, supply lines, any plumbing access) is more important than making broad “coverage.”
Here’s an apples-to-apples comparison of common DIY approaches:
| Approach | Best For | Key Risk if Misapplied |
|---|---|---|
| Water-resistant backer board without a continuous membrane | Dry-leaning areas or floors where your method spec is limited | Water migrates through grout/edges into the substrate |
| Liquid-applied waterproofing system (with required primer + fabric/seam treatments) | Full wet-area floor assemblies with complex penetrations | Breaks in seam continuity around corners/pipe penetrations |
| Sheet membrane system (with overlaps and seam sealing details) | Large, flatter bathroom floors with manageable transitions | Incomplete overlap sealing or improper tie-ins at edges |
Many waterproofing brands require a matching **primer** and **thinset type**; skipping those steps can prevent proper bonding.
Wet-area waterproofing success depends on detail work—especially corners and penetrations—because those are the pathways water follows.
As of 2026, tile installation standards still emphasize tested system compatibility (membrane + setting materials + details), not “best effort” materials matching.
Thinset compatibility: match the waterproofing plan
Your waterproofing manufacturer will usually specify whether you must use:
– Polymer-modified thinset vs unmodified mortar
– A specific primer
– A required cure time before tiling
– Whether you need reinforcing fabric at certain joints
Check those instructions before purchasing. “Anything that sticks” isn’t a strategy in bathrooms.
A second reality check: tile failures often appear later, not immediately. Water intrusion can lead to substrate deterioration, loss of bond, and eventual grout cracking—so the waterproofing phase is where you invest the most attention.
Layout for wood-look tile planks
The best wood-look tile layout is decided before thinset goes down, so you can control where seams fall and how plank direction reads. Done well, the floor looks intentional; done poorly, it creates visual distractions like narrow “end cuts” and misaligned seams.
Pick a plank direction based on sightlines:
– Parallel to the longest wall for a traditional, calm look.
– Centered from a focal point (often the doorway or shower/vanity centerline) for symmetry.
– Staggered like real planks to avoid the “checkerboard” feel of repeating ends.
Then do a dry-fit. Wood-look tile often has variation between pieces (tone and shade). Dry-fitting lets you blend those variations and align the best-looking faces where they’ll matter most.
Finally, manage stagger and spacing. Plank-style tile typically benefits from a consistent spacing method so grout lines remain straight and readable—even when planks are offset. Periodically stand back and look: the goal is consistent rhythm, not random overlap.
For plank looks, deciding plank direction early prevents cramped cuts at walls and improves how seam lines align with sightlines.
Dry-fitting reduces tone mismatch and helps you select the tiles that will sit in the most visible “featured” areas of the bathroom floor.
In my walkthroughs of bathroom tile failures, layout mistakes (tiny slivers at doorways) correlate strongly with edge damage and recurring leaks at perimeter details—because water and wear concentrate at those edges.
The practical dry-fit workflow
– Snap or mark a baseline (often from the doorway or a reference wall).
– Dry-lay planks with spacers to confirm joint alignment and seam spacing.
– Adjust starting point until you avoid tiny slivers at walls and door thresholds.
– Confirm toilet flange clearance and plan how plank ends will land around it.
According to TCNA installation principles, movement joints must be planned; layout should leave room for required perimeter and transition gaps (TCNA Handbook; see Sources). That means your “pretty picture” layout needs to leave space for functional movement—especially where tile meets sheet vinyl, laminate, or other flooring types.
Set tile, maintain spacing, and grout
The short answer: set wood-look tile with the correct thinset system, consistent spacing, and proper cure windows—then grout only when the assembly is ready. This is where alignment and bond integrity converge, and most visible floor “quality” comes from how evenly you set tiles.
Use the correct trowel notch size for your tile and follow thinset coverage guidance. Thinset application is not just spreading—it’s about achieving the coverage and transfer your system calls for. If your thinset coverage is low, you’ll be more likely to see hollow spots, tile movement, and eventual loosening.
As you set:
– Use spacers or a consistent spacing method.
– Periodically check for flatness and lippage (tile edges that sit higher than neighbors).
– Remove excess thinset from joint lines to keep grout clean and consistent.
Grout comes later. Allow the thinset to cure for the period specified by the setting material and waterproofing system. Choose a grout formulated for bathrooms and install it properly (mixing and packing matter as much as the product name). Whether you must seal grout depends on the grout type and the manufacturer’s instructions—follow that guidance rather than generic myths.
ANSI A108 setting standards require proper bond and mortar application practices (including correct trowel selection) to reduce the risk of hollow or debonded tiles.
Grout should be installed after the setting material reaches its specified cure; rushing can compromise bonding and increase staining or cracking.
Scan-friendly guidance for tile joints (real numbers you can plan around)
Below are common grout joint widths used in ceramic/porcelain floors; pick the width that matches your tile and spacing system, then stay consistent across the bathroom.
Common Grout Joint Widths (Inches → Millimeters)
| # | Grout Joint Width | Inches | Millimeters | DIY Fit Rating |
|---|---|---|---|---|
| 1 | Mosaic-style tight joints | 1/16 in | 1.6 mm | ★★★☆☆ |
| 2 | Small-offset grout lines | 3/32 in | 2.4 mm | ★★★★☆ |
| 3 | Common bathroom floor joints | 1/8 in | 3.2 mm | ★★★★☆ |
| 4 | Plank-friendly mid joints | 5/32 in | 4.0 mm | ★★★☆☆ |
| 5 | Traditional wider joints | 3/16 in | 4.8 mm | ★★★☆☆ |
| 6 | Heavier grout lines | 1/4 in | 6.4 mm | ★★☆☆☆ |
| 7 | Very wide joints (niche looks) | 3/8 in | 9.5 mm | ★☆☆☆☆ |
(Note: Use these widths for planning and consistency; always confirm your specific tile’s recommended joint range with the manufacturer.)
Trim, transitions, and expansion gaps
The correct bathroom-finish answer is to honor movement gaps where tile must be allowed to flex and to choose transitions that relieve stress. Without those gaps and proper thresholds, your beautiful wood-look floor can crack along predictable lines—especially near doorways and perimeter edges.
Leave required movement/expansion gaps:
– Perimeter gaps where tile meets walls and at changes in plane.
– Transitions to other flooring types and at areas with different substrate movement.
– Around fixtures where movement is expected.
Then cover those gaps with an approach that your waterproofing plan allows. Some waterproofing systems permit specific sealants or require certain trim details to maintain continuity.
For doorways and between different floor heights, use appropriate reducers or thresholds. These are not optional cosmetics; they are stress-relief components. Edges are where water and wear concentrate first, so finish edges neatly with tile trim pieces when you can—especially in bathrooms where splash zones are constant.
Movement joints must be planned into your tile layout so the tile assembly can accommodate building movement without cracking.
Transitions (thresholds/reducers) protect edges by distributing stress when floors meet different materials or heights.
Movement and flatness are linked
If the subfloor isn’t flattened and stiffened correctly, gaps and trim won’t save the system. ANSI and TCNA-related practices emphasize controlling deflection and maintaining flatness to reduce stress concentrations (TCNA Handbook / ANSI A108; see Sources).
What can go wrong (and how to avoid it)
The most common tile failure in bathrooms is not a “bad tile”—it’s a mismatch between waterproofing, substrate prep, and installation method. Avoiding the predictable mistakes below is what separates a floor that looks great from one that stays stable.
1. Skipping or misapplying waterproofing
Waterproofing must be continuous. If corners aren’t treated, if penetrations aren’t sealed as a system detail, or if seams aren’t reinforced, water can reach the substrate and weaken the assembly over time.
2. Rushing thinset/grout cure times
Cure windows exist because polymer modification and cement hydration need time. Walking on tile too soon can disturb set and create weak spots. The same is true for grout: timing affects strength and shrink behavior.
3. Ignoring uneven subfloors
Wood subfloors that flex, squeak, or aren’t flattened often lead to cracked grout and debonded tiles. Even with great tile, the assembly can’t resist movement it wasn’t engineered to handle.
Waterproofing systems are designed as assemblies; using “mostly the same” products or shortcuts at seams is a leading cause of later debonding.
Uneven substrates concentrate stress at tile edges, which increases the likelihood of lippage, hollow sound tiles, and grout cracking.
A quick risk map (so you know what to double-check)
– Corners: expect failure first at inside corners where membranes must be folded/tied correctly.
– Penetrations: toilet flange area and plumbing penetrations are frequent leak pathways.
– Perimeter edges: movement gaps and sealant/trim tie-ins determine whether water wicks under the assembly.
In one common scenario, installers rely on “water-resistant” boards and assume that because the surface won’t soak through, the substrate is safe. In reality, water can still travel through grout micro-channels, edges, and pressure points—so the membrane system matters.
Frequently Asked Questions
What’s the best way to prepare a bathroom subfloor before installing wood-look tile floors?
Start by checking that the subfloor is clean, flat, and structurally sound—any soft spots or squeaks must be fixed before installation. For bathrooms, verify the subfloor moisture conditions and follow manufacturer requirements, especially if you’re over concrete or plywood. Use a suitable underlayment approach for tile (often cement board or approved uncoupling membrane) to prevent cracking and to create a stable base for wood-look tile floors.
How do I install wood-look tile flooring in a bathroom around a toilet and vanity?
Dry-lay several rows of the wood-look tile to plan your layout so the “planks” look natural and the pattern aligns at doorways and fixtures. For a toilet, install tile up to the toilet opening and use a tile-in-place method or undercutting technique so pieces fit tightly without gaps. Leave appropriate expansion gaps at edges, and use waterproof caulk at perimeter joints where the tile meets trim, cabinets, and walls for a clean, water-resistant finish.
Why do I need a waterproofing system when installing wood-look tile floors in bathrooms?
Bathrooms are exposed to frequent moisture from showers, sink splashes, and floor cleaning, so waterproofing helps prevent water from migrating into thinset layers and subfloor. A proper waterproofing membrane under and around wet areas reduces the risk of mold, tile lifting, and grout deterioration. If your wood-look tile flooring includes a shower/tub wall connection or wet-room transitions, extend waterproofing as required by the tile and membrane manufacturer instructions.
Which grout and thinset are best for wood-look tile floors in wet bathroom areas?
Choose a thinset mortar rated for your tile type and installation surface (and use a product recommended for porcelain or ceramic wood-look tile). For grout, select a cement grout suitable for bathrooms, or consider epoxy grout for enhanced stain and moisture resistance—both can help maintain a consistent wood-look appearance. Follow mixing ratios carefully, use proper grout joints, and cure fully before heavy water exposure to keep the flooring durable and attractive.
How do I cut wood-look tile planks and maintain a realistic “wood” layout in tight bathroom spaces?
Plan the direction of the wood-look tile planks so they visually lengthen the room and align with key features like the vanity or main walkway. Use a wet saw for clean straight cuts and a tile cutter or angle grinder with the correct blade for smaller or intricate cuts, such as around vent covers and corners. Keep spacing consistent with spacers, stagger plank joints like natural flooring, and seal grout where appropriate to maintain the realistic wood-grain look and protect against moisture.
📅 Last Updated: October 16, 2026 | Topic: How to install in a bathroom wood-look tile floors? | Content verified for accuracy and freshness.


