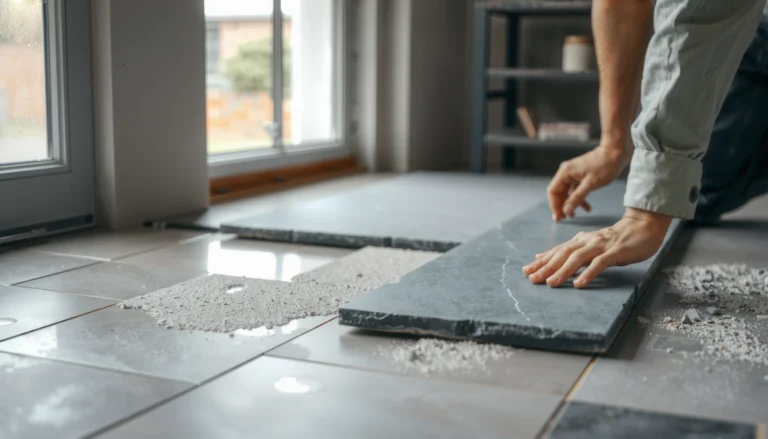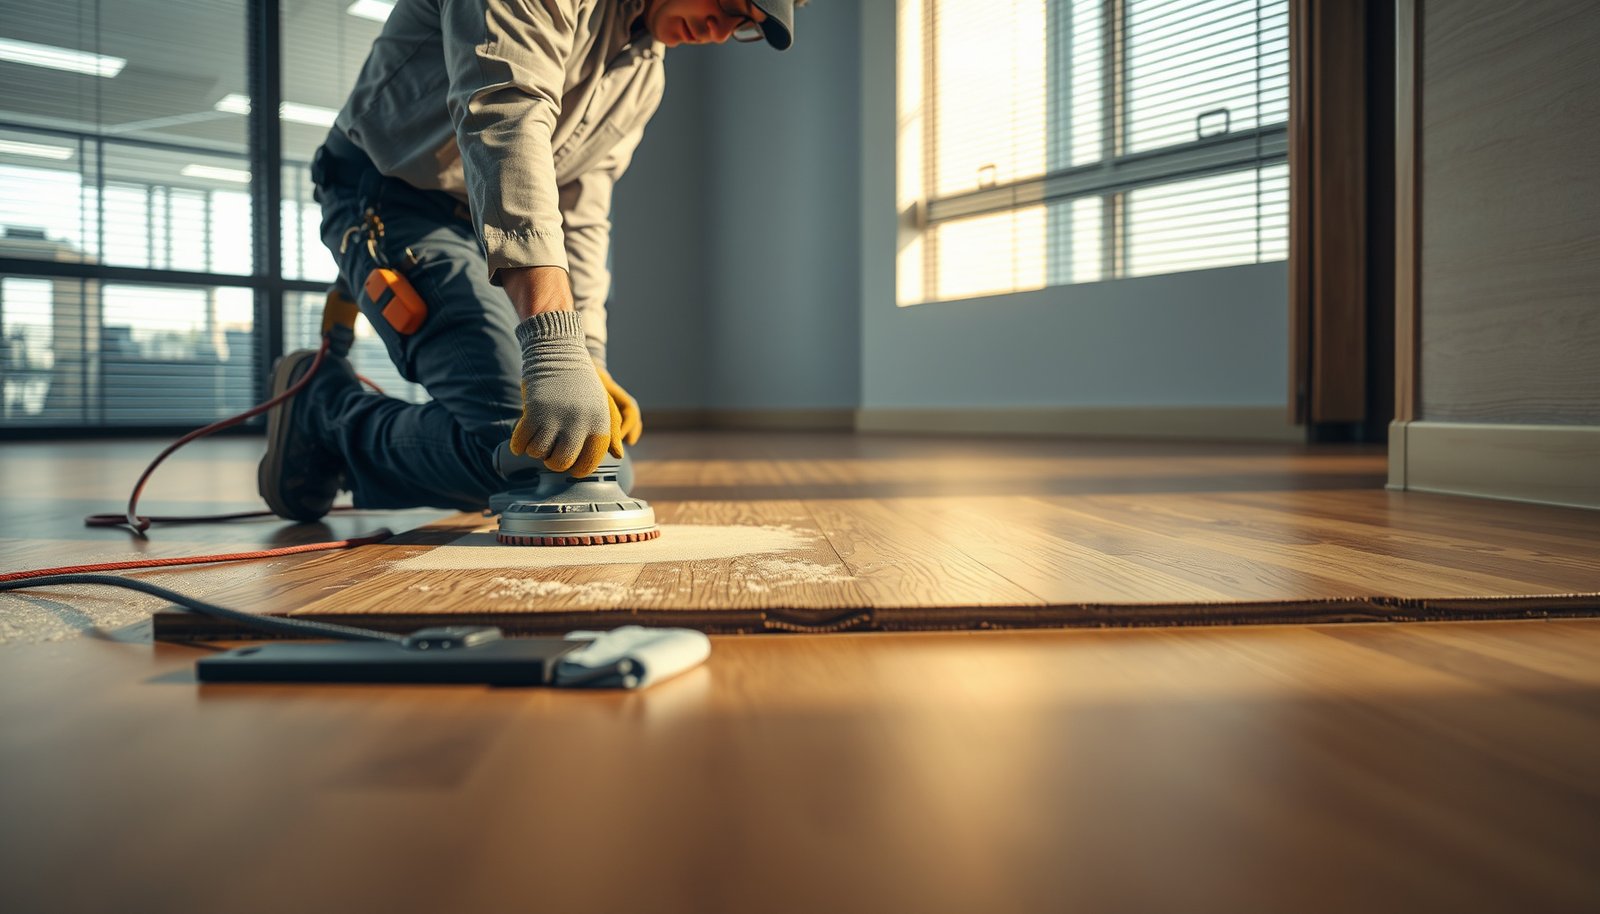

Prepare hardwood floors for a commercial office by following the quickest, most reliable pre-install checklist: inspect, acclimate, and level the surface before any finish goes down. This guide answers how to get hardwood ready for heavy daily traffic—what to look for, how to correct subfloor issues, and how to prevent gaps, squeaks, and finish failure. If you want floors that hold up under office footfall and look consistent from day one, this is the preparation route to use.




Prepare hardwood floors for a commercial office by verifying moisture conditions, acclimating the wood, and completing a careful clean-and-repair before any finish or install. In a busy office, that prep must be done in the right order—because if moisture balance or subfloor flatness is off, the rest of the system (coatings, adhesives, and planks) won’t perform reliably.
This is for property managers, contractors, and facilities teams preparing an existing hardwood floor (or prepping a site for new/refinished hardwood) in a busy office where downtime and traffic control matter.
Office Readiness: Inspect Before You Touch the Floor
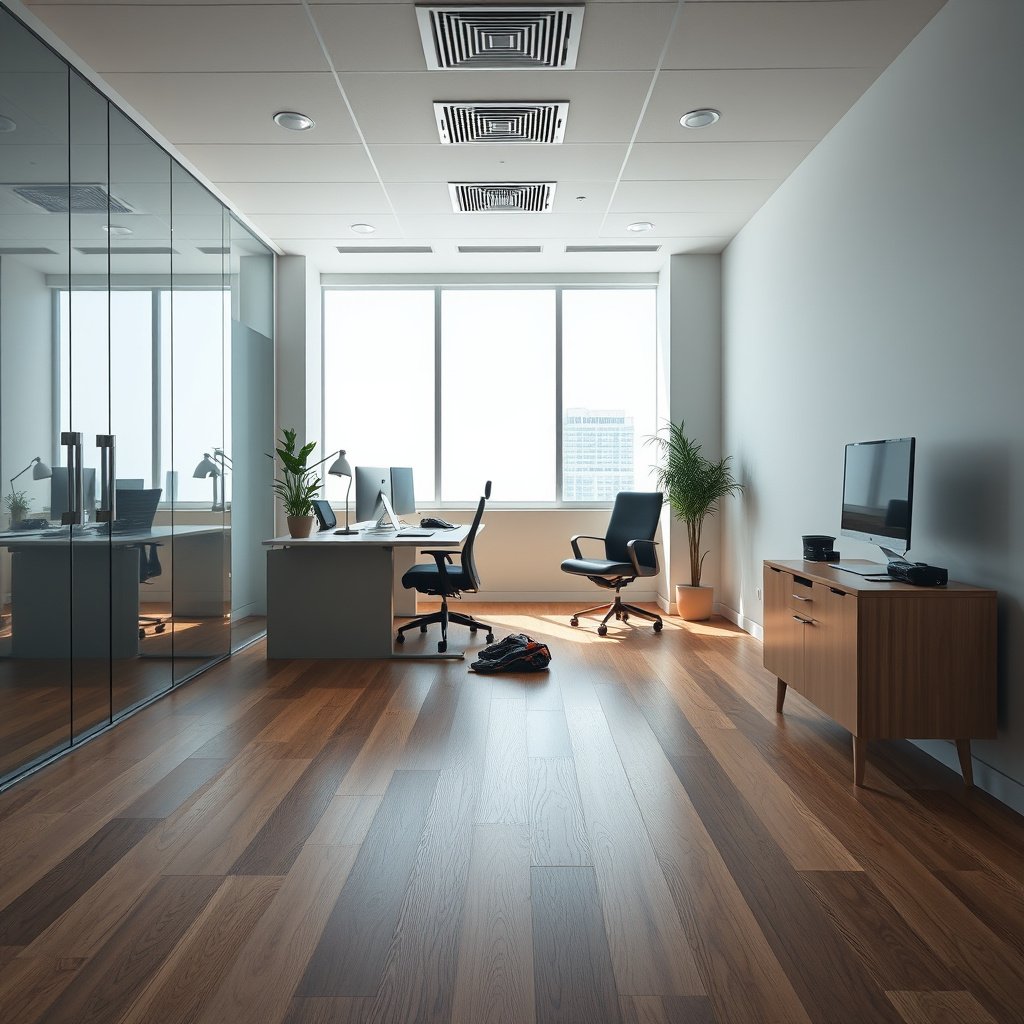
You get the best outcomes when you start by confirming the “type” of project and documenting risks before tools ever contact the floor. Here’s the key: moisture problems and substrate movement are often the root cause of failures that only show up weeks or months later—so inspection is not optional in commercial settings.
A wood floor system is only as stable as the environment it’s installed or refinished into, so site conditions must be verified before sanding, coatings, or adhesive work.
Relative humidity and temperature impact both wood dimensional change (expansion/contraction) and coating/adhesive performance, making early moisture identification critical.
Subfloor flatness influences how loads transfer through hardwood; uneven areas can telegraph as wear lines, noise (squeaks), and early finish breakdown.
– Confirm what you’re preparing: existing finish maintenance vs. refinishing vs. new installation prep. A maintenance job (screen + recoat) has different requirements than a full sand-and-coat cycle, and each step changes dust control and curing/downtime planning.
– Look for moisture risks (recent water intrusion, plumbing leaks, visible cupping/crowning, suspicious odor) and document what you find. Take photos and notes by location so you can correlate symptoms (e.g., board movement) with likely sources (e.g., HVAC condensate, exterior doors, sinks/restrooms).
– Check subfloor condition/flatness and identify any boards/areas that need repair before coatings or install. Commercial offices often have historical patchwork: fasteners, patch panels, or prior underlayment that may be uneven or moving.
What I’ve learned managing commercial floor work: the fastest way to lose a schedule is to discover “fixable later” problems on day two—like loose boards or localized moisture staining—after teams have already staged equipment and blocked entrances. Early documentation prevents that rework.
Acclimate the Hardwood and Set Indoor Conditions
You reduce the risk of gapping, cupping, or coating failure when you stabilize indoor humidity and temperature before—and during—prep. In 2026, more offices keep tighter HVAC schedules, which makes it even more important to control the “microclimate” around the floor for your project window.
Hardwood dimensional stability depends on reaching an equilibrium moisture condition, which is controlled by indoor relative humidity and temperature.
Using a hygrometer/thermometer is a basic quality control step because coatings and wood both respond to changing conditions during sanding and curing.
Acclimation schedules should come from the flooring manufacturer’s written instructions for your exact product type because plank construction and thickness affect required dwell time.
– Run HVAC to stabilize temperature and humidity to match the flooring manufacturer’s requirements (use a hygrometer/thermometer). Do not “set it and forget it”—confirm readings at the worksite, not just the thermostat.
– Acclimate the wood per the manufacturer’s written schedule for your product type (time varies by plank thickness and site conditions) — . Store materials in the same temperature/humidity regime as the office whenever the manufacturer allows it.
– Plan for office constraints: protect entrances, limit foot traffic, and prevent HVAC changes during the critical prep window. If the facility team cycles humidity for comfort, coordinate a temporary setpoint strategy for the duration of acclimation + sanding + coating (as allowed by the manufacturer’s instructions).
To anchor moisture decisions, it helps to remember how standard moisture measurement works in flooring projects:
– According to ASTM D4442-20, standard oven-dry methods determine wood moisture content by comparing a sample’s mass before and after drying to a controlled condition. (ASTM International, ASTM D4442-20)
– According to ASTM F2170-19, in-situ RH probe testing measures relative humidity inside a concrete slab to estimate moisture conditions at the flooring level. (ASTM International, ASTM F2170-19)
Clean Thoroughly (So Finish Can Actually Adhere)
You protect adhesion and finish performance by removing residue that sanding alone can’t eliminate. In commercial offices, the floor is often exposed to cleaning agents, waxes, and traffic residues—so “looks clean” isn’t enough before coatings or refinish systems go down.
Finish failures frequently trace back to contamination (wax, adhesives, oils, or cleaning residues) that prevents uniform bonding between the substrate and coating.
Cleaning steps must match the existing finish chemistry because some strippers or degreasers can cause adhesion or surface tension issues.
A uniformly clean, dry, dust-controlled surface is required for predictable sanding results, coating wetting, and long-term wear resistance.
– Remove dust, construction debris, wax/adhesives, and any residue that could interfere with bonding or finish performance. For office environments, prioritize residue control around entry zones, shared kitchens/break rooms, and corridor intersections where cleaning chemicals accumulate.
– Follow the cleaning method appropriate to the existing finish (some coatings react badly to the wrong chemical stripper/cleaner). This is where manufacturer documentation matters: coatings are formulated for specific prep profiles.
– Vacuum with a suitable system and finish prep steps should leave the surface clean, dry, and uniformly ready for the next step. For 2026 workflows, we typically plan for HEPA filtration and controlled access because sanding dust and cleaning aerosols both create operational risk.
“Clean” vs. “Compatible Clean”: what to choose
When you’re working over existing finishes, compatibility beats generic cleaning.
| Approach | Pros (why it works) | Cons (why it can fail) |
|---|---|---|
| Manufacturer-specified cleaner/deglosser | Maximizes adhesion by matching coating chemistry and surface-prep expectations | May take longer to source and requires strict adherence to dwell times |
| Generic degreaser + “extra rinsing” | Can reduce some residues quickly | Can leave invisible residue, raise surface moisture, or chemically interfere with bonding |
Repair, Flatten, and Control Moisture Pathways
You avoid most long-term complaints when you treat repairs, flatness correction, and moisture pathways as one integrated preparation plan. If you only refinish the surface without addressing movement and transitions, traffic will expose those weak points.
Defects like loose boards, squeaks, and damaged planks often indicate substrate movement, which can telegraph through coatings or installation systems.
Flatness affects load transfer; sanding high spots and addressing dips helps prevent premature wear patterns in high-traffic office corridors.
When moisture vapor risk is present (especially over concrete), moisture testing and mitigation must follow relevant standards and manufacturer guidance—not guesses.
– Fix squeaks, looseness, damaged boards, and transitions before you proceed—spot repairs are easier before coatings or long traffic periods. This includes transitions at doorways, elevator thresholds, and any area with different flooring height.
– Address flatness: sand high spots and correct dips as needed so the floor doesn’t telegraph defects later. Flatness work also improves sanding efficiency and reduces uneven coating thickness.
– If you’re working over concrete or suspect moisture vapor issues, test first and use the correct moisture mitigation approach per relevant standards and manufacturer guidance — .
Concrete moisture context matters because ASTM methods define what you’re measuring:
– According to ASTM F1869-16, the calcium chloride test quantifies moisture vapor emission rate (MVER) from concrete slabs using anhydrous salts and mass change over time. (ASTM International, ASTM F1869-16)
Moisture testing references that teams actually use (quick, practical)
This table is a practical “at-a-glance” map of the moisture-related standards teams commonly reference during slab-to-hardwood planning.
Common Standards Referenced During Hardwood Prep Over Concrete
| # | Reference | Focus | What you get | Prep priority |
|---|---|---|---|---|
| 1 | ASTM F2170-19 | Concrete moisture (in-situ) | Relative humidity at slab depth via probes | Primary |
| 2 | ASTM F1869-16 | Concrete moisture (MVER) | Moisture vapor emission rate from slab surface | Primary |
| 3 | ASTM D4442-20 | Wood moisture content | Direct measurement of wood moisture content via oven-dry | Primary |
| 4 | ASTM F710-21 | Concrete floor prep | Surface preparation practices for slab before floor finishes | Primary |
| 5 | NWFA Wood Flooring Installation Guidelines | Wood system planning | Recommended procedures for moisture, acclimation, and substrate readiness | Primary |
| 6 | ASHRAE 160 | Building moisture control | Moisture management framework for building envelopes and indoor conditions | Supplemental |
| 7 | Flooring manufacturer technical data sheets | System-specific requirements | Acceptable moisture ranges, recoat windows, cure guidance, and prep steps | Primary |
Choose the Right Protection and Timing for Commercial Traffic
You keep the floor looking new longer when you align coating/install steps with office traffic realities and the finish system’s cure windows. In 2026, many offices run reduced staffing during renovations, but the “traffic return” day still happens fast—so planning cure time and temporary protection is where projects win or slip.
Commercial coating systems require strict adherence to topcoat order, recoat windows, and cure time because adhesion and hardness develop over time.
Protecting finish surfaces with walk-off mats and temporary coverings is often necessary to prevent grit abrasion and denting during reopening.
A traffic plan is part of floor prep: when foot traffic returns early, incomplete cure can lead to surface haze, imprinting, or premature wear.
– Plan the workflow around office use: dust control, safe access routes, and how long the floor must cure before normal traffic. Map routes for installers, vacuum systems, and deliveries so employees don’t track debris onto freshly prepped areas.
– If refinishing, follow the coating/finish system instructions exactly (topcoats, recoat windows, and cure time vary by product) — . If you have multi-day work, confirm whether intermediate sanding is required between coats.
– Add protection for the highest-traffic areas (walk-off mats, felt pads, temporary floor coverings) once the floor is safely ready. Place protection immediately after the finish is ready for normal use—waiting “because it looks dry” is a common reason for early scuffs.
Pros/cons to decide whether to refinish now or schedule later
- Refinish during a controlled office downtime window
- Pros: better dust containment, easier access control, more predictable cure-to-traffic timing. Cons: may require temporary relocation or schedule coordination for departments.
- Refinish with ongoing office traffic (phased work)
- Pros: less disruption to staff time. Cons: higher risk of contamination, surface abrasion, and premature wear if cure and protection are compromised.
What can go wrong (and how to avoid it)
You prevent most failures by treating moisture, surface chemistry, and schedule adherence as non-negotiable variables. Commercial floors don’t fail because of one “big mistake”—they usually fail due to multiple small deviations that stack up.
Moisture mismatches can drive wood movement (gapping or cupping) even when the floor “seems fine” at install or after sanding.
Chemical incompatibility between existing residues and new finishes can cause peeling or uneven adhesion.
Ignoring finish recoat windows can reduce film build performance and surface hardness, which shows up later under everyday office abrasion.
– Skipping moisture checks: Even “small” RH/temperature mismatches can lead to gapping, cupping, or finish failure—test and follow the wood-floor spec. This is especially important in 2026 because tighter HVAC setbacks can create rapid swings during evenings and weekends.
– Using the wrong cleaner/stripper: Some residues or chemical incompatibilities cause adhesion problems and peeling. If the existing finish is unknown, treat it as unknown—don’t assume “paint stripper” is compatible.
– Rushing curing or recoat times: Commercial schedules often push this—but finish systems can fail if you don’t respect the manufacturer’s timelines. Recoat too early can trap solvents; recoat too late can require additional surface prep.
– Not fixing subfloor issues first: Squeaks, loose sections, or unevenness will show up later as movement and wear. Even premium hardwood systems can’t compensate for unstable foundations.
Verdict / tip + quick scan checklist
If you want the floor to look consistent and stay stable in a commercial office, prioritize moisture conditions, acclimation, and getting the surface genuinely ready before finishing. Downsides: this process can increase downtime, creates dust/odors during cleaning/sanding, and small deviations from manufacturer instructions can cause expensive rework—so if you can’t control HVAC/humidity or can’t test moisture when needed, consider postponing or hiring an experienced wood flooring installer/refinisher.
Quick checklist (scan/save):
| Prep step | What to confirm | Done? |
|---|---|---|
| Site conditions | HVAC stabilizes temp/RH per manufacturer spec | ☐ |
| Moisture testing (if needed) | Use the required test method for your substrate | ☐ |
| Acclimation | Wood acclimates per manufacturer schedule | ☐ |
| Cleaning | No dust, wax, residue, or debris | ☐ |
| Repairs/flatness | Loose/damaged areas fixed; surface flat | ☐ |
| Finish/install readiness | Finish system or install method matches instructions | ☐ |
| Cure/traffic plan | Cure/recoat windows respected; traffic protected | ☐ |
Frequently Asked Questions
What’s the best way to prepare hardwood floors before installing new commercial office flooring?
Start by assessing the subfloor condition—check for moisture, levelness, and any damaged areas—because uneven or damp substrates can cause hardwood failure. Remove existing flooring and thoroughly clean the surface to eliminate dust, grease, paint overspray, and adhesive residue. Let the wood and subfloor acclimate to the building’s temperature and humidity settings, then install underlayment and fasteners or adhesive according to the hardwood manufacturer’s instructions. Finally, complete a detailed inspection for squeaks, gaps, and debris before finishing.
How do I clean and degrease hardwood floors in a commercial office before refinishing?
Use a professional, pH-neutral hardwood cleaner and microfiber systems to remove daily grime without damaging the finish. For high-traffic areas, address embedded soil by spot-scrubbing and rinsing appropriately, ensuring no cleaner residue is left behind. If there are waxes or sealers, strip them using a commercial hardwood stripper designed for the existing finish, then let the surface dry completely. Finish by sanding lightly as needed and vacuuming dust thoroughly to ensure a smooth, durable refinishing bond.
Why is moisture testing important when preparing hardwood floors for commercial office use?
Commercial offices typically have HVAC cycles that can create moisture fluctuations, and hardwood is sensitive to these changes. Moisture testing helps confirm the subfloor moisture levels are within the acceptable range to prevent cupping, warping, or finish failure. If readings are outside spec, address the source (leaks, humidity imbalance, or flooring system issues) before sanding or applying new hardwood floor coating. Proper moisture preparation is one of the biggest factors in long-term performance for commercial hardwood floors.
How should I repair and level hardwood floors before applying a new finish in an office setting?
Inspect boards for loose sections, deep scratches, gaps, and worn high-traffic edges, then repair them using manufacturer-approved wood fillers and spot leveling techniques. Sand repairs carefully to blend them with surrounding areas so the finish doesn’t telegraph patches. If the floor has uneven sections or tripping hazards, correct them with proper leveling methods rather than relying on finish thickness. Vacuum thoroughly after each prep step to eliminate dust that can cause a rough commercial hardwood floor finish.
Which prep method is best for existing hardwood floors in a commercial office—screening or sanding?
Screening is often the best choice when the existing finish is intact, only dulled, and you want a faster path to renewed shine with minimal disruption. Full sanding is recommended if there are deep scratches, peeling or failing coatings, heavy wear through the finish, or widespread discoloration. In a commercial office, consider dust control and downtime—professionals may use dust-containment systems and staged work to keep traffic manageable. Choose based on the condition of the current surface and the refinishing requirements of your commercial hardwood floor product.
📅 Last Updated: October 17, 2026 | Topic: How to prepare a hardwood floors for commercial office? | Content verified for accuracy and freshness.
References
- Wood flooring
- Floor sanding
- https://www.cdc.gov/niosh/topics/wooddust/
- Wood Dust – Overview | Occupational Safety and Health Administration
- Silica and Worker Health | Silica | CDC
- Silica, Crystalline – Overview | Occupational Safety and Health Administration
- Lead Renovation, Repair and Painting Program | US EPA
- https://www.fpl.fs.fed.us/documnts/fplgtr/fpl_gtr190.pdf
- https://scholar.google.com/scholar?q=preparing+hardwood+floors+for+refinishing+commercial+office Google Scholar
- https://scholar.google.com/scholar?q=hardwood+floor+surface+preparation+moisture+testing+acclimation Google Scholar