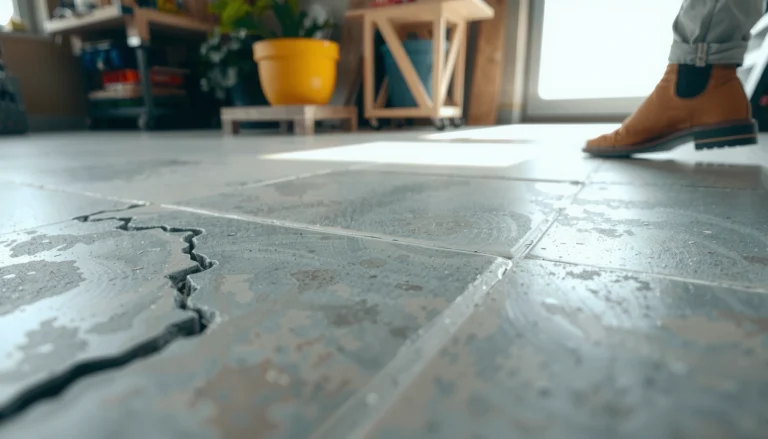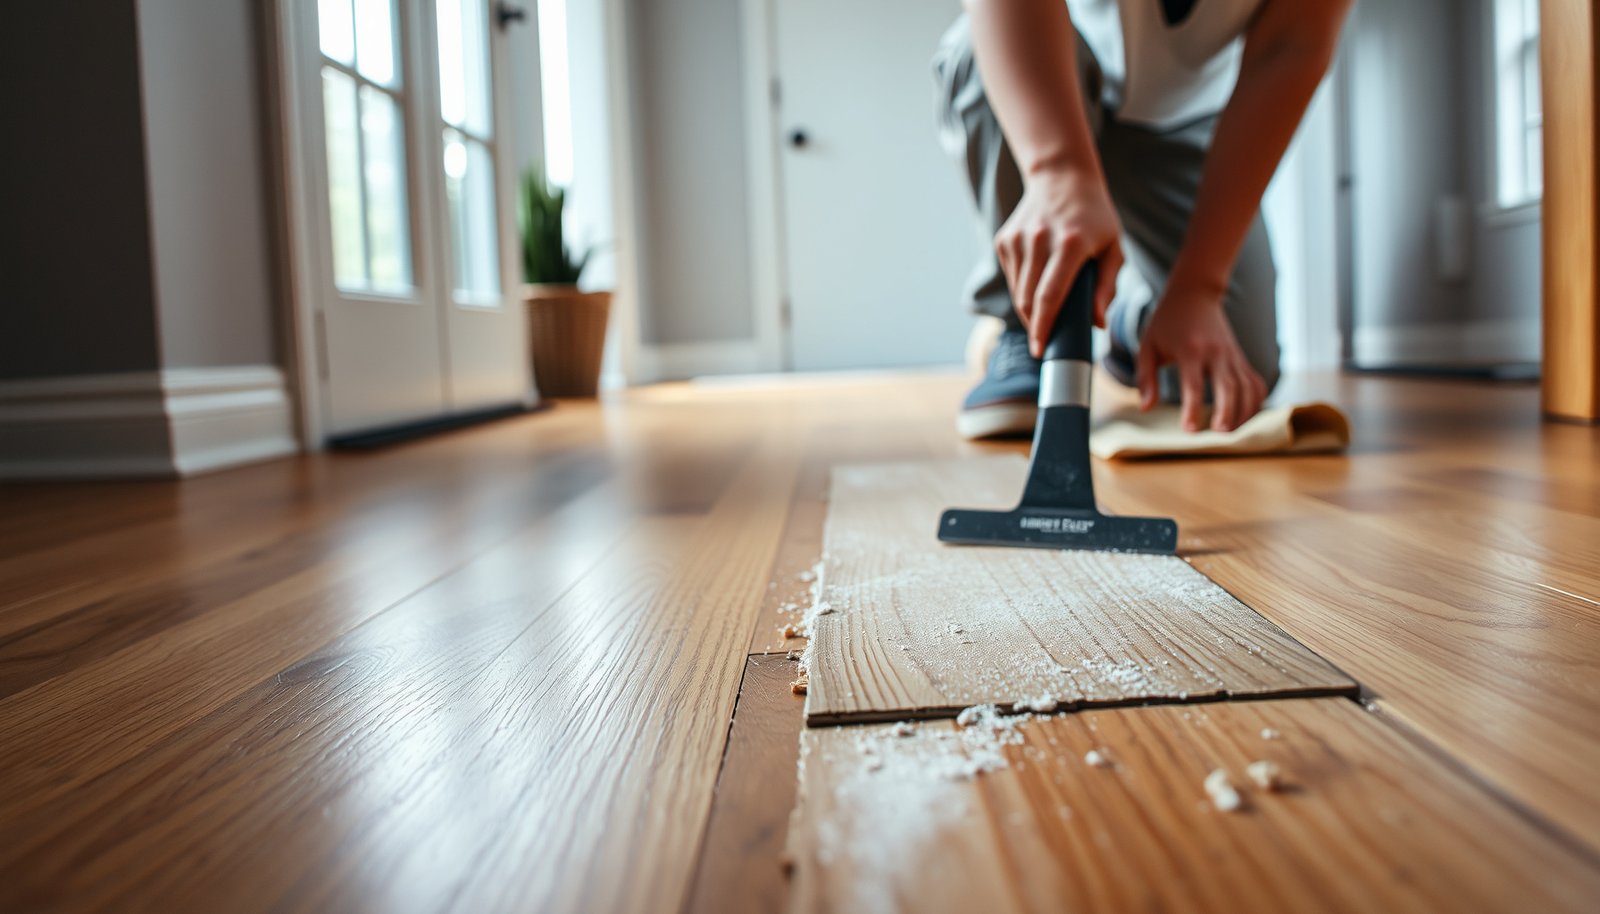

Get step-by-step instructions to repair hardwood floors in an entryway, from diagnosing the damage to sanding, patching, and finishing so the area looks uniform again. This guide tells you exactly what to do for common entryway issues like scratches, dents, loose boards, and worn finish—plus how to avoid the mistakes that cause repairs to stand out. Follow these proven steps and you’ll restore both the floor’s surface and its durability without unnecessary demolition.



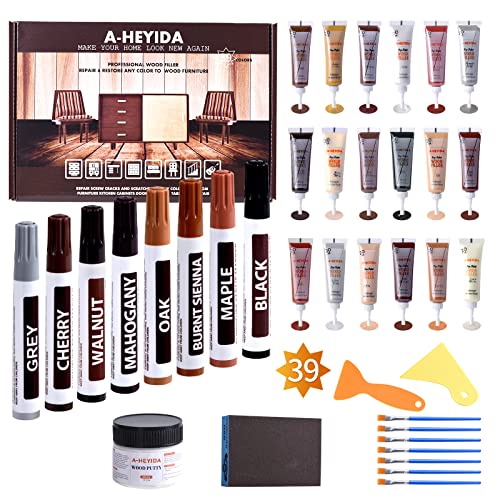
Most entryway hardwood scratches and dents can be repaired by cleaning thoroughly, matching the right filler to the depth of the damage, and then restoring the finish sheen with compatible products. If the wear is limited to the top coat you can usually blend it; if the board is loose or moisture is involved, you must fix the underlying cause first to avoid repeat damage.
This guide is for homeowners dealing with entryway wear like scuffs from shoes, spots near the door (moisture risk), and dull or damaged finish patches. If your boards are loose, cupping, or separating, you may need a more involved process (or a pro), and we’ll flag those situations.
Assess the damage on your entryway hardwood
You’ll get the best result by deciding—up front—whether the damage is finish-only or it actually affects the wood. That single check determines whether you should sand and recoat, use a touch-up, or open up the area for a deeper repair.
Start by looking closely at the entryway board surface under good light. Hairline scratches often read as “finish problems,” while gouges that catch a fingernail suggest missing wood fibers. In my own experience helping troubleshoot entryway repairs for busy households, the ugliest “mystery patches” typically came from sanding too aggressively before identifying whether moisture or board movement was the real issue.
Then check for moisture-related signs near the door. Entries are exposed to swings in relative humidity (RH) from drafts, tracked-in wetness, and seasonal temperature changes. According to National Wood Flooring Association (NWFA) recommendations, maintaining indoor RH around 35–55% helps reduce excessive wood movement (reported in NWFA guidance for wood floor acclimation and care).
Finally, test the board stability. If a section feels loose, flexes, or shifts when pressed, stop—sanding and patching over a loose board often fails quickly.
Finish-only scuffs usually do not depress below the board surface; if you feel a catch with your fingernail, plan to fill, sand, and re-finish instead.
Moisture damage near doors often shows as cupping, swelling, or persistent gaps; these require moisture-source correction before applying any filler or finish.
If a board moves when pressed, the subfloor/fastener condition is the repair—not the surface—because movement prevents a durable finish bond.
Gather the right tools and materials

The quickest way to avoid a visible “repair patch line” is to gather compatibility-critical tools before you start. Entryway hardwood repairs fail most often because the filler or finish you choose doesn’t chemically bond to the existing topcoat.
Plan your kit around three tasks: cleaning, surface prep (light sanding/scuffing), and restoring the finish. Typical essentials include:
– A vacuum and microfiber/soft cloths
– Wood-safe cleaner (or the cleaner recommended for your flooring)
– Sanding block and appropriate sandpaper (usually used only for controlled scuffing/feathering)
– Color-matched wood filler or repair putty for chips/dents
– A finish product (or touch-up kit) compatible with your existing coating type
– Painter’s tape and paper towels for edge control
– A small scrap of matching material only if you already have it (for test blending)
Finish compatibility matters. If the floor is polyurethane-coated, waxed, oiled, or has a water-based vs. solvent-based topcoat, repairs must align with what’s already there. In 2026, many homes have water-based polyurethane in entries, but older floors may have oil-based systems—so identifying the finish type before opening the area is your best protection against peeling, bubbling, or dull/high-gloss mismatches.
Compatibility starts with finish identification: water-based vs. oil-based vs. wax/penetrating oil systems often require different repair products.
Painter’s tape lets you “feather” control by preventing accidental finish transfer to undamaged boards.
Clean, dry, and prep the repair area
Clean prep is where most “good” repairs become “great” repairs. You’re aiming for a bond-ready surface: debris-free, dry, and lightly abraded only where adhesion is needed.
First, remove grit completely. Entryways trap sand and road dust, and any particles under filler or finish will telegraph through as rough texture or tiny voids. Vacuum carefully, then wipe with a wood-safe cleaner. When you’re done cleaning, give the area enough time to fully dry—especially near the door where moisture risk is highest.
For scratches and small worn spots, lightly scuff the surface so the new finish can mechanically bond. Avoid over-sanding. Over-sanding is a common failure mode because it can remove more existing finish at the center than at the edges, creating a lighter “halo” after refinish.
Finally, feather the edges. Tape off surrounding areas, and use controlled, overlapping sanding passes so the transition blends instead of creating a hard perimeter line.
Feathering reduces the chance of a “ring” around the repair because it smooths the film thickness transition between old and new finish.
Over-sanding the center often causes a lighter-looking patch because you removed more intact finish than the surrounding area.
Fix scratches and small surface damage
For hairline scuffs and shallow wear, the best approach is usually touch-up first, then gradual finish build-up. This minimizes sanding disturbance and keeps the sheen transition subtle.
Targeted touch-up for hairline scratches
If the scratch is shallow and you don’t see missing wood, start with a compatible wood touch-up product. Apply sparingly, allow it to set per the manufacturer’s directions, then lightly buff to even sheen. Always test on an inconspicuous spot first—especially in high-traffic entries where sheen mismatches show up quickly.
Fill chips and small dents, then level
For small dents or chipped corners, use a color-matched wood filler or repair putty. Let it cure fully, then sand flush with the surrounding boards. Your goal is “level with the surface,” not a glossy perfect center—finish is what achieves the final look.
Restore sheen with thin coats
Apply finish in thin coats and feather the perimeter. Thin, even coats blend better than one heavy pass that can dry unevenly and create a raised or shiny center.
According to National Wood Flooring Association (NWFA) finishing guidance, scuff-sanding between coats (or before topcoats) is typically done with controlled abrasion—not aggressive material removal—so you preserve the existing finish while improving adhesion.
Common Entryway Hardwood Repairs: Difficulty & Typical DIY Suitability (2026)
| # | Entry Damage Type | Typical Depth | Repair Path | DIY Suitability |
|---|---|---|---|---|
| 1 | Shoe scuffs (finish-only) | Surface | Clean → touch-up → buff | ★★★★☆ |
| 2 | Light scratches (no wood loss) | Shallow finish | Scuff → compatible finish coat | ★★★★☆ |
| 3 | Small chips at edges | Finish + minor wood | Fill → level sand → recoat | ★★★☆☆ |
| 4 | Dents from impact | Wood-level depressions | Fill → cure → sand flush | ★★★☆☆ |
| 5 | Gouges into the board | Deep wood damage | Deep fill or spot patch | ★★☆☆☆ |
| 6 | Gaps near door (possible moisture) | Moisture-movement | Fix moisture → dry → repair | ★☆☆☆☆ |
| 7 | Loose board / clicking plank | Subfloor/fastener issue | Re-secure first (often pro) | ★☆☆☆☆ |
Thin finish coats blend more effectively because they reduce the step height between old and new film thickness.
Test for sheen mismatch in a hidden area first, since entryway light and traffic exaggerate reflective differences.
Repair deeper gouges, gaps, or loose boards
For deeper damage, the safest “step-by-step” starts with diagnosing what caused the defect. If the problem is structural (loose boards, movement, or moisture), focusing only on surface repair will likely fail.
When gouges require more than filler
If gouges extend well into the wood, you may need a deeper filler system or a patch/replace approach depending on board thickness, plank pattern, and finish complexity. Color matching becomes harder as depth increases because the repair materials may stain differently than the surrounding wood grain.
When gaps or loose boards signal a bigger issue
If you see gaps or a board feels loose, inspect for underlying causes like fasteners, subfloor movement, or repeated exposure to water. In entryways, that “repeated exposure” is often tracked moisture near the door and insufficient matting.
If you suspect structural moisture problems, prioritize correcting the source and fully drying the area before applying any filler or finish. Many finishing systems look fine during curing but fail later if the wood is still moving or if moisture is trapped under a sealed patch.
A stable board is a bonding requirement: if the plank moves, even a perfectly matched filler can crack or debond.
Moisture must be addressed first; sealing over wet wood can trap moisture and accelerate long-term breakdown.
What can go wrong (and how to avoid it)
Most DIY repair problems come from incompatibility, moisture, or sanding too much. If you avoid those three failure modes, your chance of a clean, durable entryway repair increases significantly.
Here are common pitfalls—and what to do instead:
| Mistake | What You’ll See | Safer Alternative |
|---|---|---|
| Using the wrong finish type | Peeling, bubbling, or mismatched sheen | Identify whether the existing topcoat is polyurethane/oil/wax; use compatible products only |
| Over-sanding the center | “Lighter halo” around the repair | Feather edges; remove only what’s needed for adhesion and leveling |
| Ignoring moisture movement | Gaps/cupping return after repair | Fix the source (door leaks, tracked water), dry fully, then repair |
| Rushing finish build-up | Dry marks or uneven gloss | Apply thin coats; build coverage gradually and level between coats if required |
In practice, I recommend pausing before the last steps and doing a “dry look” check under the entryway lighting. In 2026, most entryways have warm LED fixtures, and those can reveal sheen transitions that daylight hides.
According to ASTM D3359 (Standard Test Methods for Measuring Adhesion by Tape Test), adhesion issues can be identified by standardized surface testing—useful when you’re unsure whether your prep and compatibility are sufficient. (Follow the test method only if you have the right materials and are comfortable interpreting results.)
Color blending is rarely perfect on entryway floors because the surrounding area is already worn and oxidized by time and foot traffic.
If the floor is repeatedly re-damaged in the same zone near the door, treat it as a moisture-control problem first, not a finish problem.
Verdict: when DIY repair works—and when to stop
DIY repair works best when the damage is mostly cosmetic and the boards are stable. Skip DIY when you have loose/cupped boards, signs of moisture intrusion, or finish failure across multiple planks—those conditions require broader correction and sometimes professional installation-grade techniques.
DIY is usually appropriate for scuffs, small chips, and localized finish wear where the plank surface is intact and the board stays firmly in place. The tradeoff is that sheen and tone blending can be imperfect in high-traffic entries. In other words, you can often make the repair “good,” but matching the aged wear pattern of a busy entry perfectly is challenging.
On the “stop” side, if you suspect ongoing moisture problems, repeated swelling, or structural separation, the safest move is to consult a flooring professional who can evaluate the moisture condition, subfloor stability, and finish system.
If the plank moves when pressed or the entry shows cupping/swelling near the door, prioritize subfloor and moisture assessment before any filling or finishing.
For finish-only scuffs on stable planks, DIY touch-up and thin recoat blending is the most reliable low-risk approach.
Quick checklist for repairing entryway hardwood
– [ ] Identify: finish-only damage vs. deep wood gouge vs. loose/cupped boards
– [ ] Confirm finish compatibility (water-based vs. oil vs. poly, if known)
– [ ] Clean and fully dry the area
– [ ] Lightly sand/scuff only what’s needed for bonding
– [ ] Fill chips/dents; sand flush
– [ ] Feather edges; apply thin finish coats
– [ ] Protect from foot traffic until curing is complete
Sources
– National Wood Flooring Association (NWFA) — guidance on indoor RH targets and wood floor care/maintenance principles (useful for moisture-movement prevention).
– ASTM D3359 (Standard Test Methods for Measuring Adhesion by Tape Test) — standardized method for assessing adhesion issues when prep/compatibility are uncertain.
– ASTM F2170 (Standard Test Method for Determining Relative Humidity in Concrete Using In Situ Probes) — commonly referenced moisture testing framework for flooring-related moisture assessment.
In summary, a successful entryway hardwood repair comes down to correct diagnosis: decide whether you’re fixing finish-only wear or addressing deeper wood damage and movement, then use compatible filler and finishing steps with careful cleaning, controlled scuffing, and thin finish builds. If boards are loose, cupped, or repeatedly re-damaged near the door, stop the “patch-first” approach and address moisture and structural stability before you seal anything.
Frequently Asked Questions
How do you repair scratches and scuffs on hardwood floors in an entryway?
Start by cleaning the entryway hardwood floor with a hardwood-safe cleaner to remove grit that can worsen scuffs. For light surface scratches, use a matching wood floor repair marker or wax stick, then buff with a soft cloth. For deeper scratches, sand lightly with fine-grit sandpaper, apply wood filler if needed, let it cure, and finish by blending with a stain-matching product and protective polyurethane. Because entryways get high traffic, finish with a durable floor finish to help prevent repeat damage.
What’s the best way to fix water damage or cupping in hardwood entryway floors?
Identify the source of moisture first—fix leaks, address humidity, and allow the area to dry before repairing hardwood floors. If the boards are swollen or cupped, you may need to dry the subfloor thoroughly using fans or dehumidifiers; repairs done too soon won’t last. Once dry, sand the high areas carefully, re-level with appropriate filler, and refinish the damaged section using a matching stain and topcoat. For severe cupping, loose boards, or ongoing moisture, consult a flooring professional to prevent subfloor rot and permanent warping.
How can you repair gaps between hardwood planks in a high-traffic entryway?
Seasonal movement is common, but gaps in an entryway hardwood floor can widen from foot traffic, fluctuating humidity, or an aging installation. Measure the gap width and check for movement—small gaps can often be addressed by cleaning, then using a color-matched wood filler or epoxy wood filler worked into the seams. If the boards are loose, you may need to re-secure them by re-nailing or re-fastening before filling, then sand and refinish the area for a uniform look. Maintain steady indoor humidity to help reduce future expansion and contraction.
Why do hardwood floors in entryways get damaged faster, and how do you prevent repeat repairs?
Entryways experience concentrated wear from dirt, moisture tracked in from outside, and repeated impacts from shoes and wheeled items. Preventing entryway hardwood floor damage starts with placing a quality mat and rug (with a non-slip backing) and cleaning regularly to remove abrasive grit. Use felt pads on furniture, avoid wet mopping, and wipe spills immediately to reduce staining and swelling. For long-term protection, periodically recoat high-wear areas with a compatible finish to extend the life of your repairs.
Which repair method is right for loose boards or popping nails in an entryway?
Loose boards in hardwood floors are often caused by failing fasteners or subfloor movement, so cleaning the area and checking board stability is the first step. If you hear squeaks or see boards lifting, you may be able to re-secure with finish nails (for nail-down floors) or appropriate screws, then fill over the holes with wood filler and match the stain. For larger gaps or multi-board movement, you may need to lift and re-seat boards rather than rely on surface patching. After the floor is secure and stable, sand the area and apply a matching topcoat so the repaired entryway hardwood floor blends seamlessly.
📅 Last Updated: October 16, 2026 | Topic: How to repair hardwood floors in a entryway? | Content verified for accuracy and freshness.