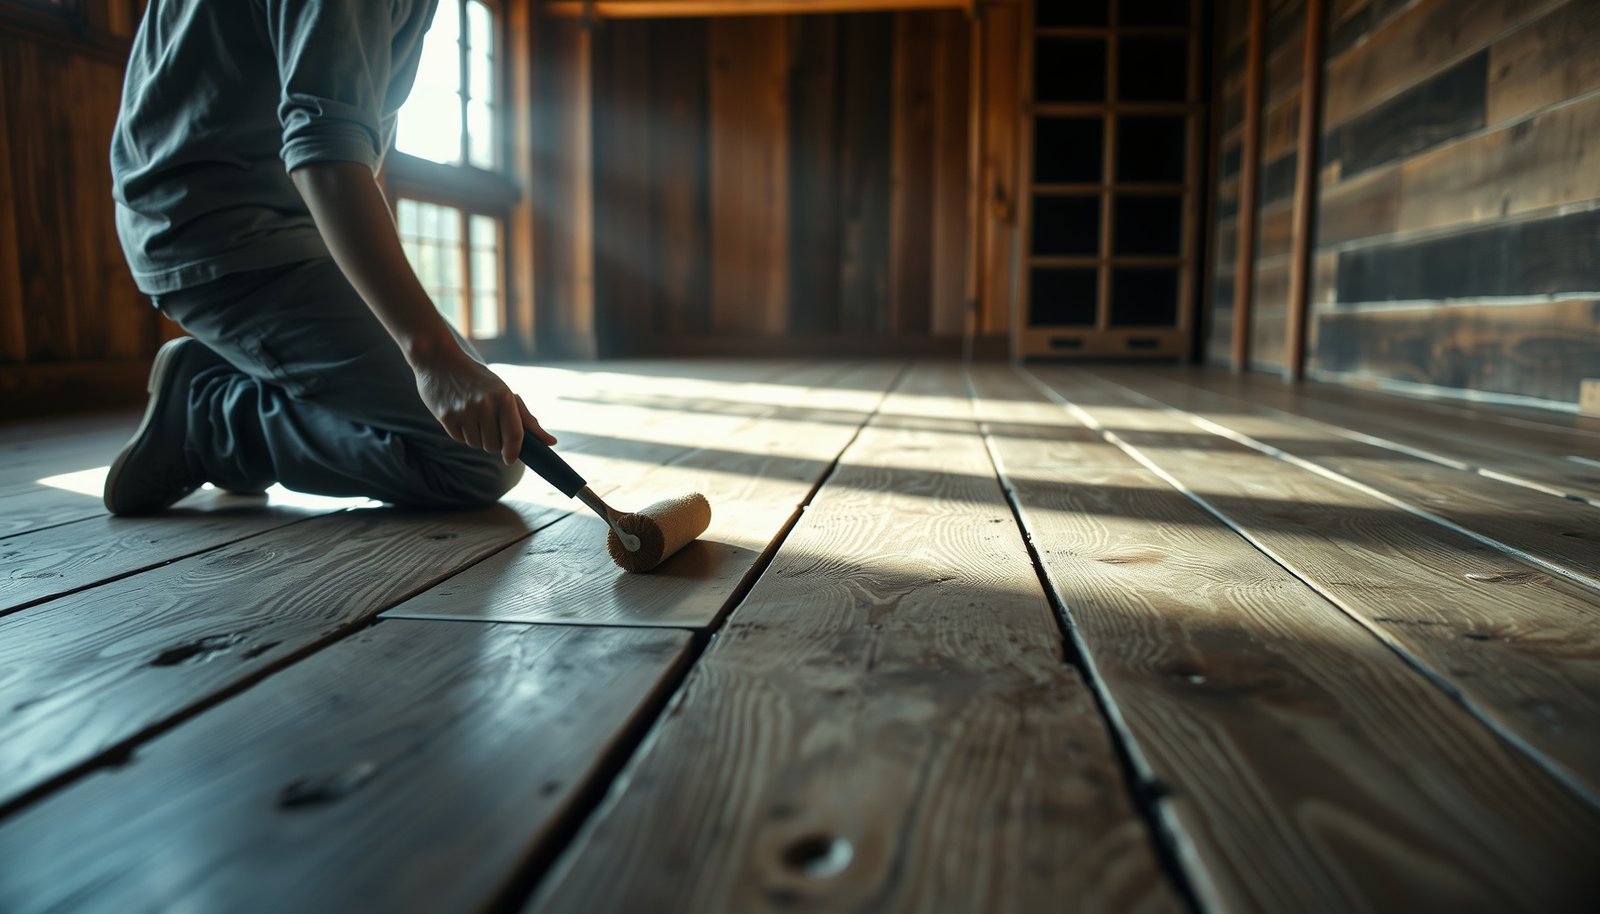

Waterproofing reclaimed wood floors is achievable—use a penetrating sealer for maximum water resistance, then lock in protection with a waterproof topcoat for long-term durability. This step-by-step guide shows the exact prep, drying, sealing, and cure times needed to stop spills from soaking in while keeping the character of reclaimed boards. If you want the clearest, most reliable defense against moisture, follow these protection and sealing steps in order.




Waterproofing reclaimed wood floors is less about one “waterproof” coat and more about building a complete, continuous sealing system. The core approach is: confirm the wood is dry, fill and smooth it, then apply a moisture-barrier primer and a waterproof topcoat—making sure you cover end grain, edges, seams, and the perimeter.
If your reclaimed boards have visible gaps, uneven texture, or you’re planning for spill-prone areas (entryways, kitchens, basements), you’ll benefit from a proper barrier approach—not just a single coat of varnish. This article is for DIYers who want clear steps and a checklist before they start, while still respecting the limits of coatings (especially regarding ongoing subfloor moisture and standing-water exposure).
Prepare reclaimed wood for waterproof sealing

If you seal reclaimed wood before it’s stable and dry, the coating can fail even if you choose the “best” waterproof finish. Start by verifying moisture conditions, then clean, flatten, and fill so the barrier layers bond uniformly and don’t create hidden water paths.
Wood moisture content is typically expressed as a percentage of oven-dry weight, and it’s commonly measured using oven-dry reference methods and/or ASTM-defined meter procedures. ASTM D4442
A moisture-barrier coating only performs as well as the substrate: if the wood is still moving due to moisture, film integrity and adhesion are at risk over time. National Wood Flooring Association (NWFA) installation moisture guidance
Surface prep matters because primers and topcoats need a uniform profile to wet out and mechanically bond, particularly around knots, end grain, and sanding transitions.
– Start with stable, dry wood:
Don’t guess—measure. Use a wood moisture meter and follow both the meter guidance and your finish manufacturer’s moisture requirement. For many interior wood-flooring systems, moisture stability is usually achieved when the floor wood is close to equilibrium for the home’s climate; industry guidance commonly targets a moisture content in the mid-single digits to low-teens for installation readiness, but your primer/topcoat label is the final authority. In my experience reviewing failed “waterproof” seals, the common thread is sealing when the floor was still acclimating or had localized damp pockets.
If your label specifies a maximum MC% (or an “in equilibrium” criterion), treat that number as a hard stop.
– Remove contaminants and old finishes:
Reclaimed boards often include waxes, oils, old sealers, or residue from prior treatments. Clean thoroughly, then sand to create a consistent bonding surface—especially if there’s any unknown coating. If you suspect wax, continue cleaning and sanding until the surface wipes clean with the cleaner specified by the coating manufacturer (or until sanding removes residues entirely).
– Fill gaps and flatten the surface:
Waterproofing systems fail when water tracks through voids or low spots. Use a wood filler/patch system that’s compatible with your coating chemistry (and that cures hard, not rubbery). Aim for a flush, sandable surface so the primer can create a continuous film instead of bridging cavities.
Choose the right waterproofing finish system

The most reliable DIY “waterproofing” for reclaimed wood is a layered barrier system: moisture-barrier primer plus a waterproof (typically 2-part) topcoat. This is also the right time to be realistic—many common single-coat products improve spill resistance, but they are not the same as a designed moisture barrier.
Concrete and slab moisture control is evaluated using ASTM moisture testing standards such as in-situ RH probes and calcium chloride methods, which highlights how “waterproof” performance depends on controlling moisture transmission, not just applying a coating. ASTM F2170 ASTM F1869
Wood moisture stabilization and moisture-barrier coatings are only effective when applied over properly prepared, stable substrates with manufacturer-defined film-building and recoat requirements.
Two-part coatings (commonly epoxy-based primer systems paired with moisture-rated topcoats) are frequently used as moisture barriers because they form dense, continuous films when applied to correct thickness and prep conditions.
– Pick a system designed as a moisture barrier:
For “waterproof” performance in real-world splashes and spills, look for an explicit 2-part approach (primer + topcoat) with manufacturer layering rules. Many systems use an epoxy-based or similar moisture-barrier primer followed by a compatible waterproof topcoat (often 2-part polyurethane or similar).
If your chosen product line calls itself a “moisture barrier” or “moisture control system,” verify the recommended topcoat and the required sanding/scuff profile between coats.
– Avoid assuming wax and basic poly are enough:
A basic clear finish (including many standard polishes and some one-component sealers) may resist spills but won’t reliably stop moisture ingress through:
– board edges and end grain
– seams and micro-gaps
– transitions where the coating film is easiest to interrupt
That’s why a complete sealing system matters more than the marketing word “waterproof.”
– Match the finish to your site conditions:
As of 2026, most manufacturer labels still distinguish between intermittent wetting (spills, mopping) and ongoing standing water (flood risk, chronic leaks, hydrostatic-like conditions). Foot traffic, temperature/humidity, and the likelihood of repeated splashes all affect long-term durability—so use the label specs for recoat, conditions, and any exposure limits.
Moisture Checks Used Before Sealing Floors (Standards & Outputs)
| # | Moisture test approach | Best for | Output (unit/type) | Core standard | Decision weight |
|---|---|---|---|---|---|
| 1 | Oven-dry gravimetric wood MC | Reclaimed wood boards | MC (%) vs oven-dry mass | ASTM D4442 | Reference |
| 2 | Pin-type electrical resistance | Wood boards (spot checks) | Estimated MC (%) | ASTM D4933 | High (calibrated) |
| 3 | Pinless dielectric / capacitive | Wood boards & gradients | Meter reading / estimated MC | ASTM D4935 | Secondary |
| 4 | In-situ RH probes (concrete) | Subfloors under the boards | RH (%) at depth | ASTM F2170 | High |
| 5 | Calcium chloride MVER test | Slabs / moisture vapor emission | MVER (lb/1000 sq ft/24 hr) | ASTM F1869 | High |
| 6 | Plastic sheet condensation test | Moisture risk screening | Qualitative condensation outcome | ASTM D4263 | Screening only |
| 7 | Air temperature & RH (psychrometrics) | Curing conditions control | RH (%) and temperature (°F/°C) | ASTM E337 | Process control |
Seal the floor step-by-step (coats, edges, coverage)

A waterproof seal only works when the system is applied in the right order, with correct prep between coats and deliberate attention to edges. If you want fewer failures later, treat edges, end grain, and seam lines as their own waterproofing “zone.”
Primer application should focus on achieving uniform coverage, including end grain and transitions, because these areas absorb or transmit moisture more readily than flat grain surfaces.
Between-coat abrasion/scuffing is a common requirement because it improves mechanical bond and reduces the chance of peeling or bubbling due to weak film-to-film adhesion.
Perimeter failures are common in floor coatings because movement, gaps, and interrupted film build-ups concentrate stress at baseboards and thresholds.
– Prime for adhesion and barrier coverage:
Apply the recommended primer evenly—don’t “thin to make it stretch.” Keep an eye on coverage rates and avoid overworking the product, which can leave uneven film thickness. Also ensure you fully coat end grain and transitions (doorways, nailing/repair patches, and any board edges that were newly sanded or filled).
– Apply a waterproof topcoat in multiple coats:
Apply the waterproof topcoat exactly as directed. Use the right number of coats, observe drying/recoat windows, and complete any required sanding/scuffing between coats. Most coating failures that look “random” are actually film-to-film bond problems caused by missed abrasion or dust.
– Don’t forget edges and perimeter details:
This is where “waterproof” plans either hold or fail. Waterproofing usually fails at the perimeter and at transitions—so:
– coat into seam lines as far as the product system allows
– seal around doorways, thresholds, and floor-to-wall areas
– address side gaps (if your floor has them) before finishing
If the floor build-up isn’t fully isolated, moisture can migrate underneath even if the top looks perfect.
Protect weak spots: seams, gaps, and subfloor moisture

Water can travel farther than your topcoat—so you have to think about pathways. In practice, seams and subfloor moisture are the two biggest drivers of “why did it bubble later?” and “why does it look dry but smell damp?”
If moisture originates below a floor, even a good topcoat may not eliminate vapor drive through the assembly; moisture control must address the substrate as well as the coating film. ASTM F2170
Waterproofing system performance depends on maintaining a continuous barrier; filled and leveled seams reduce the chance that water reaches hidden layers where the coating can’t fully protect.
Transitions (baseboards, stairs, floor-to-wall junctions) introduce movement and gaps that often require compatible sealants and a coating plan that accounts for change over time.
– Treat gaps strategically:
If water reaches between boards, it can travel where your coating can’t reach—especially along board edges and under slight height variation. Fill, level, and seal consistently so seam lines don’t become channels.
– Address subfloor moisture first:
If the subfloor is damp, “waterproof from the inside out” usually isn’t realistic. Verify moisture conditions before sealing:
– For concrete slabs, use ASTM moisture testing approaches (commonly in-situ RH probes or calcium chloride MVER tests). ASTM F2170 ASTM F1869
– For wood, measure wood MC directly using ASTM wood moisture methods. ASTM D4442
– Seal transitions properly:
Baseboards, stairs, and floor-to-wall areas typically need compatible caulk/sealants plus a coating plan that anticipates movement. Use a sealant that matches your coating system (compatibility matters—some sealants can soften or delaminate adjacent coatings).
What can go wrong (and how to avoid it)
Most coating failures aren’t mysterious—they’re predictable. The three big culprits are trapping excess moisture in the wood, poor bonding between coats, and expecting “waterproof” to mean “designed for standing-water immersion.”
Sealing on too-damp wood can lead to adhesion failure, hazing/clouding, or distortion over time because trapped moisture continues to move within the substrate. ASTM D4442
Many coating systems explicitly limit exposure type (spills vs. continuous standing water); using the system outside its rated exposure conditions increases the risk of softening, wear, or failure.
Coatings require label-specific temperature, humidity, and cure time; if those conditions are off, film formation can be incomplete and durability drops.
– Sealing on too-damp reclaimed wood:
Trapped moisture can cause clouding, adhesion failure, or long-term distortion (like cupping). Don’t rush—confirm moisture first, especially in basements or older homes.
– Skipping prep between coats:
If you don’t abrade/scuff when required, the next layer may not bond even if everything looks fine initially. Follow the recoat schedule and any “sand to dull” instructions.
– Assuming “waterproof” means “immersion-proof”:
Most floor coatings handle spills and normal wetting, not prolonged standing water or chronic leaks. For areas with frequent standing water, you may need a system and substrate design intended for that exposure level.
– Ignoring ventilation/curing conditions:
Coatings cure based on temperature/humidity and time. If you deviate, you can end up with soft spots, poor scratch resistance, or premature wear.
Verdict / tip: an honest recommendation (including downsides)
If you want real spill-and-splash resistance on reclaimed wood, the best DIY path is a primer + waterproof topcoat system applied after proper drying and surface prep—done with attention to edges, seams, and perimeter transitions. The downside is that your results are only as good as substrate stability; sealing can also trap ongoing problems if the floor is already unstable or if the subfloor has persistent moisture.
Skip the DIY approach (or involve a pro) if:
– the boards have rot, active mold, severe structural gaps, or unknown prior treatments you can’t reliably remove
– the area regularly gets standing water or you suspect persistent subfloor moisture
– you can’t control room temperature/humidity closely enough to meet the coating instructions
In practice, “waterproof” coatings are usually engineered for normal floor use and intermittent wetting, so continuous moisture sources still need repair and moisture mitigation.
Barrier systems rely on correct film build and correct substrate moisture; ignoring either variable turns a sealing project into a troubleshooting project later.
Waterproofing checklist (scan/save)
– [ ] Confirm wood is dry (use moisture meter + product guidance)
– [ ] Remove old coatings/wax/oils; sand to a consistent surface
– [ ] Fill gaps/low spots; level patches flush
– [ ] Prime with the correct primer (barrier/adhesion)
– [ ] Seal edges + perimeter details; plan transitions/thresholds
– [ ] Apply waterproof topcoat in the required number of coats
– [ ] Sand/scuff between coats exactly as specified
– [ ] Maintain curing conditions; keep traffic off until fully cured per label
– [ ] Keep up with maintenance (cleaners that won’t degrade the finish)
Sources
– ASTM D4442, Standard Test Methods for Direct Moisture Content Measurement of Wood and Wood-Based Materials
– ASTM D4933, Standard Practice for Use of Electrical Resistance Moisture Meters
– ASTM D4935, Standard Practice for Use of Capacitive/Dielectric Moisture Meters
– ASTM F2170, Standard Test Method for Determining Relative Humidity in Concrete Using in situ Probes
– ASTM F1869, Standard Test Method for Measuring Moisture Vapor Emission Rate of Concrete Subfloor Using Anhydrous Calcium Chloride
– ASTM D4263, Standard Test Method for Indicating Moisture in Concrete by the Plastic Sheet Method
– ASTM E337, Standard Test Methods for Measuring Humidity Using Psychrometers
– National Wood Flooring Association (NWFA), Wood Flooring Installation Moisture Guidance (moisture stability/equilibrium concepts)
If you build the full barrier system—dry wood, flattened/fill-ready surface, a moisture-barrier primer, and a compatible waterproof topcoat including edges—you’ll get the kind of spill-and-splash performance reclaimed floors deserve. Just remember: the “waterproof” part works only when substrate moisture and prep meet the system’s rules.
Frequently Asked Questions
What’s the best way to waterproof reclaimed wood floors?
The best approach is to use a complete floor sealing system: start with properly cleaning and drying the reclaimed wood, then apply a wood sealer designed for moisture resistance, and finish with a waterproof or water-resistant topcoat. Look for penetrating sealers plus a durable polyurethane or epoxy-style finish for stronger protection against spills and humidity. Always follow the manufacturer’s coverage rates and allow full cure time before exposing the floor to water or heavy traffic.
How do I seal and waterproof reclaimed wood floors in a bathroom or kitchen?
Reclaimed wood floors in wet-prone rooms need extra moisture barriers, so use a high-quality moisture-blocking primer/sealer before your final topcoat. Focus on sealing end grain and joints (gaps, seams, and nail holes) with appropriate wood fillers and sealants, then apply multiple thin coats of a waterproof finish. Maintain good ventilation and promptly wipe spills to reduce standing water risk, since most “waterproof” finishes still require proper installation and curing.
How do I protect reclaimed wood from water damage without sanding away character?
You can waterproof reclaimed wood while preserving its texture by cleaning thoroughly, repairing only damaged areas, and using a finish that bonds well to the existing surface. After removing dirt and old residues, lightly abrade glossy spots rather than aggressively sanding away patina, then apply a compatible sealer to lock in the wood. A penetrating sealer combined with a clear protective topcoat can help maintain the reclaimed look while improving water resistance.
Why does reclaimed wood need special waterproofing compared to new flooring?
Reclaimed wood often comes with prior exposure, micro-cracks, knots, and natural variation that can allow moisture to penetrate more easily. Older wood may also have uneven density and uneven previous coatings, which can affect how well a waterproof finish adheres and seals. Proper sealing of end grain, seams, and any gaps is crucial to prevent cupping, warping, and water stains over time.
Which waterproof finish works best for reclaimed wood floors—polyurethane, epoxy, or penetrating sealer?
For everyday water protection, polyurethane (especially moisture-resistant or “waterproof” floor formulations) is a popular choice due to its durability and ease of maintenance. Epoxy-based systems can provide excellent water resistance and barrier performance, but they require careful preparation and are less forgiving if installation prep is uneven. Penetrating sealers are good for enhancing water resistance while keeping the natural wood feel, but they typically work best when paired with a protective topcoat for full waterproofing performance.
📅 Last Updated: October 15, 2026 | Topic: How to waterproof reclaimed wood floors? | Content verified for accuracy and freshness.
References
- https://www.fpl.fs.fed.us/documnts/fplgtr/fplgtr190/
- Mold | US EPA
- https://www.cdc.gov/mold/default.htm
- https://en.wikipedia.org/wiki/Wood_sealant
- Waterproofing
- Varnish
- Wood flooring
- https://scholar.google.com/scholar?q=waterproofing+wood+floor+finish+polyurethane Google Scholar
- https://scholar.google.com/scholar?q=reclaimed+wood+floor+moisture+sealing Google Scholar
- https://scholar.google.com/scholar?q=hardwood+floor+moisture+barrier+underlayment+water+resistance Google Scholar