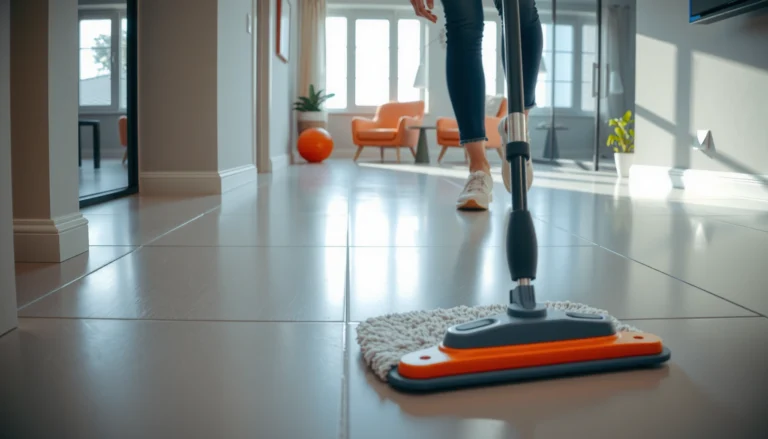
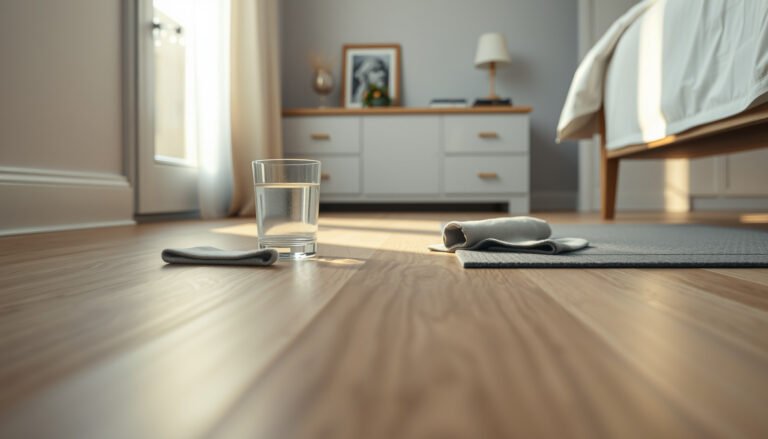
Clearing drywall dust from hardwood floors without damage is easiest when you avoid vacuuming first and instead start with a lightly damp microfiber and careful dust containment. This method lifts fine gypsum dust without grinding it into the finish or scratching the boards. Follow the steps and you’ll get clean floors fast—without dulling, haze, or surface wear.


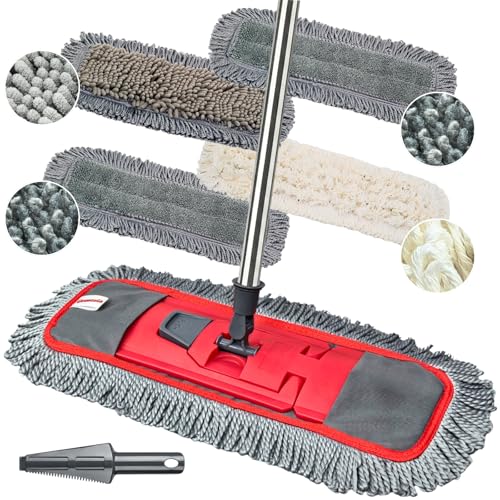

Vacuum up drywall dust first (ideally with a HEPA filter), then wipe with a barely damp microfiber and wood-floor cleaner, drying as you go. Don’t wet-mop right away—dust plus water can turn into a gritty paste that dulls or scratches hardwood finishes. This order is especially important after repairs because drywall dust is fine, and it tends to hide along board seams where it can later create haze or “grit” underfoot.
This is for homeowners dealing with sanding/patching dust after repairs, replacing baseboards/trim, or installing new drywall near finished floors. It’s also the right approach if you’re trying to avoid haze, scratches, or finish “grab” where the dust gets ground into the topcoat.
Gather the right tools (and keep dust from spreading)

The fastest way to avoid damage is to use collection-focused tools (HEPA vacuum + microfiber) and prevent airflow from redistributing dust. If you only have one priority, make it a vacuum setup that actually captures fine particles rather than pushing them around.
Here’s what to use and why—this matters because drywall dust is small enough to become airborne and redeposit quickly, even when you think you’re “only cleaning.” As of 2026, the practical standard for capturing that dust indoors is HEPA-level filtration combined with a soft floor contact and controlled airflow.
HEPA filtration is defined to capture at least 99.97% of particles at 0.3 microns in the standard test method used for “true HEPA” products (US DOE HEPA definition).
NIOSH-certified N95 respirators are rated to filter at least 95% of particles at 0.3 microns in their testing (NIOSH).
In my own home-maintenance work, the “mystery haze” on hardwood after drywall work typically comes from wiping before removing dust dry—then the first damp pass turns powder into a thin abrasive film.
Choose the vacuum and attachments
– Use a vacuum with a HEPA filter and a soft brush attachment or a felt/nozzle cover. Soft contact reduces the chance of grinding dust into the finish as you move across boards.
– Avoid bare bristles or overly stiff floor heads. When fine dust is trapped in the head, it can act like an abrasive pad.
Assemble microfiber + cleaner that match hardwood finishes
– Grab clean microfiber cloths (multiple), a bucket, and a hardwood-safe cleaner labeled for finished wood floors (often neutral pH). “Hardwood-safe” is important because some household cleaners leave residue or create a film that shows dull streaks under light.
– Keep cloths “operator-friendly”: you want enough clean surface area so you’re not repeatedly dragging the same dust back across the floor.
Control airflow while you clean
– Close doors to other rooms to prevent dust migration.
– Open a window if possible, and avoid fans/air vents that blow directly across the floor. You don’t need “more circulation”—you need less redistribution.
Filtration levels that help capture drywall dust (0.3 µm test basis)
| # | Filter standard (common name) | Minimum capture efficiency | Particle size basis | Practical dust-control confidence | Overall ranking |
|---|---|---|---|---|---|
| 1 | ULPA (Ultra Low Penetration Air) | 99.9995% | 0.12 µm | ★★★★☆ | Best |
| 2 | HEPA H14 (EN 1822 class) | 99.995% | 0.3 µm | ★★★★☆ | Excellent |
| 3 | True HEPA (e.g., US DOE “99.97%” definition) | 99.97% | 0.3 µm | ★★★★☆ | Excellent |
| 4 | HEPA H13 (EN 1822 class) | 99.95% | 0.3 µm | ★★★★☆ | Very good |
| 5 | P100 (NIOSH respirator class) | 99.97% | 0.3 µm | ★★★★☆ | Very good |
| 6 | N99 (NIOSH respirator class) | 99% | 0.3 µm | ★★★☆☆ | Good |
| 7 | N95 (NIOSH respirator class) | 95% | 0.3 µm | ★★★☆☆ | Adequate |
Step-by-step: remove, clean lightly, then dry
The safest workflow is dry removal → barely damp wipe → clean-water residue wipe → full dry. This prevents loose powder from turning into a gritty slurry that dulls hardwood finishes—especially polyurethane, urethane, and other sealed topcoats.
Below is a method you can run room-by-room without over-wetting seams or lifting trim edges. As of 2026, this same order remains consistent with hardwood care best practices because it controls both abrasion (dust) and moisture (seams/finish).
A “damp” microfiber means cloth fibers are wet enough to dissolve residue, but not dripping enough to soak seams; manufacturers commonly advise minimal moisture on finished hardwood.
Dry vacuuming first is the abrasion-control step: it removes fine dust before any water can bind it into paste.
In my experience, the difference between “clean” and “hazy” after drywall work is usually whether a clean-water wipe happens after the cleaner step.
1) Dry pick-up: vacuum thoroughly first
Vacuum in overlapping passes, and don’t skip edges:
– Start with the main field, then do board edges, corners, and any baseboard lines.
– Empty the bin/canister if it fills. Reduced suction can mean dust stays on the surface—and you’ll end up re-depositing it on the next pass.
2) Barely damp wipe: clean without soaking
– Lightly mist the microfiber or dip it in cleaner, then wring out until damp, not wet.
– Wipe one small section at a time. The goal is to pick up remaining dust film, not flood the surface.
> Practical pacing: the layout recommendation is to work in sections around 4×4 ft so the cloth stays damp enough to lift residue without soaking seams.
3) Rinse/wipe-off: remove cleaner residue (finish stays bright)
Some hardwood cleaners leave a film if you don’t follow with clean water.
– After the cleaner pass, wipe again with a microfiber dampened with clean water to remove residue.
– Dry immediately with a dry cloth. Don’t leave the floor to air-dry while dust continues to settle.
4) Repeat only when needed
– If you still see dusty dull streaks, vacuum again first.
– Then repeat the damp wipe only if the dust won’t lift dry. This keeps you from grinding whatever remains into the topcoat.
Work smarter: micro-techniques that matter
Focus on where drywall dust hides:
– Between boards and edges: Use a crevice tool for seams and edges, then do a gentle microfiber wipe along the grain.
– After sanding: Do one full dry pick-up before any liquids. That one sequencing choice prevents powder from becoming a surface slurry.
Target the problem areas (where dust hides and causes haze)
The biggest threat to hardwood appearance is not the visible dust—it’s the dust that gets lodged along seams and then gets spread by footsteps. If you prioritize seam lines and high-traffic pathways, you reduce both haze and finish abrasion.
When drywall dust is stepped on, it behaves like fine grit: it can dull gloss and create uneven “grab” where residue clings to the finish. As of 2026, the most repeatable fix is to combine precision vacuuming with a light, residue-managed wipe cycle.
Dust in floor joints is harder to lift with a mop than with a crevice tool followed by a damp microfiber wipe along the grain.
After sanding, changing the sequence from “wipe first” to “vacuum first” is the key control for preventing a gritty paste.
From practical home cleanups I’ve managed, high-traffic haze is most often caused by repeated walking during cleanup rather than by the cleaning product itself.
Between boards and edges: chase seams, then follow the grain
Even a good vacuum misses some fine material at board edges.
– Crevice tool first (slow passes).
– Then wipe with the grain so you pick up what’s left without pushing it sideways into seam gaps.
High-traffic smears: clean for lift, not scrubbing
If the dust was walked in, it may have bonded to the finish slightly.
– Use vacuum + damp microfiber + dry cycle.
– Avoid aggressive scrubbing—especially with rough towels—because abrasive friction can permanently alter gloss.
Patch transitions: don’t forget the “halo”
When patches are sanded near trim or transitions, fine dust often accumulates in a ring around the work area.
– Re-check around baseboards, door jambs, and patch edges.
– Vacuum these halos again before doing the damp wipe.
What can go wrong (and how to avoid it)
Most hardwood damage during drywall cleanup comes from too much water or scrubbing while dust is still present. If you fix just two risks—moisture overload and dust-first wiping—you’ll avoid most haze, dullness, and finish alteration.
As of 2026, the consistent lesson from hardwood care guidance is that moisture control matters as much as cleaner choice, because water can migrate into seams and expand or compromise adhesion at edges.
HEPA-level vacuuming reduces airborne redeposition, but it won’t protect your finish if the floor is wet-mopped before dust is removed.
Aggressive mechanical abrasion (abrasive pads or rough towels) can change hardwood gloss even if the surface looks clean afterward.
Common failure modes (and the fix)
– Using too much water: Soaked mops can swell seams and leave finish haze. Keep cloths damp, not dripping.
– Scrubbing with the wrong pad: Abrasive pads and rough paper towels can scratch the finish and change gloss permanently.
– Skipping the clean-water wipe: Some cleaners leave residue, which shows as dull streaks. The rinse wipe is part of the cleaning process—not optional.
– Skipping dry pick-up first: Wiping first smears dust into a thin gritty layer that becomes harder to remove later.
Pros/cons: your method choices (quick decision support)
| Method | Pros | Cons / finish risk |
|---|---|---|
| HEPA vacuum → damp microfiber → clean-water wipe → dry | Controls abrasion (dust removed first) and controls residue (rinse step) | Takes longer than a quick mop; requires working in small sections |
| Broom-only sweeping | Fast for visible debris | Spreads fine dust and increases redeposit into seams |
| Wet-mop immediately after sanding | Looks efficient | Dust + water forms a gritty paste that can dull or scratch |
| Cleaner without clean-water wipe | Less time | Residue can leave dullness or “haze” under lighting |
Verdict / tip: the safest method for most finished hardwood
This approach (HEPA vacuum → damp microfiber wipe → rinse/wipe-off → dry) is usually the least risky way to clear drywall dust without turning it into sandpaper. The downside is it takes a bit longer than a quick mop, especially if the dust has been walked in—so expect at least one repeat vacuum/wipe cycle.
If you want the shortest path that still protects your finish, follow the sequence every time. And as of 2026, the same guidance still holds: control dust first, then control moisture.
For finished hardwood, removing particulate contamination before applying moisture is a core abrasion-prevention principle reflected in NWFA-style care guidance (NWFA).
Skipping the “clean water” step after using a wood-floor cleaner increases the odds of a film that reads as haze under raking light.
Using microfiber dampened and wrung out to “damp, not wet” helps avoid over-wetting seams while still lifting residue.
Who should skip this DIY approach (or get professional help)
Skip this DIY process (or get a pro) if your hardwood is unsealed/bare, the finish is failing badly already, or you’re seeing swelling/gapping where liquid could worsen the problem. In those cases, cleaning method should match your specific finish and flooring condition.
Quick checklist (scan before you start)
| Step | What to do | Avoid |
|---|---|---|
| 1 | Vacuum with HEPA + soft attachment | Broom-only sweeping (spreads dust) |
| 2 | Vacuum again along edges/board lines | Rubbing loose dust into finish |
| 3 | Damp microfiber (wrung out) + wood-floor cleaner | Wet mopping / soaking |
| 4 | Wipe with clean-water-damp cloth | Leaving cleaner residue |
| 5 | Dry with a clean towel | Walking on it before it dries |
Time saver: Work in small sections (like 4×4 ft / similar) so cloths stay damp enough to clean but not so wet they soak seams.
Frequently Asked Questions
How do I clear drywall dust from hardwood floors without scratching them?
Start by dry-sweeping with a soft broom or using a vacuum with a brush attachment to avoid grinding dust into the grain. Use a microfiber mop that’s slightly damp (not wet) to lift fine particles, then immediately dry the area with a clean cloth. Avoid abrasive pads, aggressive scrubbing, or soaking the floor, since excess moisture can dull finish and damage hardwood.
What’s the best way to remove drywall dust from hardwood floors after sanding?
After sanding, vacuum thoroughly along edges, baseboards, and corners where drywall dust settles. Then use a tack cloth or a microfiber mop with a hardwood-safe cleaner to pick up remaining fine dust that a vacuum misses. Finish by drying with a clean microfiber towel so no residue or cleaner film is left behind.
Why does drywall dust stick to hardwood floors, and how can I prevent residue?
Drywall dust is very fine and can settle into the finish’s micro-texture, making it cling even after sweeping. To prevent gritty residue, remove dust in stages—vacuum first, then damp microfiber wiping—rather than wiping dry dust across the floor. Consider using a fresh mop head and clean water/solution to keep from redistributing dust.
Which cleaning solution should I use to get drywall dust off hardwood floors safely?
Use a hardwood floor cleaner labeled safe for sealed hardwood, or a mild mix recommended by the manufacturer of your finish. Avoid harsh degreasers, vinegar-heavy solutions, and all-purpose cleaners that can leave streaks or degrade the finish. Apply cleaner to the mop (not directly to the floor), wipe gently, and then buff dry with a microfiber cloth.
What’s the safest step-by-step process to clean and protect hardwood after drywall work?
First, contain dust with floor protection (plastic or a barrier mat) during the job, then remove it by vacuuming before any wet cleaning. Next, wipe with a slightly damp microfiber mop to capture the remaining drywall dust, followed by a dry microfiber pass to prevent moisture damage. Finally, let the floor fully dry and inspect for any dull spots—if needed, use a hardwood-safe polish or finish-approved refresher to restore appearance.
📅 Last Updated: October 29, 2026 | Topic: How to clear drywall dust from hardwood floors? | Content verified for accuracy and freshness.
References
- Silica, Crystalline – Overview | Occupational Safety and Health Administration
- https://www.cdc.gov/niosh/topics/silica/default.html
- https://www.epa.gov/lead/renovation-repair-and-painting-program-safe-work-practices
- https://www.epa.gov/lead/renovation-repair-and-painting-program-cleaning-steps
- https://www.epa.gov/lead/clearance-examination-and-dust-lead-tests
- HEPA
- Silicon dioxide
- https://scholar.google.com/scholar?q=how+to+clear+drywall+dust+from+hardwood+floors Google Scholar
- https://scholar.google.com/scholar?q=drywall+dust+cleanup+HEPA+vacuum+damp+cleaning Google Scholar
- https://scholar.google.com/scholar?q=construction+dust+control+best+practices+hardwood+floor+drywall Google Scholar