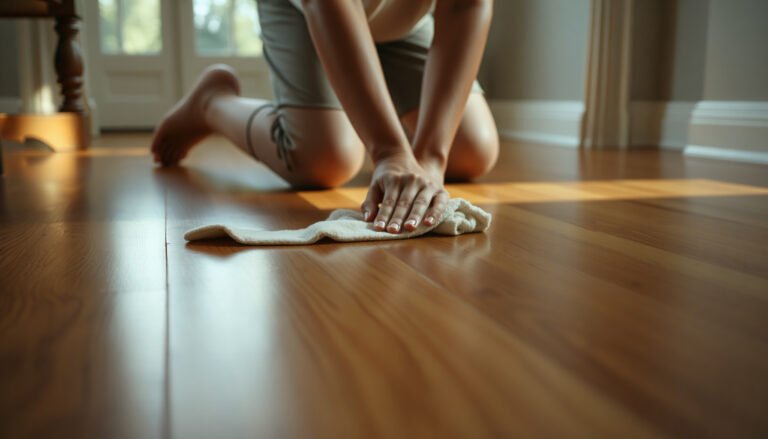
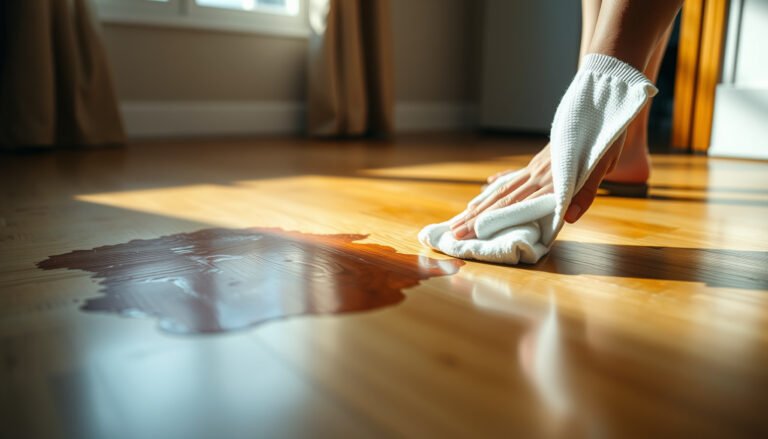
Dried construction dust can be a nightmare on hardwood floors, but the right method makes it come out clean without scratching the finish. This guide delivers a clear, step-by-step winner for removing compacted dust—starting with proper dry pickup and moving to a controlled, residue-free wipe. Get your floors back to a smooth, streak-free look using the safest approach for real hardwood.


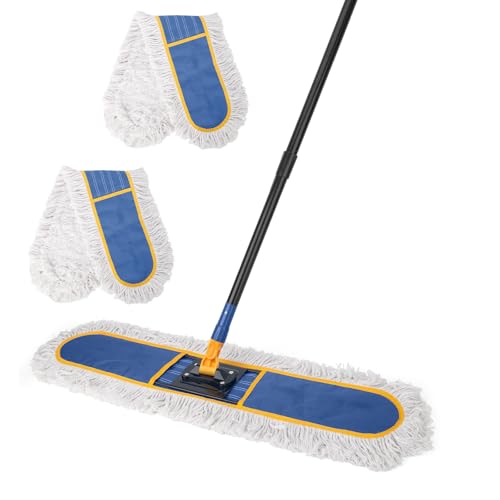
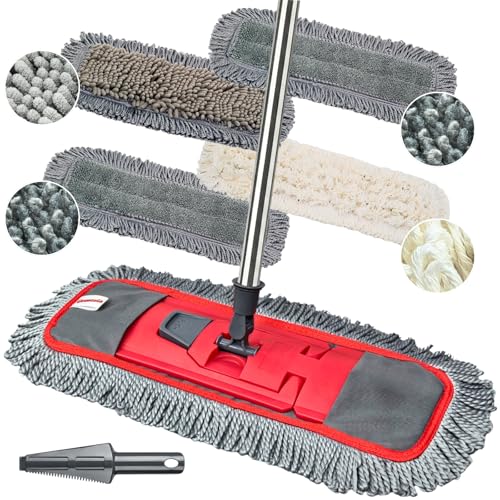
Remove dried construction dust from hardwood floors by vacuuming and dry-wiping first, then mopping with minimal moisture using a pH-neutral, hardwood-safe cleaner—finish by buffing dry to prevent haze and moisture damage. This order matters because construction dust from drywall, sanding, and renovation often behaves like sand: if you add water too early, fine grit can become a scratch-writing medium across the finish. Then, with a lightly damp microfiber pass (not soaking), you lift residue without driving moisture into seams.
If the dust came from drywall/sanding/renovation, it’s usually a mix of tiny particles that acts like sand on floors. This is especially important for unfinished, oiled, or satin/sheen-sensitive finishes.
This guidance is for homeowners, property managers, and facilities teams cleaning after remodels in 2025–2026, especially when the area has heavy airborne dust and the floor finish is polyurethane, prefinished engineered wood, oil/wax, or unknown.
Assess the dust and your hardwood finish first

The fastest “right first time” approach is to identify whether you’re dealing with loose dust versus hardened residue, and to confirm what type of hardwood finish is on the floor. This reduces the risk of scratching from grit, swelling from excess water, or dulling from incorrect chemistry—issues that are common after renovations.
Dry construction dust is often a heterogeneous mix (fine mineral particles, drywall/gypsum byproducts, and wood-surface debris), so treating it as “just dirt” can lead to scratching when mopped.
Hardwood finishes differ significantly in how they tolerate pH, solvents, and moisture exposure, so finish identification is the safety step—not an afterthought.
Identify the residue type (dust vs. caked contamination)
– Identify what you’re cleaning: mostly fine dust vs. caked residue (mud, thinset, paint overspray, etc.).
– Mostly-dust areas lift with dry methods and minimal liquid.
– Caked residue behaves more like construction material film; it typically requires softening for a short time and then careful removal—often with re-vacuuming between attempts.
In my experience, the most expensive-looking “mistakes” on hardwood happen when people start with a wet mop and only realize later they’ve turned leftover grit into an abrasive paste.
Check the finish so you know what to avoid
– Check your floor finish (polyurethane/water-based vs. oil/wax vs. unknown) so you know what cleaners to avoid.
– If you’re dealing with polyurethane (water-based or oil-based), you still want minimal moisture and finish-compatible cleaners.
– If you’re dealing with oil/wax, you must be more cautious about stripping, over-wetting, and residues that affect sheen—especially on satin or sheen-sensitive coatings.
Finish-identification method (safe and simple): look for an installation/maintenance tag, check the flooring brand guidance you saved at install, or test in a hidden area as described below.
Do a spot test if the finish is unknown
– If you’re unsure, do a spot test in a hidden area with your planned cleaner and microfiber method.
A spot test should answer three questions: (1) does the cleaner haze, (2) does it soften or smear residue, and (3) does it change sheen or color after drying. If any answer is “yes,” stop and switch approach.
Remove dried construction dust dry (before any mopping)
The safest sequence for dried construction dust is to remove it completely using HEPA vacuuming and dry microfiber wipes before you introduce any water. If you add moisture early, you risk turning fine grit into a scratch pattern that shows up days later as dull trails or micro-marring.
HEPA filtration is designed to capture extremely fine particles; the commonly cited benchmark is 99.97% capture efficiency for particles around 0.3 micrometers when properly installed and used.
Sweeping can aerosolize and redistribute construction dust, increasing the chance that grit gets pressed into a floor finish during mopping.
This is where most of the “scratch prevention” comes from: you’re removing the abrasive material first, not compensating for it afterward.
Use the right vacuum attachment
– Use a HEPA-filter vacuum with a soft/no-brush or bare-floor attachment to pull out the abrasive particles.
– Go with suction plus a gentle path. Avoid beater bars that can grind dust along seams and edges.
Dry-wipe what the vacuum misses
– Wipe the surface with a dry microfiber cloth (or electrostatic duster) to catch what the vacuum misses.
– Work in consistent directions and replace cloths when they darken with dust. Used cloths can spread grit back onto the floor.
Avoid broom-sweeping
– Avoid sweeping with a broom—loose dust often turns into scratchy grit.
Why this matters (numbers that explain the “sand” effect):
According to U.S. Department of Energy (HEPA filtration guidance), HEPA filters capture at least 99.97% of particles at about 0.3 micrometers. And construction silica exposure controls are regulated because fine particles can enter deep lung pathways—e.g., OSHA sets an action level of 25 µg/m³ and a PEL of 50 µg/m³ (8-hour TWA) for respirable crystalline silica in workplaces OSHA (29 CFR 1926.1153, silica standards summary). Those same “small-particle behavior” principles are why floors cleaned with the wrong method can end up with long-term surface damage.
Particle & Dust Thresholds That Affect Hardwood Floor Cleaning Decisions (2026)
| # | Parameter | Key Value | Applies to | Practical Takeaway |
|---|---|---|---|---|
| 1 | HEPA capture efficiency | 99.97% @ ~0.3 µm | Airborne fine dust | Vacuum first to prevent scratching |
| 2 | ULPA capture efficiency | 99.9995% @ ~0.12 µm | Ultra-fine particulates | Extra-tight filtration for renovation sites |
| 3 | OSHA action level (silica) | 25 µg/m³ (8-hr TWA) | Respirable crystalline silica | Low-particle dust still matters |
| 4 | OSHA PEL (silica) | 50 µg/m³ (8-hr TWA) | Respirable crystalline silica | Use controls for fine grit |
| 5 | OSHA STEL (silica) | 100 µg/m³ (15-min) | Short-term respirable silica | Don’t rush cleanup after dust events |
| 6 | PM10 size definition | ≤10 µm | Coarse-to-fine particles | Fine dust spreads fast on floors |
| 7 | PM2.5 size definition | ≤2.5 µm | Very fine particulates | Dry removal protects finish longevity |
Clean with minimal moisture using a hardwood-safe approach
The best way to clean after you’ve removed the grit is to mop with minimal moisture using a pH-neutral, hardwood-safe cleaner—then buff dry immediately. This keeps the finish from dulling (common with residue film) and limits swelling risk from excess water, especially in 2026’s higher-humidity remodel seasons.
A pH-neutral cleaner is intended to reduce the risk of chemical dulling compared with strongly acidic or alkaline products on wood finishes.
Buffing dry right after a lightly damp pass helps prevent haze caused by cleaner residue and leftover micro-dust.
Lightly dampen, don’t soak
– Lightly dampen a microfiber mop/cloth with water + a hardwood-safe, pH-neutral cleaner (don’t soak the floor).
– Mop in small sections, then immediately buff dry with a clean dry microfiber towel.
– Change rinse water/cloths often—dirty water just redeposits dust and haze.
Practical technique: you want a “damp not wet” cloth. If water pools along baseboards, you’re using too much liquid—pause and wring the mop more thoroughly.
Use the right motion and pacing
– Use gentle, straight passes rather than aggressive scrubbing, especially on satin/sheen-sensitive floors.
– Keep a consistent workflow: damp wipe → immediate dry buff → move to the next area.
If you see that the cloth is picking up more gray than expected, stop and re-vacuum that zone. This prevents grit from being “worked” into the surface while you’re trying to clean.
Tackle stubborn leftover residue without damaging the finish
For stubborn spots, re-vacuum first and increase contact time only slightly, because pushing residue around can create a larger visible film. The goal is to soften enough to lift it—without turning the finish into a damp, overworked substrate.
When residue is thicker than dust (e.g., drywall mud or cement film), a short softening step followed by gentle microfiber removal reduces the temptation to grind with abrasive pads.
For unknown finishes, aggressive chemicals and prolonged wetting increase the odds of permanent sheen change and edge lifting.
Start with vacuuming and a fresh microfiber pass
– For gritty spots that won’t lift, re-vacuum first, then try a fresh damp microfiber pass (don’t grind with a pad).
Soften construction mud/cement film briefly
– If residue is thicker than dust (construction mud, cement film, drywall mud), remove as much as possible after softening very lightly with a damp cloth—keep water time short.
“Very lightly” means: damp the cloth, wring it so it’s not dripping, and wipe once or twice to see if the residue releases. If it doesn’t, don’t keep soaking—switch to a more compatible approach per the floor finish guidance.
For overspray/adhesive/paint: go least aggressive first
– For anything that looks like overspray/adhesive/paint, use the least aggressive method you can and follow the finish manufacturer’s guidance—don’t jump to solvents unless you confirm compatibility.
If the residue appears like true paint overspray, the safest path is often to confirm finish type and consult the finish manufacturer or a professional restorer—especially for oil/wax and prefinished engineered floors with delicate topcoats.
Quick method comparison (what to do vs. what to avoid)
- HEPA vacuum + dry microfiber first
- Pros: Removes abrasive grit before it can scratch; reduces haze in the next wet step.
- Cons: Takes longer than a “quick mop.”
- Steam cleaning
- Pros: Can loosen some residues on certain hard, non-wood surfaces.
- Cons: Can drive moisture into seams and may harm specific finishes.
- Cleaner with incorrect pH or residue left behind
- Pros: May look effective during wet wiping.
- Cons: Can cause long-term dullness and sticky haze.
What can go wrong (and how to prevent it)
Most cleaning failures come from skipping the dry grit removal step, using too much liquid, or introducing incompatible chemicals. In 2026, the most common after-renovation complaints are micro-scratches (“traffic lanes”) and dull haze that appears after floors fully dry.
– Scratches and dulling from skipping the “dry grit removal” step or using a rough pad/brush.
– Haze and sticky spots from using too much cleaner or leaving residue behind—always buff dry.
– Finish damage from harsh products (bleach, strong acids/alkalis, steam, or soaking water), especially on oil/wax finishes.
Prevent scratches before you try “stronger” products
If the floor looks scratched after cleaning, it’s often not because the residue wasn’t cleaned—it’s because grit was moved and embedded while mopping. The prevention is process, not chemistry: vacuum with HEPA, dry-wipe, then lightly damp clean and immediately buff.
Prevent haze by controlling moisture and cleaner
Haze is commonly a film problem: (1) over-wetting, (2) too much cleaner, or (3) transferring dirty rinse water back onto the floor. Always use fresh microfiber towels (or wring and rinse) frequently.
Verdict: the safest routine (and who should skip DIY)
For most hardwood floors with dried construction dust, the best balance is: HEPA vacuum → dry microfiber wipe → lightly damp, pH-neutral clean → buff dry. The downside is it takes a bit more time than “quick mopping,” and floors with deep construction contamination may still need a professional deep clean/refinish.
Skip this DIY approach if:
– The floor finish is worn through in the affected area (you see bare wood or severe discoloration).
– Residue is known to be hardened cement/paint overspray that you can’t safely identify or soften.
– You can’t confirm what finish/product is on the floor.
Quick checklist to save time
– ☐ Vacuum with HEPA + bare-floor attachment
– ☐ Dry microfiber wipe (no water yet)
– ☐ Lightly damp microfiber with pH-neutral hardwood cleaner
– ☐ Mop small sections; change cloths often
– ☐ Buff dry immediately
– ☐ Re-check for stubborn spots; repeat gently (avoid scrubbing)
FAQ
– Can I use a steam mop to remove dried construction dust? Usually not—steam can drive moisture into seams and may harm certain finishes.
– What if the dust left a dull haze? Re-clean with minimal moisture and buff dry; haze is often residue or film left behind from over-wetting or cleaner buildup.
– Is vinegar safe for cleaning hardwood after renovations? Don’t assume—vinegar’s acidity may not be compatible with all finishes. Use a hardwood-safe, pH-neutral cleaner instead.
– Do I need special tools like a HEPA vacuum? It helps because it removes fine particles that can scratch. If you don’t have one, you’ll need extra careful dry wiping and gentle cleaning.
Sources (primary/official where needed)
– OSHA (29 CFR 1926.1153, respirable crystalline silica—action level, PEL, and STEL)
– U.S. Department of Energy (HEPA filtration performance guidance, including commonly cited capture efficiency)
If you only remember one rule in 2026, make it this: remove the fine grit dry first, then clean with minimal moisture, and buff dry immediately. That workflow is what prevents scratching, dulling, and sticky haze—three outcomes that are far more difficult (and sometimes more expensive) to fix after the fact.
Frequently Asked Questions
What’s the safest way to remove dried construction dust from hardwood floors?
Start by dry-sweeping with a soft-bristle broom or using a HEPA-filter vacuum to avoid grinding grit into the wood finish. If the dust is fine, wipe the area gently with a slightly damp microfiber cloth to lift remaining particles. Avoid soaking the floor or using aggressive scrubbing that can dull or scratch the hardwood finish.
How do you clean dried drywall or concrete dust without scratching hardwood?
First, remove loose debris with a vacuum using a brush attachment (no beater bar) to prevent surface scratching. Then dampen a microfiber mop lightly—water only—so it won’t leave puddles, and clean in the direction of the grain. For stubborn residue, use a hardwood floor cleaner recommended for your finish and apply it to the cloth (not directly to the floor), using minimal pressure.
How do you get rid of white haze or residue left by dried construction dust on hardwood?
White haze is often caused by mineral dust or overspread cleaner, so begin with a careful vacuum and a dry microfiber wipe. Next, use a slightly damp microfiber cloth with clean water to rinse the area, then dry immediately with a second cloth. If haze remains, use a pH-neutral hardwood floor cleaner and follow the product’s directions, repeating with fresh cloths until the residue lifts.
Which cleaning solutions are best for hardwood floors affected by construction dust?
In most cases, a pH-neutral cleaner formulated for hardwood floors is the best choice because it’s designed to work with finished wood without damaging the finish. Avoid harsh degreasers, ammonia, vinegar, and abrasive powders, since they can strip or dull coatings and create streaking. Always test any cleaner in a small, hidden spot first, especially if the floor is prefinished, waxed, or has an unknown finish.
Why should you avoid mopping construction dust immediately on hardwood floors?
Dried construction dust can behave like abrasive grit, and wet mopping can spread it into the finish, causing dulling or micro-scratches. Mopping also risks swelling if moisture penetrates through gaps or worn finish. The safer approach is to vacuum and remove grit first, then use a lightly damp microfiber method with a hardwood floor cleaner only after loose dust is gone.
📅 Last Updated: October 29, 2026 | Topic: How to clean dried construction dust from hardwood floors? | Content verified for accuracy and freshness.
References
- Wood flooring
- Floor cleaning
- Silica, Crystalline – Overview | Occupational Safety and Health Administration
- Silica and Worker Health | Silica | CDC
- Lead Renovation, Repair and Painting Program | US EPA
- https://pubmed.ncbi.nlm.nih.gov/?term=construction+dust+cleaning+HEPA
- HEPA
- https://scholar.google.com/scholar?q=cleaning+dried+construction+dust+hardwood+floors+HEPA+vacuum+wet+mop Google Scholar
- https://scholar.google.com/scholar?q=hardwood+floor+cleaning+construction+dust+avoid+scratching+finish Google Scholar
- https://scholar.google.com/scholar?q=construction+dust+cleaning+HEPA+wet+mopping+lead-safe+work+practices Google Scholar