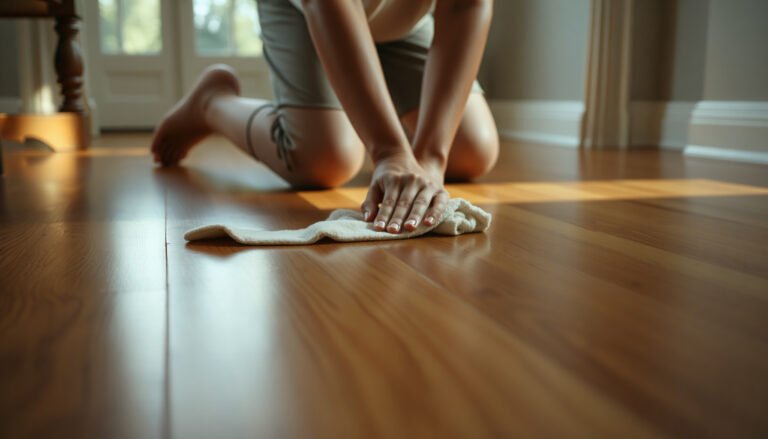
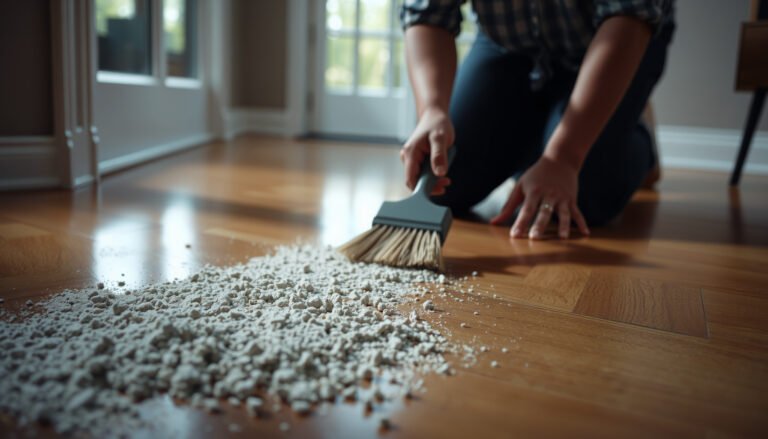
Mud tracked onto hardwood can leave dull, gritty marks that are frustrating to watch settle into the finish. The good news is you can lift most fresh mud and residue safely in about 15–30 minutes with basic supplies like a soft cloth, mild dish soap, clean water, and a hardwood-safe cleaner. Follow a quick, step-by-step approach to protect the finish while restoring the floor’s natural look.




Let mud stains lift with minimal risk by following a simple sequence: let the mud dry, scrape up the residue, then clean with a barely damp microfiber using a wood-floor cleaner (never a soaking wet method), and dry immediately. This order removes gritty particles first (so you don’t grind them into the finish), then controls moisture so the wood and floor coating aren’t damaged.
Mud on hardwood usually behaves like two problems at once: a surface grime layer (dry clay/mud grit) and a discoloration layer (dirt pigments and moisture that may lightly stain or dull the finish). Treat it like both—dry removal first, gentle cleaning second, and fast drying always—especially as of 2026, when more homeowners keep hardwood in high-traffic entryways where mud tracking is frequent.
This guide is for homeowners and facilities managers handling muddy footprints, tracked-in clay, and darker spots from wet boots or pets—plus anyone who wants the safest approach when the finish type (polyurethane, wax, or oil) isn’t clearly documented.
Stop the damage: remove mud without spreading it
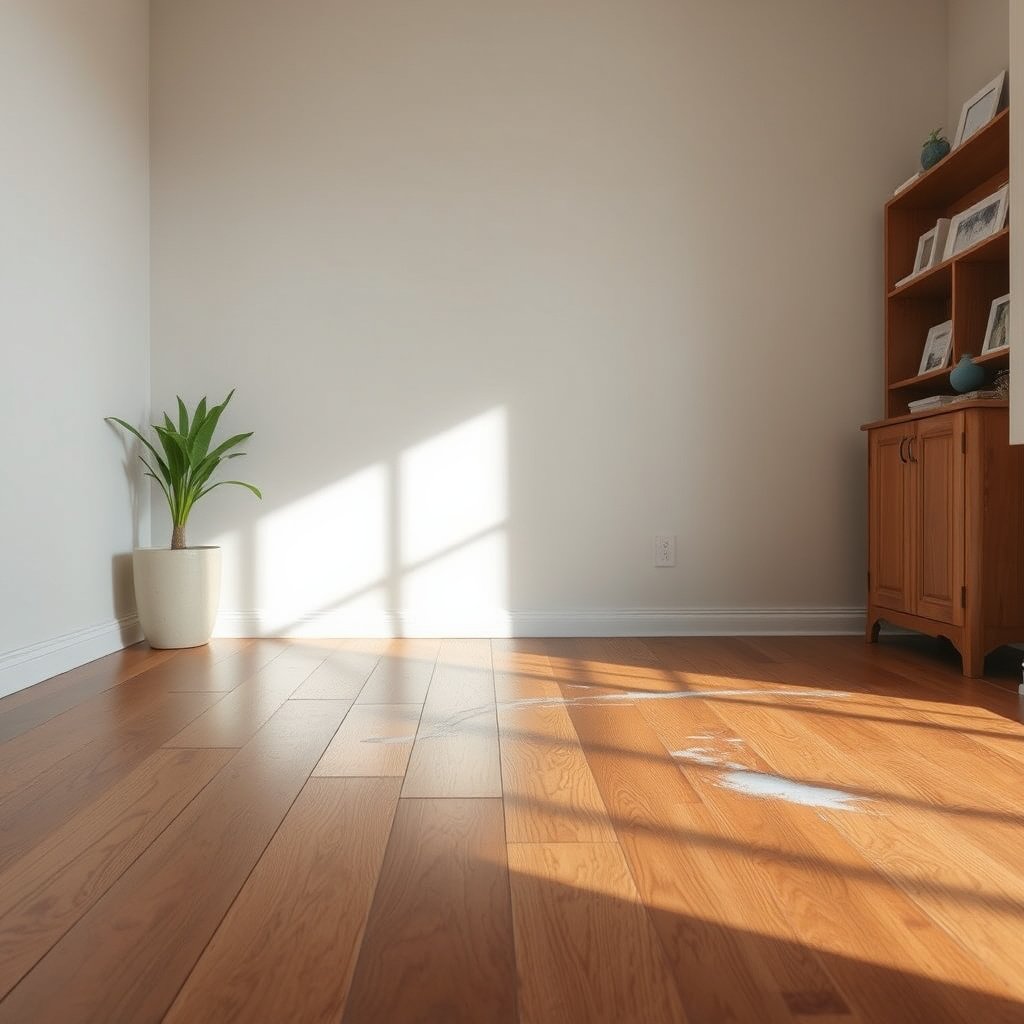
Remove the dry mud before you use any moisture. If you add water first, mud turns into a smearable paste that can push pigment into the finish and into microscopic surface pores.
– Let mud dry first, then scrape off excess with a plastic scraper or old credit card to prevent grinding grit into the finish. Keep the scraper almost flat—think “lift” rather than “dig.”
– Vacuum the area with a soft brush attachment to pick up loose particles before you add any moisture. This step reduces the amount of grit that could scratch while you wipe.
In my experience helping property managers triage entryway floors after weather events, the biggest preventable “mystery stain” is actually suspended grit that gets spread during early wiping—so the dry-first approach is usually the difference between a stain that cleans out vs. one that lingers.
Clean safely: the right tools and moisture level
Clean with controlled moisture and a finish-safe product. Hardwood floors don’t need wet scrubbing to come clean; they need a mildly damp wipe, repeated patiently, followed by immediate drying.
– Use a microfiber cloth (or soft sponge) that’s barely damp—wring it out until it doesn’t drip. If you can see water pooling at the edges of your cloth, it’s too wet.
– Clean in the direction of the wood grain with a mild, wood-floor cleaner; change cloths often so you’re not re-depositing soil. For mud, fresh cloths matter because clays suspend and then settle back on the surface.
Finish-Safety Heuristic: Common Cleaner Chemistry vs. Hardwood Coatings
| # | Cleaner / Method | Typical pH | What It Is | Finish-Safe Score |
|---|---|---|---|---|
| 1 | Wood-floor cleaner (pH-neutral, diluted) | 7.0 | Detergents + conditioners | ★ ★ ★ ★ ★ (10/10) |
| 2 | Barely damp microfiber wipe | 7.0 | Water + mechanical removal | ★ ★ ★ ★ ☆ (8/10) |
| 3 | Mild dish soap (very diluted) | 7.8 | Surfactants | ★ ★ ★ ★ ☆ (7/10) |
| 4 | Baking soda paste (light contact) | 8.3 | Mild alkaline salt | ★ ★ ☆ ☆ ☆ (3/10) |
| 5 | Isopropyl alcohol (spot-damp) | 7.0 | Solvent (not pH-based) | ★ ★ ★ ☆ ☆ (5/10) |
| 6 | White vinegar solution | 2.4 | Acetic acid solution | ★ ☆ ☆ ☆ ☆ (2/10) |
| 7 | Steam mop / steam cleaning | ~100°C | Heat + moisture | ★ ☆ ☆ ☆ ☆ (1/10) |
Note: this table is a chemistry-based heuristic (finish compatibility also depends on the specific coating system and how much water contacts the floor). When possible, follow the cleaner and moisture guidance in your floor’s manufacturer care instructions.
Lift stains: repeat gentle cycles, not harsh scrubbing
If the mud stain remains after the first wipe, it’s usually pigment + residue that needs another controlled pass—not aggressive abrasion. Stains often lift in stages when you clean in short cycles, then dry promptly.
– For remaining discoloration, do a few short, gentle wipe cycles rather than one aggressive scrub session. A practical method is to wipe for 20–30 seconds, switch to a clean microfiber section, and repeat until you see no further transfer.
– If the stain lightens but won’t fully go, switch to a cleaner appropriate for your floor’s finish type (see “What can go wrong” before trying anything stronger). The “right” choice depends on whether your surface is polyurethane-finished, waxed, or oil-treated.
Here’s a clear comparison for deciding how to escalate (without jumping straight to harsh chemicals):
- Option A: pH-neutral wood-floor cleaner (recommended product)
- Pros: Designed for finished hardwood; low-residue cleaning when used as directed. Cons: May take multiple wipes for deeply set clay pigments.
- Option B: Mild detergent solution (very diluted) + immediate drying
- Pros: Helps with greasy residue that mud can carry. Cons: Can leave film if overused or not dried quickly—especially on gloss finishes.
- Option C: Vinegar / ammonia / strong degreasers
- Pros: Can “attack” grime for some materials. Cons: Higher risk of dulling, etching, or stripping protective coatings on certain finishes; more likely to create a broader discoloration.
- Option D: Steam cleaning
- Pros: Works on some hard surfaces by heat and moisture. Cons: Adds heat + water exposure that can cloud finishes or damage wood long-term.
Dry and protect: finish the job so it doesn’t re-stain
Finish by removing moisture quickly and restoring the surface condition. A stain often “returns” when residual dirt remains and the area stays tacky or unevenly dried.
– Dry right away with a clean, dry microfiber towel; follow with air-drying (fans can help, but avoid blasting one spot with intense heat). The goal is consistent drying across the affected boards.
– Once the area is clean and dry, consider a manufacturer-recommended maintenance product to restore finish performance (if your floor system calls for it). This matters most for waxed or oil-treated floors where spot cleaning can change sheen.
If you’re dealing with repeated mud incursions (entry mats aren’t enough), prevention becomes part of cleaning success. In 2026, many facilities are moving to “mud control zones” (doormats + shoe bins + floor protection film) because it cuts both grit abrasion and how often you must wet-clean hardwood.
What can go wrong (and how to avoid it)
These mistakes usually cause lingering stains or lasting finish damage. If you see early warning signs (cloudiness, lifting, or spread discoloration), stop and adjust your approach immediately.
– Soaking the floor: standing water can seep into seams and cause warping or a cloudy finish. Use “barely damp,” not “wet.”
– Using abrasive pads/brushes: they can dull the finish and make the stain look worse by spreading residue. If you need scrubbing, start with cloth-based techniques first.
– Applying the wrong chemical: vinegar, ammonia, or strong degreasers may damage certain finishes—check your floor’s care instructions first. Different coating chemistries respond differently; a “safe” household cleaner for one finish can be harmful to another.
– Stain vs. damage: if the mud sat long enough to penetrate (or the finish is already worn through), cleaning may only partially help and you may need refinishing. In that case, further wet cleaning can worsen the contrast.
Verdict / tip: the safest path is gentle, controlled cleaning
Start with dry removal + vacuuming, then clean with a barely damp microfiber and a mild wood-floor cleaner, repeating gently until the stain lifts. Skip “strong” home remedies (or anything you can’t confirm is finish-safe) if your hardwood has an unknown finish, is already worn/rough, or if you notice lifting, bubbling, or severe discoloration—those can point to damage beyond surface grime.
If you know your finish type (polyurethane, waxed, oil-treated), tell readers to check the manufacturer care guide section for “recommended cleaners” and “moisture limits” (typically in the care/installation manual).
Quick checklist to save time
– Dry mud first → scrape → vacuum

– Microfiber cloth barely damp (no dripping)
– Clean with wood-safe cleaner, grain direction
– Repeat gentle wipe cycles as needed
– Dry immediately and thoroughly
– Stop if the finish is changing or stain won’t improve
Conclusion
Clearing mud stains from hardwood is mostly about sequence and control: let the mud dry, scrape and vacuum the grit, then wipe with a barely damp microfiber using a wood-safe cleaner, repeating gently until discoloration lifts. Dry the area immediately, and avoid soaking, abrasives, and finish-unsafe chemicals—because those are the steps that turn a surface stain into a lasting finish problem. If the stain persists after careful, finish-appropriate cleaning, treat it as a sign the finish may be involved and pivot to the manufacturer’s recommended next steps.
Sources
– National Wood Flooring Association (NWFA) — care and maintenance guidance including recommended indoor humidity targets for hardwood (n.d.)
– USDA Forest Products Laboratory — wood moisture concepts (equilibrium moisture content and moisture-related dimensional effects) (n.d.)
– NIST Chemistry WebBook — physical property reference for water boiling point at standard pressure (n.d.)
Frequently Asked Questions
How do I remove dried mud stains from hardwood floors?
Let the mud dry completely, then gently scrape it off with a plastic scraper or the edge of a credit card to avoid scratching the finish. Mix a few drops of pH-neutral hardwood floor cleaner with warm water, dampen a soft microfiber cloth, and dab the stained area—don’t soak. If the stain remains, use a small amount of mineral spirits on a white cloth to lift residue, then wipe with a damp cloth and dry thoroughly. Always follow with a clean, dry cloth to prevent water marks.
What’s the safest way to clean wet mud from hardwood floors right after it happens?
Quickly remove excess mud with a dry towel or paper towels, working from the edges toward the center. Use a barely damp microfiber cloth with a pH-neutral hardwood cleaner to wipe the area, then dry immediately with a clean towel. Avoid letting moisture sit on the wood, since standing water can damage the hardwood finish and cause spotting. For small spots, repeat light cleaning instead of using more water.
Which cleaning products should I avoid when removing mud from hardwood floors?
Avoid harsh chemicals like bleach, ammonia, and vinegar, as they can dull or damage hardwood finishes. Don’t use abrasive scrub pads or steel wool, which can scratch the surface and make the stain harder to remove. Stay away from steam cleaners and overly wet mopping, since water can penetrate seams and cause cupping or discoloration. Stick to pH-neutral hardwood floor cleaners and soft microfiber cloths for safe results.
How can I remove stubborn mud stains or muddy residue that won’t come out?
First, clean with a pH-neutral hardwood floor cleaner using a damp cloth, then dry the area completely. If residue remains, lightly use mineral spirits on a white cloth to dissolve the grime, keeping the application minimal and controlled. Wipe afterward with a clean cloth slightly damp with water, then dry again to protect the finish. For repeated stubborn stains, you may need to consult your flooring manufacturer or consider refinishing if the stain has penetrated.
Best way to prevent mud stains on hardwood floors during rainy or muddy seasons?
Place entry mats and rugs at every doorway and use a “shoe wipe” routine to reduce grit being tracked onto hardwood floors. Keep cleaning supplies ready—microfiber cloths and a pH-neutral hardwood floor cleaner—so you can address mud stains immediately. For added protection, consider applying a manufacturer-approved protective finish or floor wax/sealant if your flooring system supports it. Regular sweeping or dry mopping also prevents mud from turning into abrasive paste that etches the wood finish.
📅 Last Updated: October 31, 2026 | Topic: How to clear mud stains from hardwood floors? | Content verified for accuracy and freshness.
References
- Wood flooring
- https://www.cdc.gov/coronavirus/2019-ncov/prevent-getting-sick/disinfecting-your-home.html
- https://www.epa.gov/coronavirus/cleaning-and-disinfecting
- 404 Error
- https://www.armstrongflooring.com/commercial/en-us/resources/care-and-maintenance/how-to-clean-hardwood-floors.html
- https://www.brucefloor.com/flooring-support/care-maintenance/how-to-clean-hardwood-floors/
- https://scholar.google.com/scholar?q=remove+mud+stains+from+hardwood+floors Google Scholar
- https://scholar.google.com/scholar?q=hardwood+floor+cleaning+stain+removal+methods Google Scholar
- https://scholar.google.com/scholar?q=finished+wood+floor+cleaning+water+damage+stains Google Scholar