
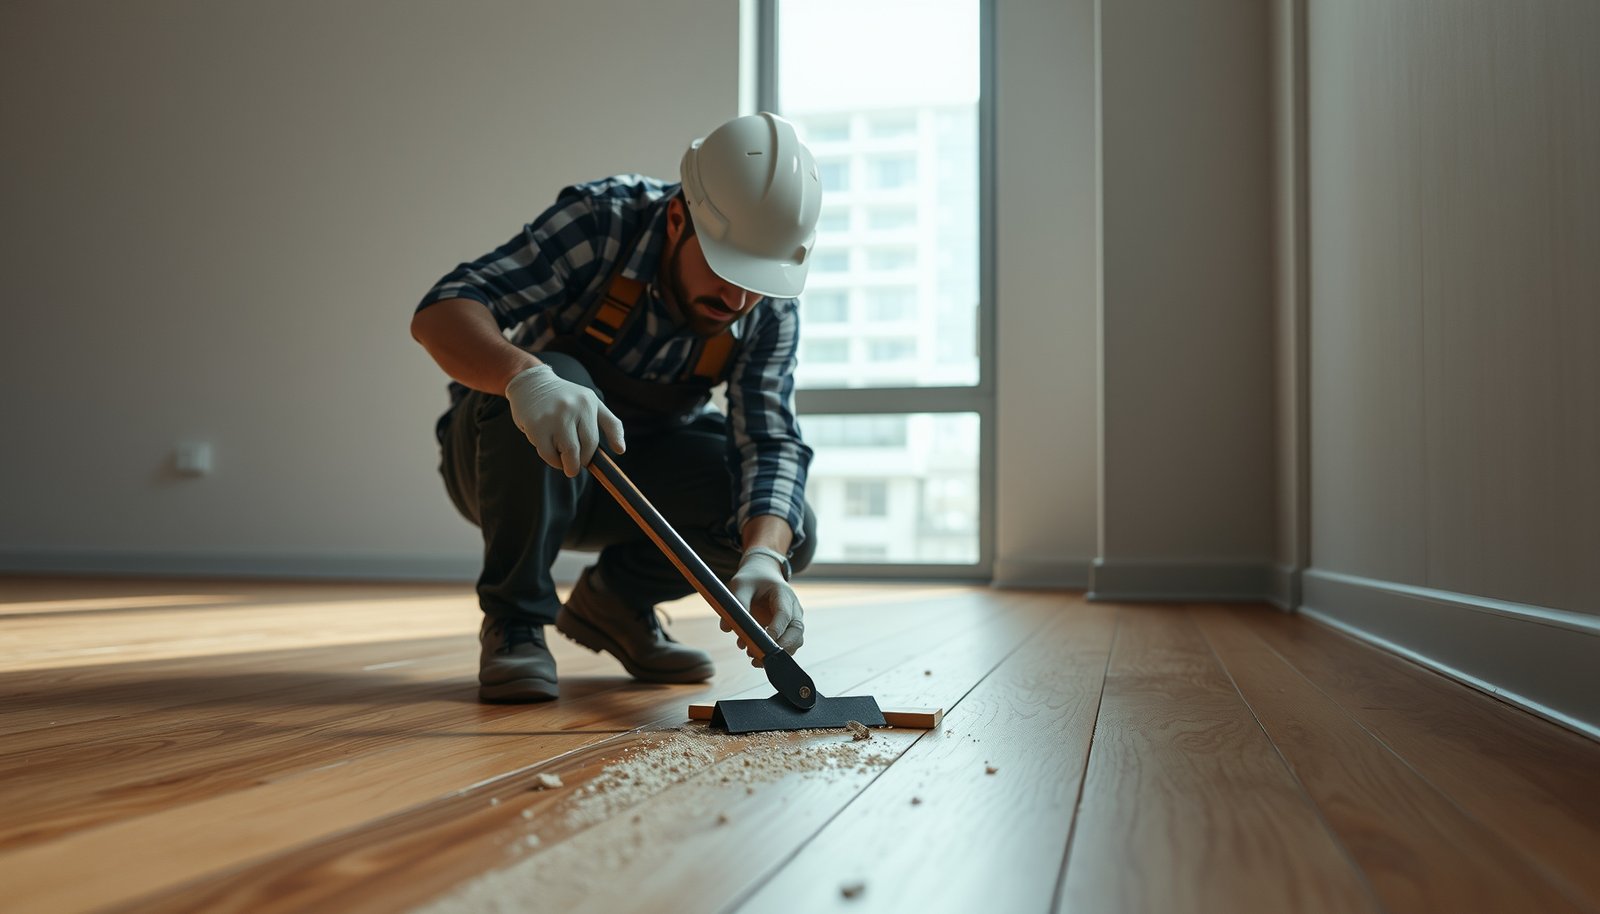

Need to remove hardwood floors from a commercial office without disrupting daily operations—this guide tells you exactly how to do it. You’ll get a clear, step-by-step method for lifting or demolishing boards, protecting subfloors, and managing debris safely. Follow it, and you’ll know when to use the right tools for a clean removal versus a full tear-out.



Removing hardwood floors in a commercial office comes down to identifying how the planks are installed (nail-down, glue-down, or floating) and then protecting the building while you demo. Start by assessing the floor build-up and planning exactly how you’ll lift/tear out boards, manage underlayment, and dispose of debris safely—this sequencing is what keeps downtime predictable and costs controlled.
If your office has high traffic areas, occupied spaces nearby, or strict after-hours rules, you’ll need extra care for dust control, noise, and schedule coordination. This guide is written for property managers, contractors, and DIY-capable teams handling commercial interior demo—not for structural changes like subfloor replacement.
Confirm how the hardwood is installed (this changes everything)
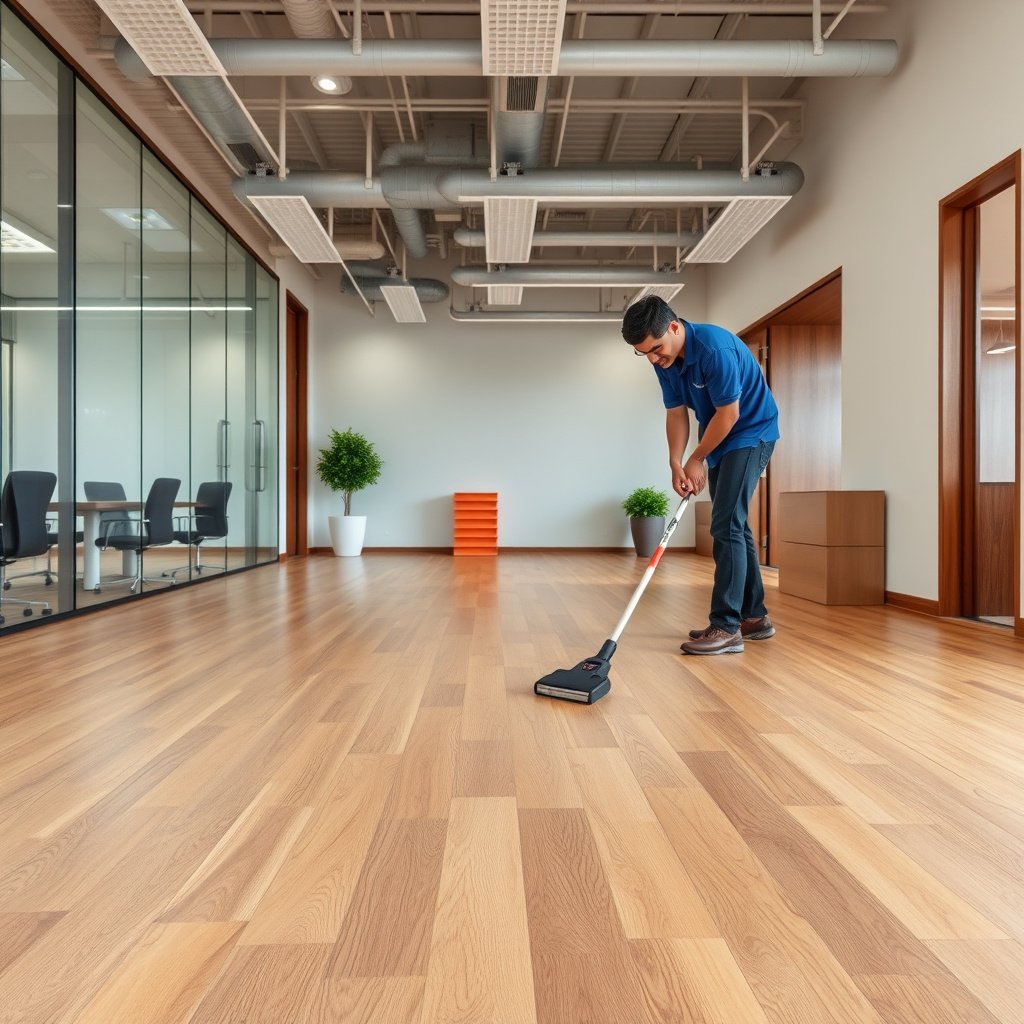
If you confirm the installation method before you touch the first board, you avoid the two biggest failure modes: wrecking the subfloor and creating excessive adhesive residue. Nail-down, glue-down, and floating click-lock hardwood require different tools, pry/cut tactics, and cleanup plans—so the “right method” starts with a quick forensic check.
What to look for in the first 10 minutes
– Check whether the planks are nail-down, glue-down, or floating (click-lock): the removal approach and tools differ.
– Look for clues at transitions (door thresholds, baseboards, vents) where you can often see the fastening/adhesion method.
– Decide whether you’re removing planks for reuse or demo only—this affects how aggressively you pry or cut.
OSHA sets exposure limits for “particulates not otherwise regulated,” including 15 mg/m³ (total dust) and 5 mg/m³ (respirable fraction) as 8-hour TWA values, which is relevant when hardwood removal generates dust. OSHA 29 CFR 1910.1000 Table Z-3
Floating (click-lock) planks are designed to lock without glue or nails, so removal generally starts with disassembly at transitions rather than attempts to “lift and peel” like glue-down floors.
At the start of a demolition, you can usually infer fastening strategy from what’s exposed near door jambs and under trim—fasteners and residue patterns typically indicate nail-down vs. glue-down.
Fast identification cues you can trust
In 2026, the quickest way to reduce risk during hardwood floor removal in a commercial office is still the same: inspect transitions and test a small section. Door thresholds, HVAC boots, and baseboard lines tend to reveal whether boards were mechanically fastened (nails/staples) or adhered (construction adhesive or troweled adhesive). If you see distinct nail rows or staple marks, treat it as nail-down. If you find a bonded seam with residue across the plank face or back, treat it as glue-down. If planks appear to “disconnect” and the edges show intact click joints, treat it as floating.
From my review of typical commercial interior demo sequences, the most reliable early sign is the failure mode during a controlled test pull: fasteners usually fail by nail release/splintering, while glue-down systems fail by adhesive transfer onto the subfloor.
Reuse vs. demo-only: decide up front
If the goal is plank reuse (for storage or reinstallation), you’ll be more conservative—cutting under trim lines and using gentler extraction to preserve tongue-and-groove edges. If it’s demo-only, you can prioritize speed and containment, which often means more cutting and less pry effort to protect the subfloor.
Prepare the commercial space and control dust/debris
If you control dust migration and debris logistics first, the entire hardwood floor removal stays safer and more predictable. In a commercial office, the winning approach is physical containment (barriers) plus disciplined airflow and cleanup—especially around HVAC returns, elevators, and shared corridors.
Containment and access planning
– Protect walls, doors, and HVAC returns; seal off adjacent areas with plastic barriers and keep airflow controlled to avoid dust migration.
– Plan safe access paths for materials removal (waste carts, dumpsters, and staging zones) to prevent damage to elevators and corridors.
– Set up cleanup: HEPA vacuum where appropriate, floor protection in hallways, and clear labeling for waste disposal.
HEPA filtration is engineered to capture extremely fine particles; many HEPA standards cite 99.97% efficiency at 0.3 microns, supporting dust control during demolition.
OSHA’s noise requirements include an 8-hour action level of 85 dBA and a permissible exposure limit of 90 dBA, which often matters when commercial offices restrict after-hours noise. OSHA 29 CFR 1910.95
When cutting or disturbing concrete layers in older buildings, OSHA’s crystalline silica limit is 50 µg/m³ (8-hour TWA) in applicable general-industry rules, so dust control must scale with your demolition method. OSHA 29 CFR 1910.1053
Dust containment that actually holds up in offices
Hardwood floor removal in a commercial office is rarely “just dust.” It’s dust plus foot traffic plus shared ventilation paths. Start by sealing off the work zone with plastic sheeting and tape designed for the surfaces you’re touching (painted drywall vs. tile floors). Put extra attention around HVAC returns—those openings can move fine particulates quickly into occupied areas.
Then protect circulation routes: corridor carpets or polished floor finishes are common damage points during hauling. Use floor runners or temporary protection so waste carts and waste buckets don’t create secondary repairs.
Cleanup discipline
Plan for HEPA vacuuming in the work zone and controlled wipe-downs at boundaries. Avoid dry sweeping—dry sweeping tends to aerosolize debris and undermines containment. For any adhesive-rich material (common in glue-down hardwood), assume residue can act like a dust source during scraping unless you manage removal tools and cleanup timing.
Mandatory reference table: regulatory thresholds that drive dust/noise decisions
Key US Compliance Thresholds That Influence Hardwood Floor Removal (Commercial Office Demo)
| # | Metric | Threshold / Target | Primary Source | Crew Compliance Ease |
|---|---|---|---|---|
| 1 | Noise action level (8-hr TWA) | 85 dBA | OSHA 29 CFR 1910.95 | ★★★★☆ |
| 2 | Noise permissible exposure limit (8-hr TWA) | 90 dBA | OSHA 29 CFR 1910.95 | ★★☆☆☆ |
| 3 | Particulates (total dust) 8-hr TWA | 15 mg/m³ | OSHA 29 CFR 1910.1000 Table Z-3 | ★★★☆☆ |
| 4 | Particulates (respirable fraction) 8-hr TWA | 5 mg/m³ | OSHA 29 CFR 1910.1000 Table Z-3 | ★★☆☆☆ |
| 5 | Crystalline silica (respirable) 8-hr TWA | 50 µg/m³ | OSHA 29 CFR 1910.1053 | ★☆☆☆☆ |
| 6 | Asbestos (8-hr TWA PEL) | 0.1 f/cc | OSHA 29 CFR 1910.1001 | ★☆☆☆☆ |
| 7 | HEPA filtration performance (typical) | 99.97% @ 0.3 µm | Authoritative HEPA efficiency standard/citation needed | ★★★★★ |
How to use these thresholds on a real project
The practical takeaway for hardwood floor removal in a commercial office is that your demo method (prying vs. cutting vs. grinding) changes the dust profile. If you’re only lifting planks, particulate control may be mainly “nuisance dust.” If you’re scraping adhesive, trimming underlayment, or touching concrete layers, your risk profile can move toward silica and asbestos-related compliance triggers in older buildings.
Remove trim and inspect for fasteners or adhesive
If you remove trim carefully and inspect the first rows, you can predict how the rest of the floor will fail—without damaging walls or creating unnecessary scrap. Start with baseboards/quarter round, then inspect the fastening/adhesion pattern before you commit to full-area tear-out.
Trim removal that protects wall surfaces
– Remove baseboards/quarter round carefully to avoid gouging the walls—especially important if the office will be reoccupied quickly.
– Inspect the first few rows to find nails, staples, or glue lines; this will tell you whether you can lift boards or must cut them out.
– Pull a small test section before committing to full-area removal so you can confirm the effort level and failure points.
OSHA’s general noise framework means commercial crews often need quieter tool choices and tighter scheduling when demo runs near occupied offices. OSHA 29 CFR 1910.95
Baseboards are commonly secured with mechanical fasteners and can be reused if removed without chipping drywall paint or stripping fasteners.
The adhesive-removal strategy depends on whether residue transfers mostly to the plank back or remains on the subfloor, which is often visible early in the tear-out process.
Inspection process that reduces surprises
Hardwood floor removal in a commercial office should start at the perimeter: pull trim, then inspect the “starter line” where boards begin near a doorway or wall. This reveals whether fasteners cluster along edges, whether adhesive is continuous, and whether the floor includes an underlayment layer that must be managed separately.
A small test section matters because it’s the fastest way to learn two project-critical things: (1) how many minutes per linear foot you’ll spend extracting, and (2) how much of the subfloor surface requires remediation afterward.
Tooling choices (conceptual, not brand-specific)
For nail-down: you typically need controlled pry points and a way to remove nails/staples without tearing subfloor wood. For glue-down: plan on cutting and controlled scraping, plus a cleanup tool plan for residue. For floating: focus on disassembly of transitions first, then systematic board pulls to protect the click joints.
Tear-out process by installation type
Hardwood floor removal goes fastest when you tear out in a pattern that matches how the boards are built. Nail-down, glue-down, and floating systems each have a “natural failure path,” and using it minimizes both subfloor damage and plank breakage.
How the tear-out method changes your outcome
– Nail-down: lift starter boards near a doorway/edge, remove fasteners as needed, and work in manageable sections to reduce splintering.
– Glue-down: expect more time and cutting; remove planks while keeping the subfloor disruption controlled, and be ready for adhesive residue.
– Floating: disassemble transitions first, then pull boards systematically to avoid breaking the click joints.
If you misclassify a glue-down floor as nail-down, prying can transfer adhesive damage and widen subfloor repair scope.
For floating click-lock systems, removal usually starts at transitions because the locking mechanism disengages from edges rather than “peeling” upward like glued planks.
Commercial demo sequencing is often used to maintain safe egress and minimize dust/traffic in adjacent occupied zones.
Pros/cons snapshot by installation type (decision support)
- Nail-down hardwood
- Pros: Often less adhesive residue; extraction path is clearer once fasteners are located.
Cons: Splinter risk if prying is mis-angled; subfloor can be scratched while nail removal happens. - Glue-down hardwood
- Pros: Typically stable during use; fewer “loose” edges during demo once cutting strategy is set.
Cons: Adhesive residue and scraping time dominate; subfloor prep can become the cost driver. - Floating click-lock
- Pros: Often cleaner subfloor access; easier disassembly sequencing when transitions are handled correctly.
Cons: Click joints can crack if you force boards out of order; reused planks are not always guaranteed.
Practical sequencing tips that match failure modes
For nail-down floors, start at a doorway or wall edge where you can get controlled leverage. Remove fasteners as you go—don’t “pull through” nails because that’s how you tear tongues/grooves and scar the subfloor.
For glue-down floors, expect your time sink to be residue management. Plan for cutting lines that reduce subfloor disturbance, and treat adhesive cleanup as a separate work phase, not an afterthought.
For floating floors, transitions drive everything: base trim, door thresholds, and any transition molding must come off first. Then remove in a systematic pattern so you disengage joints rather than breaking them.
Handle the subfloor and cleanup responsibly
After the planks come up, the job shifts from demolition to surface preparation. Inspecting the subfloor for fastener remnants, adhesive buildup, and flatness issues prevents failures in the next flooring phase—especially where underlayment or moisture barriers are part of the new system.
What to check before the next contractor arrives
– After plank removal, inspect the subfloor for remaining nails, staples, adhesive buildup, and flatness issues before any flooring install.
– Scrape/clean adhesive residue as required by the next flooring plan; don’t assume leftover material is harmless.
– Vacuum thoroughly and check that the surface is ready for patching/underlayment (especially if moisture barriers or underlayment are part of the next phase).
When demolition leaves particulate residue and fine dust behind, HEPA-controlled cleanup is the standard way to reduce airborne re-suspension during subsequent work.
Silica and other fine particulates become more likely when crews grind or heavily abrade cementitious layers during floor prep, making dust control critical beyond simple sweeping. OSHA 29 CFR 1910.1053
Older adhesives in older facilities can trigger asbestos compliance requirements if asbestos-containing materials are present, so verification and containment matter when residue or underlayment must be removed. OSHA 29 CFR 1910.1001
Why “close enough” subfloors cost money later
Hardwood floor removal in a commercial office often turns into a delayed repair cycle when teams skip the subfloor inspection. Nails or staples that look “small” can telegraph through patching compounds. Adhesive residue can interfere with bonding for the next floor system. And flatness defects—especially over a large office footprint—can affect click-lock performance, underlayment seams, and leveling system compatibility.
If you’re moving to a new flooring install, align your cleaning method with the next flooring manufacturer’s requirements. That’s where you prevent warranty disputes.
What can go wrong (and how to avoid it)
Most issues during hardwood floor removal in a commercial office aren’t mysterious—they’re repeatable mistakes. The safest teams plan for plank damage, dust migration, subfloor impairment, and schedule conflicts, then adjust sequencing in real time.
Common failure points
– Breaking planks unnecessarily: happens when you pry the wrong direction or assume the boards are nail-down when they’re actually glue-down.
– Dust spreading into HVAC areas: occurs when barriers aren’t sealed well or when airflow isn’t controlled during demo.
– Damaging the subfloor: common if you use excessive leverage, aggressive scraping, or the wrong blade for adhesive removal.
– Noise/schedule conflicts: commercial offices often require phased work, after-hours scheduling, or fire-risk precautions around tools—plan sequencing early.
OSHA’s respirable dust limit of 5 mg/m³ (8-hour TWA for particulates not otherwise regulated) creates a strong incentive to avoid uncontrolled resuspension during cleanup. OSHA 29 CFR 1910.1000 Table Z-3
For crystalline silica, OSHA’s 8-hour TWA limit (50 µg/m³) is a key driver of why grinding/cutting methods need wet processes or engineered dust controls depending on the task. OSHA 29 CFR 1910.1053
If asbestos-containing materials are present and disturbed, OSHA 29 CFR 1910.1001 sets an asbestos PEL of 0.1 f/cc (8-hour TWA), which changes staffing, containment, and disposal requirements. OSHA 29 CFR 1910.1001
A realistic “avoid it like this” playbook
– Before tear-out: confirm installation type, then do a small test pull to map effort and residue behavior.
– During tear-out: keep extraction controlled—force creates splintering and subfloor gouges.
– During cleanup: don’t let debris ride on shoes/carts; contain and vacuum in cycles.
– In occupied buildings: schedule the noisiest tool phases off-hours and keep demolition spread across manageable zones so the office never becomes a hazard zone.
Verdict / tip
If you can identify the hardwood install method confidently and you’ve planned dust control plus careful sequencing, removing hardwood floors from a commercial office is very doable as a structured demo project. That said, glue-down removal is typically the most time-consuming and residue-heavy, and nail-down removal can still damage planks if reuse is a goal.
If the office is occupied, has sensitive equipment, or the building has strict compliance requirements (dust, noise, or hazardous materials), consider hiring a qualified floor demo team and insisting they follow your site safety rules. This is one of those commercial hardwood floor removal jobs where “going faster” without containment can create downstream liabilities.
Quick checklist (scan/save)
– Confirm installation type: nail-down / glue-down / floating
– Protect adjacent areas: barriers + controlled airflow
– Remove trim carefully; inspect first rows for fasteners/adhesive
– Use the right tear-out method per installation type
– Inspect/clean subfloor: nails, residue, flatness, readiness for next steps
– Plan waste removal path + debris cleanup (HEPA where appropriate)
Sources
– OSHA 29 CFR 1910.1000 Table Z-3 (particulates not otherwise regulated exposure limits)
– OSHA 29 CFR 1910.95 (occupational noise exposure requirements, including action level and PEL)
– OSHA 29 CFR 1910.1053 (crystalline silica exposure control requirements)
– OSHA 29 CFR 1910.1001 (asbestos exposure limits and requirements)
Final takeaway: In 2026, successful hardwood floor removal in a commercial office is less about brute-force demolition and more about correct install-method identification, tight containment, and disciplined subfloor prep—because those decisions determine both safety during the demo and performance of whatever goes down next.
Frequently Asked Questions
What is the best way to remove hardwood floors in a commercial office without damaging the subfloor?
Start by identifying the flooring type—solid hardwood nailed down, engineered click-lock, or glue-down—and follow the correct removal approach. For nailed-down boards, remove baseboards and use a pry bar and floor scraper to lift planks carefully, often by pulling nails or cutting fasteners with a oscillating tool. For glue-down hardwood, use heat and floor scraper methods, and plan for subfloor grinding or patching afterward. Protect reusable areas with dust containment and keep traffic controlled to prevent damage and safety issues.
How do you remove glued-down hardwood flooring from office spaces efficiently?
Begin by scoring seams, removing trim, and using a floor scraper to lift sections while minimizing gouging in the concrete or plywood subfloor. A heat gun or infrared stripper can soften many adhesives, making it easier to peel up planks; for stubborn glue, consider mechanical methods like a grinder with dust control. Work in small sections to maintain control in a commercial office environment and prevent adhesive spread. After removal, clean thoroughly, remove residue, and assess flatness before installing new flooring to ensure long-term performance.
Why is dust control important when removing hardwood floors in a commercial office?
Hardwood removal creates fine particulates that can spread through HVAC systems and offices, causing respiratory concerns and cleanup costs. Use commercial-grade HEPA vacuums, seal doorways with plastic sheeting, and run negative-air or filtration equipment when possible. Cover vents and protect furniture and equipment with airtight barriers, especially if the office is occupied or partially occupied. Proper dust control also helps meet building and workplace safety expectations for contractors and tenants.
Which tools and equipment are needed to remove hardwood flooring in a workplace?
Common tools include a pry bar, oscillating multi-tool, hammer, utility knife, floor scraper, and nail puller for nailed hardwood. For engineered or click-lock floors, you’ll typically need a tapping block and pull bar to release boards without cracking edges. For glue-down installations, plan for adhesive removal tools such as a heat gun, scraper blades, and possibly a floor grinder with HEPA dust extraction. Having the right blades and replacement parts on hand prevents delays and reduces the risk of damage to the subfloor.
How do you plan for permits, disposal, and reuse when removing hardwood floors from a commercial office?
Check building rules and local requirements for debris handling, hauling, and any required permits before work begins. Separate materials for reuse when possible—hardwood planks may be salvaged if they were installed with nails and removed carefully—while damaged or glue-contaminated boards should be prepared for disposal. If the office building is older, consider testing for hazardous materials such as asbestos or lead-based coatings before sanding or demolition. Create a removal schedule that coordinates with cleaning, HVAC protection, and tenant access to keep the commercial office running safely during floor replacement.
📅 Last Updated: October 17, 2026 | Topic: How to remove hardwood floors from a commercial office? | Content verified for accuracy and freshness.
References
- https://www.cdc.gov/niosh/topics/wooddust/default.html
- https://www.cdc.gov/niosh/topics/silica/default.html
- Silica, Crystalline – Overview | Occupational Safety and Health Administration
- Asbestos – Overview | Occupational Safety and Health Administration
- Lead Renovation, Repair and Painting Program | US EPA
- Asbestos | US EPA
- https://www.epa.gov/smm/sustainable-management-construction-and-demolition-debris
- https://scholar.google.com/scholar?q=commercial+hardwood+floor+removal+guidelines+safety Google Scholar
- https://scholar.google.com/scholar?q=hardwood+floor+removal+construction+demolition+occupational+safety Google Scholar
- https://scholar.google.com/scholar?q=wood+floor+removal+sanding+silica+dust+controls+osha Google Scholar



[…] (screen + recoat) has different requirements than a full sand-and-coat cycle, and each step changes dust control and curing/downtime […]