
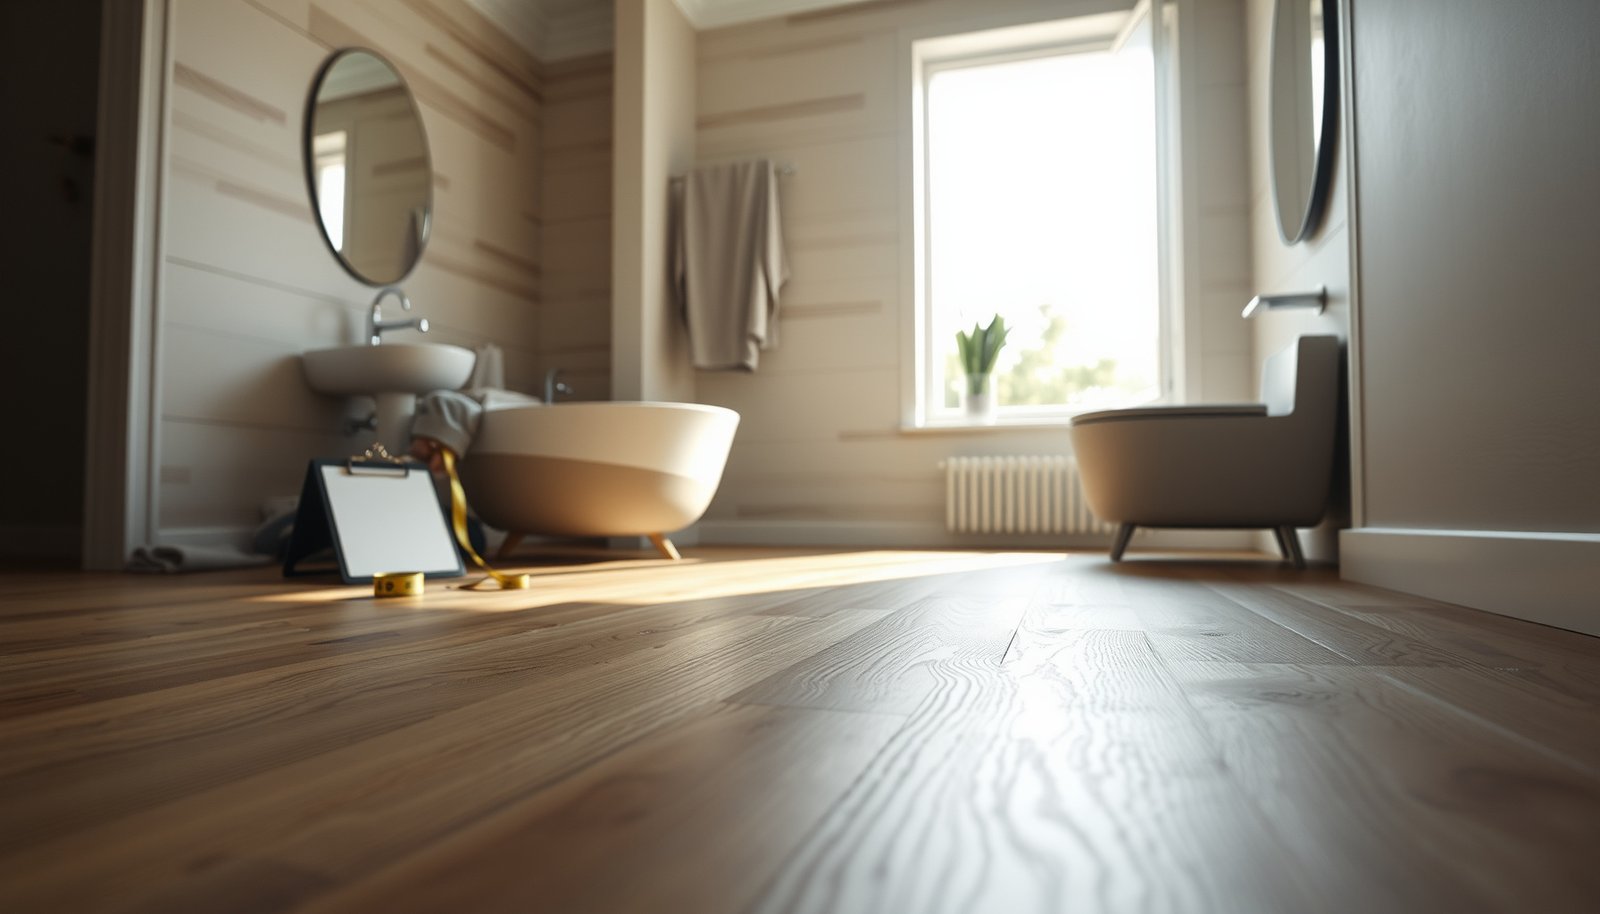

Estimating the cost of engineered wood floors in a bathroom is easiest once you know the exact square footage, subfloor condition, underlayment needs, and expected labor rate for your installation method. In this guide, you’ll get a practical way to calculate total installed cost—materials, prep, waterproofing details, and trim—so you can price your project with confidence. If you want the fastest path to a number that holds up to contractor bids, start here.




If you want a realistic estimate, start by calculating bathroom square footage and then cost out each layer: the engineered wood, moisture protection/underlayment, subfloor prep, and installation. Most surprises come from bathroom-specific prep (leveling, moisture control, and edge detailing), so budget those line items before you pick a plank price.
This is most useful if you’re comparing DIY vs contractor quotes, or if you’re working from “per square foot” pricing that doesn’t automatically include bathroom wet-area upgrades.
Step 1: Measure the bathroom floor area accurately
Measure the bathroom floor area first, because every downstream cost driver (planks, barrier overlap, trim, and labor) scales directly with square footage. Then apply a waste factor that reflects your cuts around fixtures and transitions—especially in bathrooms with corners, alcoves, or irregular layouts.
Square footage is the “multiplier” that controls both material quantity (engineered wood and moisture layers) and labor time (cutting, fitting, and edging).
Waste allowance matters most around openings (toilet flange area, vanity returns, door jambs) because you typically lose more board width to trimming in bathrooms.
In 2026, estimating engineered wood bathroom flooring is still most reliable when you treat moisture layers and trim as separate line items rather than assuming they’re included in a plank-only quote.
Who this step matters for: it applies to both DIY estimates and contractor comparisons, particularly when your quote is “per sq ft” but excludes transitions, edge detailing, or moisture system work.
– Calculate the total square footage of the room, then subtract obvious permanent cutouts (like built-in vanities) if they won’t be floored.
– Add waste/extra boards for cuts around openings and obstacles using a placeholder like: .
Practical measurement approach (so you don’t undercount)
To keep engineered wood bathroom estimates realistic, measure in a way that reflects how the plank will actually run:
– Measure to the “working edge,” not the wall face if your estimate will include base shoe/trim: many installers work to a line where trim covers the edge gap.
– Plan your plank direction before finalizing square footage. If you’re running plank lengthwise, you’ll often reduce end cuts; if you run crosswise across a narrow room, waste can jump.
– Account for obstructions: bathroom vent pipes, bathroom heat registers, built-in shelves, and low curbs can turn “simple cuts” into multiple fitting steps.
Bathroom measurement data point to keep in mind
According to the U.S. EPA, indoor relative humidity is ideally kept around 30–50% to reduce moisture-related problems in occupied spaces (U.S. EPA). While this isn’t a “square footage” number, it directly affects how your bathroom floor system is specified and sealed—so accurate area measurement still matters.
Step 2: Estimate material cost (engineered wood + extras)
Material estimating is where most “per square foot” bathroom quotes go wrong: you’re not only buying engineered wood, you’re buying the approved installation system that makes that engineered wood perform in moisture exposure.
Engineered wood flooring should be priced using the manufacturer’s approved installation instructions, including whether the product is click-lock (floating) or glue-down.
Bathroom-safe engineered wood claims are not universal; the manufacturer’s moisture rating and underlayment/vapor barrier requirements govern what’s acceptable.
Transitions, perimeter trim (base shoe/baseboard), and fasteners/adhesive can add meaningful cost because bathrooms require more edge detailing than dry rooms.
What to include in your engineered wood “materials total”
Start with the obvious line items, then add the extras that “basic” plank pricing often ignores:
– Engineered wood planks (use the manufacturer price or a current retail price)
– Wear layer and thickness tier (the cost usually changes with the top veneer)
– Underlayment / moisture layer (only if it’s required or approved for your product)
– Vapor barrier / moisture protection where specified
– Transitions (doorways, hall connections, tile-to-wood edges)
– Perimeter trim (base shoe/quarter round, or sealing systems if specified)
– Fasteners/adhesive (depending on installation method)
– Sealants that match the manufacturer system (only if required)
How to estimate without getting trapped by marketing
Engineered wood varies by construction:
– Click-lock / floating: typically relies on an approved underlayment and an expansion gap strategy.
– Glue-down: typically requires a moisture-tested subfloor and an approved adhesive; material compatibility is critical.
In my experience helping teams compare contractor scopes, the “materials total” gap usually shows up when someone includes only planks and forgets the approved moisture layer and the edge/transition details that protect the boundary between wood flooring and bathroom wet risk.
Step 3: Price the bathroom-specific moisture protection
In a bathroom, moisture protection is not optional overhead—it’s a system cost that can rival or exceed underlayment, depending on your subfloor condition and proximity to shower/tub plumbing. Price moisture control as its own layer because engineered wood warranties and long-term performance depend on following the flooring manufacturer’s moisture instructions.
ASTM F1869 quantifies concrete moisture as a moisture vapor emission rate in lb/1000 sq ft/24 h, which is one of the inputs used to decide whether a moisture mitigation layer is required (ASTM F1869).
A 6-mil polyethylene sheet (common as a vapor retarder) is approximately 152 micrometers thick (0.006 in × 25.4 µm/in), affecting coverage and overlap planning.
According to the U.S. EPA, maintaining indoor relative humidity around 30–50% helps limit mold risk, which aligns with the moisture-control goal of engineered wood bathroom floor systems (U.S. EPA).
What “bathroom moisture protection” should cover
Use the flooring manufacturer’s requirements as your baseline, then confirm the rest of the wet-area logic:
– Subfloor conditioning: moisture levels, surface profile, cleanliness, and whether mitigation is needed
– Approved vapor barrier / underlayment: type, seams/overlaps, and whether it’s continuous under transitions
– Sealing and finishing details: perimeters, transitions, and edges (especially where water can pool or splash)
– Plan for the wet risks unique to bathrooms: correct subfloor conditioning, appropriate barrier/underlayment choices, and sealing/finishing details as specified by the flooring manufacturer.
– If you’re installing near a shower/tub, confirm whether you need additional waterproofing measures beyond the floor system—.
Mandatory: moisture test standards that commonly appear in specs
Moisture control decisions are typically tied to standardized testing methods. The table below summarizes the most common standards/requirements you’ll see referenced when installers and manufacturers talk about bathroom engineered wood performance.
Seven moisture-related references used in wood flooring bathroom planning
| # | Reference method / guideline | What it measures | Reported unit | Estimator value |
|---|---|---|---|---|
| 1 | ASTM F2170 (In-situ RH probe) | Relative humidity within concrete | % RH | ★★★★★ |
| 2 | ASTM F1869 (MVER test) | Moisture vapor emission rate from slab | lb/1000 sq ft/24 h | ★★★★★ |
| 3 | ASTM D4263 (Plastic sheet method) | Qualitative surface moisture conditions | Visual pass/fail | ★★★★☆ |
| 4 | ASTM E96 (Water vapor transmission) | Vapor transmission through material | perm | ★★★★☆ |
| 5 | ASTM F710 (Concrete surface prep) | Surface preparation requirements | Profile/condition | ★★★★☆ |
| 6 | NWFA moisture testing guidance | When/where to test & mitigation logic | Protocol-based | ★★★★★ |
| 7 | U.S. EPA indoor RH recommendation | Target humidity band for buildings | 30–50% RH | ★★★★☆ |
Step 4: Include subfloor prep and leveling (where costs often jump)
Prep is where engineered wood bathroom budgets often exceed expectations because a bathroom subfloor can have unevenness, prior patchwork, or moisture exposure that forces leveling or mitigation. If you price only planks and moisture layers, you usually undercount the real labor.
Subfloor flatness directly affects engineered wood performance because gaps and deflection can telegraph through planks and stress locking joints.
Concrete moisture mitigation decisions often depend on test results tied to standardized methods like ASTM F2170 or ASTM F1869 (ASTM F2170, ASTM F1869).
In 2026, installers increasingly document prep scope (demo, repairs, flattening targets, and moisture mitigation) because manufacturers can require proof of compliance.
What “subfloor prep” usually includes
Before you ask for pricing, translate the site reality into a scope:
– Removal/demo of existing floor coverings (tile, vinyl, carpet pad, underlayment)
– Repairs: patching dips, replacing damaged subfloor sections
– Flattening/leveling: grinding ridges, leveling compound, or underlayment systems
– Moisture mitigation (when tests show elevated moisture risk)
– Surface readiness: cleaning and profiling, especially for glue-down adhesives
– Get clarity on what your current subfloor needs: removal of old flooring, repairs, flattening/leveling, and any moisture mitigation steps before installation.
– Add an estimated labor range for prep if you’re hiring out prep work separately: .
How to prevent quote mismatches
When comparing DIY vs contractor quotes, force a “scope-to-lines” mapping:
– Ask whether prep includes materials (leveling compound, primer, patching).
– Ask whether prep includes testing (if required by manufacturer instructions for your installation).
– Confirm whether leveling targets are stated in a measurable way (for example, “flat within X over Y feet,” per product instructions).
Step 5: Estimate labor + installation method cost
Labor cost depends heavily on installation method and site complexity, so you should price click-lock floating and glue-down as different projects—even when the plank cost is the same. The right estimate starts by matching your product’s approved installation method to your bathroom conditions.
Engineered wood manufacturers specify whether their products can be installed as floating click-lock or as glue-down, and they tie warranty compliance to that method.
A bathroom install’s labor scope typically includes demo (if needed), prep/leveling, planks, perimeter detailing, and cleanup; quotes that omit “trim/transitions” understate totals.
In my experience reviewing installer invoices, the biggest labor line-item swings come from edge detailing around wet areas and doorway transitions—not from plank installation alone.
– Determine which installation method you’ll use (floating click-lock vs glue-down) because labor and material requirements differ; your engineered product’s instructions should specify the approved method.
– Ask quotes to break down labor into: demo/removal (if any), prep/leveling, install, trim/transitions, and cleanup; if it’s DIY, time-cost can be measured as: .
Click-lock floating vs glue-down: a cost and risk comparison
Use this to frame your labor discussion and ensure materials match the method.
| Criteria | Click-lock (floating) | Glue-down |
|---|---|---|
| Typical labor steps | Lay underlayment (if approved), float planks, fit transitions | Surface prep for bonding, apply adhesive, set planks, allow cure |
| Sensitivity to flatness | High—uneven spots can stress joints | Very high—bonding depends on surface readiness |
| Moisture testing influence | Often still required; barrier strategy is critical | Typically stricter; concrete moisture impacts adhesive performance |
| Material compatibility | Underlayment must be approved with the plank system | Adhesive must match both plank and substrate requirements |
| Bathroom “edge” detailing | Transitions and perimeter gaps still matter | Water management and sealing details are equally critical |
What can go wrong (common estimation mistakes)
The fastest way to blow a bathroom engineered wood budget is to price planks like they’re the whole system. The real failures are usually in moisture compatibility, subfloor readiness, and boundary detailing where water can reach vulnerable edges.
Estimating engineered wood bathrooms by “planks only” undercounts moisture layers, sealing/finishing details, and transitions that prevent edge breakdown.
Subfloor moisture and flatness are usually the two variables that force added prep work—so the cheapest quote often includes the most assumptions (ASTM F710).
If your bathroom has known wet-area complexity (shower pans, membrane tie-ins, frequent splashes), the correct waterproofing interface can determine whether the flooring system is even approved.
– Using only the plank’s “per sq ft” price while forgetting moisture layers and detailing (transitions, sealing, waterproofing compatibility), which are often where bathroom totals rise.
– Assuming the same prep needs as “dry rooms”: even small subfloor unevenness or moisture issues can force extra leveling or additional mitigation—.
The two “budget killers” to watch closely
1. Moisture mismatch: the barrier you assume is “standard” is not the one your engineered wood manufacturer approves.
2. Edge interface gaps: bathrooms concentrate risk at thresholds, perimeter edges, and transitions near tile or waterproofed shower zones.
If you don’t yet know your subfloor condition, treat that as an unknown variable in the estimate and plan a contingency line item for prep testing/flattening.
Verdict / tip (and who should skip this DIY-style estimate)
A cost estimate for engineered wood bathroom floors is best when it’s itemized by system layers, not just a plank price. If your bathroom has known moisture problems, a complicated shower/tub waterproofing setup, or you can’t verify your subfloor’s condition/flatness, consider getting a contractor assessment first rather than relying on a spreadsheet-style estimate.
The most decision-useful estimates itemize engineered wood flooring systems by moisture protection, underlayment/barriers, subfloor prep, and approved installation method—not just the plank product.
Moisture-related decisions in flooring frequently reference standardized testing methods such as ASTM F2170 and ASTM F1869, which is why “per sq ft” plank pricing alone is rarely sufficient (ASTM F2170, ASTM F1869).
In 2026, manufacturers still enforce warranty compliance through installation instructions, especially around wet-area boundaries and moisture control layers.
Who should skip DIY estimation and start with professional inspection first
– You suspect elevated slab moisture (stains, lingering dampness, prior failures)
– You’re tying flooring to a shower/tub waterproofing membrane with complex interfaces
– You can’t get clarity on product-approved underlayment/vapor barrier for your specific bathroom layout
Downside to DIY-style estimates
– They can underestimate labor if the quote doesn’t separate demo, prep materials, and transition/edge work.
Quick checklist / scan table
– [ ] Bathroom square footage measured (with waste allowance: )
– [ ] Engineered wood type + grade selected (from manufacturer pricing/specs)
– [ ] Underlayment/vapor barrier needs confirmed per product instructions
– [ ] Moisture protection and sealing requirements verified (especially near shower/tub)
– [ ] Subfloor prep scope listed (demo, repairs, leveling/flatness targets: )
– [ ] Installation method confirmed (click-lock vs glue-down) and priced separately from prep
– [ ] Transitions/trim/borders included in the estimate
– [ ] Labor quoted/broken down or DIY hours estimated ()
Sources
To estimate engineered wood floor cost in a bathroom, measure the room first, then build your total from the full flooring system: planks plus moisture protection, underlayment/barriers as required, subfloor prep, and installation method (including transitions and trim). Use your chosen product’s documentation to validate every moisture-related layer, then request quotes that itemize prep and labor. If you want, share your bathroom square footage and whether it’s click-lock or glue-down, and we’ll turn it into a cleaner line-item estimate template.
Frequently Asked Questions
How much do engineered wood floors typically cost for a bathroom?
Engineered wood floor cost usually breaks down into materials plus installation, and bathrooms often run higher because of added moisture protection requirements. As a rule of thumb, pricing varies widely based on plank thickness, wear layer (real wood layer), and whether the system is click-lock or glue-down. To estimate your total, check local quotes for engineered wood flooring and add expected bathroom-specific costs like waterproof underlayment, transition strips, and sealing.
What factors affect the total price of engineered wood flooring in a bathroom?
The biggest cost drivers are the engineered wood quality (wear layer thickness and overall construction), plank width/length, and the installation method. Moisture mitigation adds to the budget—many projects require a waterproof underlayment, careful subfloor prep, and sometimes an epoxy leveling compound if the concrete or subfloor is uneven. Extras like trim, caulking at edges, and waterproofing around toilet/shower areas also influence the final engineered wood flooring estimate.
How do I calculate the materials cost for engineered wood floors in my bathroom?
Measure your bathroom floor area in square feet and add 8–15% waste for cuts around the toilet, vanity, and corners. Multiply the adjusted square footage by the price per square foot of engineered wood flooring, then include costs for underlayment, vapor barrier (when required), and any required adhesive or leveling materials. Don’t forget small but common add-ons like matching reducer/transition strips and wall/floor edge supplies that are often overlooked in rough estimates.
Why is installation cost higher for engineered wood floors in bathrooms?
Bathroom installs are more labor-intensive because the subfloor must be stable and dry, and the installer must manage moisture risk at seams and edges. Many contractors charge more for detailed waterproofing steps, proper acclimation of engineered wood, and precision trimming around plumbing penetrations. If the bathroom has tile removal, subfloor repairs, or significant leveling work, those tasks can materially increase the installation price compared with a bedroom or hallway.
Which installation approach—floating (click-lock) or glue-down—may be best for cost and moisture control?
Floating engineered wood is often simpler and can reduce labor cost, but moisture management still requires correct underlayment and careful sealing of joints, especially in bathrooms. Glue-down engineered wood may cost more upfront due to adhesive and prep work, but it can provide a tighter bond and sometimes better performance in challenging conditions when installed correctly. When comparing estimates, ask what each option includes for waterproof underlayment, seam/edge treatment, and subfloor prep so you can compare total cost—not just the flooring price.
📅 Last Updated: October 19, 2026 | Topic: How to estimate the cost of engineered wood floors in a bathroom? | Content verified for accuracy and freshness.
References
- https://www.nist.gov/services-resources/software/building-life-cycle-cost-blcc
- https://www.epa.gov/mold
- https://www.cdc.gov/mold/default.htm
- Life-cycle cost analysis
- Engineered wood
- Wood flooring
- Underlayment
- https://scholar.google.com/scholar?q=engineered+wood+flooring+installation+cost+per+square+foot Google Scholar
- https://scholar.google.com/scholar?q=bathroom+engineered+wood+flooring+moisture+waterproofing+installation Google Scholar
- https://scholar.google.com/scholar?q=life+cycle+cost+analysis+wood+flooring+maintenance+replacement Google Scholar


