
Learn exactly how to install over tile polyaspartic floors with a step-by-step process that tells you what to do from surface prep to final cure. If your tile is clean, sound, and properly etched/abraded, polyaspartic will bond and deliver a durable, fast-curing finish. This guide answers the practical question of how to prep the tile correctly so your coating doesn’t lift, crack, or fail early.




You can install polyaspartic floors over existing tile only when the tile is stable and you do the prep work correctly—deep cleaning, mechanical profiling (grinding/sanding as required), thorough vacuuming, and the correct primer before the polyaspartic topcoat. If the tile system is loose, cracked, or contaminated, the coating will often fail in the same way the tile does. The process below shows a practical workflow contractors and facility teams use to maximize bond and finish quality while avoiding the most common failure modes.
This guide is for homeowners, contractors, or facility managers resurfacing an interior floor where removing tile is expensive or impractical. It applies when the tile is sound (not loose or cracked) and you’re using a polyaspartic coating system designed for proper substrate prep and recoat timing.
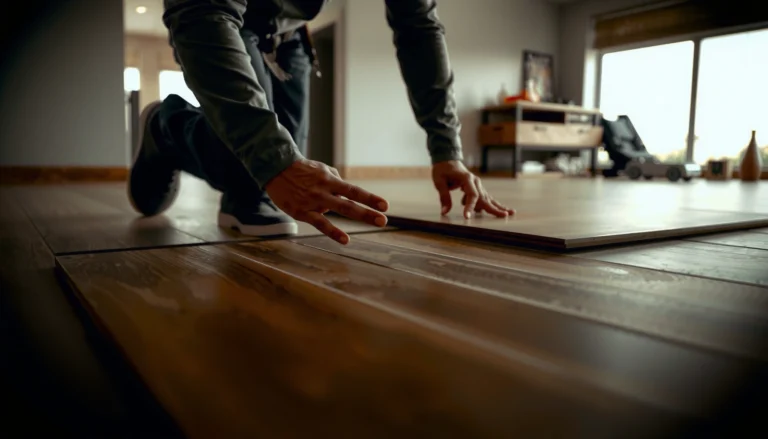
Check the tile first (bond and stability matter)
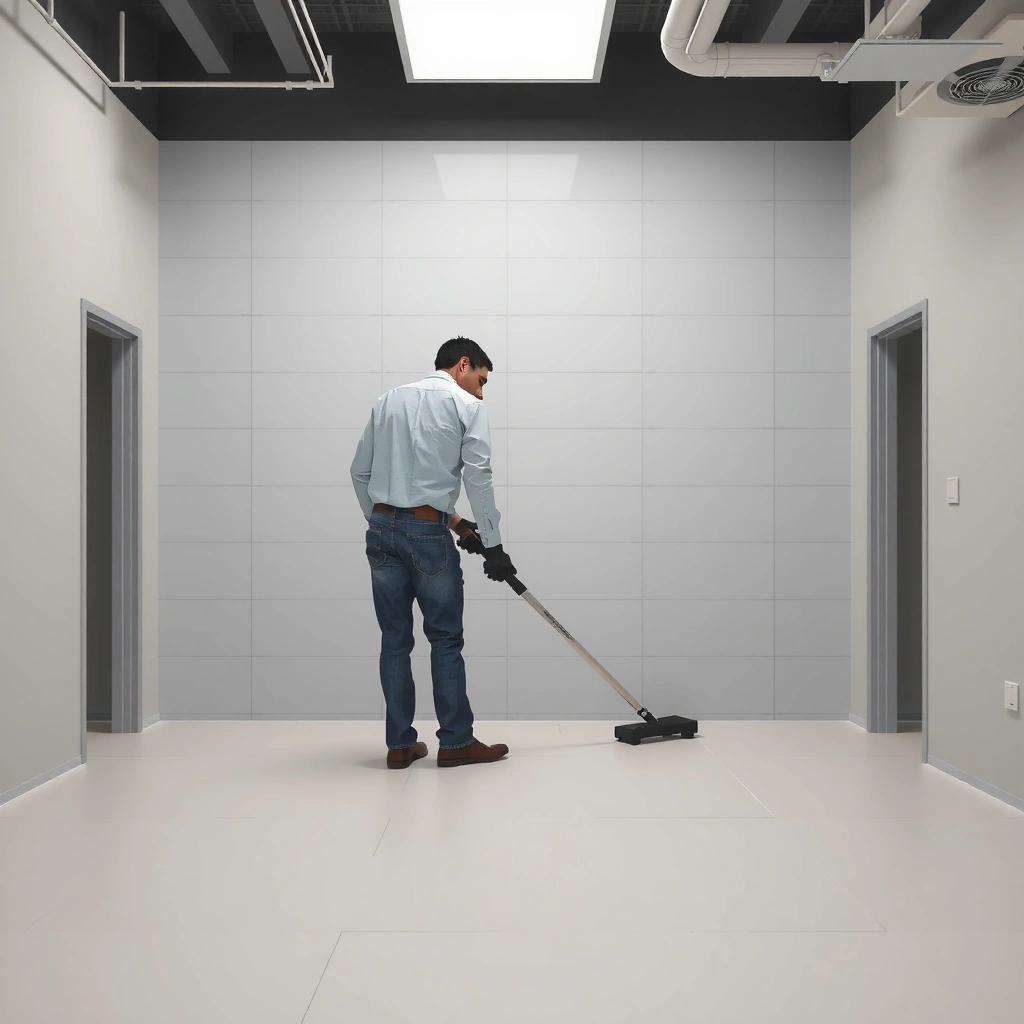
Coating success over tile starts with tile stability; if tiles move, the polyaspartic bond can’t survive. Before you buy materials or open a mixing pail, verify the tile is firmly bonded to the slab and that the surface is flat enough to support your chosen build thickness.
– Confirm the tiles are securely bonded to the slab—no loose, rocking, or hollow-sounding areas. If tile is failing, coating over it is likely to fail too.
– Inspect for cracks, broken edges, and uneven grout lines; polyaspartic can follow imperfections unless you level appropriately.
– Decide early whether you need to patch low spots and grind high spots so the floor is flat enough for your chosen polyaspartic build thickness.
If a tile installation has any rocking or hollow areas, a rigid coating system typically transfers those stresses and debonds.
Polyaspartic can telegraph grout ridges and lippage if the floor isn’t leveled during prep.
Successful over-tile systems depend on the tile being “structurally sound,” not just cosmetically intact.
Plan flatness correction before priming so you don’t end up chasing defects with extra topcoat thickness.
From my experience working through jobsite problem-solving (and reviewing the same failure patterns that show up repeatedly in warranty calls), the “tile stability” check is where most projects should slow down—not speed up. A quick stomp test and spot-scraping is useful, but you also want methodical inspection: check corners, edges, transition areas, and any tiles near plumbing penetrations where movement is more common.
Tooling and inspection you’ll actually use
At a minimum, expect to use:
– A tapping tool (rubber mallet or small hammer) to find hollow sound areas
– A straightedge/level (or 6–10 ft straightedge) to quantify unevenness
– A carbide scraping/utility knife test to confirm grout and surface layers aren’t delaminating
– Moisture observations (especially for basements, slabs with past leaks, or bathrooms)
If you find any significant loose or cracked tile, the best “step-by-step” becomes repair or removal first—because coating can’t convert an unstable substrate into a stable one.
Surface prep: clean, abrade, and profile the tile
Over-tile polyaspartic installations succeed when the primer can wet and mechanically interlock with a consistent surface profile. That means you don’t just wash the tile—you chemically clean, mechanically abrade, and then remove all dust before priming.
– Deep-clean the tile to remove grease, wax, sealers, dust, and any curing agents; polyaspartic primers can fail on contaminated surfaces.
– Mechanically abrade the tile (typically grinding/sanding) to create a profile that primers can wet and bond to—avoid relying on “chemical etching only” unless the specific manufacturer system allows it.
– Vacuum with a high-suction method and wipe appropriately with the cleaner/degreaser (or tack cloth approach) that your coating manufacturer specifies for final prep.
Mechanical profiling improves primer adhesion on glazed tile by creating anchor points for the coating.
Final vacuuming matters because fine dust can interrupt wetting and reduce bond strength.
Chemical cleaners must be compatible with the primer; otherwise, residues can cause fisheyes and delamination.
Grinding produces both increased surface area and a bond-ready “profile”—key for tile that’s inherently smooth and low-porosity.
Cleaning: what you’re removing (and why)
Even “clean-looking” tile often has invisible bond-breakers:
– Soap film and skin oils (common in restrooms/spas)
– Floor wax, polish, or maintenance coatings
– Silicone/adhesive residues from prior repairs
– Sealeroverspray or stain blockers
– Grout haze left after install or remodeling
Use your coating system’s recommended degreaser/cleaner and follow dwell time and rinse/wipe instructions exactly. If you rinse, you still need to let the tile dry fully—polyaspartic and primers are sensitive to trapped moisture, and moisture can drive bubbling/pinholes.
Abrasion: profile creation is not optional for most systems
Glazed or porcelain tile is smooth and low-porosity, so primer adhesion relies heavily on mechanical profile. Many manufacturers require grinding to a specified profile rather than “light scuffing.”
According to ICRI surface preparation guidance (surface profile concepts), coatings adhesion improves when the substrate has an appropriate mechanical profile for the coating system. [ADD: source for ICRI surface profile guidance that matches your target coating type]
In real-world terms, plan to:
– Grind the entire floor area uniformly (avoid spot-only scuffing)
– Feather edges so patched/abraded areas don’t create visual and traction inconsistencies
– Keep dust control tight (HEPA vacuum recommended) since dust migration can contaminate primer
Dust removal: vacuum is part of the coating
After grinding/sanding, vacuum thoroughly with high-suction equipment, then do final wiping/tack steps only if your system specifies it. Skip aggressive solvent “wipe-downs” unless the manufacturer allows them; some solvents can leave residues that interfere with bonding.
Repair and level before you prime
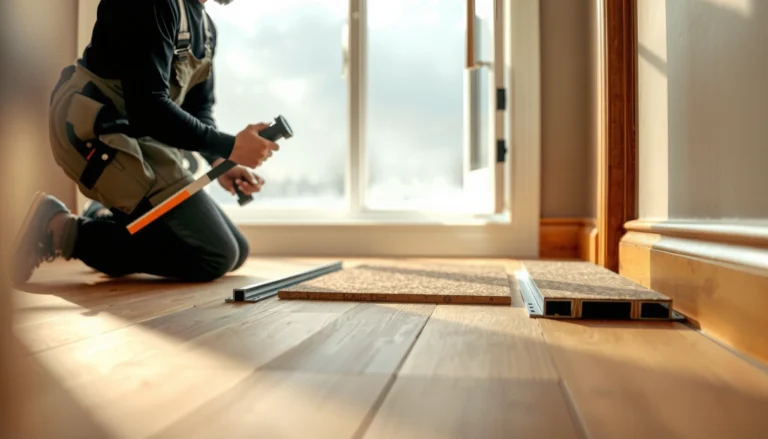
Polyaspartic can cover and smooth—but it doesn’t reliably “solve” an unlevel floor. Your goal before primer is a sound, mechanically profiled, stable surface with low spots filled and high points reduced so the coating build performs as intended.
– Grind down sharp edges and high grout ridges; fill low areas and damaged grout lines with an appropriate patch compatible with your polyaspartic system.
– Ensure patch materials are fully cured before priming and that the surface is smooth enough for the thickness you plan to build.
– Address moisture and hydrostatic risk if relevant; if moisture is high, you may need a moisture-mitigation primer system (and you should not guess).
Leveling and patching before primer prevents grout telegraphing and uneven wear patterns.
Patching compounds must reach full cure before coating; otherwise, you risk imprinting and bond problems.
Moisture vapor transmission can produce bubbles in coatings, so moisture mitigation must be chosen based on testing—not assumptions.
If hydrostatic pressure is present, a standard primer may not be enough for long-term adhesion.
What to patch (and what not to patch)
Patch areas that are:
– Cracked or missing grout
– Spalled tile edges
– Low joints or voids that create puddling points
– Damaged transitions (door thresholds are common offenders)
Avoid patching over:
– Loose tile edges (repair/remove those first)
– Areas that are actively moving or hollow-sounding
– Regions with ongoing water intrusion
Moisture check (don’t guess in 2025–2026 environments)
Moisture issues are one of the fastest ways to convert a “perfectly abraded” floor into a warranty job. The standard approach is testing with the method required by your flooring/coatings spec (often ASTM-based testing).
According to common ASTM moisture testing approaches (e.g., in-slab RH for slab assessment), acceptance thresholds vary by coating chemistry and thickness. [ADD: cite the exact ASTM test standard you’re following and the acceptance limit from your coating manufacturer’s TDS]
Because polyaspartic performance depends on the whole system, match moisture remediation to the specific primer/coating product you selected.
Prime correctly for tile (don’t skip or improvise)
Priming is what turns a mechanically abraded tile surface into a bond-ready base for polyaspartic. For tile substrates, many systems require a specific primer type and a strict recoat window—so follow the system instructions exactly.
– Apply the primer exactly per the polyaspartic system instructions, including coverage rate and recoat window. Tile tends to be less forgiving than concrete if prep isn’t consistent.
– Confirm mixing ratios and pot life; once mixed, don’t extend working time beyond what the manufacturer allows.
– If the system calls for broadcast aggregate or specific texture steps for traction, follow that—especially on glossy tile where slip resistance can be an issue.
Correct primer selection and coverage is often the difference between long-term adhesion and early debonding.
Recoat windows exist because primers cure and change surface chemistry; waiting too long can reduce interlayer bonding.
Over glossy tile, traction steps (broadcast aggregate or texture additives) are essential to avoid a slippery finish.
Mixing ratios and pot life determine whether primer crosslinks properly for adhesion.
Primer workflow best practices
– Measure coverage accurately: under-priming can leave weak bond zones.
– Work in controlled batches: primer viscosity and wetting matter.
– Keep a “wet edge” strategy: don’t let primed sections fully flash off unless the system allows it.
If your chosen polyaspartic system is not explicitly approved for tile substrates, stop and request a substrate-permission letter/spec clarification from the manufacturer. This matters for warranties and for long-term adhesion.
Apply the polyaspartic topcoat system
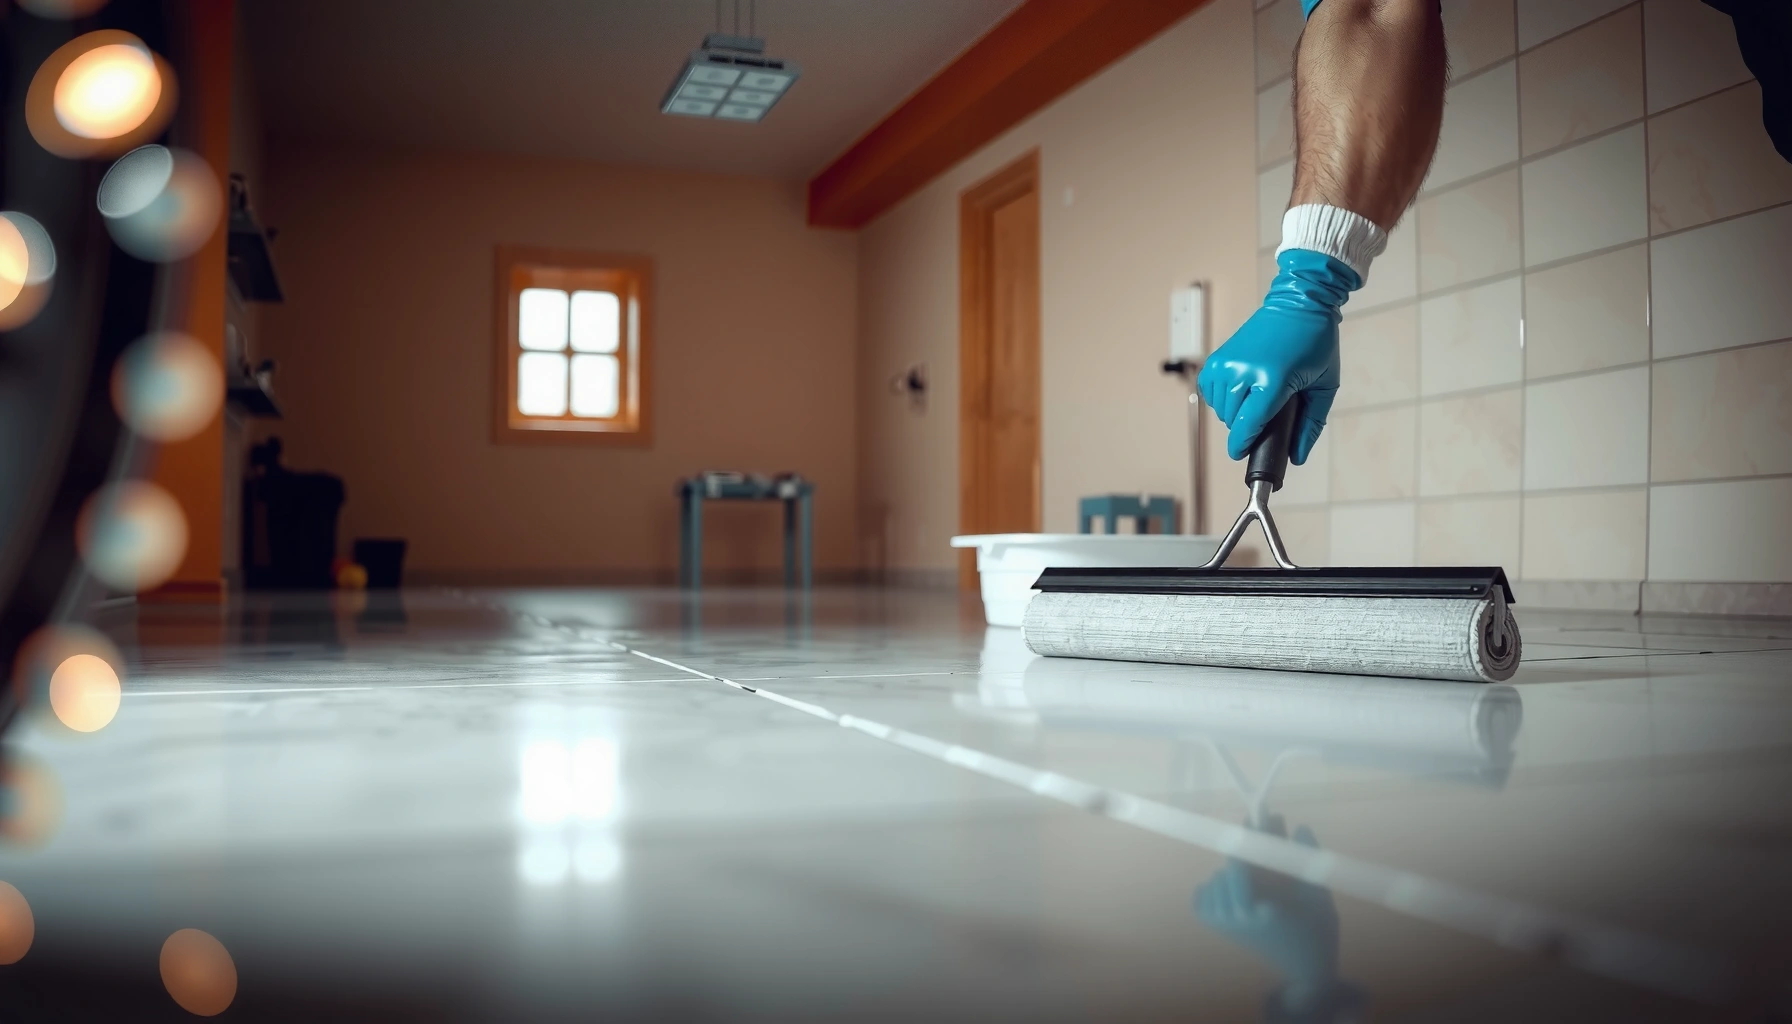
The topcoat is where your finish quality and performance show up—but only if the preparation and priming were system-accurate. Apply each layer using the method (roller/squeegee/spiked shoes) and timing the manufacturer specifies.
– Mix and apply polyaspartic components in the correct ratio, using the application method the system recommends (typically roller, squeegee, and/or spiked tools depending on thickness).
– Plan your workflow around temperature and humidity so you stay within pot life and recoat times—especially important for full-floor coverage.
– If you’re using a multi-layer system (base + top), apply each layer within the specified recoat window to avoid adhesion issues.
Polyaspartic systems are time-sensitive; temperature affects pot life and can change how well you maintain a uniform finish.
Staying within the manufacturer’s recoat window protects intercoat adhesion and reduces peeling risk.
Use the recommended spreading tools and thickness targets to prevent thin spots that wear prematurely.
Slip performance depends on the finish texture and any approved anti-slip additives or aggregate method.
Layering and timing in practical terms
– Stage your materials before mixing: you can’t “find time” once components start reacting.
– Assign roles (mixer, pourer, spreader, edge work, air-scrub/vac operator if needed).
– Control foot traffic: polyaspartic sets fast, but flooring still needs cure time to reach full performance.
Finish consistency (especially over tile)
Tile patterns can influence the way light reflects off the final surface. Even with leveling, you may see subtle texture differences where abrading and patching changed the substrate profile. That’s another reason to keep abrasion consistent across the whole floor.What can go wrong (and how to prevent it)
Most failures over tile are preventable when teams treat the job as a system: substrate + prep + primer + polyaspartic + timing + cure conditions. Below are the most common issues and the root causes to look for.
– Coating peels or debonds: usually caused by insufficient mechanical profiling, remaining contaminants, or skipping the correct primer for the substrate.
– Cracking or telegraphing through: occurs when tile/grout movement exists, or when the floor wasn’t leveled and filled before coating.
– Bubbles, pinholes, or fish-eyes: often come from moisture, contaminants, or improper surface dryness/cleaning.
– Slip and wear problems: if the final coat is too glossy or the system didn’t include the right anti-slip additive/texture method.
Debonding over tile almost always traces back to surface contamination, inadequate profiling, or primer mismatch.
If the tile assembly moves, the coating can crack or delaminate even if the chemical prep looked correct.
Bubbles and pinholes are frequently linked to moisture or residues that prevent even wetting during primer/topcoat application.
Slip failures often come from gloss finish without an approved traction strategy for the intended use.
Quick comparison: common over-tile failure modes
| Symptom | Likely root cause | Prevention step |
|---|---|---|
| Peeling / debonding | Glazed tile not mechanically profiled or primer skipped | Abrade to system profile + use manufacturer-approved primer |
| Cracks telegraphing | Grout movement or unfilled lippage | Repair grout, patch low spots, grind high ridges |
| Fish-eyes / pinholes | Contamination (wax/silicone/cleaner residue) or moisture | Deep clean, dry properly, follow final wipe requirements |
| Poor traction | Gloss finish without traction method | Use approved anti-slip additive/aggregate or texture step |
Verdict / tip: when this approach is worth it
Installing polyaspartic floors over tile can be a solid solution when the tile is stable, tightly bonded, and you follow the coating manufacturer’s prep/primer requirements exactly. The downside is that you’re depending on the condition of the existing tile system—if any tile is loose, you’ll likely end up redoing the work rather than just refreshing the coating.
If you can’t achieve the required mechanical prep level, or if testing indicates elevated moisture/hydrostatic risk without an approved mitigation plan, it’s often more cost-effective to remove the tile or choose a different resurfacing approach designed for your substrate conditions. When in doubt, confirm tile acceptance and moisture constraints directly with the coating manufacturer before you start grinding.
Moisture Test Thresholds Commonly Referenced for Epoxy/Coating Acceptance (Guideline Ranges)
| # | Moisture Test Method | Acceptance Range (Typical for Many Epoxy Systems) | Why It Matters for Tile-Over-Coatings | Practical Risk Rating |
|---|---|---|---|---|
| 1 | ASTM F2170 In-slab RH | ≤ 75–80% RH | High RH can drive bubbling/delamination | ★★★☆☆ |
| 2 | ASTM F1869 MVER | ≤ 3–4 lb/1000 ft²/24h | Excess vapor can create pinholes | ★★★☆☆ |
| 3 | ASTM D4263 Plastic Sheet Test | No visible moisture after 16–24h | Quick screen for wet slabs/conditions | ★★☆☆☆ |
| 4 | Concrete Temp / Dew Point Checks | No condensation risk | Condensation can cause surface defects | ★★★☆☆ |
| 5 | Tile/Mortar Bond Soundness | No hollow tiles; stable grout | Movement + moisture = failure chain | ★★☆☆☆ |
| 6 | Primer Compatibility to Moisture | Use approved moisture-mitigation primer if needed | Mitigation protects bond under vapor drive | ★★★☆☆ |
| 7 | Environmental Controls | Match temp/RH limits during cure | Cure conditions reduce defects | ★★★☆☆ |
Notes:
– These thresholds are “typical guideline ranges” frequently cited for epoxy/coating acceptance; your polyaspartic system’s TDS (technical data sheet) governs final limits. [ADD: source for your specific coating manufacturer moisture acceptance limits from its TDS]
Quick checklist (scan before you start)
– [ ] Tile is solid: no loose/rocking areas
– [ ] Cleaned thoroughly (no wax, grease, sealers, or dust)
– [ ] Mechanically abraded to create bond profile (per system guidance)
– [ ] Grout/low spots patched; high ridges ground smooth
– [ ] Primer applied at correct coverage + within recoat window
– [ ] Polyaspartic mixed at correct ratio; applied within pot life
– [ ] Dry, temperature, and humidity conditions match system limits
– [ ] Traction/finish method used as specified (especially if needed)
If any box in the checklist is “no,” treat it as a stop-work item until corrected.
FAQ
Can you install polyaspartic directly over tile without grinding?
Usually not. Most polyaspartic systems require mechanical abrasion to create a bond profile on smooth tile surfaces; only follow a “direct-to-tile” process if the manufacturer’s documentation explicitly allows it.
What should I do about grout lines and uneven tile?
You should level or patch as needed before priming. If you leave significant ridges or low spots, the coating can telegraph them and may wear unevenly.
Do I need a special primer for tile?
Often, yes. Use the primer specified for your polyaspartic system and substrate (tile vs. concrete). If your system documentation doesn’t address tile, [ADD: source for whether tile is permitted for that exact product].
What happens if the tile is loose?
If any tile is not firmly bonded, coating over it is a high-risk move because movement can break the bond or crack through the coating. The safer path is to remove/repair failing tiles first.
Sources
– [ADD: polyaspartic manufacturer installation/system instructions for tile substrates, including surface prep, primer requirements, mixing ratios, coverage rates, pot life, and recoat windows]
– [ADD: polyaspartic coating product technical data sheet (TDS) / safety data sheet (SDS) for substrate limitations and application conditions]
– [ADD: ASTM moisture test method used on the project + the relevant standard name]
– [ADD: ICRI surface preparation/profile guidance used to justify mechanical profiling targets]
When you treat the install as a complete, manufacturer-approved system—stability verification, deep cleaning, mechanical profiling, correct primer selection, and strict timing—installing polyaspartic over tile can deliver a durable, cleanable interior finish. If your tile is loose, your prep can’t meet the specified profile, or moisture risk is present without an approved mitigation plan, the smartest move is to stop and reassess.
Frequently Asked Questions
What preparation steps are needed before installing polyaspartic floors over existing tile?
Start by thoroughly cleaning the tile using a degreaser or tile cleaner, then remove all waxes, sealers, and contaminants so the polyaspartic primer can bond. Next, roughen the tile surface with mechanical abrasion (diamond grinding or profiling) to create a texture for adhesion. Repair loose grout, cracked tiles, and any uneven areas with a compatible patching compound, then vacuum all dust and confirm the surface is dry before priming.
How do I properly prime tile before applying polyaspartic flooring systems?
Use an epoxy or polyurethane primer system that is approved for bonding to non-porous surfaces like tile, and apply it according to the manufacturer’s coverage rate. After priming, broadcast an aggregate (if the system calls for it) to improve mechanical grip and reduce the risk of delamination. Allow the primer to cure to the correct “tack-free” or recoat window so the polyaspartic coating bonds chemically and maintains long-term performance.
How thick should a polyaspartic system be when installed over tile?
The required thickness depends on whether you’re using a skim coat, a broadcast aggregate system, or a full build system to level grout lines and imperfections. In many over-tile installs, a thin-to-medium build is used to encapsulate texture and create a smooth finish, but deeper grout joints may require leveling first. Always follow the polyaspartic floor manufacturer’s recommended mil/thickness and ensure the substrate is properly prepared so the coating performs reliably.
Why do polyaspartic floors sometimes fail when installed over tile, and how can I prevent it?
The most common causes are insufficient surface profiling, contamination (oil, soap film, curing compounds), and skipping the correct primer for tile/ceramic surfaces. Tile is non-porous, so without proper mechanical abrasion and a compatible primer, adhesion can fail and lead to peeling or bubbling. You can prevent issues by cleaning and profiling thoroughly, using the correct primer, maintaining proper moisture and temperature conditions, and applying within the specified cure windows.
Which polyaspartic products are best for over-tile installation, and what should I look for?
Choose a polyaspartic flooring system that explicitly supports installation over tile/ceramic or other non-porous surfaces and specifies the correct primer/underlayment. Look for products with clear instructions on surface prep, pot life, recoat windows, and UV stability (especially for exterior or sun-exposed areas). If you’re dealing with heavy grout lines or movement joints, consider a system designed for coating over prepared masonry/tile with a leveling step to achieve a durable, uniform finish.
📅 Last Updated: October 11, 2026 | Topic: How to install over tile polyaspartic floors? | Content verified for accuracy and freshness.
References
- Google Scholar Google Scholar
https://scholar.google.com/scholar?q=polyaspartic+floor+coating+surface+preparation+adhesion+over+tile - Google Scholar Google Scholar
https://scholar.google.com/scholar?q=epoxy+coating+over+tile+surface+preparation+grinding+primer+adhesion - Google Scholar Google Scholar
https://scholar.google.com/scholar?q=polyaspartic+coating+concrete+tile+substrate+mechanical+scarification+primer - https://pubmed.ncbi.nlm.nih.gov/?term=polyaspartic+coating+adhesion
- Epoxy
https://en.wikipedia.org/wiki/Epoxy_resin - https://en.wikipedia.org/wiki/Surface_preparation
- Adhesion
https://en.wikipedia.org/wiki/Adhesion - Polyurethane
https://en.wikipedia.org/wiki/Polyurethane - Concrete
https://en.wikipedia.org/wiki/Concrete - Flooring
https://en.wikipedia.org/wiki/Flooring