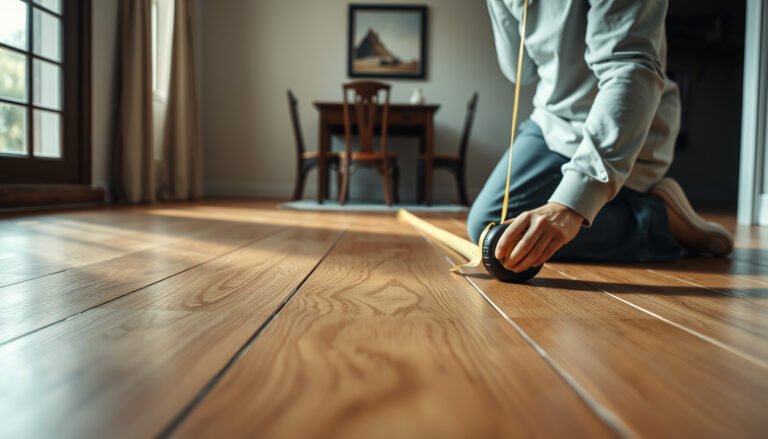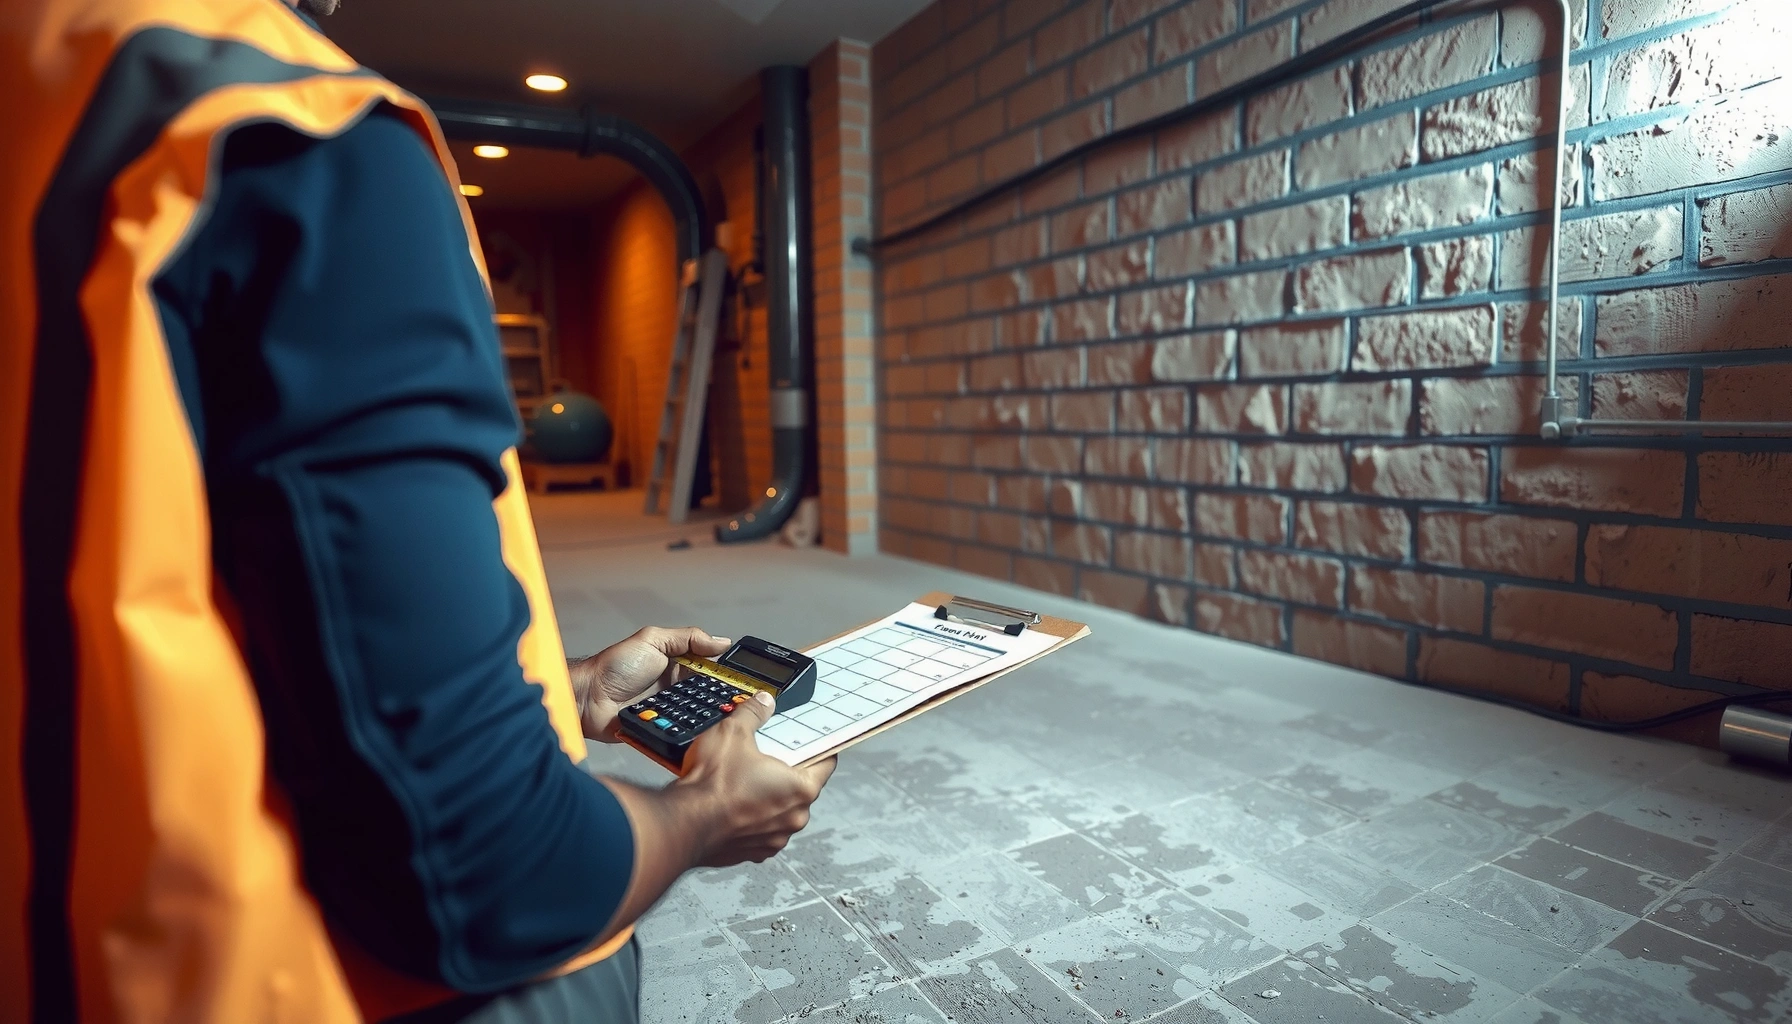

Get a step-by-step way to calculate the exact material needed for basement floors, so you don’t overbuy or come up short. This guide walks you through the key measurements—basement area, slab thickness, and any add-ons like vapor barrier and rebar—then converts them into ordered quantities. Follow the process once and you’ll know precisely how much concrete, sand, gravel, and finishing materials to request.
To calculate material for basement floors, measure the floor area, choose the correct thickness for your flooring/underlayment, then convert volume to bags/units using the coverage/yield from the product specs. Most bad estimates come from forgetting a waste/handling allowance and miscounting thickness effects from underlayment height or patch depth—so this guide gives you the inputs to capture and the exact math path to quantities.
This guide is for homeowners, DIYers, and small contractors planning a poured concrete, self-leveling, mortar/skim coat, or tile/laminate basement floor system—especially when the room has irregular edges, dips, or lots of cut-in areas.
Step 1: Measure the Basement Floor Area Accurately
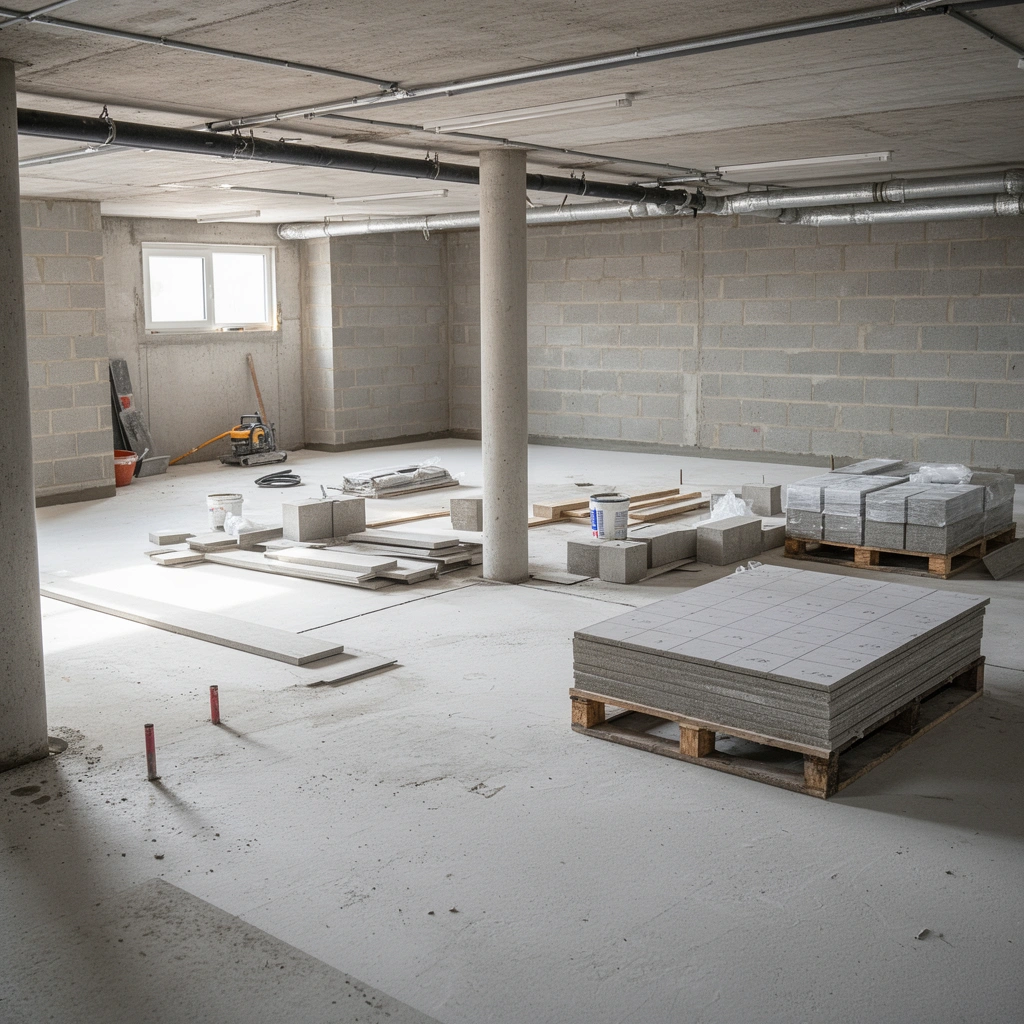
Measure the footprint first, then split irregular shapes into simpler rectangles/triangles so your total area is defensible. Once area is right, thickness-based calculations become straightforward and much less error-prone.
Start by identifying every “stop line” for your finished floor—where it ends at walls, steps, stairs, built-ins, posts, or transitions to other flooring. If your room has dips, you still use the same plan area; you’ll reflect those variations later as an average patch/leveling thickness (Step 3). If thickness changes in parts of the room (for example, a higher underlayment build-up in an entry), tag those zones now so you can calculate separately.
Split an irregular basement floor into rectangles/triangles, calculate each area, and add them to get total square footage for material planning.
Use the finished-floor outline (not framing bays) as your area boundary so you don’t undercount areas that receive patching, leveling, or underlayment.
If thickness varies across the room, plan separate area totals for each zone so volume math (Area × Thickness) stays accurate.
Practical geometry for real basements
– Rectangles: Measure length × width for each straight-edged section.
– Triangles/irregular corners: Measure the base and height, then use ½ × base × height.
– Cut-ins around obstructions: If a post or column is not being finished, you can subtract its footprint; if you’re leveling past it (common with slab leveling), keep it in and handle depth variations later.
– Door openings and archways: Treat them consistently. Many projects include leveling through the doorway threshold, but you should match your installation plan.
Three math anchors you can reuse immediately (unit conversions):
1) 1 foot = 12 inches (so 1 inch = 1/12 foot). According to the definition of foot/inch units in standard measurement references (NIST—Guide to SI Units and measurement conventions).
2) Volume in cubic feet = Area (ft²) × Thickness (ft). This is the core geometry identity (ft² × ft = ft³). (General engineering dimensional analysis—unit multiplication rules).
3) Volume in cubic inches = Area (in²) × Thickness (in); you can convert to cubic feet by dividing by 1,728 (12³). (General unit conversion—inch-to-foot scaling).
Step 2: Choose the System and Target Thickness
Confirm what “material” means in your plan—concrete pour, leveling compound, mortar/skim coat, thinset plus tile, or laminate with underlayment—then set thickness using the manufacturer’s minimum/maximum application limits. Your quantities hinge on thickness, but the product limits determine whether your thickness is even allowed.
Basements behave differently from above-grade floors because of slab irregularities, moisture risk, and cut-ins (plumbing chases, rough openings, posts). Thickness planning isn’t just the deepest point—your real goal is average installed thickness over the room zone, aligned to what the product can safely tolerate.
Your product’s minimum/maximum thickness limits control whether your planned leveling or skim coat is feasible across the basement.
Estimate average thickness over low spots, not just the maximum depth, because volume (and cost) scales with average thickness.
Define zones where underlayment or patch thickness changes so each material quantity is calculated from the correct thickness and area.
How to decide “average thickness” in practice
– Map the low areas: If you don’t have a laser, you can still locate the lowest points by checking a reference string or straightedge at multiple spots.
– Compute an average depth: A common approach is to measure depth at several points, then average the depths for that zone (not necessarily weighting by area, unless you’re doing a more detailed plan).
– Account for tapering: Many self-levelers and feather-finish systems are designed to flow/skim toward higher planes; you still plan volume by average depth, but you’ll need to respect thickness limits.
Thickness planning depends on the system
Poured concrete: thickness is your slab thickness; also ensure you include any vapor/relief system layers as dictated by your design.
Self-leveling compound: thickness is your installed layer thickness (not just the “pour thickness” you see).
Mortar/skim coat: thickness may vary from feather edges up to a limited maximum—check the system’s bonding requirements and min thickness.
Tile/stone: thickness includes underlayment/backer, thinset, and tile assembly; thinset coverage depends on trowel notch size and coverage rates.
Step 3: Convert Thickness to Volume (Then to Bags/Units)
Compute volume with Volume = Area × Thickness, convert units, then use the product label’s coverage/yield to translate volume to bags or units. Add waste/overage for cuts, mixing loss, and uneven substrate profile—basements rarely come out “perfectly flat.”
The key reliability improvement here is to keep the steps separate:
1) total square footage per zone,
2) average thickness per zone (in consistent units),
3) volume per zone,
4) product units per volume from specs,
5) overage for real-world losses.
Convert using a consistent unit system: ft² × ft = ft³, or m² × m = m³, before applying coverage/yield.
Use the manufacturer’s stated coverage/yield per bag/unit rather than estimating from bag weight alone.
Include an overage allowance for mixing loss and irregular substrates; coverage guidance assumes controlled application.
Core conversion math (no guesswork)
If you work in US units:
– Convert thickness: Thickness (ft) = Thickness (in) ÷ 12
– Compute volume: Volume (ft³) = Area (ft²) × Thickness (ft)
Then use the product spec:
– If a bag yields Y ft³, then Bags = Volume ÷ Y
– If a bag covers C ft² at a specified thickness, then Bags = Area adjusted for thickness ÷ C (follow how the label defines coverage)
> Important: coverage statements are usually tied to a specific thickness. If your installed thickness differs, you must correct using volume logic (Area × Thickness).
Waste/overage: what to budget (without pretending perfection)
Instead of a magic number, tie your allowance to what’s typical in your basement:
– Cuts around plumbing/columns/posts: increases labor and waste.
– Uneven substrate: often increases patching/primer and “burning in” material needs.
– Mixing loss: overspray, sticking to buckets, and remixed batches.
Use a conservative, documented rule for your own process (or your crew’s historical estimates). If you don’t have that data yet, start with a moderate allowance and refine after a small test batch.
A quick volume reference table (mathematical, not product-specific)
Use this table as a fast sanity check for how thickness changes volume. It’s based purely on geometry.
Basement Floor Volume by Thickness (per 100 sq ft)
| # | Installed Thickness | Volume (ft³) @ 100 ft² | Volume (m³) @ 100 ft² | Scaling Shortcut |
|---|---|---|---|---|
| 1 | 1/8 in (0.125 in) | 1.04 | 0.029 | ÷8 of 1 in |
| 2 | 1/4 in (0.25 in) | 2.08 | 0.059 | ÷4 of 1 in |
| 3 | 1/2 in (0.5 in) | 4.17 | 0.118 | ×0.5 of 1 in |
| 4 | 3/4 in (0.75 in) | 6.25 | 0.177 | ×0.75 of 1 in |
| 5 | 1 in | 8.33 | 0.236 | Base line |
| 6 | 1-1/2 in (1.5 in) | 12.50 | 0.354 | ×1.5 of 1 in |
| 7 | 2 in | 16.67 | 0.472 | ×2 of 1 in |
Step 4: Plan Supporting Materials and Sub-layers
Treat underlayment, vapor control, membranes, primers/sealers, and tile assembly components as separate quantity problems—because their “coverage area” rules differ from the floor surface. If you combine them into one line item, you’ll almost certainly underbuy overlap/detailing or mismatch thinset/grout coverage.
In a basement, supporting layers are where errors hide:
– Vapor barriers/membranes need overlaps and edge detailing.
– Primers/sealers can be coverage-rate specific and dependent on surface porosity.
– Underlayment thickness affects transitions and may change how you feather edges for leveling.
– Tile systems require correct thinset coverage based on trowel notch size and grout/backer board quantities based on layout.
Membranes and vapor barriers usually require overlaps and careful seam detailing, so their material area often exceeds floor area.
Primers/sealers are applied based on substrate porosity and label coverage rate, so treat primer as its own line item.
For tile, thinset amount depends on trowel notch size and coverage instructions—don’t assume it scales only by floor area.
What to include (and how to calculate each)
Use this system to avoid missing components:
– Primer/sealer (if required): Calculate using label coverage (ft² per unit) for your actual substrate condition, then include a modest overage for roller/brushing variation.
– Vapor barrier / waterproofing membrane: Start with floor area, then add overlaps (follow the manufacturer overlap guidance) and seam detailing allowance.
– Underlayment or backer board (tile): Calculate sheet count based on coverage, orientation, and layout (trim around posts and cut-ins).
– Thinset/mortar (tile/stone): Use label coverage tied to notch size and intended bond system. If notch size changes across the layout, calculate by tile zones or assume the larger notch if most of the floor uses it.
– Grout: Calculate from tile surface area plus grout depth guidance from the spec (manufacturer often provides coverage per unit for a defined grout joint width and tile thickness).
– Fasteners/edge trim/spacers: Usually depend on seams/edges and board layout (e.g., perimeter trim length often equals room perimeter).
Comparison you can sanity-check: when “coverage” is not the same thing
| Component | Area basis | Why coverage differs |
|---|---|---|
| Leveling compound / skim coat | Floor area × thickness | Volume-based; label yield assumes specific application and thickness limits |
| Thinset (tile) | Tile area × notch-specific coverage | Trowel notch size controls mortar bed thickness |
| Vapor barrier/membrane | Floor area + overlaps | Seams, overlaps, and detailing increase required square footage |
| Primer/sealer | Floor area adjusted by substrate | Porosity and surface profile change how much product is absorbed |
What Can Go Wrong (Common Basement Floor Calculation Mistakes)
Your estimate fails most often when you treat basement floors like uniform slabs and assume coverage rates apply perfectly. The fix is to enforce product thickness limits, use average thickness, and explicitly model overlap and patch depth.
Common mistakes are consistent enough that you can prevent them with a quick second pass:– Skipping thickness ranges: many levelers/mortars won’t perform outside their minimum/maximum application thickness.
– Using only “max depth”: planning by deepest point inflates volume (or, less commonly, underestimates if you mix up min vs max assumptions).
– Ignoring substrate condition: cracked or uneven slabs often require more prep, patching, and primer than expected.
– Forgetting waste allowances: basements have awkward cuts around plumbing, posts, and stair transitions—coverage is rarely perfect.
Most leveling and skim products specify minimum and maximum application thickness; ignoring those ranges can cause shrinkage or poor performance.
Coverage figures are typically calculated for a controlled application; uneven basement substrates and cut-ins increase material usage.
Primer and prep products can be just as critical to material quantities as the main floor compound, especially on porous or damaged slabs.
A note on moisture and adhesion (what calculations can’t solve)
Even the perfect quantity math can fail if moisture control or surface prep is wrong. If moisture is unknown, treat moisture mitigation as part of your planning scope. This article focuses on measurement and math; you still need system-appropriate bonding and moisture guidance from the product manufacturers.
Verdict: A Practical Way to Get Quantities Right (Without Overbuying)
Start with area, then thickness, then convert volume using the manufacturer’s labeled coverage/yield—this is the most reliable path to correct material quantities for basement floor systems. The downside is that your final numbers depend on substrate condition and product-specific thickness rules, so if your slab is badly uneven or moisture conditions are unknown, you may need more repair and leveling than expected.
If you’re working at large scale and the basement slab has visible cracking, spalling, or persistent dampness, don’t rush to buy full quantities. Consider doing a small test area to confirm adhesion/feasibility and to refine your real-world waste factor.
The most dependable quantity method is Area × Thickness, followed by conversion using the product’s stated yield or coverage at a defined thickness.
Before ordering, verify your planned thickness falls within the product’s minimum/maximum application range as shown in the manufacturer’s documentation.
Quick Checklist / Scan-Save Table
– Measure total floor area (break irregular shapes into rectangles/triangles)
– Confirm system type (concrete/leveler/thinset/tile/underlayment)
– Decide target thickness from product specs
– Estimate average depth (not just the deepest point)
– Convert volume → bags/units using coverage/yield from label/specs
– Add waste/overage allowance for cuts and mixing loss
– Calculate separate supporting materials (primer, membrane/vapor barrier, trim, grout)
– Re-check quantities against product minimum/maximum thickness limits
Basement Floor Quantity Audit (10-Minute Pass)
| # | What to Verify | Done? | Common Failure |
|---|---|---|---|
| 1 | Zone-based area totals | Assuming one thickness everywhere | |
| 2 | Average thickness, not max depth | Overbuying by deepest spot | |
| 3 | Thickness within min/max range | Using out-of-range layer depth | |
| 4 | Volume math unit consistency | Mixing inches and feet | |
| 5 | Conversion using label yield/coverage | Estimating from bag weight only | |
| 6 | Waste/overage included | No allowance for mixing loss/cuts | |
| 7 | Primer/prep quantity included | Forgetting sealer/primer line item | |
| 8 | Membrane/vapor overlap allowance | Treating membrane as 1:1 floor area | |
| 9 | Tile assembly components calculated separately | Ignoring notch size and grout joint assumptions | |
| 10 | Re-check zone totals and round up correctly | Rounding before adding zones/waste |
FAQ
How do I calculate basement floor leveling material if the floor is uneven?
Measure or estimate low-spot depth and use an average thickness across the room (or each zone) guided by the product’s minimum/maximum thickness requirements.
Should I add waste when buying self-leveling compound or thinset?
Yes—plan an allowance for mixing loss, uneven substrate coverage, and cut-outs around obstacles. Use a percentage only if it’s consistent with your application method; otherwise, rely on conservative allowance plus manufacturer coverage guidance.
Do I calculate vapor barrier or membrane the same way as the floor area?
Not exactly. Membranes and vapor barriers often require overlaps and seam/edge detailing, so your required material area is usually higher than the bare floor plan area.
What if my basement has posts, columns, or odd corners?
Break the space into measured shapes (rectangles/triangles), calculate each area, total them, and treat any thickness changes in separate zones rather than forcing one blanket thickness.
Can I use one material calculation for the whole basement?
Only if thickness and system details are consistent everywhere. If you have different flooring types, transitions, or required layer builds, calculate each area separately.
Verdict (final paragraph)
A dependable basement floor material takeoff comes down to disciplined inputs: measure accurate zone area, choose a compliant target thickness from the product documentation, convert volume using the label’s coverage/yield, and then add realistic waste plus separately calculated supporting layers like primer and membranes. If you do this in a second pass—especially checking average depth and overlap rules—you’ll avoid the two most expensive surprises: running short mid-project or buying too much and getting stuck with incompatible layer thicknesses. [ADD: If you share your room dimensions, planned system (self-leveler vs tile vs laminate), and product names, we can walk through a worked quantity example using the exact label yield/coverage.]
Sources
– [ADD: Manufacturer product label/spec sheet for coverage/yield and minimum/maximum application thickness for your leveling compound/thinset/mortar (use the exact product you plan to buy).]
– [ADD: Manufacturer installation instructions for vapor barrier/membrane overlap requirements and seam detailing method.]
– [ADD: Any relevant substrate preparation guidance from the same product manufacturers (e.g., primer requirements, surface profile/adhesion conditions).]
– NIST—Guide to SI Units and measurement conventions (for general unit relationships used in volume calculations).
Frequently Asked Questions
How do I calculate the square footage of a basement floor for materials?
Measure the length and width of the basement floor area and multiply them to get square footage (L × W). If the basement has irregular shapes, break it into smaller rectangles, calculate each area, then add the totals. To account for waste and cuts, add 5–10% to your measured square footage when planning for flooring, underlayment, leveling compound, or concrete-related materials.
How do I calculate concrete volume for a basement floor?
Calculate concrete volume by multiplying the floor area by the desired slab thickness (in feet): Area (sq ft) × Thickness (ft) = cubic feet. Convert cubic feet to cubic yards by dividing by 27, since one cubic yard equals 27 cubic feet. Always verify whether your basement floor requires a vapor barrier, insulation, or rebar/mesh, because those can affect thickness planning and material quantities.
What is the best way to estimate how much self-leveling concrete (or floor leveling compound) I need?
Start with the coverage rate from the product bag (usually listed as sq ft per bag at a specific thickness, such as 1/4 in). Then compute total thickness needed across the area and divide the total covered square footage by the product coverage rate to estimate bag count. Include a realistic waste factor—especially if the basement floor has dips or you’ll need feathering—so you don’t run short mid-project.
Which thickness should I use for a basement concrete slab, and how does it change material calculations?
The right slab thickness depends on use (light storage vs. vehicles), local building codes, and soil conditions, but typical residential basement floors often range around 3–5 inches. Once you choose thickness, recalculate concrete quantity using Area × Thickness to ensure your material estimates are accurate. If your design includes insulation or a thicker build-up for flooring systems, incorporate that into the overall plan so the right amount of concrete and floor prep materials are budgeted.
Why should I include moisture protection and subfloor layers when calculating basement floor materials?
Basements are prone to moisture, and missing a vapor barrier or proper underlayment can cause flooring failure, warping, or mold issues. When calculating material, include the area of the vapor barrier or waterproofing membrane (often plus overlaps and sealing materials), along with any subfloor/underlayment required for your finish flooring. Planning for these layers upfront helps you calculate total material needs more accurately and avoid unexpected add-ons during installation.
📅 Last Updated: October 11, 2026 | Topic: How to calculate material for basement floors? | Content verified for accuracy and freshness.
References
- Google Scholar Google Scholar
https://scholar.google.com/scholar?q=basement+floor+concrete+slab+material+takeoff+how+to+calculate+volume - Google Scholar Google Scholar
https://scholar.google.com/scholar?q=concrete+slab+estimation+materials+how+to+calculate+rebar+and+concrete+quantity - Google Scholar Google Scholar
https://scholar.google.com/scholar?q=floor+finish+material+estimate+how+to+calculate+square+footage+and+waste - Shallow foundation
https://en.wikipedia.org/wiki/Slab_on_grade - https://en.wikipedia.org/wiki/Concrete
- The Porsche Club of America
https://www.pca.org/search?q=how%20much%20concrete%20do%20i%20need - https://extension.umn.edu/building-materials/concrete
- https://www.cdc.gov/niosh/topics/flooring/
- Concrete – Pavement & Materials – Pavements – Federal Highway Administration
https://www.fhwa.dot.gov/pavement/concrete/ - Google Scholar Google Scholar
https://scholar.google.com/scholar?q=How+to+calculate+material+for+basement+floors?