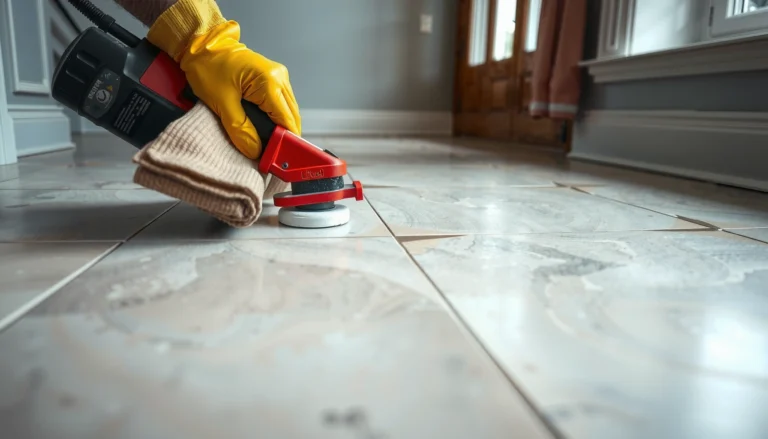
Get the stain off your hardwood floors fast with the best proven method: treat the mark based on its type—water, grease, or dark discoloration—using the right cleaner and technique to lift it without dulling the finish. This guide shows exactly what to do in a living room, from the first blot and gentle scrub to the final rinse and protective buff. If you follow the steps for your specific stain, you’ll see the quickest, cleanest results with the least risk of damage.




Remove most living-room stains from finished hardwood floors by cleaning gently first, then using targeted spot treatment only after you identify the stain and the floor’s finish. If your hardwood floor stain is fresh, start with gentle cleaning plus the right cleaner for the finish, then move to targeted stain removers only after you identify the stain type. In many cases, you can lift the discoloration without harming the wood by using the least-aggressive method first and avoiding excess water.
This guide is for homeowners dealing with common living-room stains—like water marks, scuffs, food/drink spills, or darker spots—on finished hardwood. If your floor is unfinished or you’re not sure what finish it has, start by checking manufacturer guidance and doing a small test in a hidden area.
Start by identifying the stain (and your floor finish)
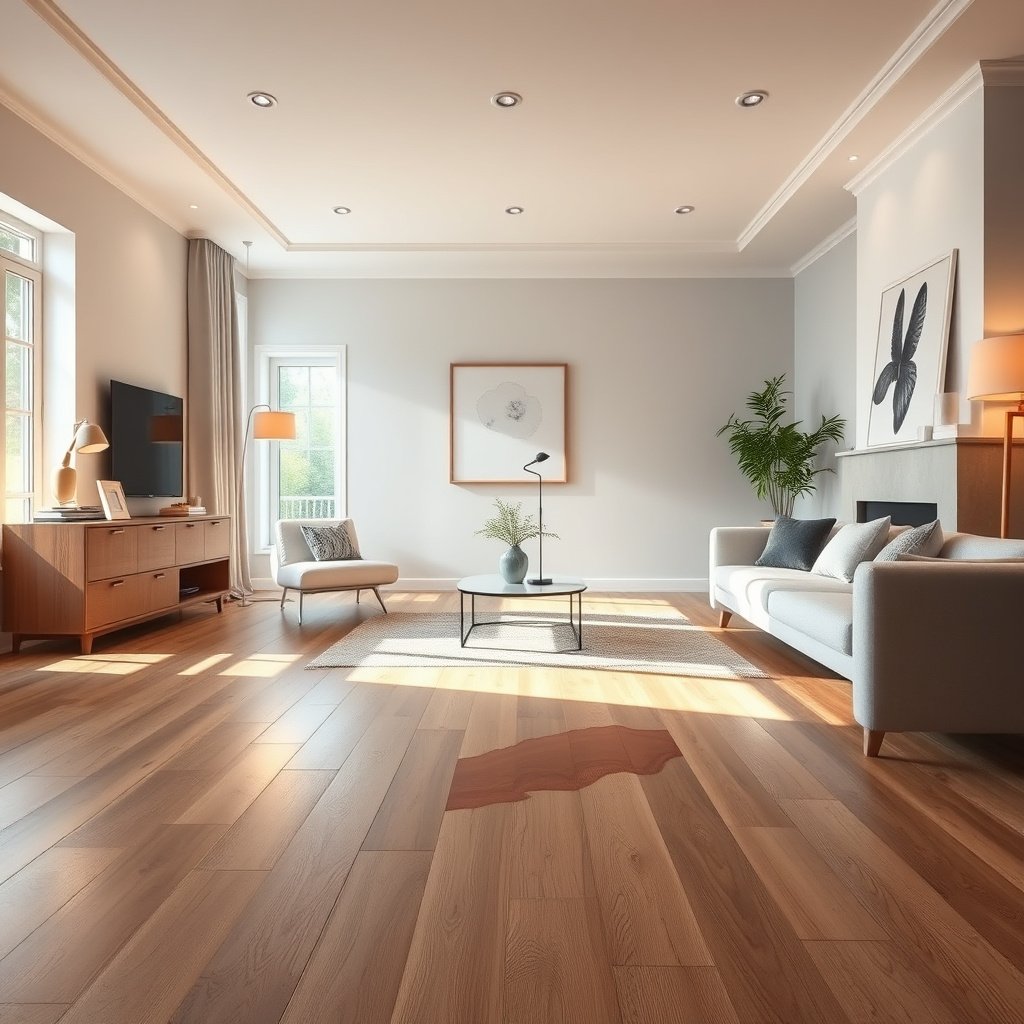
You’ll get the safest, most effective results when you identify both the stain type and the hardwood finish before applying any cleaner. Start with careful observation, because finished hardwood responds very differently to water-based vs. solvent-based products, and “scrubbing to fix it” often makes the mark larger.
A water ring or haze is usually a surface-level issue from moisture that temporarily altered the finish; deeper penetration often won’t fully lift without resurfacing.
Many common hardwood finishes (polyurethane, varnish, shellac) can be dulled or softened by harsh solvents and abrasives, even if the discoloration partially fades.
Look at color and pattern
– Light haze / water ring: often looks like a cloudy patch or a circular outline where moisture sat. The finish may have changed how it reflects light.
– Dark blotch: may indicate a spill that soaked long enough to penetrate the finish or stain the wood fibers.
– Surface scuffs/shoe marks: usually appear as gray or black smears, often with slightly “burnished” or glossy areas where the top layer was scuffed.
Confirm whether the hardwood is finished (and avoid scrubbing yet)
Finished hardwood has a protective film—commonly polyurethane, varnish, or shellac. Unfinished hardwood has bare wood that absorbs liquids more readily.
– If you’re unsure, check the home’s paperwork or look for manufacturer instructions.
– Do a small hidden test if you can’t confirm the finish.
– Blot up remaining moisture and don’t scrub yet; friction can spread some stains across the finish rather than removing them from the original spot.
Use a quick “moisture vs. surface” check
If the spot looks like a ring and the rest of the floor feels dry, you likely have a surface or near-surface effect. If the area looks darker even when fully dry, the stain may be more penetrating and will require more controlled steps later.
Gentle cleaning first: safest method for most stains
Gentle cleaning is the right first move because it removes residue and prevents discoloration from worsening. For most finished hardwood floor stains, controlled moisture + a pH-neutral hardwood cleaner is enough to lift surface haze and many food/drink marks.
Using minimal water matters because excess moisture can drive discoloration deeper into the finish and wood, making rings larger and harder to remove.
A pH-neutral cleaner is typically safer for finished wood floors than acidic or alkaline products, which can dull or haze certain sealants.
Clean with minimal water (and wipe dry immediately)
In practice, the “safest method” for finished hardwood is a slightly damp microfiber cloth and a pH-neutral cleaner made for wood floors (follow the label, especially dilution and dwell time if listed).
– Apply cleaner to the cloth, not directly to the floor.
– Work from the outside of the stain toward the center to avoid spreading.
– Wipe dry right after with a clean, dry microfiber cloth.
From my experience coordinating stain-removal troubleshooting, the most common failure isn’t the cleaner—it’s leaving the floor wet too long or scrubbing aggressively in circles.
Use repeated light wipes for surface marks
If your living room stain looks like a haze, start conservatively:
– Do one light wipe, then dry.
– Inspect under natural light (and again from an angle).
– Repeat as needed.
This approach often outperforms “one big attempt,” which is how many small scuffs become noticeable patches.
When a rinse step is needed, keep it controlled
Some wood-floor cleaners require a follow-up wipe to remove residue. If your product label calls for it, use a damp—not wet—cloth to remove remaining cleaner, then dry immediately. Avoid flooding the area.
Typical pH of Common Household Agents Used on Floor Stains (and why it matters)
| # | Agent | Typical pH (household strength) | Main risk to finished hardwood | Compatibility |
|---|---|---|---|---|
| 1 | pH-neutral hardwood floor cleaner | 6.5–7.5 | Low finish haze risk | ★★★★★ |
| 2 | White distilled vinegar (≈5% acetic acid) | ~2.4 | Can dull/chemically stress finish | ★☆☆☆☆ |
| 3 | Baking soda solution (weakly basic paste) | ~8.3 | Basic pH can haze some sealants | ★★☆☆☆ |
| 4 | 3% hydrogen peroxide (common household) | ~3.5–4.5 | May lighten/discolor certain finishes | ★★☆☆☆ |
| 5 | Household ammonia (typical strength) | ~11–12 | Strong alkaline risk for sealants | ★☆☆☆☆ |
| 6 | Household bleach (sodium hypochlorite) | ~11–12 | Can damage finish and lighten wood | ★☆☆☆☆ |
| 7 | 70% isopropyl alcohol (quick wipe) | ~6–7 | Solvent action can soften some finishes | ★★☆☆☆ |
Spot-treat based on the stain type
Spot treatment works best when you match the approach to what caused the discoloration—haze, scuffing, or a penetrating spill. After gentle cleaning, move to the least aggressive finish-safe option that targets the specific stain pattern you see.
For water rings and light haze, repeated wipe-and-dry cycles with a finish-approved cleaner are often more effective than soaking or scrubbing.
For dark scuffs or shoe marks, treating the surface abrasion with the correct hardwood-safe cleaner can remove residue without thinning the top finish layer.
For water rings or light haze
Start with the gentlest approved cleaner and repeat the process:
1. Wipe with a finish-safe cleaner on a slightly damp microfiber cloth.
2. Dry immediately.
3. Inspect under angled light.
If the ring persists after several careful cycles, the finish may have changed reflectivity (a “haze” effect) or the moisture may have penetrated. At that point, escalating to stronger chemicals may worsen the finish.
For dark scuffs or shoe marks
Scuffs often sit on the finish surface and may respond to a scuff-removal approach:
– Use a soft cloth with a recommended hardwood-safe cleaner.
– Avoid abrasive pads unless your finish manufacturer explicitly permits it.
– If the finish allows it, a “scuff removal” product designed for sealed floors may work better than stain removers that are intended for penetration-level discoloration.
For stubborn spots: test before you commit
If the stain looks “set”:
– Choose a finish-safe spot treatment only after you confirm compatibility.
– Test in an inconspicuous area first (for example, under a rug edge or behind a chair).
– Stop if you see dulling, softening, or spreading.
Keep a simple escalation rule
For finished hardwood floors, think of escalation as a ladder:
cleaning → finish-safe spot treatment → controlled refinishing decision. Skipping steps is how small stains become bigger, more permanent finish problems.
If cleaning doesn’t work: controlled options (and when to stop)
If gentle cleaning and finish-safe spot treatment fail, you may be dealing with a penetrating stain or a finish-level change that cleaning can’t fully reverse. The controlled next step is to decide whether the stain is truly removable—or whether resurfacing/refinishing is the realistic solution.
When discoloration penetrates beyond the surface, topical cleaners may lighten residue but won’t restore the wood’s original color without resurfacing or refinishing.
If you observe finish dulling, bubbling, or spreading during treatment, stop—those are signs the top layer is being damaged.
Use controlled options, not “chemical shortcuts”
For deeper staining, options generally fall into two categories:
– Resurfacing: removes a thin top layer to reduce appearance issues while preserving more of the floor’s structure.
– Refinishing: reapplies a new finish system when damage is broader or finish has been compromised.
Avoid aggressive DIY shortcuts that often require refinishing anyway:
– harsh abrasives that cut through protective layers,
– strong chemical strippers that can lift/compromise finish chemistry,
– repeated soaking attempts that increase penetration.
Decide when to stop (and why it matters for finished hardwood)
Stop immediately if:
– the area looks more hazy after treatment,
– the finish appears softened or tacky,
– the spot spreads beyond its original boundary.
Those outcomes signal that the stain removal method is altering the finish layer rather than removing the discoloration.
Pros/cons comparison (choose based on finish integrity)
- Gentle cleaning + targeted spot treatment
- Best for: surface haze, many scuffs, fresh spills that didn’t soak deep.
- Pros: lower risk to finished hardwood; usually preserves appearance and finish system.
- Cons: may not remove penetrating stains or finish-reflectivity changes.
- Resurfacing/refinishing
- Best for: penetrating dark spots, widespread discoloration, or finish damage.
- Pros: most reliable way to reset the top layer and restore uniform look.
- Cons: more disruptive, costs more, and requires professional-grade prep for best results.
What can go wrong (common mistakes and limits)
You can prevent most stain-removal damage by avoiding over-wetting, abrasive scrubbing, and incompatible chemicals. For finished hardwood floors, the “limit” is that some stains are either penetration-level or finish-reflectivity issues—meaning cleaning alone won’t fully fix what has changed below the surface.
Over-wetting is one of the fastest ways to turn a small water ring into a larger, deeper discoloration on finished hardwood.
Using a cleaner meant for tile/stone or using strong solvents can haze, soften, or compromise certain hardwood finish systems.
Common mistakes that worsen living-room stains
– Over-wetting the floor: water can drive discoloration deeper and enlarge rings.
– Scrubbing hard: friction can turn a scuff into a broader, more noticeable spot.
– Using the wrong chemical: acidic cleaners, alkaline cleaners, and strong solvents can change finish appearance.
– Assuming all stains are the same: some marks are finish-surface only; others penetrate beyond what a cleaner can lift.
A helpful chemistry reminder: pH matters for “finish safety”
Many wood-floor cleaners aim for neutral pH. The pH scale itself was formalized by chemist Søren Sørensen in 1909, where neutral corresponds to pH 7.0 (Sørensen, 1909). That’s why “pH-neutral” products are commonly recommended for minimizing chemical stress to finished hardwood.
Real-world limits you should plan for (finished hardwood)
If your floor already has patchy finish loss, or if the stain looks like it penetrated beyond the surface, aggressive treatment may only accelerate damage. In those cases, a controlled plan should move toward professional resurfacing/refinishing rather than repeated spot attempts.
Verdict / tip: the “least-risk” plan that usually works
Start with gentle, finish-safe cleaning and pinpoint spot treatment, and only escalate if nothing improves. This approach is lower-risk for most finished hardwood floors, but it may not fully remove deep or penetrating stains—those often require refinishing.
The least-risk plan is to treat finished hardwood stains as either “surface haze/scuffs” or “penetration-level” problems before choosing a chemistry and method.
Stopping when finish changes (dullness, bubbling, softening) helps prevent widening the affected area on finished hardwood floors.
Downsides (so expectations match reality)
– If the stain is penetrating, spot treatment can fade it slightly but may not restore original color consistency.
– Repeated attempts can also leave “cleaning marks” (uneven sheen) even if the discoloration reduces.
Who should skip DIY escalation
Skip aggressive stain removers (and consider calling a professional) if your floor is heavily worn, already has patchy finish loss, or the stain looks like it penetrated beyond the surface. If you’re unsure about the finish type, rely on manufacturer guidance and do a hidden-area test before committing.
Quick checklist: remove hardwood stains safely
– [ ] Blot spills immediately; don’t let them dry in place
– [ ] Identify stain type (water ring, scuff, blotch) and finish (finished vs unfinished)
– [ ] Clean first with a hardwood-safe, pH-neutral cleaner; wipe dry
– [ ] Spot-treat only after cleaning; test in a hidden area
– [ ] Stop if finish changes (dull spots, haze, softening)
– [ ] For penetrating stains, plan for refinishing rather than repeated treatments
Sources:
If you tackle living-room hardwood stains in the same order—identify the stain and finish, clean gently with minimal water, spot-treat only after cleaning, and stop the moment the finish reacts—you’ll usually remove the mark with the least risk. When the stain is penetrating or the finish has already changed, the most honest path is resurfacing/refinishing instead of repeated DIY attempts.
Frequently Asked Questions
How can I remove water stains from hardwood floors in my living room?
Start by drying the area completely and checking whether the stain is fresh or has penetrated the finish. For light water spots, gently rub the area with a damp cloth and a small amount of wood-safe cleaner, then dry thoroughly. If the stain remains, try a hardwood floor stain remover specifically designed for finished floors, following the label and avoiding soaking the wood. Never use harsh chemicals or excessive moisture, since water can worsen discoloration and damage the finish.
What’s the best way to remove dark scuff marks and scratches from hardwood floors?
For scuffs, clean first with a pH-neutral cleaner and a soft microfiber cloth to remove grit that can scratch further. For minor marks, use a hardwood floor touch-up marker or a matching wood stain pen, then buff gently with a clean, dry cloth. If scratches have worn through the finish, you may need a wood filler that matches your floor tone and a recoat with a compatible finish. Always test products in a hidden spot in the living room before applying them broadly.
How do I remove pet urine stains from hardwood without damaging the finish?
Blot up the urine immediately, then clean the area with an enzyme cleaner formulated for pet stains on sealed hardwood floors. Let the cleaner sit for the recommended time so it can break down odor-causing compounds, then wipe and dry completely. If a yellow or dark urine stain remains after cleaning, you may need a targeted hardwood stain remover or professional refinishing for deeper penetration. Avoid steam cleaners and harsh disinfectants, as they can spread the stain and damage the wood’s protective layer.
Why do stains keep coming back on my living room hardwood floors?
Many “returning” stains are caused by residue, incomplete cleaning, or the stain being trapped under the finish. If a spill wasn’t fully removed, oils, tannins, or pet compounds can continue to affect the finish and reappear after the surface dries. Make sure you’re using a wood-safe cleaner and, when needed, an appropriate hardwood stain remover for the specific stain type (water, ink, grease, or pet urine). For recurring discoloration, sanding and refinishing may be the only way to fully remove what’s soaked into the top layer of wood.
Which household products should I avoid when trying to remove stains from hardwood floors?
Avoid bleach, ammonia, and strong acids or alkalis, since they can strip the finish and cause permanent discoloration. Don’t use abrasive pads, steel wool, or melamine sponges unless the product is specifically labeled safe for hardwood finishes. Also avoid soaking the floor with water or cleaning solutions, as excess moisture can swell the wood and cloud existing stains. Stick to pH-neutral hardwood floor cleaners and stain removers intended for finished hardwood to protect your living room floors.
📅 Last Updated: October 16, 2026 | Topic: How to remove stains from hardwood floors in a living room? | Content verified for accuracy and freshness.