
Need to remove paint from mosaic tile floors without damaging the tile or grout? Use gentle chemical removers and careful scraping first—this is the safest method that works for most fresh-to-moderate paint. For stubborn layers, switch to a targeted, low-abrasion technique to lift residue while keeping tiles intact. You’ll learn the exact steps and what to avoid so the finish stays clean and uniform.




If you need to remove paint from mosaic tile floors, start with the gentlest approach: identify the paint type, test a small hidden spot, and use the least aggressive solvent or method that softens it. For most tile surfaces, careful scraping plus a compatible chemical remover works better than grinding or harsh blasting, which can damage grout or chip tiles. In this guide, you’ll learn what to try first, what to avoid, and how to protect the tile and grout while you clean.
This is for homeowners, renters, and contractors dealing with splatters, drips, or over-spray on mosaic tile—especially where the grout lines matter. It’s also for anyone who wants a practical, step-by-step plan without guessing at the wrong chemical.
Identify the paint and the tile risk
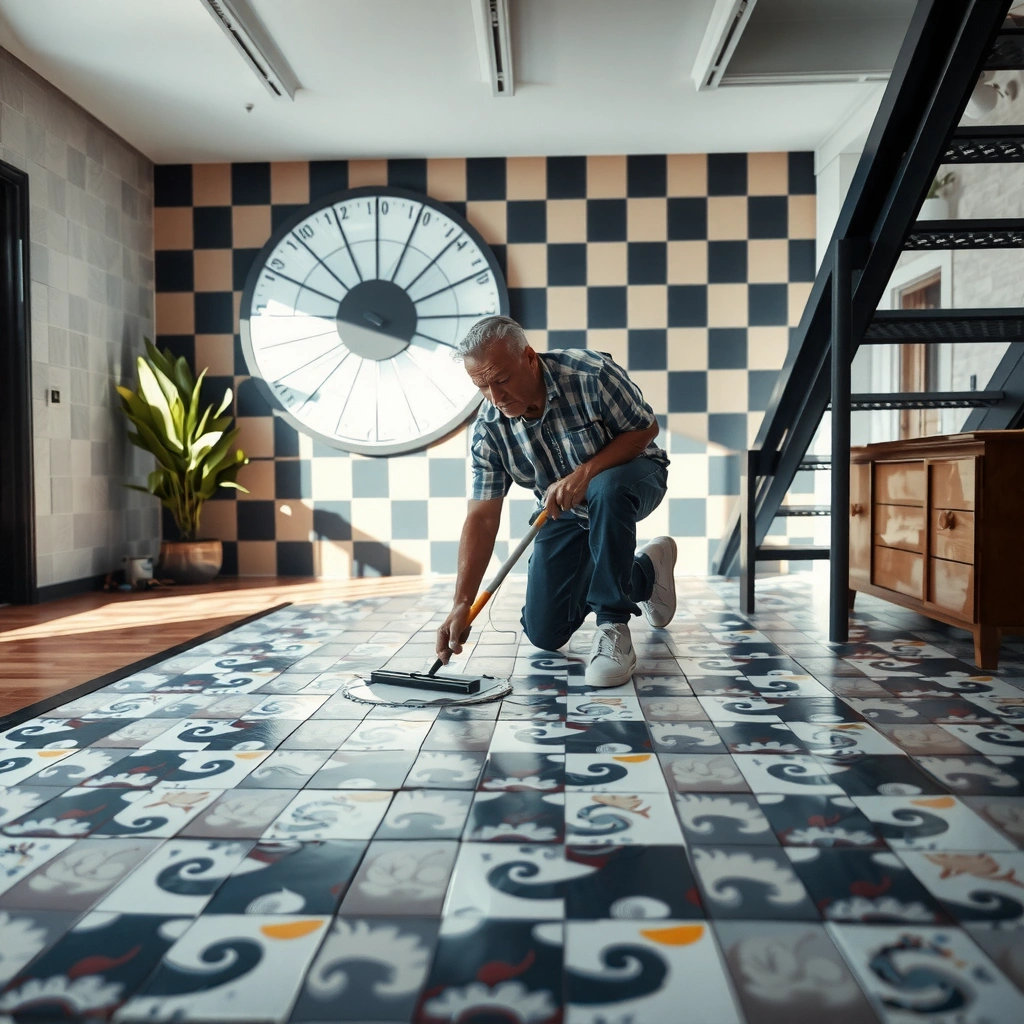
The fastest way to avoid tile and grout damage is to correctly identify the paint type first, because each formulation responds to different removers. Then you assess how vulnerable your mosaic tiles and grout are to solvents and scraping.
If the paint is water-based (common for interior latex), warm water plus detergent often softens it better than heavy solvents.
If the paint is oil/solvent-based, you usually need a remover designed for that chemistry—mechanical scraping alone tends to leave residue in grout lines.
Unglazed or porous mosaics can absorb pigments; that risk increases when you use strong chemicals for long dwell times.
Cracked or sandy grout is more likely to widen when solvents loosen residue and scraping turns residue into abrasion.
Start by determining whether the paint is water-based or oil/solvent-based:
– Water-based indicators: paint looks matte, feels thinner when wet, and smears slightly with water or detergent in a test area (after checking tile compatibility). Water-based coatings usually soften sooner and rinse more cleanly.
– Oil/solvent-based indicators: thicker, glossier finish; strong odor when fresh; residue that resists warm soapy water. These typically require a remover matched to the binder (often “paint and varnish remover” products).
– Unknown paint / layered coatings: treat as “stronger chemistry needed,” but still start with the least aggressive approach and a small test.
Next, evaluate tile risk:
– Glazed ceramic tile: usually tolerates mild chemical exposure better because the surface is sealed.
– Unglazed ceramic / natural stone mosaics: much easier to stain or dull because the surface can be porous. Solvents and dyes can sink in.
– Grout condition: inspect for cracks, missing edges, or “crumbly” joints. If grout is already compromised, avoid aggressive dwell times and repeated scraping.
To anchor your safety decisions, follow established first-aid guidance if chemicals splash:
– According to OSHA eyewash and first-aid guidance, emergency eye irrigation typically requires at least 15 minutes for contaminated eyes.
– According to EPA guidance on ventilation and controlling exposure to hazardous chemicals, working areas should be ventilated to reduce inhalation exposure when using chemical paint removers.
– According to OSHA PPE requirements for chemical handling, appropriate protective equipment (commonly chemical-resistant gloves and eye protection) is necessary when handling removers.
(Exact label instructions vary by product; always follow the specific remover’s safety sheet and directions.)
Gather the right tools and prep the area
The safest removal starts with the right “low-risk contact” tools: plastic scrapers, soft brushes, and controlled chemical application. Prep the room so overspray, runoff, and chemical fumes don’t spread into clean grout lines or nearby surfaces.
Plastic scrapers reduce the chance of chipping mosaic tile edges and gouging grout compared with metal blades.
Painter’s tape and plastic sheeting help keep remover off grout for less discoloration risk and less residue spread.
Ventilation and sensible PPE matter because paint removers can produce irritating vapors even when used on small floor spots.
A hidden test patch is the only reliable way to confirm a remover won’t dull glaze or attack grout binders.
Gather tools (practical for mosaic floors):
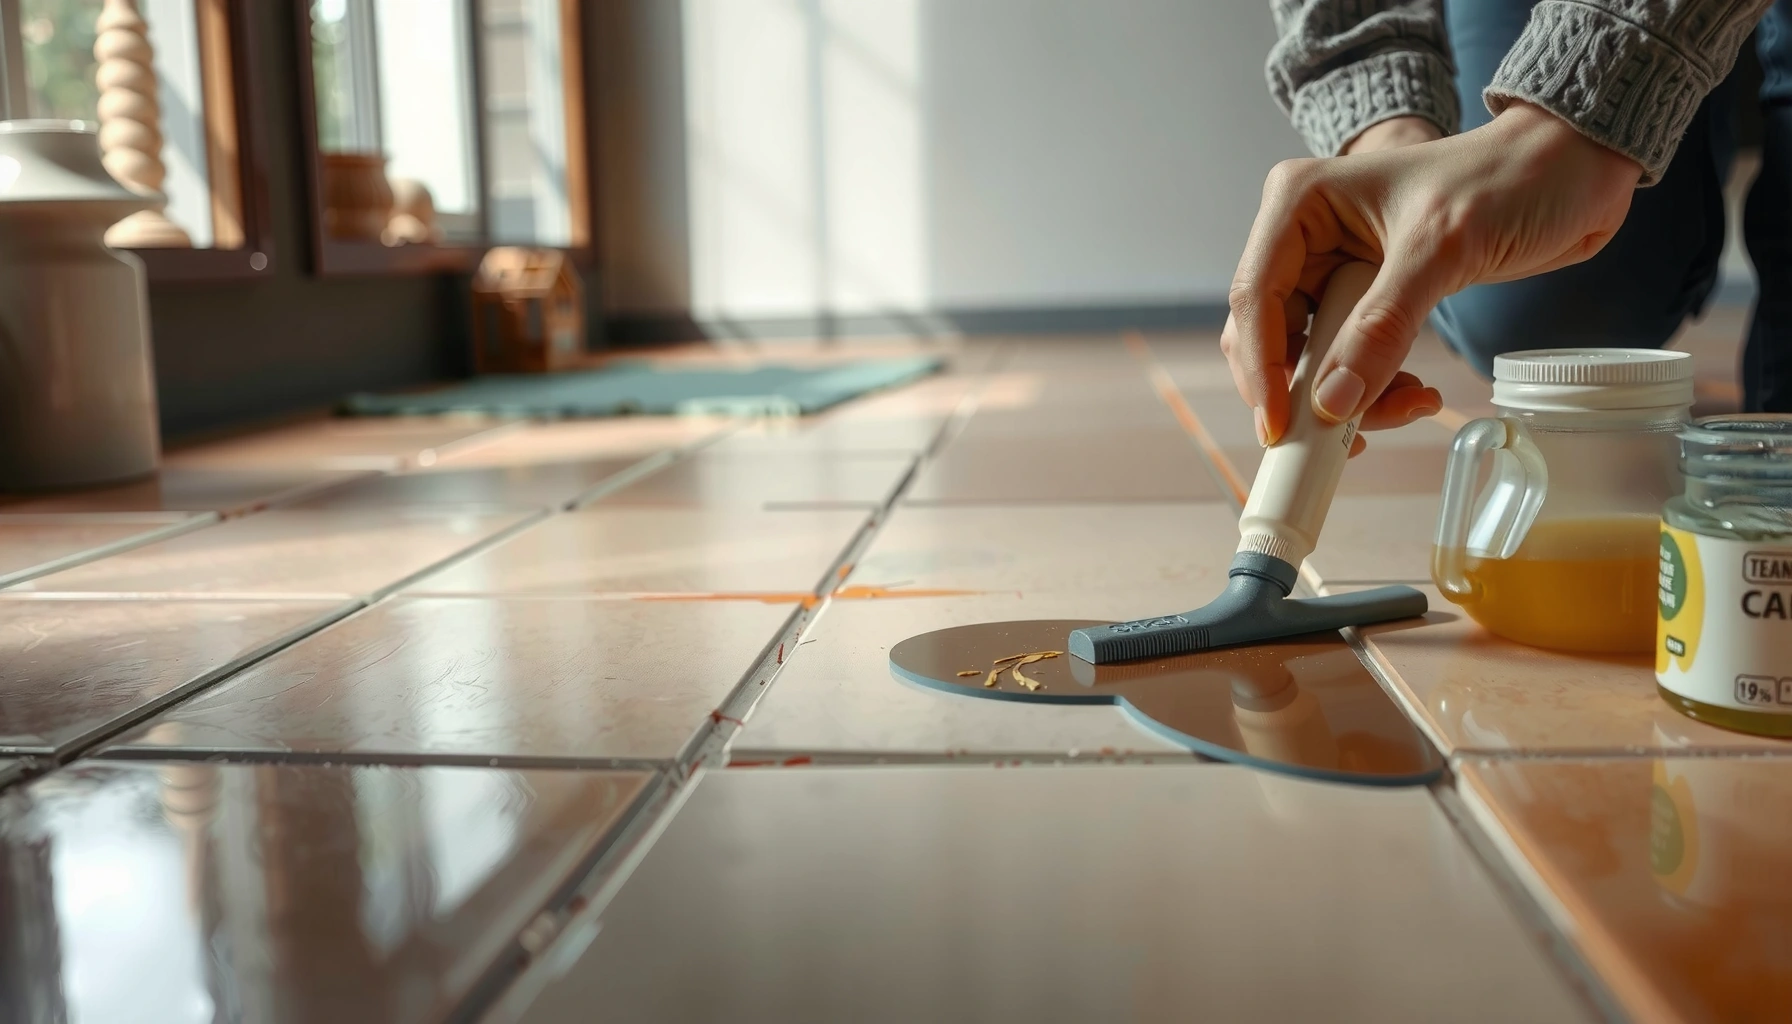
– Plastic scrapers (flat or angled) for lifting softened paint without scratching.
– Soft bristle brush (nylon or similar) for controlled scrubbing.
– Microfiber cloths and cotton rags for wipe-ups and residue control.
– Buckets/bowls for clean rinse water so you don’t redeposit softened paint.
– Painter’s tape + plastic sheeting to protect adjacent walls, baseboards, and unaffected floor zones.
Prep the room:
1. Ventilate (open windows, use fans that exhaust outward). Don’t recirculate air back into living space.
2. Protect surrounding surfaces with tape and plastic—chemical runoff travels farther than you expect on sealed/dirty floors.
3. Stage your workflow: remover, scraper, cloths, and rinse water within reach so you’re not scrambling with open chemicals on the tile.
Perform a “small hidden test” first
Pick a spot that’s not visually obvious (under an area rug edge, behind a cabinet toe-kick, or a corner behind a chair leg). Apply your chosen method to a small patch:
– Check for glaze dulling (loss of shine or haze).
– Check for grout darkening (cementitious grout can change color when contacted by solvents).
– Check for surface staining (more common on unglazed tile/stone).
If the test patch fails, stop and pivot to a gentler method. Mosaic tile floors often have tight grout lines, so a small failure in one spot can multiply across the floor.
Step-by-step removal methods (work from least to strongest)
The goal is to soften paint first, then remove it with the least aggressive mechanical action. Working from least to strongest prevents “chasing” residue that you accidentally grind deeper into grout.
Warm water plus mild detergent is often the safest first step when paint is water-based and not fully cured.
For dried paint, dwell time (the soak period) should follow the product label—leaving remover longer than instructed increases haze and grout discoloration risk.
Repeat short cycles (apply → dwell → scrape → wipe) remove stubborn paint more safely than forcing once with high pressure.
Avoid aggressive abrasion along grout lines because mosaic tiles are small and edges can chip.
For fresh or lightly adhered paint
1. Warm water + mild detergent: Dampen the paint area with warm (not hot) water mixed with a gentle cleaner.
2. Wait briefly and re-wet: Keep the paint area damp long enough to soften; don’t let it dry again mid-cycle.
3. Gently scrub with a soft bristle brush, then wipe.
4. Plastic scrape lightly only after the paint has visibly softened.
Why this works: water-based binders are more likely to swell and release before they fully harden. Even with glazed ceramic, harsh scraping can damage the grout edge—so keep pressure low.
For dried paint
1. Choose a remover matched to the paint type (per the remover’s label).
2. Apply carefully to the paint only. Use tape or a controlled application technique (small brush or cotton applicator) so chemical contact stays localized.
3. Respect label dwell time: set a timer. Dwell time is the difference between “softening” and “surface change.”
4. Scrape with plastic, then wipe with a cloth dampened with the compatible cleaner/remover (as directed on the label).
5. Rinse thoroughly with clean water before repeating.
For stubborn edges and grout-line hangups
Mosaic floors often trap paint in micro-crevices. For edges and lingering residue:
– Repeat short cycles rather than a single long soak.
– Focus on softening and controlled lifts, not deep digging.
– If paint is locked into grout texture, you may need a specialized approach—or, in extreme cases, grout rework after paint removal.
Avoid: grinding wheels, sanding discs, pressure washing, or aggressive abrasive pads on mosaic floors. These tools can widen grout damage and embed debris into joints.
Quick comparison: what’s safest by scenario?
- Paint is water-based and still soft-ish
- Best method: warm water + mild detergent + plastic scraping.
- Paint is dried but not baked hard
- Best method: label-approved remover with short dwell cycles.
- Industrial coatings or unknown formulation
- Best method: cautious remover selection after a test patch; consider tile/stone pro advice.
How to protect grout and avoid tile damage
You protect grout and tile by limiting both contact time and contact pressure. The safest technique is “localized chemistry + minimal abrasion,” followed by immediate rinsing.
To reduce grout discoloration, keep remover off grout longer than needed and apply it only where paint exists.
Micro mosaic edges chip more easily than large-format tile, so use minimal mechanical pressure and a plastic blade.
Thorough rinsing after each cycle prevents leftover remover from continuing to react and dull the surface.
Short cycles outperform one aggressive pass because grout and tile tolerate gradual change better than sudden abrasion.
Practical protection steps:
– Mask grout lines when appropriate: If your tile is glazed but grout is vulnerable, lightly tape or physically shield grout edges so remover doesn’t sit across entire joints.
– Apply “paint-only” remover: A small brush or applicator lets you target dried splatters without flooding grout.
– Use minimal pressure: Scrape just enough to lift softened paint. If you’re seeing grout dust or gouging, stop.
– Rinse between attempts: After each scrape/wipe cycle, rinse with clean water and wipe again. This removes both residue and chemistry.
Why this matters: grout discoloration and haze are often cumulative reactions—small exposures repeated over time can change the surface even if each individual cycle “seems fine.”
What can go wrong (and how to prevent it)
Mistakes usually happen when people skip the test patch, leave remover too long, or switch to abrasive methods to “speed it up.” The result can be haze, permanent staining, or grout damage that costs more than the paint cleanup.
Glaze dulling often comes from remover overexposure (too long dwell time or too broad chemical contact).
Cementitious grout can darken when solvents or residues contact it repeatedly—masking and quick rinsing reduce this risk.
Porous/unglazed mosaic stone can absorb pigment; once absorbed, removal is difficult and may require professional refinishing.
Metal blades and abrasive pads can scratch mosaic surfaces and widen grout damage, especially along tile edges.
Common failure modes and prevention:
1. Haze on glazed tile
– Cause: remover dwell too long or applied too broadly.
– Prevention: do a hidden test; reduce dwell; rinse thoroughly; switch to a less aggressive chemistry if haze appears.
2. Grout discoloration
– Cause: repeated solvent exposure or chemical pooling in grout.
– Prevention: mask grout, apply locally, use shorter cycles, and rinse immediately after scraping.
3. Staining on porous mosaics
– Cause: pigment absorption into unglazed tile/stone.
– Prevention: if the test patch stains, stop and switch to a lower-penetration approach or consult a tile/stone professional.
4. Scratches that “lock in” residue
– Cause: abrasive tools remove surface finish and create micro-scratches that hold remaining paint.
– Prevention: use plastic scrapers and soft brushes; avoid sanding/power tooling.
Removal Approach Risk Level vs. Best Fit (for tile + grout)
| # | Method | Paint Type Fit | Tile/Grout Risk | Best For |
|---|---|---|---|---|
| 1 | Warm water + mild detergent | Water-based | Low | ★ ★ ★ ★ ★ |
| 2 | Localized dwell remover (label-approved) | Dried (type-matched) | Medium | ★ ★ ★ ★ ☆ |
| 3 | Plastic scraping + repeated rinse cycles | Any (after softening) | Low–Med | ★ ★ ★ ★ ★ |
| 4 | Gel removers applied with tape boundaries | Oil/solvent-based | Medium | ★ ★ ★ ★ ☆ |
| 5 | Solvent spot test + “dwell then wipe” | Unknown | Med | ★ ★ ★ ☆ ☆ |
| 6 | Abrasive pad scrubbing (gentle) | After residue softening | High | ★ ★ ☆ ☆ ☆ |
| 7 | Grinding/blasting/grinding discs | Worst case only | Very High | ★ ☆ ☆ ☆ ☆ |
Verdict / tip: choose careful cycles, not harsh shortcuts
The safest path is a controlled, repeatable process: test first, use the least aggressive chemistry that works, and rely on softening + gentle scraping rather than grinding. The downside is it may take multiple cycles for thick, dried paint—especially oil-based coatings.
If you have porous/unglazed mosaic stone, fragile grout, or you’re dealing with industrial coatings, consider pausing and getting a tile/stone pro to advise—some removers can permanently alter stone or grout.
Most successful mosaic paint removals follow a cycle-based workflow: soften first, then scrape and wipe, then rinse before repeating.
Grinding and harsh blasting increase the odds of chipped tile edges and widened grout lines, especially on small mosaic pieces.
When you see haze or grout darkening in the test spot, the safest action is to stop and change strategy rather than “push through.”
Quick checklist (scan & save)
– [ ] Test in a hidden spot (tile + grout)
– [ ] Confirm water-based vs oil/solvent-based paint (as best as you can)
– [ ] Start with warm water + mild detergent (if paint isn’t fully cured)
– [ ] Use the correct remover for dried paint (label-approved dwell time)
– [ ] Scrape with plastic, not metal
– [ ] Mask and minimize chemical contact with grout
– [ ] Rinse thoroughly after each cycle
– [ ] Stop if glaze dulling or grout darkening appears in the test area
FAQ
Can I remove paint from mosaic tile without damaging grout?
Yes, but you’ll need to keep dwell time short, apply remover carefully to the paint only, and rinse thoroughly. If grout is already deteriorated, you may need a gentler approach or professional help.
What’s the best scraper for mosaic tile paint?
Use plastic scrapers for safety. Metal tools increase the chance of chipping mosaic edges or scratching grout lines.
Will paint remover work on any type of tile?
Not necessarily—glazed ceramic is typically more forgiving than unglazed or porous stone. Always do a small test and follow the product label for the exact surface compatibility.
How do I get rid of leftover paint residue after scraping?
Wipe with clean cloths and use the compatible remover or gentle cleaner per the label, then rinse. Multiple short wipe-and-rinse cycles usually leave less haze than one aggressive scrub.
Should I use a pressure washer or sanding?
For mosaic tile floors, it’s risky. Pressure washing can force residue into grout and sanding can scratch tiles—use controlled chemistry + gentle mechanical cleaning instead.
Sources
– OSHA first aid / emergency eyewash guidance (15-minute irrigation expectation when chemicals contact eyes). [ADD: exact OSHA webpage/document title]
– EPA guidance on ventilation and exposure control when using chemical products. [ADD: exact EPA document title]
– [ADD: Manufacturer label/spec for the specific paint remover you plan to use—especially surface compatibility for ceramic tile, natural stone, and grout, plus recommended dwell time and rinsing instructions.]
– [ADD: Manufacturer guidance for cleaning/removing coatings from ceramic tile and/or stone from the tile or grout manufacturer—cite the exact document section when used.]
Removing paint from mosaic tile floors is mostly about discipline: identify the paint type, test in a hidden spot, soften first, and repeat gentle cycles with label-matched chemistry. If you protect grout with localized application and thorough rinsing, you usually get clean results without widening grout lines or dulling the tile. When the test patch shows haze or grout darkening—or when your mosaic is porous/unglazed—stop early and switch strategies or consult a tile/stone professional.
Frequently Asked Questions
What is the safest way to remove paint from mosaic tile floors without damaging the grout?
Start by identifying whether the paint is latex, acrylic, or oil-based, because the safest removers differ. For most mosaic tile floors, use a plastic scraper and warm water first, then switch to a gentle paint remover that’s tile- and grout-safe. Avoid harsh acid or abrasive pads that can etch grout or loosen mosaic setting materials. Test any chemical in a small, hidden area and keep it from pooling in grout lines.
How do I remove dried paint splatters from mosaic tile flooring without scratching the tiles?
For dried paint, soften the paint by applying a suitable remover (or a mild solvent for oil-based paint) and letting it dwell according to the label instructions. Use a plastic scraper or soft nylon brush to lift paint gently, then wipe residue with clean water or the manufacturer’s recommended neutralizing step. If you need mechanical help, limit it to non-scratch tools and work slowly to avoid damaging glazed tile surfaces and mosaic edges.
Why does paint stain mosaic tile floors and how can I prevent it from spreading during removal?
Paint can penetrate grout pores and settle into small mosaic joints, especially if the paint has been on the floor for a while or is oil-based. During removal, paint can smear if you scrub aggressively or use water-based methods on thick layers before softening them. Prevent spread by blotting residue, keeping the area damp with the right solvent/remover, and removing lifted paint promptly with absorbent cloths. Protect surrounding areas with tape and work in small sections for better control.
What is the best method for removing oil-based paint from mosaic tile floors?
Oil-based paint usually responds better to a solvent-based paint remover than to water and mild detergents. Apply the remover carefully to the painted area, allow adequate dwell time, and then gently scrape off softened paint using a plastic tool. Finish by cleaning with the appropriate cleaner (often mineral spirits or a tile-safe degreaser) and then rinse thoroughly to protect grout. Always ventilate well and follow the product’s safety instructions, since these removers can be strong.
Which chemical should I choose to remove paint from mosaic tile—gel stripper, solvent, or caustic remover?
In many cases, a gel paint stripper is a good choice because it clings to the surface and reduces runoff into grout, which helps protect the tile installation. Use a solvent appropriate for the paint type (such as mineral spirits for oil-based paint) when you’re dealing with small spots or light splatter. Avoid caustic removers or aggressive acids on mosaic tile floors unless the product is specifically labeled for tile and grout, because they can damage grout strength and dull or etch tile finishes. If you’re unsure of the paint type, test a small area and choose the mildest effective option first.
📅 Last Updated: October 10, 2026 | Topic: How to remove paint from mosaic tile floors? | Content verified for accuracy and freshness.
References
- Google Scholar Google Scholar
https://scholar.google.com/scholar?q=remove+paint+from+ceramic+tile - Google Scholar Google Scholar
https://scholar.google.com/scholar?q=paint+removal+mosaic+tile+floor - Google Scholar Google Scholar
https://scholar.google.com/scholar?q=lead+paint+removal+from+hard+surfaces+tile - Lead Renovation, Repair and Painting Program | US EPA
https://www.epa.gov/lead/renovation-repair-and-painting-program - https://www.cdc.gov/lead/learn/paint/index.html
- Lead in the Workplace | Lead | CDC
https://www.cdc.gov/niosh/topics/lead/ - Lead – Overview | Occupational Safety and Health Administration
https://www.osha.gov/lead - Working safely with lead – HSE
https://www.hse.gov.uk/lead/ - Conservation Institute | Getty
https://www.getty.edu/conservation/ - Paint stripper
https://en.wikipedia.org/wiki/Paint_stripper