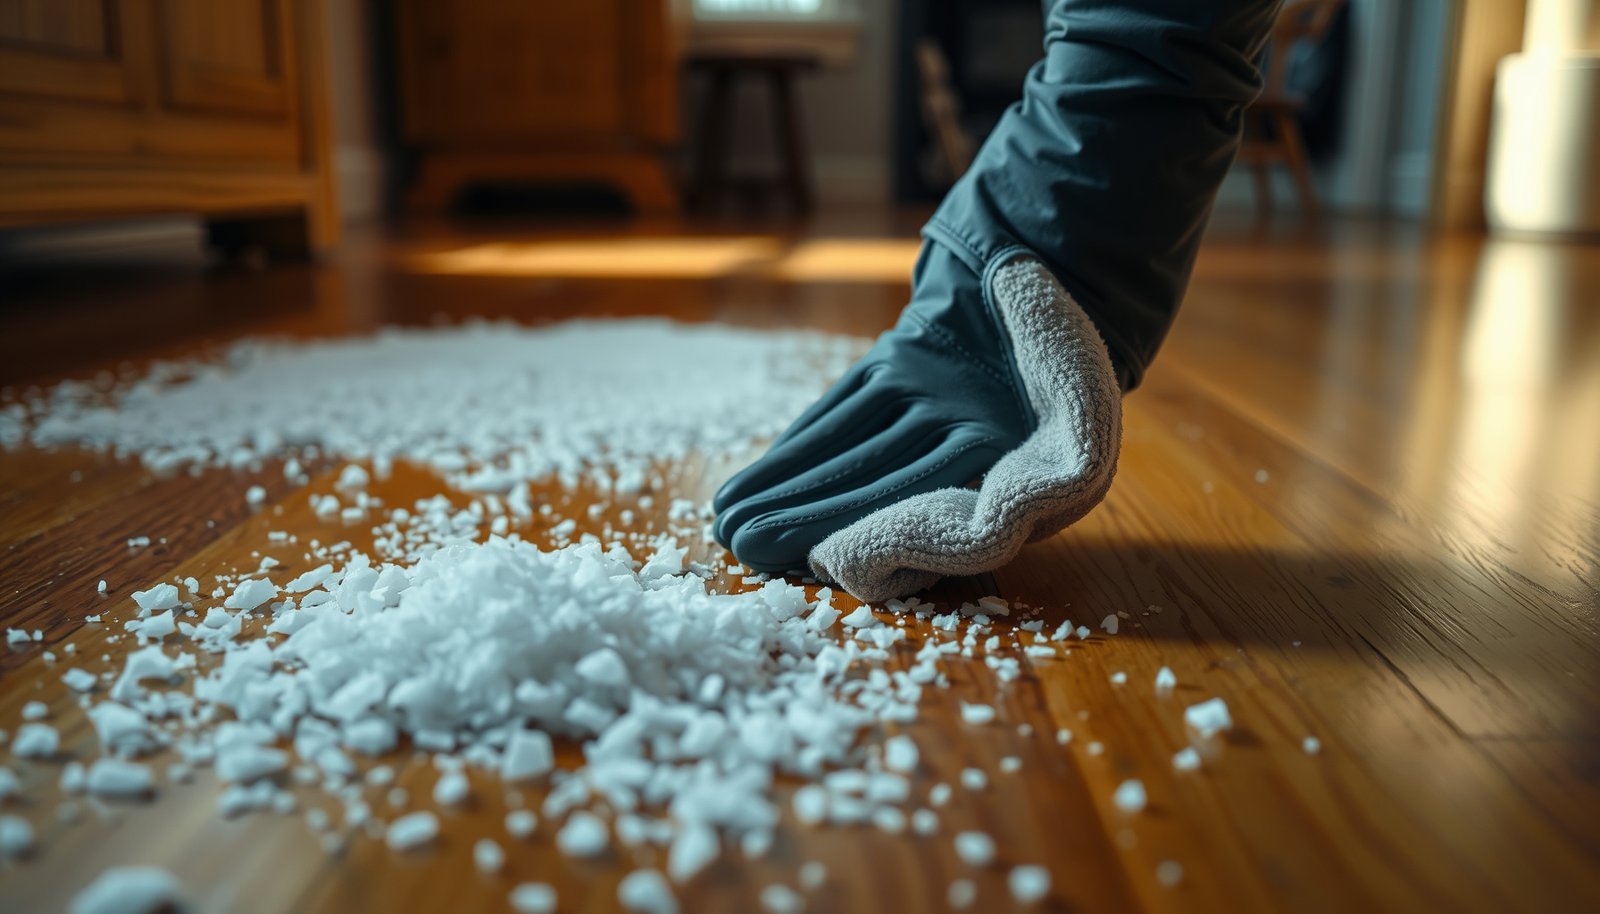

Fresh road salt tracked onto hardwood can spread quickly and leave gritty residue that dulls the finish. You may feel anxious knowing salt can also draw moisture into the wood. You can remove it safely with soft towels, a vacuum with a brush attachment, cool water, and a pH-neutral hardwood cleaner, taking roughly 10–15 minutes from start to finish.



Fresh road salt can dull or damage hardwood finishes quickly, but you can usually prevent lasting harm by blotting first, then using barely-damp wipes (minimal water) followed by immediate drying. Start by lifting what you can see, then dissolve the residue with a wrung-out microfiber cloth—never by flooding the floor or scrubbing dried crystals into the finish.
If your hardwood is showing salt crust, cloudy spots, or a sticky film after a snowy walk-in, this is for you. It’s also useful if you’re trying to clean “right now” rather than waiting days for the salt to dry in.
Step 1: Act fast—don’t let salt sit on hardwood
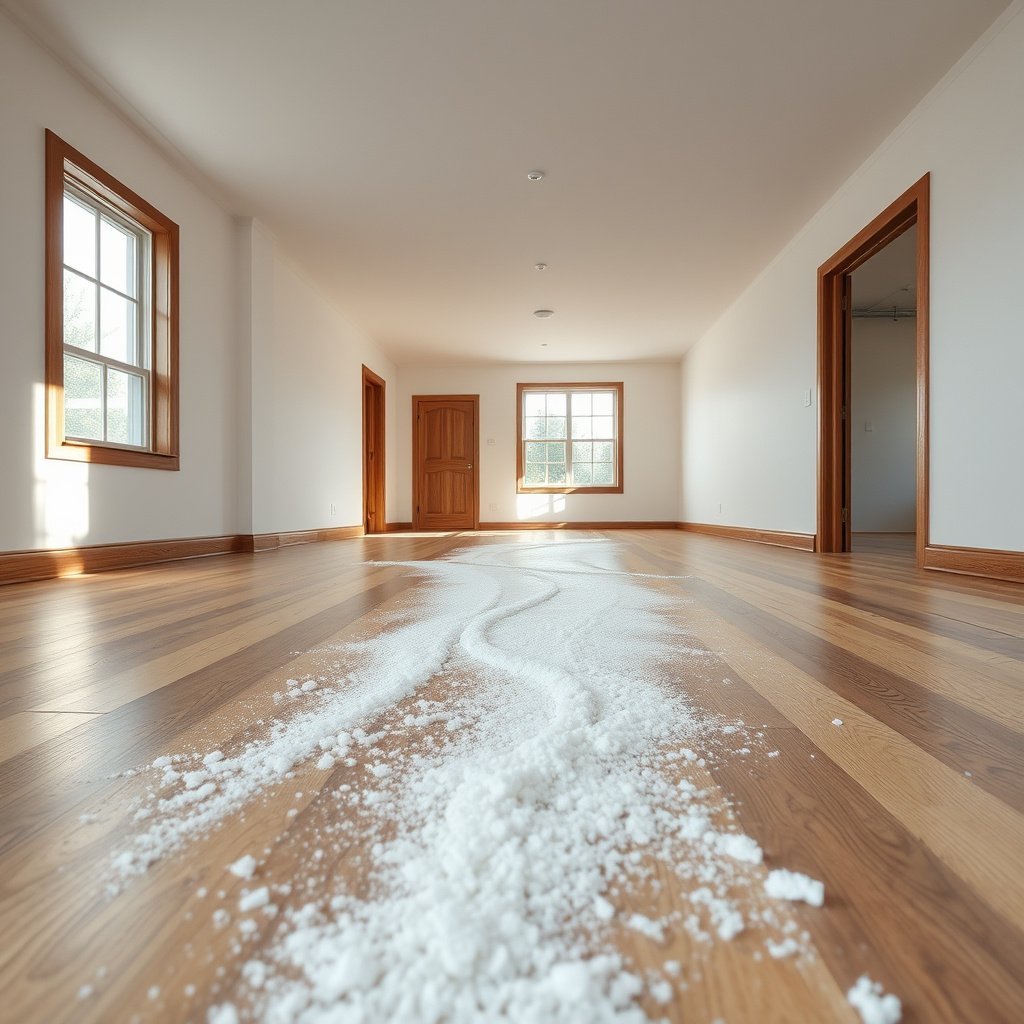
Salt damage is mostly about time plus water movement, so the best outcome comes from removing the crystals as soon as you notice them. The safest approach on finished hardwood is to blot and lift first, then move to minimal, finish-safe wiping.
– Remove loose salt right away by blotting with a dry towel or paper towels (avoid scrubbing first).
– Work small areas at a time so you’re not dragging salty residue across the floor.
– Don’t use a lot of water up front—salt dissolves, then becomes harder to control and can creep under seams.
Salt dissolves readily, and that’s exactly why “quick but careful” matters. For example, sodium chloride solubility is about 359 g/L at 25°C (NIST Chemistry WebBook, accessed 2026), meaning even a small spill can quickly become a salty film if you over-wet. For hardwood floors, that’s a risk because moisture can spread grime, stress seams, and carry salts deeper into the finish layer.
Step 2: Prep the right tools (finish-safe cleaning basics)
The right tools reduce water exposure and prevent accidental abrasion, which is where most finish problems start. Before you touch the floor, assemble everything so you can blot, wipe, rinse-wipe, and dry without pausing.
– Gather: dry towels/paper towels, soft microfiber cloths, and a bucket of clean water (warm, not hot).
– Choose a “mild” cleaner only if your finish allows it—otherwise stick to water-dampened wiping and follow the hardwood/finish manufacturer’s guidance.
– Have a fan or open-air ventilation ready so you can dry quickly after each rinse/wipe.
One reason salt-cleaning strategy is consistent across manufacturers is that the finish layer is still part of a moisture-management system. Even when hardwood looks sealed, excessive wetting can change how dust and residue bond to the surface. Wood science references note that wood can absorb moisture until it reaches the fiber saturation point (often around 28–30% moisture content, depending on species) (USDA Forest Service, Forest Products Laboratory—Wood Handbook, 2010). You don’t need to reach that level for problems to show up—you just need enough moisture movement to relocate salts and haze under a film.
De-icers Common in Snow Regions: Chloride Content vs. Finish-Friendliness
| # | De-icer (active compound) | Typical ion | Chloride by mass | Finish-friendliness rating |
|---|---|---|---|---|
| 1 | Sodium chloride (NaCl) | Cl⁻ | 60.7% | ★☆☆☆☆ |
| 2 | Calcium chloride (CaCl₂) | Cl⁻ | 63.9% | ★★☆☆☆ |
| 3 | Magnesium chloride (MgCl₂) | Cl⁻ | 74.4% | ★★☆☆☆ |
| 4 | Potassium chloride (KCl) | Cl⁻ | 47.6% | ★★★☆☆ |
| 5 | Sodium bromide (NaBr) | Br⁻ | 0% | ★★★★★ |
| 6 | Potassium acetate (CH₃COOK) | acetate (CH₃COO⁻) | 0% | ★★★★★ |
| 7 | Urea (CO(NH₂)₂) | urea | 0% | ★★★★★ |
Notes on the table: this “finish-friendliness” rating is a chloride-content proxy for residue risk, not a guarantee of safety. Even non-chloride de-icers can leave deposits that require proper, finish-safe cleaning on hardwood floors. For chemistry reference values (molar masses), see standard chemistry data sets such as NIST (NIST Chemistry WebBook, accessed 2026).
Step 3: Remove fresh road salt without soaking
The fastest finish-safe method is a repeated cycle of lifting dry crystals, then dissolving residue with a barely-damp wipe, followed by immediate drying. This prevents the “dissolve → spread → dry into haze” sequence that often shows up on hardwood floors after snowy tracking.
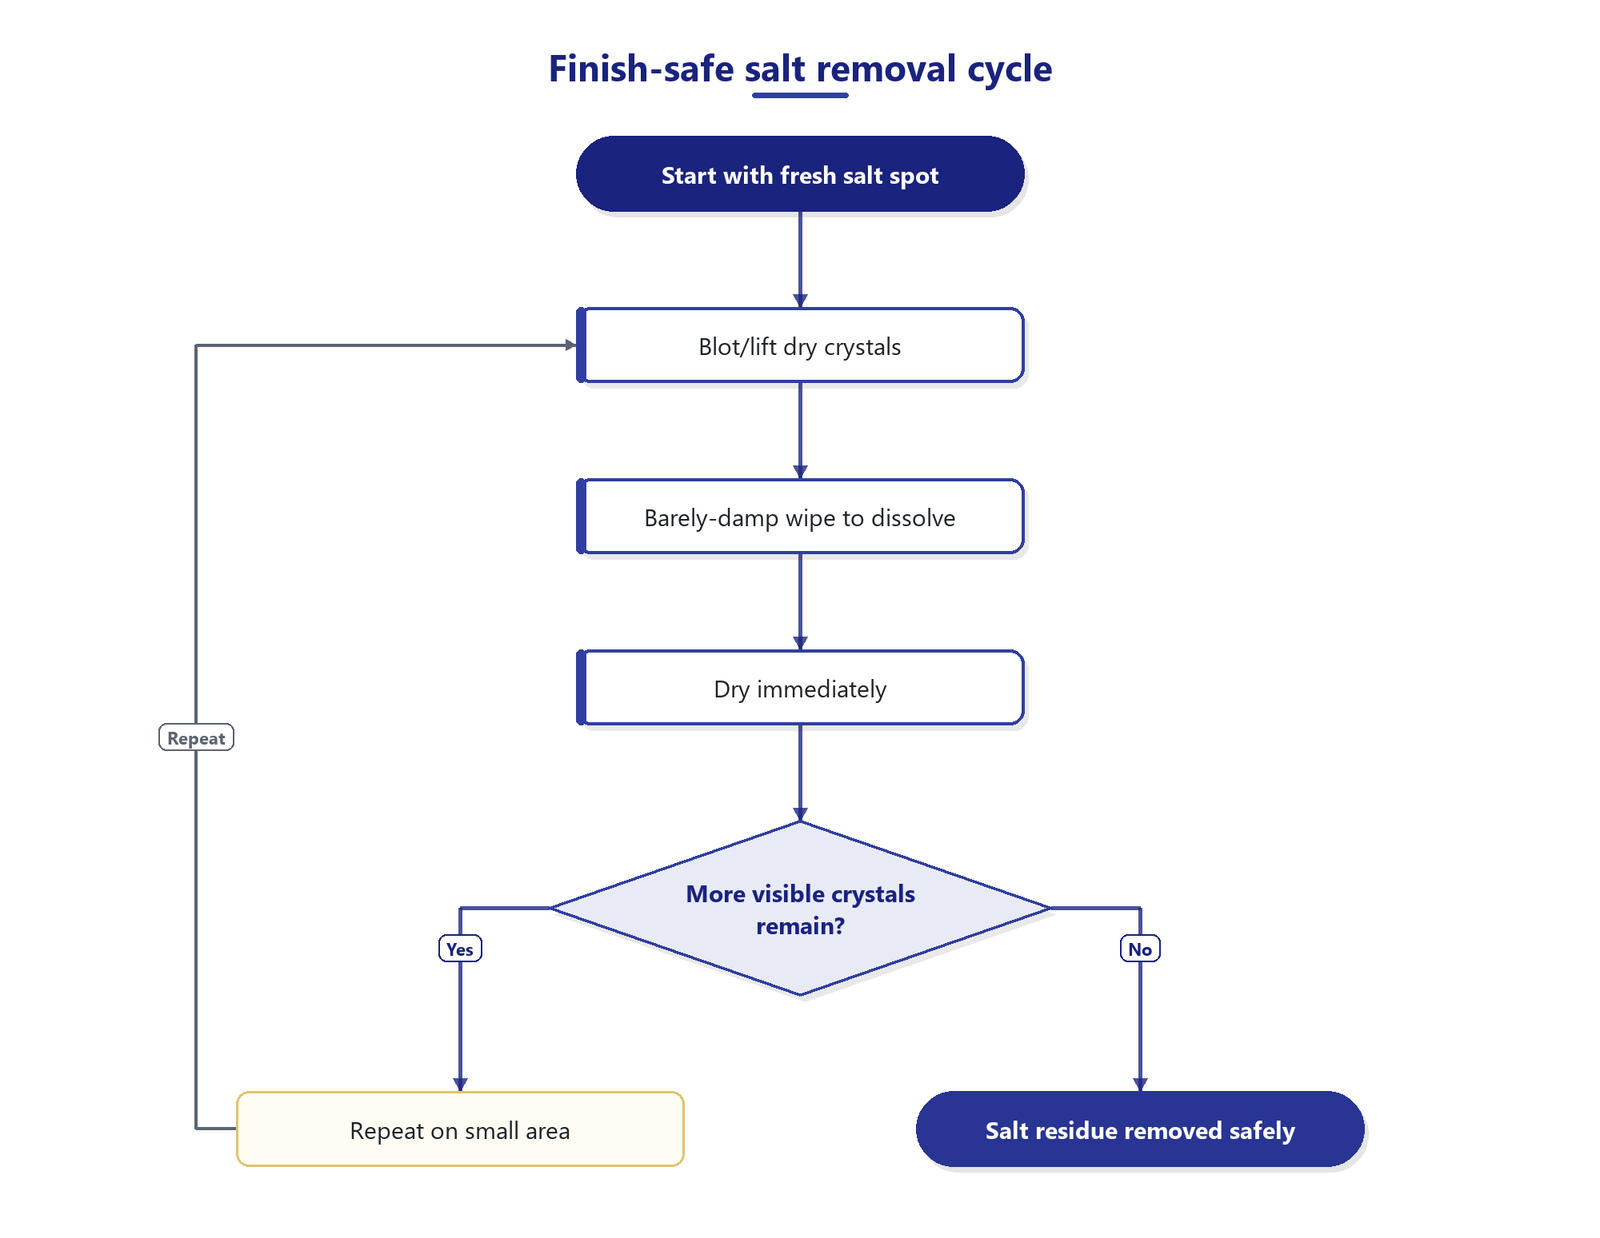
– Lift/dry phase: Blot the salted area until no more visible crystals transfer to the cloth.
– Minimal rinse phase: Wring a microfiber cloth very dry (damp, not wet), wipe the area to dissolve remaining salt, then immediately wipe again with a fresh, clean damp cloth and finally a dry towel.
– Repeat carefully: If you still feel residue or see haze, repeat the damp wipe cycle—don’t flood the area or let water pool at edges.
Here’s why minimal water is non-negotiable: road salt becomes a brine as it dissolves, and brine can migrate along micro-gaps and seams. Also, solid salts can physically “tread” into the finish. Sodium chloride solid density is about 2.165 g/cm³ (NIST Chemistry WebBook, accessed 2026), which helps explain why crystals can leave behind stubborn residue even after you think you “got it all.” A barely-damp wipe dissolves and lifts that residue without turning the entire cleaning area into a salt-water slurry.
If you’re deciding between “wipe” and “mop,” choose wiping. A damp wipe lets you control water quantity, while mopping risks water pooling at edges and wicking into joints—especially in high-traffic entry paths.
| Method comparison (for fresh road salt) | Pros | Cons / risk |
|---|---|---|
| Blot → barely-damp rinse-wipe → dry fast | Controls water, lifts residue, reduces haze | Requires quick repetition and good drying |
| Wet mopping / leaving puddles | Can “look” cleaner immediately | Increases brine migration and finish haze on hardwood floors |
If you want a practical pace: work in small sections (the size of one or two arm sweeps). After each damp wipe, dry with a clean towel before you move to the next section, so your hardwood floors don’t sit in a moisture-salt mix.
Step 4: Dry thoroughly and check for film or haze
The moment you finish the last wipe, you should dry and inspect—because salt-related damage often appears after the surface dries. On hardwood floors, cloudiness and rough spots are the early warnings that residue or finish disruption remains.
– Dry immediately with clean towels, then leave the area clear so air can move across it.
– After the floor is fully dry, inspect for cloudiness, white specks, or rough spots that may indicate salt/alkaline residue affecting the finish.
– If you have wax or an oil finish, follow that system’s re-care instructions—some finishes tolerate different cleaners than others.
Look closely along traffic lines, because that’s where salt is usually concentrated. Clouding can be trapped residue, finish haze, or early etching. If you used only damp water and still see haze after drying, the issue may be finish-related—not just residue. This is why inspection after drying is part of the finish-safe workflow for hardwood floors.
Also check corners and along baseboards. Salt brine loves edges, and that’s where it can pool during quick cleanups. Use a dry towel to “capture” any moisture you accidentally introduced.
Step 5: What can go wrong (and how to avoid it)
The most common failures are preventable: over-wetting, scratching crystals, and using cleaners that conflict with the finish chemistry. If you avoid those three, you dramatically improve the odds of keeping your hardwood floors looking like new.
– Water damage from “just a little more”: Over-wetting can raise dust, loosen grime, or seep into joints—always wipe damp, then dry.
– Scratching the residue: Grinding dried crystals with a brush can leave micro-scratches; lift first, then wipe.
– Using the wrong cleaner: Avoid vinegar, harsh degreasers, ammonia, or abrasive pads unless your floor/finish manufacturer explicitly approves them.
– Salt being tracked underfoot: If you keep walking through salted areas during cleaning, you can re-contaminate—clear the route and use mats until the weather passes.
A “finish-safe cleaning” mindset helps here. Many finish manufacturers specify the type of cleaner and the maximum water conditions for their surfaces (for example, they often discourage steam and aggressive solutions). If you’re not sure which finish is on your hardwood—urethane, waxed/oiled, or a prefinished sealed system—treat the floor like it’s sensitive and use the minimal-water method first.
Finally, keep people and pets off the treated area until everything is dry. Salt residue can re-distribute quickly when footwear and paws bring in fresh brine.
Verdict: A safe method that usually works—skip it only when you can’t identify the finish
This “blot → barely-damp wipe → rinse-wipe → dry fast” approach is the safest general strategy for fresh road salt because it limits water exposure and physically removes salt before it keeps dissolving. The downside is that it won’t fully reverse surface changes if the salt sat longer than a day, if the finish was already weakened, or if the floor is already etched from repeated exposure.
Skip DIY cleaning and contact a flooring pro if you see deep etching (matte spots that don’t improve after drying), lifting seams, widespread clouding, or if you’re unsure what finish is on your floor. If you know your finish type (polyurethane, prefinished sealed, waxed/oiled, etc.), you can be more confident following the specific manufacturer directions.
Quick salt-cleaning checklist + FAQs
Scan-and-do checklist
| Step | What to do | Common mistake to avoid |
|---|---|---|
| 1 | Blot/lift visible salt with dry towels | Scrubbing crystals before removing them |
| 2 | Wipe with a cloth dampened in clean water | Leaving pooled water or wet cloth trails |
| 3 | Rinse-wipe with a fresh damp cloth (minimal water) | Reusing one dirty cloth and spreading residue |
| 4 | Dry immediately (towel + airflow) | Letting the area air-dry with residue still present |
| 5 | Inspect once dry for haze/etching | Waiting days and letting salt continue working |
FAQs
Can I use a steam mop to remove road salt?
Usually no. Steam adds a lot of moisture, and salt can dissolve and spread—use the manufacturer-approved method instead.
What if the salt already dried and looks like a crust?
Start by lifting the crust with dry towels or gentle removal tools first, then use the same minimal-water wipe-and-dry approach. If crystals are embedded in texture or finish seams, you may need a finish-safe cleaner specifically approved for your floor type.
Why does my hardwood look cloudy after cleaning?
Cloudiness can be trapped residue, finish haze, or early etching. If it doesn’t improve after thorough drying, you likely need finish-specific re-care instructions—or professional evaluation.
Should I salt-proof my entryway to prevent this?
Yes—use doormats and encourage wiping/shoes-off habits during snowy weather. Preventing tracked salt is often easier than correcting finish damage afterward.
Sources
If you only remember one rule for hardwood floors in snowy months: remove fresh salt quickly, use minimal water, and dry immediately. That simple workflow is what keeps road-salt residue from turning into haze, dulling, or finish stress—even as winter conditions keep bringing salt inside.
Frequently Asked Questions
How do I clean fresh road salt from hardwood floors without damaging the finish?
Start by blotting the salt spill with a clean, dry towel to remove excess moisture before you add any water. Mix a small amount of mild wood-safe cleaner or a gentle dish soap solution with lukewarm water, then lightly wipe the affected area with a damp (not soaking) microfiber cloth. Dry immediately with a second clean towel to prevent water penetration, and avoid harsh chemicals that can dull or strip polyurethane finishes.
What’s the best way to remove salt residue from hardwood after winter tracked in by shoes?
First, vacuum or sweep up any loose salt crystals so you don’t grind them into the wood grain. Then dampen a microfiber cloth with a solution of warm water and a few drops of mild cleaner, wiping in the direction of the wood. Rinse by wiping again with a cloth lightly dampened with plain water, then thoroughly dry the area to prevent sticky residue and potential corrosion of finish.
Which cleaning method is safest for sealed vs. unsealed hardwood when dealing with road salt?
For sealed hardwood (such as polyurethane-finished floors), you can use a lightly damp microfiber cloth and a wood-safe cleaner, making sure you rinse and dry quickly. For unsealed or waxed hardwood, use the least moisture possible—opt for minimal damp wiping and avoid soaking—because salt and water can penetrate and discolor the wood. If you notice whitening, dark rings, or lingering roughness, stop and consider a professional assessment or refinishing guidance.
Why does road salt leave white spots or dull patches on hardwood floors, and how can I prevent it?
Road salt draws moisture and can break down or etch the finish, which may leave white haze or dull spots after drying. To prevent this, wipe salt-tracked areas promptly, keep a “no shoes” or doormat routine at entryways, and use non-salt alternatives like sand or pet-safe deicers when possible. Regular maintenance cleaning and fast drying after spills reduce the chance of salt residue bonding to the floor.
What should I do immediately if I spill fresh road salt on hardwood, and what products should I avoid?
Immediately blot up liquid, remove loose crystals, and gently wipe with a damp microfiber cloth—don’t let the salt solution sit on the surface. Avoid abrasive scrubbers, steam mops, vinegar, bleach, and strong degreasers, as they can damage the finish or react with residues. After cleaning, dry thoroughly and consider a wood floor polish or manufacturer-recommended refresher only if the floor finish allows it.
📅 Last Updated: October 31, 2026 | Topic: How to clean fresh road salt from hardwood floors? | Content verified for accuracy and freshness.
References
- Road salt
- Home | National Wood Flooring Association | NWFA
- 404 Error
- https://www.armstrongflooring.com/support/care-and-cleaning.html
- https://www.bruce.com/support/floor-care
- https://www.epa.gov/greenerproducts/road-salt-and-environment
- https://scholar.google.com/scholar?q=remove+road+salt+from+hardwood+floors Google Scholar
- https://scholar.google.com/scholar?q=de-icing+salt+wood+floor+damage+cleaning Google Scholar
- https://scholar.google.com/scholar?q=hardwood+floor+maintenance+cleaning+salt Google Scholar