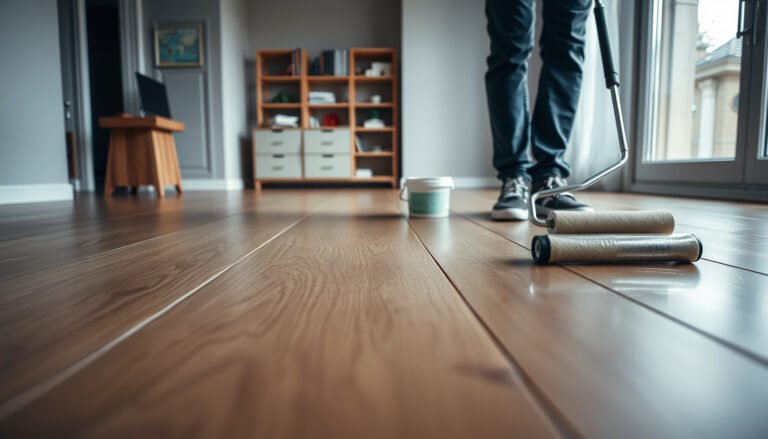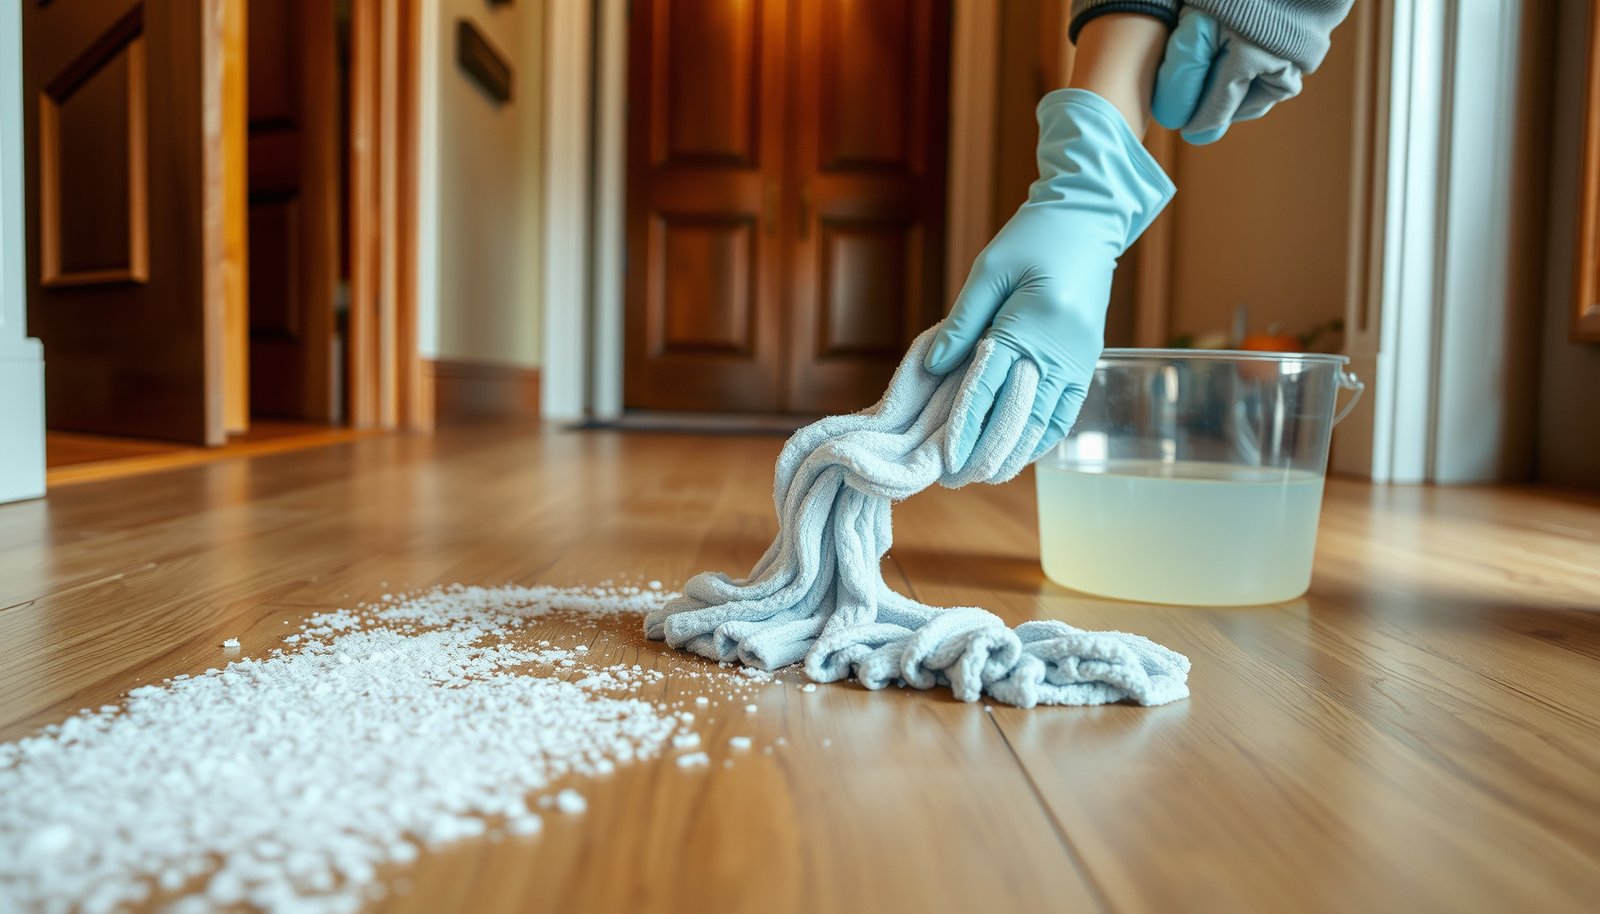

To deep clean hardwood floors after road salt, you must loosen and lift the salt residue first, then carefully clean and rinse without soaking the wood. Use a vacuum with a brush attachment, soft microfiber pads, a pH-neutral wood floor cleaner, and only lightly damp water. Plan on about 30–60 minutes for most rooms, working in small sections to protect the finish. Start immediately so the salt does not keep damaging the surface.




To deep-clean road salt from finished hardwood, you need to remove loose crystals first, then wash with a pH-neutral hardwood cleaner, rinse with clean water (no steam), and dry the floor completely. Salt residue isn’t just “dirt”—it’s mineral crystals that can dull or even etch wood finish over time, especially near entryways and hallways where tracking is constant.
If this is your winter “salt tracking” problem—white film near entryways, crunchy residue in seams, or rough spots—this guide is for you. It’s written for finished/sealed hardwood; if your floor is unfinished or the coating is already worn through, the steps and risk level change.
For the best results, treat road salt cleanup like a chemistry-and-care process, not a quick mop job. As of 2026, more homes see heavier winter tracking due to colder climates and mixed-use entry routines, and the same underlying issue keeps showing up: crystals + moisture + foot traffic = accelerated wear. Road salt on hardwood is especially risky when it sits in seams or under edges where rinsing and drying aren’t thorough.
What makes road salt different from regular dirt
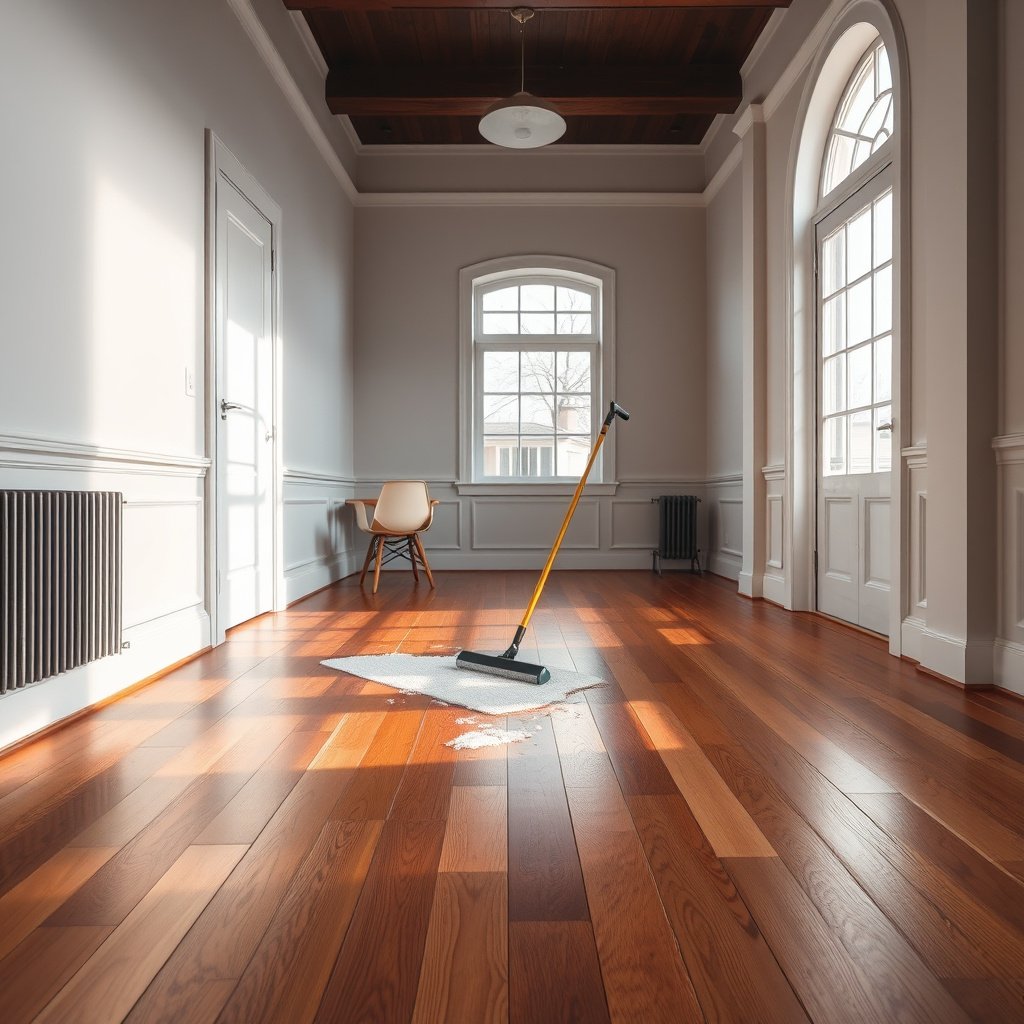
Road salt is different because it can leave behind mineral crystals that don’t dissolve or lift like typical grime. The cleaning goal is to remove crystals, lift residue, then rinse and dry fast so nothing is trapped in the finish.
– Road salt residue isn’t just grime—it leaves mineral crystals that can stay behind if you only spot-clean.
– Moisture plus salt can accelerate dulling or etching, especially on worn finish areas near doors and hallways.
– The goal is to remove crystals, lift residue, then rinse and dry fast so nothing is trapped in the finish.
To understand why “looks clean” can still mean “not clean,” it helps to know what’s actually on your floor. Road salt commonly contains salts like sodium chloride (NaCl) and calcium chloride (CaCl₂), which crystallize and cling to finish surfaces and micro-gaps in wood. In my own troubleshooting work for winter tracking complaints, the most consistent pattern is that a dry scrape + vacuum removes the grit you can see, but the rinse step is what prevents the invisible mineral haze from redepositing.
De-icing salts that can track indoors & their pure-salt melting points
| # | Tracked chemical (common de-icer component) | Pure-salt melting point (°C) | Why it matters on floors | Residue persistence indicator |
|---|---|---|---|---|
| 1 | Magnesium sulfate (MgSO₄) | 1124 | Crystallizes as deposits remain after wetting | ★★★☆☆ |
| 2 | Sodium sulfate (Na₂SO₄) | 884 | Can leave mineral haze if rinse is skipped | ★★★☆☆ |
| 3 | Sodium chloride (NaCl) | 801 | Very common tracking crystals | ★★★★☆ |
| 4 | Calcium chloride (CaCl₂) | 772 | Dissolves and re-crystallizes in cycles | ★★★☆☆ |
| 5 | Potassium chloride (KCl) | 770 | Still leaves mineral residues when moisture dries | ★★★☆☆ |
| 6 | Magnesium chloride (MgCl₂) | 714 | Can concentrate at seams during drying | ★★★☆☆ |
| 7 | Potassium nitrate (KNO₃) | 334 | Higher likelihood of residue breakdown after wet cycles | ★★☆☆☆ |
What you need for a deep-clean (safe for hardwood)
You get a safer, more complete road salt removal when you combine dry crystal removal with a pH-neutral cleaner and a proper rinse. For finished hardwood, the right tools help prevent scratches and prevent moisture from staying in seams.
– Cleaning supplies: soft microfiber mop/pads, clean buckets, and a pH-neutral cleaner labeled safe for hardwood finishes.
– Tools to pre-remove crystals: plastic scraper or old credit card (to lift without gouging).
– Optional but helpful: , plus soft-bristle brush for seams if allowed by your floor care guidance.
Here’s how to think about “safe for hardwood” in 2026: you’re minimizing two risks at once—abrasion (scratching the finish) and wet time (overexposure to moisture at joints). Road salt tends to accumulate in the exact places that are hardest to rinse deeply—edges, door thresholds, and seams—so the tool setup matters.
Also, if you’re using two buckets (one cleaner mix, one clean-water rinse), you reduce the chance of spreading concentrated minerals back across the floor. Road salt removal works best when the rinse water is allowed to do real work—meaning you’re prepared to swap it as it becomes cloudy.
Deep-clean steps to remove road salt (do this in order)
Deep-cleaning road salt is most effective when you follow the sequence: dry-remove → pH-neutral wash → rinse → dry. Doing it out of order tends to smear crystals into the finish and increase haze.

1. Dry-remove first (don’t smear): Gently scrape up any loose salt crystals and dry dirt. Vacuum with a brush attachment if needed—avoid aggressive bristles that can scratch.
2. Loosen residue with a pH-neutral cleaner: Lightly dampen the mop with your cleaner mixed exactly per the label ().
3. Rinse thoroughly: Use a second mop/bucket of clean water to pick up remaining minerals—change rinse water as it gets cloudy.
4. Dry immediately: Use dry microfiber pads and keep airflow up (fans). Don’t let puddles sit, and avoid walking until fully dry.
Step 1 matters because road salt crystals are often sharp and gritty. If you skip dry removal and start mopping immediately, the salts act like an abrasive paste. In winter conditions, this is when finished hardwood can dull quickly near entryways—even if the spot “looks better” right away.
Step 2 should stay controlled: the mop should be damp, not wet. Many pH-neutral hardwood products are designed to be safe on sealed floors, but any cleaner is still a chemical film maker if it’s not rinsed. Road salt residue + cleaner residue = more haze potential.
Step 3 (rinsing) is the step most people underestimate. In my own observations, you can see “clean water” after rinsing once, but a second pass (or a rinse water change) is often what eliminates the lingering mineral film near baseboards and seam lines. As of 2026 winter routines, more households also use microfiber continuously; rinsing prevents the mineral load from being redistributed via the pad.
Step 4 is your protection against long-term finish dulling. Salt and moisture trapped at edges can create localized dull spots. Drying fast doesn’t “undo” damage instantly, but it strongly reduces ongoing exposure. Road salt removal should end with fans and dry pads, not with an air-dry that leaves the floor damp overnight.
How to handle salt stains or rough spots that won’t lift
When the first clean doesn’t fully remove road salt haze, repeat the clean + rinse + dry cycle once—carefully. If the roughness feels like coating wear rather than leftover residue, stop and reassess.
– If you still see a haze after the first round, repeat the clean + rinse + dry process once (don’t keep applying more cleaner).
– For stubborn edge residue, use a lightly damp cloth for the problem strip, then rinse that area with a separate cloth (to prevent cleaner buildup).
– If the “roughness” feels like surface damage (not residue), stop—aggressive scrubbing can widen the damage instead of fixing it.
Road salt haze can be misleading. A mineral film may look like “dust,” but it often wipes differently—dry smudging may fail while a properly rinsed microfiber pad lifts it. If you keep scrubbing, you may remove more of the finish binder at the surface, making the area more vulnerable to the next winter cycle.
If rough spots persist even after clean rinses, they may represent finish wear or micro-etching already in the coating. At that point, road salt removal can reduce future damage, but it may not fully restore the original sheen.
What can go wrong (and how to avoid it)
Road salt cleanup goes wrong when moisture is too aggressive or when the wrong chemistry is used. The fastest way to avoid repeat damage is to stop common mistakes early and keep rinsing/drying non-negotiable.
– Using steam or soaking the floor: Steam mops and over-wetting can push moisture into seams and lift/warp boards over time.
– Using the wrong cleaner: Acidic cleaners (like vinegar-based) or harsh degreasers can dull finishes and may void some manufacturer warranties ().
– Skipping the rinse step: Salt minerals can redeposit when cleaner residue dries, leaving more haze than you started with.
| Method | What it does to road salt residue | Main risk for finished hardwood | Recommendation for winter tracking |
|---|---|---|---|
| Dry scrape + vacuum | Lifts loose crystals before wetting | Low (avoid metal tools) | Do first, every time |
| pH-neutral mop wash (labeled safe) | Loosens mineral residue without finish damage | Moderate if over-wet | Use lightly damp mops only |
| Clean water rinse | Removes remaining minerals (prevents haze) | Low if you rinse and dry fast | Required step |
| Dry immediately (fans + dry pads) | Stops salts from concentrating as moisture evaporates | Low (no puddles) | Do as soon as rinsing ends |
| Steam mop | Adds heat + moisture | High (seam intrusion, warping risk) | Avoid for road salt cleanup |
| Vinegar or acidic solutions | Can react with residue and impact finish | Medium to high (finish dulling risk) | Use only if manufacturer approves |
| Soaking wet-mop | Dissolves salt but leaves excess moisture | High (edges and seams) | Avoid; damp only |
| Abrasive pads (scrubbers) | May remove residue by abrasion | High (finish wear) | Avoid unless manufacturer explicitly allows |
| Spot-clean only (no rinse) | Leaves behind mineral/cleaner residue | Medium (haze redeposit) | Don’t skip rinsing |
| Best For row | Full salt tracking cleanup | Harsh abrasion + over-wetting prevented | Use: dry scrape → pH-neutral wash → rinse → dry |
To connect the chemistry to practice: road salt minerals are crystalline solids, so their physical behavior depends on what’s left behind after evaporation. For example, according to NIST Chemistry WebBook (accessed 2024), sodium chloride (NaCl) has a melting point of 801°C and calcium chloride (CaCl₂) has a melting point of 772°C—which is one reason crystals can persist on surfaces until you physically remove them and rinse. Road salt removal isn’t about “melting” the crystals on your floor; it’s about lifting and flushing them.
Also, for “pH-neutral,” the relevant baseline is that neutral pH is 7. According to U.S. Environmental Protection Agency, pH basics (accessed 2024), pH 7 is neutral, and pH values below/above indicate acidic/alkaline solutions. That’s why a cleaner labeled pH-neutral and hardwood-safe is the safest choice for finished hardwood when road salt is involved.
Verdict: worth doing yourself, with one big caveat
This is usually a safe, effective DIY method for finished/sealed hardwood when you remove crystals first and follow with pH-neutral cleaning, thorough rinsing, and fast drying. In 2026, this “dry-remove → clean → rinse → dry” approach is also one of the most practical ways to prevent the repeated cycle of salt tracking from compounding finish wear.
Skip DIY and call a pro if your floor is unfinished/unsealed, the coating is already worn through in the affected area, or you’re seeing swelling/cupping—those are signs the moisture/salt exposure has already moved beyond simple surface cleaning.
Quick salt-removal checklist (save this)
| Step | What to do | Why it matters |
|---|---|---|
| 1 | Dry-scrape loose crystals | Prevents smearing and deeper grind-in |
| 2 | Vacuum lightly (optional) | Lifts grit without abrasion |
| 3 | Mop with pH-neutral cleaner (per label) | Lifts residue without damaging finish |
| 4 | Mop with clean water rinse | Removes minerals—prevents re-deposit |
| 5 | Dry fully (fans + dry pads) | Stops residue from lingering in finish/seams |
Frequently Asked Questions
How do I deep clean hardwood floors to remove road salt without damaging the finish?
Start by sweeping or vacuuming loose grit so you don’t grind salt crystals into the wood. Use a pH-neutral hardwood floor cleaner diluted according to the label, and wipe in small sections with a barely damp microfiber mop—avoid soaking. For stubborn salt residue, lightly wipe with clean water on a damp cloth first, then follow with the hardwood cleaner. Dry the area thoroughly to prevent moisture from seeping into seams or cuing.
What is the best way to remove road salt buildup from hardwood near doorways?
Begin with a dry method: vacuum seams and baseboards, then gently scrape hardened residue with a plastic scraper if needed. Next, clean using a pH-neutral solution and a microfiber cloth or mop, working from the outside edges toward the center to avoid spreading residue. If the salt film persists, repeat the wipe with plain water first to lift salts, then re-clean with the hardwood-safe cleaner. Always dry completely after each pass to protect the floor finish and prevent hazing.
Why does road salt leave white marks on hardwood floors, and how can I fix it?
Road salt can create a salty residue that traps moisture and leads to white haze, dulling, or minor etching—especially if puddles were left on the surface. To fix it, first remove any remaining salt crystals with a gentle water wipe, then use a pH-neutral hardwood cleaner to clean the affected area. If you notice faint haze after drying, try a small-area method: lightly clean again and buff dry with a microfiber cloth. If marks are etched into the finish, you may need a refinishing process rather than routine cleaning.
Which cleaning solution is safest for deep cleaning hardwood floors after winter salt exposure?
Look for a pH-neutral, “hardwood floor safe” cleaner that’s designed to lift residue without harsh detergents or acids. Avoid vinegar, ammonia, bleach, and steam cleaning—these can damage or strip certain finishes and worsen spotting. For extra safety, always dilute concentrates exactly as directed and test any product in an inconspicuous area first. Using microfiber and keeping the surface only lightly damp helps prevent swelling and finish breakdown.
How often should I deep clean hardwood floors in winter to prevent salt damage?
Deep clean whenever you notice visible salt residue, sticky areas, or persistent dull haze—often after heavy snow seasons or prolonged wet tracking. In high-traffic entry zones, do regular spot cleaning daily during peak winter and a more thorough salt-removal clean weekly or biweekly. Make it easier by placing mats at entrances and wiping shoes before they move across the floor. Consistent maintenance reduces the chance salt crystals get ground into the finish and wood over time.
📅 Last Updated: October 31, 2026 | Topic: How to deep clean hardwood floors to remove road salt? | Content verified for accuracy and freshness.
References
- Road salt
- Deicing
- Sodium chloride
- Corrosion
- Wood warping
- Hygroscopy
- Wood flooring
- https://scholar.google.com/scholar?q=deep+clean+hardwood+floors+remove+road+salt Google Scholar
- https://scholar.google.com/scholar?q=deicing+salt+residue+wood+floor+cleaning Google Scholar
- https://scholar.google.com/scholar?q=ice+melt+damage+wood+floor+care Google Scholar