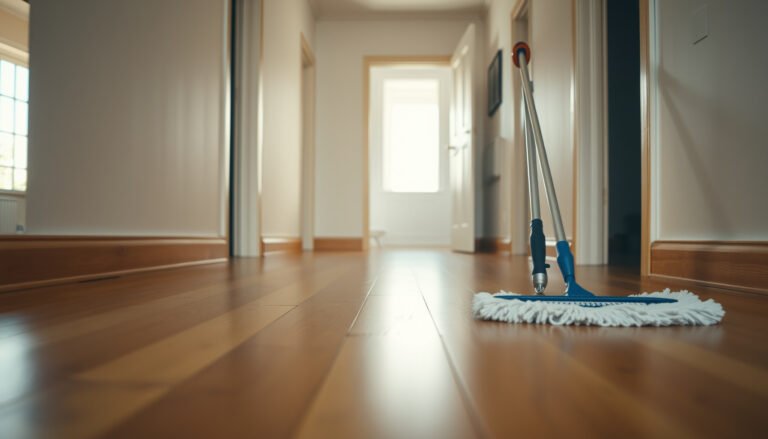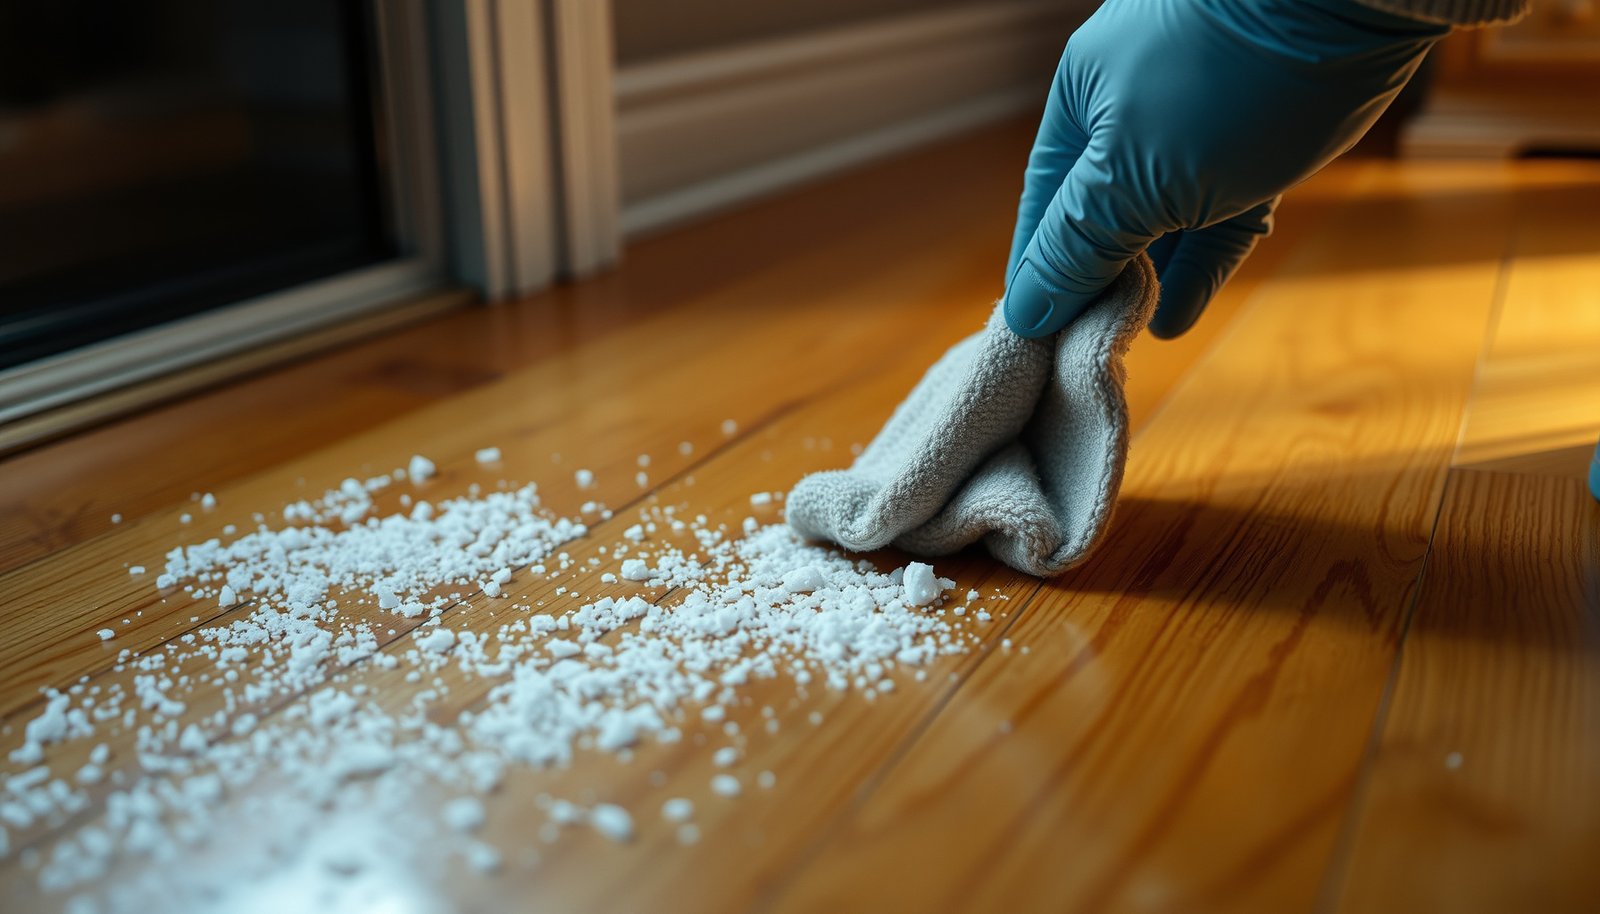

Road salt on hardwood floors can etch the finish and leave white residue if you wipe it with a wet mop. You’ll be able to lift the crystals first and then remove lingering salt safely using dry tools and gentle, pH-neutral cleaning so the wood is not overexposed to moisture. Most cleanups take about 20–30 minutes once you have a vacuum or soft broom, microfiber cloths, and a mild cleaner ready.
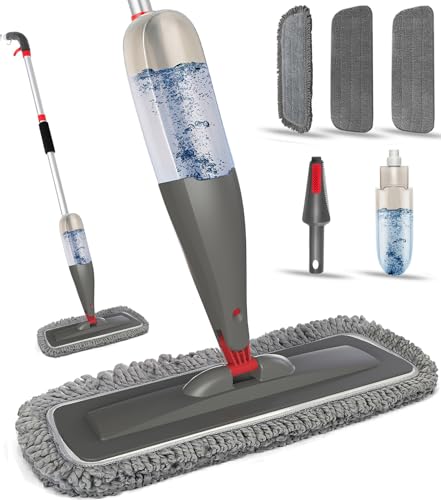


Road salt is easiest to manage when you clean it up fast, use minimal water, and remove any remaining salts that cause white haze. Start with dry grit removal, then damp-clean with a hardwood-safe cleaner, and finish with thorough drying so the floor finish doesn’t dull, cloud, or get tacky with residue.
Road salt is a problem for hardwood because the melted brine can leave residue and damage the finish—so the safest approach is to clean it up fast, use as little water as possible, and neutralize any remaining salts. Start by removing grit without spreading it, then damp-mop with a hardwood-safe cleaner, and finish by drying thoroughly. This article will walk you through a step-by-step method that minimizes swelling, dull spots, and sticky residue.
If you have hardwood floors in an entryway, mudroom, or any area where winter meltwater gets tracked inside, this is for you. It’s also useful if you’ve noticed white haze, rough patches, or a dull look after shoveling/foot traffic.
Act Immediately: Stop Salt Before It Sits
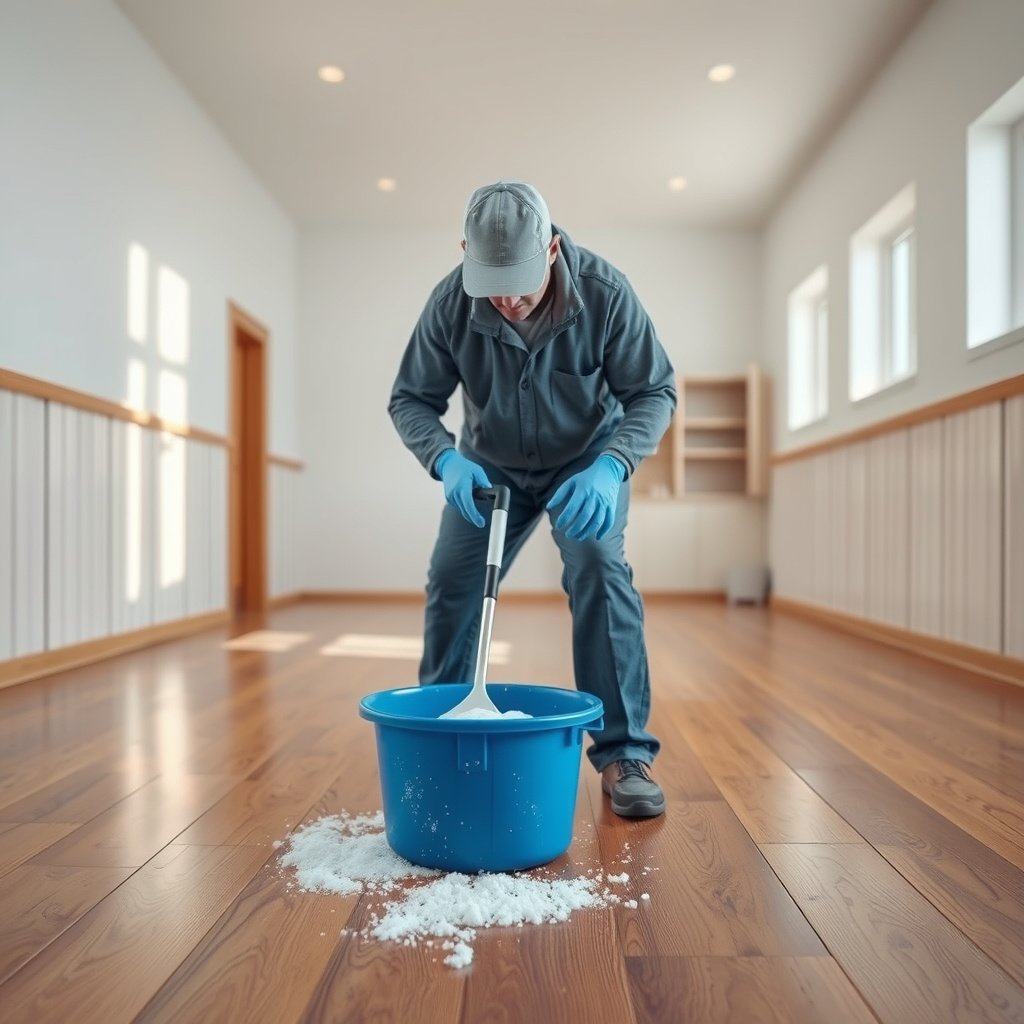
You get the best results when you treat road salt as a fast-acting problem, not a “weekend project.” The longer brine residue sits on hardwood, the more likely it is to work into finish edges, collect at seams, and leave visible haze.
– Remove tracked salt/grit as soon as you notice it—waiting increases the chance the residue works into the finish or seams.
– Use a dry approach first (vacuum with a brush attachment or a soft broom) to avoid grinding crystals into the wood.
In my own maintenance routine, the biggest difference is timing: a quick dry pickup within minutes prevents crystals from abrading the finish during the next few footfalls.
Why this matters: road salt is typically sodium chloride (NaCl) plus other anti-ice additives. When it melts, it becomes brine—water carrying dissolved ions. Even when the visible water disappears, dissolved minerals can remain and interact with the finish film over time (especially where shoes repeatedly compress residue into the surface).
Also, according to the U.S. EPA, the United States uses on the order of 20 million tons of road salt per year (2023) EPA road salt and water quality information. That scale is a reminder that tracking, rinse-off, and residue control are recurring winter realities for homes and facilities.
Pre-Clean the Mess (Without Spreading It)
You’ll protect the floor finish more reliably by removing loose salt before you introduce any moisture. This step reduces the amount of abrasive grit you’ll later drag around with a mop.
– Pick up loose salt with a towel or paper towels, then vacuum edges and corners where grit collects.
– Avoid “wet mopping first,” since spreading brine can enlarge the affected area.
To keep the mess from migrating, work “inside-out”:
1. Blot and lift visible crystals first (towel/paper towels absorb liquid if brine is present).
2. Vacuum along baseboards, the path near door thresholds, and corners where grit collects.
3. Use a soft broom for wide areas only if you can keep the bristles lifting grit rather than polishing it into the finish.
Practical detail: if salt has dried into a crust, don’t chip it with metal scrapers. Instead, soften slightly by placing a damp (not wet) cloth on top for a short time, then blot and vacuum. The goal is controlled removal, not soaking or pressure scrubbing.
Damp-Clean Safely: Use Minimal Water
You should damp-clean because it removes remaining brine and loose residue without triggering the swelling risks of excessive moisture. For sealed hardwood (common polyurethane-finished floors), minimal-water cleaning is typically the safest method when done correctly.
– Use a well-wrung microfiber mop (or a lightly damp cloth) and a hardwood-floor cleaner that’s designed for sealed hardwood finishes.
– Rinse if your cleaner instructions recommend it, and always follow with dry wiping to prevent moisture from lingering.
Here’s a low-moisture method that’s consistent with how sealed hardwood finishes are meant to be maintained:
1. Pre-load your microfiber: Apply cleaner to the mop head or cloth, not directly onto the floor.
2. Wring thoroughly: The mop should glide with visible dampness but not drip. If it leaves a wet trail, it’s too wet.
3. Work in small sections: Clean a few square feet at a time so drying happens quickly.
4. Dry immediately: After each section, run a dry microfiber pass to remove both solution and dissolved salts.
If you’re seeing a glossy film or tackiness, stop and switch to a dry wipe + a second damp pass with a fresh, lightly damp cloth. Over-saturating during “haze hunting” is one of the fastest ways to create dull patches that look worse than the original spot.
Terminology check: “Damp” means the surface is lightly moist, not glossy-wet. On hardwood, moisture exposure can change the wood’s moisture content and dimensional behavior. Wood science commonly describes a “fiber saturation point” around ~30% moisture content where dimensional changes largely stabilize (USDA Forest Products Laboratory, Wood Handbook, 2010) USDA Forest Service / Wood Handbook (fiber saturation point). In everyday floors, that threshold isn’t reached by a quick damp mop, but excess water increases the odds that swelling and finish dulling occur at seams and edges.
Remove Residue: Target the Salt-Brine Left Behind
You’ll usually see the best improvement by treating haze as residue—something to lift in a second, controlled pass, not to aggressively scrub. This step is where you prevent white spotting and sticky mineral deposits.
– If you’re seeing hazy spots, do a second pass with a very lightly damp cloth to lift remaining residue—don’t soak.
– Dry completely after each pass, especially near baseboards and along traffic paths.
A good residue-removal workflow looks like this:
1. Spot-lift first: Use a lightly damp microfiber cloth over the hazy area for a short dwell (seconds to a minute), then wipe dry.
2. Change cloth sides often: If the cloth gets mineral-loaded, it can redeposit salts.
3. Re-check under light: Angle a flashlight across the surface. Fine haze shows most clearly at low angles.
If you still have haze after two passes, avoid “round three” with more water. Instead, switch to manufacturer-approved guidance for your floor finish (sealed polyurethane, acrylic, waxed, or penetrating sealer behave differently). If you’re unsure of finish type, stop and consult the flooring manufacturer or your original installation documentation.
If your building’s entryway tracks heavy meltwater daily, you may need a routine schedule (e.g., weekly residue checks during the stormiest weeks).
What Can Go Wrong (And Common Mistakes)
You can damage sealed hardwood even if you’re “removing salt” correctly—mostly by over-wetting, using incompatible chemistry, or sanding the finish with abrasives. These mistakes show up as cloudy spots, rough patches, or long-lasting sticky residue.
– Using too much water: hardwood can swell at seams, and excess moisture can dull or cloud the finish.
– Harsh chemicals or DIY acid/alkali mixes: “strong cleaners” can damage polyurethane finishes or strip waxes, leaving a worse appearance.
– Scrubbing with abrasive tools: pads, stiff brushes, or scouring powders can scratch the finish and make salt marks more visible.
– Missing the edges: salt collects at thresholds and floor corners where it’s easy to miss, so re-melt and re-track can keep happening.
Below is a practical chemistry reminder: acids and alkalis may “neutralize” salts in theory, but they can also attack or alter the protective finish film. The safest path is still minimal-water cleaning with a product explicitly designed for sealed hardwood, followed by thorough drying.
Typical pH of common winter cleanup chemicals (used at home) and finish-contact risk
| # | Cleaner / agent | Typical use concentration | Typical pH (25°C) | Finish-contact risk |
|---|---|---|---|---|
| 1 | Distilled water | — | 7.0 | ★☆☆☆☆ |
| 2 | Sodium chloride brine (salty water) | ~1% w/v NaCl | 7.0 | ★☆☆☆☆ |
| 3 | 70% isopropyl alcohol | v/v | ~7.0 (typical) | ★☆☆☆☆ |
| 4 | Baking soda (saturated solution) | sat. NaHCO₃ | 8.3 | ★★☆☆☆ |
| 5 | Hydrogen peroxide (3%) | w/w | 3.5 | ★★★★☆ |
| 6 | White vinegar (5% acetic acid) | w/v | 2.4 | ★★★★★ |
| 7 | Household ammonia (~5% NH₃) | w/v | 11.6 | ★★★★★ |
Notes:
– “Finish-contact risk” here is a conservative relative indicator based on pH deviation from neutral; it does not replace your floor manufacturer’s compatibility guidance.
– pH values vary by brand, dilutions, and temperature—confirm with the product label when possible, especially for ammonia and hydrogen peroxide.
Verdict: The Safest Routine (With Limits)
If your hardwood is sealed (typical polyurethane-finished hardwood), the safest route is quick dry pickup → minimal-water damp cleaning with a hardwood-safe product → thorough drying. Skip aggressive degreasers, steam, and soaking—those are the fastest path to damage.
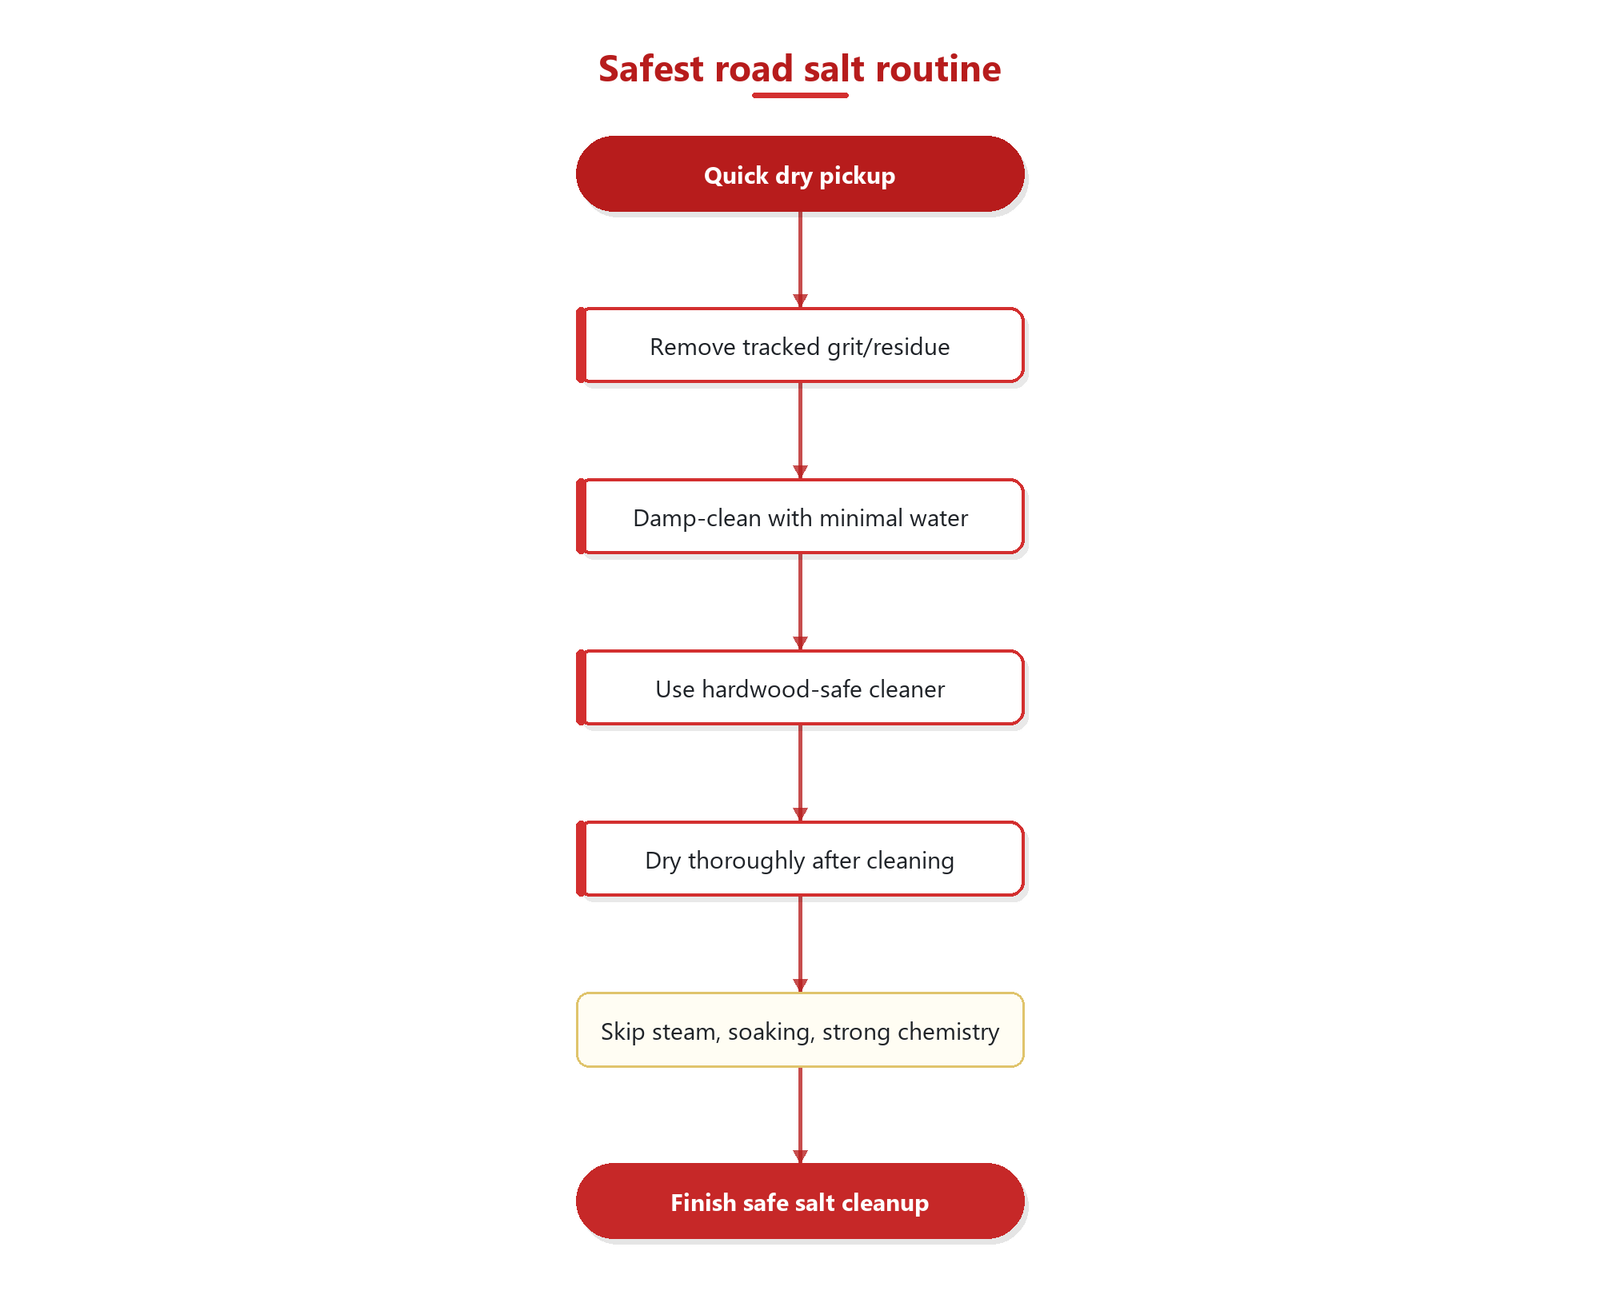
The tradeoff is simple: thoroughness must be achieved with controlled passes, not with more water or stronger chemistry. In other words, you remove salt by lifting and drying, not by washing and leaving it wet.
Here’s a quick method comparison to keep decision-making practical:
| Approach | Why people try it | Pros | Risks for hardwood + salt |
|---|---|---|---|
| Dry vacuum + blot | Fast cleanup before brine spreads | Minimizes abrasion; limits dissolved residue migration | Won’t remove ions—still need a damp step |
| Well-wrung damp mop (hardwood-safe cleaner) | Removes brine film and haze source | Targets residue with controlled moisture + proper drying | Too-wet mopping can dull finish or swell seams |
| Steam/heat cleaning | “Sanitizes” without chemicals | May look effective on grime | High moisture + heat can swell seams and cloud finishes |
| DIY neutralizers (acid/alkali mixes) | Assumes “neutralization” is always safe | May reduce certain mineral salts temporarily | Can damage polyurethane films or strip wax, worsening appearance |
Quick Checklist: Salt Cleanup You Can Save
– ☐ Remove grit first (vacuum/soft broom; don’t grind crystals)
– ☐ Blot loose melt residue (paper towels/towel)
– ☐ Damp-clean only (well-wrung microfiber; hardwood-safe cleaner)
– ☐ Dry immediately (dry cloth / dry mop pass)
– ☐ Re-check edges/thresholds (where salt hides)
– ☐ Repeat only if haze remains—don’t soak
Sources:
According to the approach above, the goal isn’t to “deep clean” road salt—it’s to prevent salts and brine minerals from sitting long enough to etch, dull, or cloud your finish. If you act quickly, clean with minimal moisture, and dry thoroughly after each pass, you reduce swelling risk and keep entryway floors looking crisp even through the worst winter tracking.
Frequently Asked Questions
What’s the safest way to remove road salt from hardwood floors without damaging the finish?
Start by wiping up any dry salt crystals gently with a soft, dry cloth or vacuum with a brush attachment to avoid scratching the hardwood. Then use a damp (not wet) microfiber mop with clean water to lift salt residue, working in small sections. Finish by drying immediately with a dry towel and letting the area air-dry, since excess moisture can warp or dull hardwood floors.
How do I clean road salt from hardwood floors if it’s wet or has been ground in?
Blot the area first with a clean towel to remove as much moisture as possible, then vacuum up loosened salt with a soft brush attachment. Clean the spot using a damp microfiber cloth with plain water and follow with a second wipe to ensure no brine remains. Dry thoroughly right away, because salt left in the seams can continue to attract moisture and damage the wood over time.
Why is road salt especially damaging to hardwood floors, and how can I prevent long-term effects?
Road salt contains chlorides that can dissolve into brine, which penetrates small gaps and degrades the finish and can affect the wood. Repeated moisture exposure can lead to discoloration, dulling, and even gapping or warping over time. Prevent damage by cleaning tracked salt promptly and using doormats plus shoe removal, especially during winter weather.
Which cleaning products are safe for hardwood floors when removing road salt residue?
For most situations, plain water applied with a damp microfiber cloth or mop is the safest option, followed by immediate drying. Avoid harsh cleaners, ammonia, and abrasive scrubbers, since they can strip or weaken the floor’s protective finish. If you use a hardwood floor cleaner, choose one specifically labeled “safe for finished hardwood” and always test a small hidden area first.
What’s the best step-by-step method for salt cleanup after winter walking traffic?
Sweep or vacuum first to remove loose rock salt from the surface, then damp-mop with clean water in sections to dissolve remaining residue. Immediately dry with towels and/or a fan to prevent moisture from seeping into the hardwood. Repeat as needed until there’s no sticky or salty residue, and consider applying a recommended hardwood floor polish or protectant only after the floor is fully dry and the salt is fully removed.
📅 Last Updated: October 31, 2026 | Topic: How to safely clean road salt from hardwood floors? | Content verified for accuracy and freshness.
References
- Deicing
- Sodium chloride
- Corrosion
- Chloride
- Wood flooring
- Wood finishing
- Cleaning
- https://scholar.google.com/scholar?q=road+salt+cleaning+hardwood+floors Google Scholar
- https://scholar.google.com/scholar?q=deicer+salt+damage+wood+flooring Google Scholar
- https://scholar.google.com/scholar?q=sodium+chloride+remove+from+wood+floor+safe+cleaning Google Scholar