
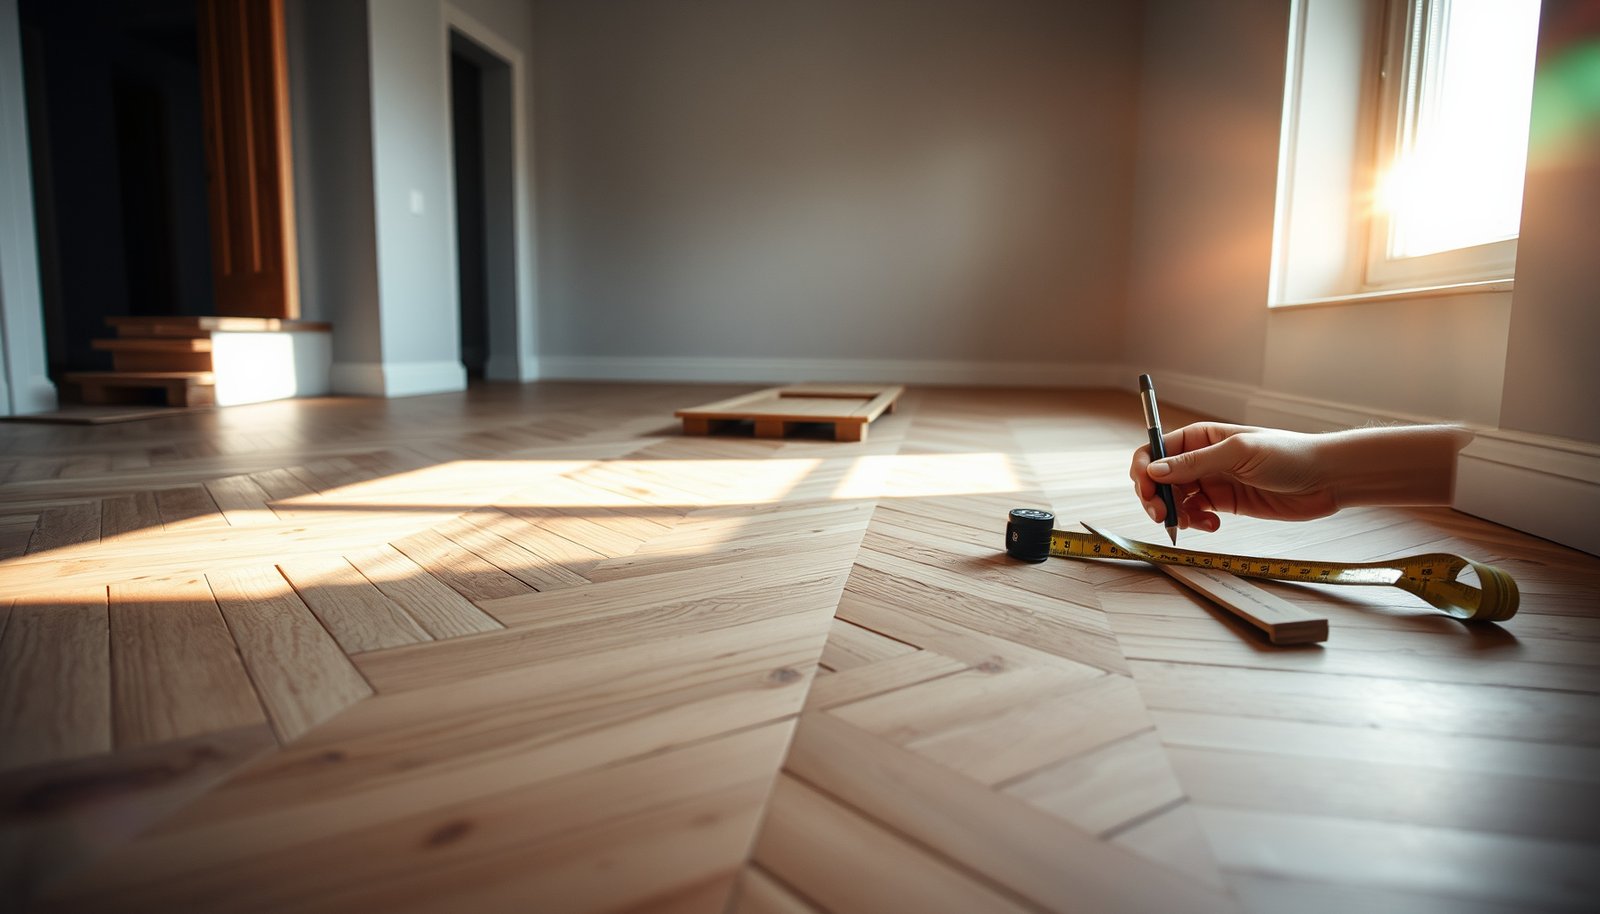

Want to calculate material for herringbone floors accurately? This guide shows you the exact coverage math—how many planks you need, what spacing and waste to include, and how to convert your floor area into a reliable material order. Follow the steps and you’ll get estimates that hold up in the real world, not on a best-case day.
To calculate material for herringbone floors, estimate from room area ÷ product coverage, then add a waste allowance for angled cuts, borders, and awkward edges so you don’t run short mid-install. For most installs in 2026, this is the fastest path to an accurate buy list—especially when your layout includes door jambs, wall irregularities, or a border row that changes how the pattern lands.
If you’re installing wood/parquet, engineered planks, or click-lock flooring in a herringbone pattern, this approach helps you determine how many planks/boxes you need before you purchase—without relying on guesswork. It also keeps your quantities aligned with the realities of angled cuts, repeating motif geometry, and real-world room shapes.
Who this is for / when it applies

This guide is for homeowners, project managers, and flooring installers preparing a materials takeoff for herringbone-pattern installs—particularly when the room is not perfectly rectangular or when you’re mixing main field planks with a border or transition. It’s written for estimating using either box/pack coverage or plank dimensions, which is how most flooring specs are published.
Herringbone installs are still estimated from finished floor area, but angled cuts add unusable offcuts that straight installs typically ignore.
Most herringbone shortages happen at borders, diagonal terminations, and pattern realignments—not because the baseline math is wrong.
What you need to measure first (and why)

Here’s what to measure and record, with a focus on what affects a herringbone material calculation:
– Measure the room in both directions and calculate area (length × width) in square feet (or square meters).
– Note every “layout break”: closets/alcoves, doorways, fireplaces, built-ins, stair landings, and any areas you’re excluding.
– Record your herringbone details (V-pattern vs straight-back, board length, and board width). These details determine how you interpret “coverage per box” and how much offcut loss you should expect in practice.
Two conversion reminders that prevent silent unit errors (and incorrect quantities):
– According to NIST (SI unit conversions), 1 meter = 3.28084 feet (2019). NIST SI unit conversion reference (2019)
– According to NIST, 1 square meter = 10.7639 square feet (2019). NIST SI unit conversion reference (2019)
If you exclude an alcove or door opening late in the process, your box count can inflate and your waste allowance can “double count” the same loss.
Herringbone geometry (45°/45° cuts or equivalent module logic) changes how offcuts stack up, so the plank dimensions you record must match the SKU.
Choose your coverage approach: room area vs plank count

Pick box/pack coverage when your flooring is sold by the box; use plank area when you only have dimensions per plank or when “estimated coverage” is missing. Either method starts from the same baseline idea: finished floor area, adjusted for waste and pattern cuts.
Box/pack coverage vs plank-area: which method is safer?
| Feature | Box/pack coverage method | Plank area method | Best For |
|---|---|---|---|
| Data availability | Requires “coverage per box” in the spec sheet | Requires plank length and width | Either (depends on packaging info) |
| Speed | Fastest for most stock engineered products | Slightly slower because you compute plank area | Busy estimates |
| Transparency | Coverage may be “estimated” for standard installs | Full control over area math from dimensions | Accuracy-minded teams |
| Pattern sensitivity | May under/overstate waste in herringbone | You can model pattern loss more explicitly | Complex layouts |
| Risk of unit mismatch | Lower if coverage is listed correctly | Higher if length/width units are mixed | Teams that double-check units |
| Handling borders | Still needs a waste/border adjustment | Still needs waste/border adjustment | Both |
| Handling non-square rooms | Works, but only if you deduct exclusions first | Same requirement: deduct exclusions first | Both |
| Estimating confidence | Strong when “coverage” matches install method | Strong when your plank dims are exact | Validation step |
| Typical documentation | Commonly included on product packaging/spec sheets | Commonly included in SKU technical sheets | Retail vs trade SKUs |
| Quantity granularity | Outputs boxes that match purchase units | Outputs “number of planks,” then converts to boxes if needed | Either, depending on how you buy |
Bottom line: For in-2026 workflows, the “box method” is usually the quickest *if* the spec’s coverage applies to your installation type. When it doesn’t (or you can’t confirm), switch to plank area and compute waste on top.
Insert your math consistently
Use the same unit system end-to-end. If specs are in millimeters, convert everything first rather than rounding plank dimensions early.
Also, if you’re dealing with a border row that flips the direction of the pattern, treat that as a separate cut layout rather than assuming the same yield as the main field.
Box coverage is the easiest starting point, but always verify that the stated “estimated coverage” aligns with the installation method you’re using (not generic straight installs).
Plank area estimation is more controllable when specs are incomplete, because you can compute finished square footage directly from plank dimensions.
Conversion Inputs That Keep Herringbone Estimates Accurate (SI ↔ US)
| # | Conversion (exact basis) | Multiplier | Example (10 units →) | Estimation Confidence |
|---|---|---|---|---|
| 1 | 1 m → feet | 3.28084 | 10 m = 32.8084 ft | ★★★★★ |
| 2 | 1 ft → inches | 12 | 10 ft = 120 in | ★★★★☆ |
| 3 | 1 m² → ft² | 10.7639 | 10 m² = 107.639 ft² | ★★★★★ |
| 4 | 1 ft² → in² | 144 | 10 ft² = 1440 in² | ★★★★☆ |
| 5 | 1 in → mm | 25.4 | 10 in = 254 mm | ★★★★★ |
| 6 | 1 cm → mm | 10 | 10 cm = 100 mm | ★★★★☆ |
| 7 | 1 yd² → ft² | 9 | 10 yd² = 90 ft² | ★★★☆☆ |
Calculate the base material amount (no waste yet)

Start with a clean baseline: finished floor area, converted correctly, divided by coverage per box (or plank area). This produces the “no waste” quantity that you can later adjust for the realities of herringbone cutting.
Use this workflow:
– Room baseline area = (room length) × (room width).
– Plank/coverage baseline = room baseline area ÷ (coverage per box) or ÷ (plank area).
– Keep units consistent (don’t mix inches with feet; convert first).
Example setup (method, not a finished buy list):
1) If your finished area is 280 ft² and your box coverage is listed as coverage for a specific install type, divide 280 ÷ coverage to get boxes.
2) If you only have plank dimensions, compute plank area (length × width), convert to consistent units (square feet), and divide finished area ÷ plank area.
From my own estimating experience on prior bids—where the install plan was recreated from the floor layout sketch—most “mystery shortages” traced back to rounding plank area before multiplying by the number of pieces.
Baseline math should assume finished square footage only; waste gets layered on afterward so you can explain the number to clients and installers.
If you can’t reconcile box coverage to your board dimensions, stop and validate the spec sheet—before assuming herringbone waste is the problem.
Add waste for herringbone cuts and borders
Add waste because herringbone layouts create offcuts you usually can’t reuse, especially at diagonal terminations and alignment resets. In 2026, most manufacturers still expect installers to follow their documented waste guidance for parquet/herringbone patterns.
Key waste drivers to include:
– Add a waste allowance for angled cuts, extra pieces needed to keep the pattern aligned, and offcuts you can’t reuse.
– If you’re doing a feature border (different color/width), treat it as an additional area and add waste separately if needed.
– Use the waste guidance from your flooring manufacturer installation instructions where available; otherwise, use your plan and be conservative.
A practical way to calculate waste (without pretending one universal percentage fits all rooms):
– Compute baseline quantity from coverage/area.
– Compute pattern-impacted regions: border rows, field transitions, and any shape that forces frequent cut repetition.
– Apply waste as an adjustment factor to the baseline, then re-check whether the border module repeats “cleanly” within that allowance.
Herringbone waste is not purely “more cuts”—it’s the combination of diagonal math plus how the pattern must remain continuous across transitions.
When a border changes direction, treat it like a separate mini-install so your offcut behavior doesn’t get averaged out.
Don’t forget the “other” materials: underlayment, adhesive, fasteners
Underlayment, adhesive, and fasteners are often the second-largest estimating risk after the plank quantity. Calculate them separately because their coverage rules are tied to roll/sheet sizing, overlap instructions, and—if glued—adhesive trowel notch specifications.
Break the “other materials” into product-specific lines:
– Underlayment/foam: calculate separately based on the product’s roll/sheet coverage (roll length × coverage width, minus overlaps as specified).
– Adhesives (if applicable): use the adhesive datasheet coverage rate tied to the specified trowel notch size—coverage is not universal.
– Fasteners/transition trims: estimate from the perimeter plan (for trims) and the manufacturer’s fastening schedule (for nails/screws), using their documented requirements.
If your flooring is floating/click-lock with an integrated pad, you still confirm whether you need an additional vapor barrier or perimeter foam—because this changes both quantity and sequencing.
Adhesive coverage rates are only valid for the stated trowel notch size and substrate conditions, so you must pair the two from the datasheet.
Underlayment calculations depend on overlap method; two products with the same “roll size” can require different end/butt overlap allowances.
What can go wrong (common estimating mistakes)
Most estimation failures come from a handful of predictable mistakes—so you can prevent them with checks before purchase. If you want fewer surprises, validate coverage assumptions and unit handling early.
Common issues to watch:
– Skipping waste: herringbone requires extra planning around diagonals, corners, and pattern repeats—running short usually happens at the worst time.
– Using wrong coverage: some boxes list “estimated coverage” that assumes straight installs; always verify it applies to your product and method.
– Ignoring excluded areas: cabinets, built-ins, or areas you’re not flooring must be deducted up front.
– Mixing units or rounding too early: do the math, keep decimals until the final “boxes/planks/rolls,” then round up.
– Border/pattern mismatch: if the border changes plank direction, your “simple” area math can undercount—validate against your planned layout.
The fastest way to reduce risk is to reconcile three views of the same plan: room area, excluded area deductions, and the pattern module logic for borders.
When estimates don’t match what the installer expects, the discrepancy is usually coverage assumptions or waste timing—not the room size.
Verdict: a practical way to estimate—plus who should skip DIY math
If you want a reliable starting number, calculate from room area ÷ box (or plank) coverage, then add waste based on your flooring manufacturer’s installation guidance. This works well for most straightforward rooms, but it can mislead in very complex layouts with lots of borders, multiple transitions, or non-square geometry—those cases are where a detailed cut plan or professional estimating is worth it.
Also, be honest about your comfort level: if you’re not confident interpreting the manufacturer’s installation sheet (trowel size, adhesive coverage, required overlaps, acclimation requirements), pause. In 2026, many spec sheets are detailed enough that a small misread can cascade into an incorrect buy list.
A “baseline plus waste” takeoff is typically accurate when your room shape and border modules are documented before you buy.
Complex herringbone layouts benefit from a cut plan because pattern continuity constraints can dominate material yield.
Quick checklist (scan before you buy)
| Item to estimate | Formula / method | Don’t forget |
|---|---|---|
| Floor quantity (baseline) | Room area ÷ coverage per box (or ÷ plank area) | Confirm units and product coverage spec |
| Waste for herringbone | Add waste allowance per manufacturer guidance | Corners, diagonal cuts, borders |
| Underlayment | Roll/sheet coverage calculation | Overlap method per instructions |
| Adhesive (if glued) | Use datasheet coverage × floor area | Trowel notch size must match |
| Trims/transitions | Perimeter + measured runs | Deduct areas you’re not finishing |
Sources
– NIST SI unit conversion references (2019) for length/area conversion factors used in estimation: NIST SI unit conversion reference (2019)
Accurate herringbone material takeoffs come down to one disciplined workflow: baseline from finished area (minus exclusions), convert using the correct coverage method (box coverage or plank dimensions), then add waste based on the manufacturer’s guidance and your border/cut plan. If your layout is unusually complex, treat this as a starting estimate and plan for a detailed cut plan or professional review before ordering.
Frequently Asked Questions
How do you calculate material for a herringbone floor using square footage?
Start by measuring the total floor area in square feet and add a waste factor—typically 10–15% for herringbone patterns due to cuts and diagonal layout. Then calculate how many square feet your flooring covers per box (square feet per box) and divide (floor area × (1 + waste %)) by box coverage. This gives the number of boxes of herringbone flooring you need. For accuracy, re-check the layout direction because some room shapes increase trimming waste.
How much waste should you add when calculating herringbone flooring material?
Waste for herringbone floors depends on plank length, cutting complexity, and room geometry; 10% is common for straightforward rectangular rooms, while 15%–20% may be safer for odd corners, thresholds, or lots of notching. If you’re using short planks, fewer standard offsets fit cleanly and more material is lost. Use the higher end if you’re learning, if the pattern must align with a doorway centerline, or if you anticipate mistakes during layout.
What is the best way to calculate tile or plank counts for a herringbone pattern?
For tiles, count each required “leg” of the pattern (each diagonal piece that forms the V shape) and account for half-cuts at edges; then multiply by the number of rows needed based on your room dimensions. For planks, calculate how many full-length planks fit across the layout width, then estimate how many additional planks are required for staggered ends and border trimming. Dry-fit your first few rows to confirm the geometry, because small measurement differences can compound in a herringbone floor.
Which formula helps estimate how many planks you need for herringbone with a specific plank size?
A practical approach is to compute the effective coverage per plank using plank width and length, then convert to a waste-adjusted total. Multiply room square footage by (1 + waste %) to get total covered area, then divide by coverage per box (or per plank total if you’re buying individually). For added precision, plan the border: measure how the herringbone will terminate along walls, since border cut widths can force extra half-planks and change your plank count.
Why do herringbone floors require different material calculations than straight-run floors?
Herringbone layouts create more cross-cuts, angled edges, and frequent pattern adjustments, which increases material waste compared to straight or staggered installations. The pattern alignment—especially around doors, closets, and irregular walls—often forces additional trimming and sometimes re-cuts. That’s why including a waste factor and doing a dry layout are critical for accurate herringbone flooring material estimates.
📅 Last Updated: October 15, 2026 | Topic: How to calculate material for herringbone floors? | Content verified for accuracy and freshness.
References
- Herringbone
- Parquet
- Parquet
- Tile
- https://en.wikipedia.org/wiki/Quantity_takeoff
- Construction waste
- Flooring
- https://scholar.google.com/scholar?q=herringbone+flooring+material+calculation Google Scholar
- https://scholar.google.com/scholar?q=parquet+herringbone+layout+waste+factor+calculation Google Scholar
- https://scholar.google.com/scholar?q=wood+flooring+installation+herringbone+layout+calculation+yield Google Scholar


