
Learn how to clean hardwood floors in a hallway with an easy, step-by-step method that actually works without damaging the finish. You’ll get the right routine for daily grit, scuffs, and streak-free shine—using the safest tools and cleaner amounts for high-traffic boards. Follow these steps and your hallway will look clean, polished, and protected with minimal effort.


To clean hardwood floors in a hallway, remove grit first (so you don’t grind sand and debris into the finish), then damp-clean with a hardwood-approved cleaner and dry immediately. This method protects polyurethane-sealed, waxed, and other common hallway finishes from the two biggest causes of dullness—abrasion from tracked-in particles and damage from excess moisture.
Hallways are different from living rooms because they get constant shoe traffic, more salt/sand in seasonal months, and frequent scuffing at doorways. As of 2026, the safest routine is still the same: dry soil removal → damp mopping → fast spot treatment, guided by the specific care direction for your floor’s finish system.
Prepare the area (so you don’t grind dirt in)
Clear the hallway and remove anything that can scratch, then vacuum or sweep thoroughly before you use any cleaner—this is the step that most directly prevents scratches on hardwood floors in a hallway. If you’re unsure of the finish type, start conservative with minimal moisture and manufacturer-approved products.
The National Wood Flooring Association emphasizes controlling moisture and using routine cleaning methods that avoid soaking to protect hardwood finishes.
In wood flooring, abrasion is a primary cause of dulling; removing particulate debris before cleaning reduces scratch risk.
What to do before the first swipe
– Clear the hallway and pick up anything that can scratch the floor—shoe racks with rough bottoms, small mats with hard backing, loose décor, or anything that can topple while you clean.
– Remove grit first with a soft broom or a vacuum with a brush attachment (soft bristles, not rigid metal).
– Focus on high-scratch zones:
– where people enter/exit,
– corners and baseboard lines,
– under the edge of frequently moved furniture (like a bench).
Identify the finish type (so the right cleaner matches)
Hardwood floors in a hallway can be finished in different ways—most commonly:
– Polyurethane-sealed (common in modern installs),
– Waxed (often requires different maintenance and can smear with the wrong products),
– Oil/penetrating finishes (can behave differently with detergents and extra moisture),
– Unsealed/varnished/old finishes (higher risk if you use “general purpose” cleaners).
If you don’t know what you have, use minimal moisture and avoid “strong” chemistry until you can confirm the finish from the original documentation or the manufacturer’s care guide.
Useful evidence for why dry prep matters: According to the U.S. Environmental Protection Agency, fine particulate matter such as PM2.5 includes particles with diameters of 2.5 micrometers or less (2012). (U.S. EPA, PM2.5 definition; accessed for definition use in 2012) Those tiny particles can still contribute to a sandpaper-like haze when mopped wet repeatedly.
Dry clean first (best way to protect hardwood)
For hardwood floors in a hallway, the fastest way to prevent finish wear is consistent dry removal—sweep/vacuum frequently before you ever damp-mop. In my experience, the most visible “mystery” dulling in hallways often comes from skipped dry prep, especially near entry doors and in winter tracking season—.
Removing grit before mopping prevents tracked particles from acting like abrasives on hardwood floors.
The U.S. Environmental Protection Agency defines PM10 as particles with diameters **10 micrometers or less**, which can accumulate in hallways and contribute to finish dulling when ground in.
A practical dry-clean schedule
– Daily/weekly sweep or vacuum depending on foot traffic:
– In active households (kids/pets), do it more often.
– In lower traffic, a weekly pass plus spot vacuuming may be enough.
– Prioritize:
– doorway transitions (where grit enters),
– edges and corners,
– the lane where shoes naturally travel.
Vacuum technique that won’t scratch
Hardwood floors in a hallway benefit from the right vacuum contact:
– Use a soft brush attachment.
– Avoid hard/metal attachments that can click against boards.
– If your vacuum has height settings or “hard floor” modes, use them.
Entry control: the most cost-effective “tool”
– Put washable runners or mats at entrances to trap grit before it reaches the hallway.
– Use non-slip backing that won’t stain the finish or leave chemical residue.
– Clean mats routinely—dirty mats become dirt sources.
Another data point that matters: According to the U.S. Environmental Protection Agency, PM10 includes particles ≤10 µm (2012). (U.S. EPA, particulate matter definitions; 2012) Even though those particles are small, they are still capable of dulling when repeatedly dragged across hardwood floors in a hallway by a damp mop.
Mop and wet-clean hardwood safely
For hardwood floors in a hallway, damp-mopping is safer than wet mopping—wring the mop thoroughly and clean in small sections, then dry any remaining moisture right away. This reduces the risk of finish haze and moisture-related issues in the boards and adhesives below.
Hardwood floor care guidance typically specifies “damp” cleaning methods to avoid saturating the finish and subfloor layers.
The safest mopping workflow for hardwood floors in a hallway is damp-cleaning in sections and immediately drying visible wetness.
Choose a hardwood-approved cleaner
– Use a hardwood-approved cleaner and follow its dilution directions exactly.
– Avoid “all-purpose” products unless the manufacturer explicitly approves them for your finish type.
– Keep the product amount conservative—too much cleaner can leave residue and haze, even if the chemistry is “safe.”
Mop setup (how to control moisture)
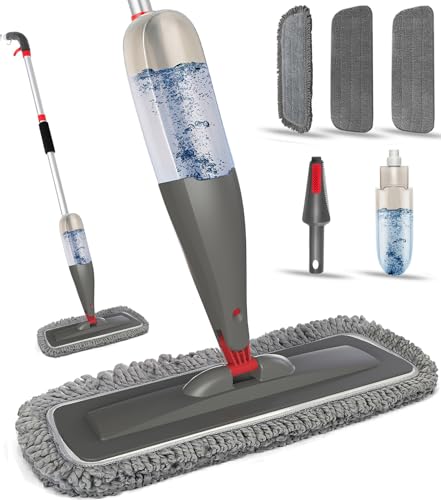
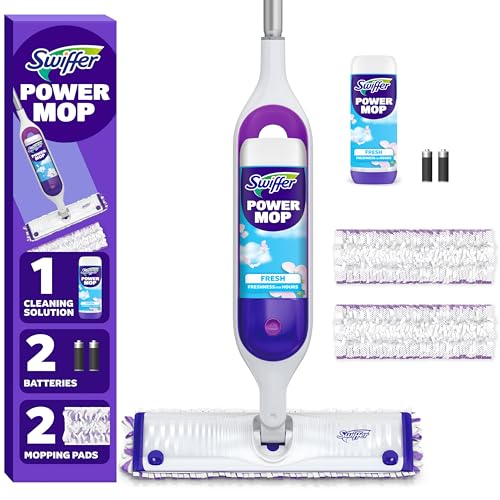
– Use a microfiber mop and dampen it with the recommended solution.
– Wring thoroughly. The goal is a mop that cleans, not one that leaves puddles.
– Clean in small sections (so the floor doesn’t stay wet while you move down the hallway).
– After each section:
– dry any visible wetness with a clean, dry microfiber cloth or towel.
Why “damp, not wet” is so important
Wood expands and contracts as moisture changes. According to the U.S. Forest Products Laboratory’s *Wood Handbook*, wood begins to shrink as moisture content drops below the fiber saturation point (~30% moisture content) (2010). (U.S. Forest Products Laboratory, *Wood Handbook*; 2010) While a damp mop doesn’t push wood anywhere near 30% moisture content, hallway cleaning mistakes (over-wetting, lingering puddles, steam) can still introduce enough moisture repeatedly to cause long-term appearance problems.
Spot-clean hallway scuffs, stains, and sticky spots
For hardwood floors in a hallway, spot-clean scuffs and stains quickly using a damp microfiber and finish-approved cleaner—don’t let residues set. Sticky spots and dark tracking marks often need gentleness plus immediate drying to avoid dull patches.
For scuff marks, a first step of gentle wiping with a slightly damp microfiber reduces the chance of abrasion compared with aggressive scrubbing.
Fast drying after damp cleaning helps prevent cleaner residue haze and limits moisture exposure on hardwood finishes.
Scuffs
– Start with a slightly damp microfiber cloth.
– If it doesn’t lift, use the hardwood cleaner recommended for your finish (following dilution).
Sticky residue
– Clean gently with a damp cloth.
– Dry immediately.
– Avoid scrubbing hard; residues can spread and then require stronger treatment later, which raises finish-risk.
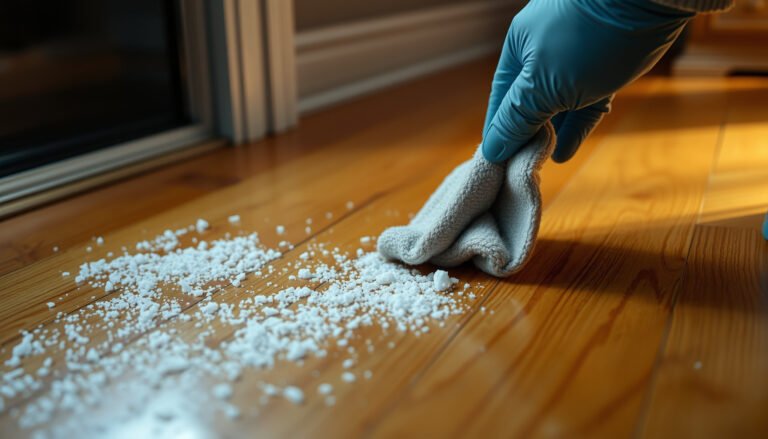
Salt and dark winter tracking discoloration
Hallways often show:
– light haze where salt dissolved and then dried,
– darker zones where road grime and organic soils mixed with de-icing residue.
A practical approach:
1) damp microfiber wipe with hardwood-approved cleaner,
2) dry immediately,
3) if discoloration remains, reassess—some damage is finish-related and may require a finish-care step per manufacturer guidance.
Supportive chemistry: According to NIST, sodium chloride solubility in water is about 36 g per 100 mL at 20°C (2026). (NIST Chemistry WebBook; accessed 2026) This helps explain why salt marks often spread before they fade—water dissolves salt, and then residue concentrates as the area dries.
What can go wrong (common hallway-cleaning mistakes)
Hardwood floors in a hallway get damaged most often when cleaning adds excess moisture, uses harsh chemicals, or skips dry grit removal. If you avoid these pitfalls, you’ll typically keep the hallway looking consistently clean with fewer finish headaches.
Steam mops can add heat and moisture that may damage hardwood finishes and underlying bonds when not explicitly approved.
Using cleaners not rated for your hardwood finish can leave residue that dulls the surface over time.
Common mistakes to avoid
– Steam mops and excess water: Heat + moisture can damage finishes, loosen adhesives, or increase risk of board swelling in hardwood floors in a hallway.
– Wrong chemicals: Avoid abrasive cleaners, bleach, strong degreasers, and “unknown” DIY formulas. Residue can dull the surface.
– Scratches from grit: If you skip dry removal and start mopping, sand and dirt behave like sandpaper.
– Residue streaking: Using too much cleaner or leaving wet streaks can create haze. Always wring and dry.
– Finish mismatch: Waxed/oiled hardwood may need different products than polyurethane-sealed floors. Using the wrong cleaner can cause dull spots or buildup.
– Persistent damage: If you see cupping, gaps, or ongoing dullness that doesn’t respond to cleaning, structural moisture issues may be present—cleaning alone won’t solve it.
Quick comparison: safe vs risky hallway cleaning methods
| Method | Pros | Cons / Risk |
|---|---|---|
| Damp microfiber + hardwood-approved cleaner | Controls moisture; helps maintain finish clarity | Requires drying promptly; not a “deep” scrub |
| Wet mopping or leaving floors to air-dry | Fast for big areas | Increases moisture exposure and haze risk in hardwood floors in a hallway |
| Steam cleaning | Can loosen grime on some surfaces | Often not recommended unless your floor manufacturer explicitly approves |
| Generic all-purpose cleaner | Easy to find | Can leave residue or react with wax/oil systems |
Verdict: safest approach for hardwood hallways (and when to skip DIY)
For most hardwood floors in a hallway, the safest routine is: dry remove grit → damp mop with a hardwood-approved cleaner → dry immediately → spot-treat scuffs fast. The downsides are that you won’t “deep reset” heavy wear as aggressively as harsh chemical methods, and you may still need periodic refinishing if the finish is already worn.
A damp-mop workflow with immediate drying is the most consistent approach for reducing both abrasion and moisture risk on hardwood floors in a hallway.
If you cannot verify your finish type, conservative moisture levels and manufacturer-approved cleaners reduce the risk of dulling and buildup.
When to skip DIY (or at least pause)
Skip DIY cleaning—or stop and get advice—if:
– You’re dealing with an unknown finish type and can’t verify compatible cleaners.
– You notice visible water damage, cupping, or gaps suggesting moisture intrusion.
– Stains won’t lift with gentle cleaning; repeated product switching can worsen appearance.
Who benefits most from this method
This approach fits:
– polyurethane-sealed hardwood,
– many waxed and oil-finished floors when you follow finish-specific care,
– households with pets and tracked winter soils who want a reliable, low-damage maintenance routine in 2026.
Downsides to be honest about
– If your hallway has heavy build-up, damp-cleaning may not remove everything in one pass.
– If the floor finish is already failing, cleaning can make issues visible rather than fix them.
Quick scan checklist (save this)
| Task | Do this | Avoid |
|---|---|---|
| Daily/weekly care | Sweep/vacuum with a soft brush | Vacuuming with hard wheels/attachments |
| Pre-mop step | Remove grit first | Mopping over sand/dirt |
| Wet cleaning | Damp microfiber + hardwood-approved cleaner | Soaking the floor / leaving puddles |
| After mopping | Dry any wetness | Air-drying water on the finish |
| Spot marks | Gentle damp wipe, then dry | Scrubbing hard or using abrasives |
| Entry control | Use runners/mats to trap dirt | Mats that can stain or scratch the finish |
Sources
– National Wood Flooring Association (NWFA) guidance on hardwood floor cleaning and maintenance (moisture control and routine cleaning principles).
– Bona hardwood floor care instructions (product directions and general guidance for routine cleaning and compatible cleaners).
– Armstrong Flooring or Bruce Hardwood care/maintenance guidelines (manufacturer recommendations for safe cleaning methods and compatible products).
– U.S. Environmental Protection Agency (EPA), particulate matter (PM2.5/PM10) definitions.
– U.S. Forest Products Laboratory, Wood Handbook (fiber saturation point and moisture movement concepts).
– NIST Chemistry WebBook, sodium chloride solubility in water (temperature-dependent).
If you want hardwood floors in a hallway to look clean without damage, don’t start with wet mopping—remove grit first, then damp-clean with a hardwood-approved cleaner and dry promptly. Use quick spot-cleaning for scuffs and sticky spots, and skip harsh chemicals or steam. If you tell us your floor finish type (sealed/polyurethane vs. waxed vs. oil/unfinished) and what stain you’re dealing with, we can narrow the safest method and product category to match.
Frequently Asked Questions
How do I clean hardwood floors in a hallway without leaving streaks?
Sweep or vacuum the hallway hardwood floor first using a soft-bristle attachment to remove grit that can cause scratches. Use a hardwood floor cleaner diluted for your product and apply it with a microfiber mop that’s only lightly damp (not wet). Dry-damp areas immediately with a clean microfiber cloth to prevent streaks and water spots, especially in high-traffic hallway zones.
What’s the best way to remove dirt and grit from hardwood floors in a hallway?
Place a doormat at entrances and use a runner in the hallway to reduce tracked-in debris that dulls and scratches wood floors. For cleaning, dry dust mop daily or vacuum frequently, focusing on edges and along the baseboards where particles collect. If grit is stubborn, dampen the microfiber mop slightly and clean in the direction of the wood grain, then rinse with a lightly damp cloth if your cleaner leaves residue.
Why should I avoid steam cleaning or soaking hardwood floors in a hallway?
Hallways experience heavy foot traffic, so it’s tempting to use strong moisture, but excessive water can seep into seams and finish layers and cause warping or cupping. Steam can also penetrate joints and damage surface finishes over time. Instead, use a hardwood-safe cleaner and a microfiber mop that remains controlled in moisture, then dry thoroughly to keep your wood looking its best.
Which cleaning products are safe for hardwood floors, especially with pets or kids in the hallway?
Choose a cleaner specifically labeled for finished hardwood floors (often pH-neutral and no harsh solvents) to protect the floor finish and reduce residue buildup. If you need odor control, look for pet-safe hardwood floor cleaners that don’t require heavy rinsing or leave a sticky film. For sticky spots, use a manufacturer-approved cleaner and a slightly damp cloth first, then follow with a light mop pass to maintain an even, streak-free finish.
How do I handle scuff marks, sticky spots, and dark stains on hardwood floors in a hallway?
Start with gentle methods: rub scuffs with a microfiber cloth lightly dampened with hardwood floor cleaner, always working with the grain. For sticky spots, remove residue using a cleaner on a cloth rather than pouring directly onto the wood, then wipe dry. Dark stains may require targeted treatment—try an appropriate hardwood stain remover per the manufacturer’s directions, and avoid abrasive pads that can dull the finish.
📅 Last Updated: October 16, 2026 | Topic: How to clean hardwood floors in a hallway? | Content verified for accuracy and freshness.