Stubborn grit on hardwood floors doesn’t require harsh stripping—using the right prep, the correct cleaner, and the proper technique will lift it without dulling or scratching the finish. This guide shows exactly how to remove embedded debris step by step, so you get a smooth, clean surface with minimal risk. If your floor still feels gritty after routine sweeping, follow this process to get it clean the first time.




For stubborn grit on hardwood floors, start with dry removal first (vacuum or a soft broom) to prevent scratching, then use a damp microfiber mop with a pH-neutral hardwood cleaner. For the toughest spots, use a non-abrasive method like a slightly damp cloth and gentle agitation—then dry immediately to avoid water damage. This approach lifts grit without grinding it into the finish.
If your floors have sand-like debris near entryways or you notice gritty buildup that won’t lift with regular mopping, this guide is for you. It’s also a good fit if you want safer options that won’t damage common sealed hardwood finishes.
Gather the right tools (and avoid abrasion)
The right tools make stubborn grit removal safer because they lift particles without scouring the finish. For hardwood floors, you want control (dry capture first, then controlled damp cleaning) rather than “scrub-to-fix” intensity, which can permanently haze or dull the surface.
National Wood Flooring Association guidance emphasizes preventing excess moisture and using appropriate cleaning products to protect hardwood floors’ finishes.
IUPAC defines neutral pH as pH 7 (at 25°C), which is why “pH-neutral” hardwood cleaners are generally designed to stay close to neutral rather than acidic or alkaline.
To do this effectively, gather tools that match the job stage:
– Use a vacuum with a brush attachment or a soft broom to lift grit without grinding (hard bristles can still scratch if you drag grit across a sealed finish).
– Grab microfiber cloths/mop pads, a pH-neutral hardwood floor cleaner, and a bucket of clean water.
– Use clean towels for drying immediately after any damp step—drying is not optional when grit and water both involve the same seams and edges.
Choose microfiber over abrasives—especially on sealed finishes
On most modern hardwood floors, the visible surface is a sealed finish (often polyurethane) designed to resist everyday spills. That finish can still be dulled by abrasion, though—especially when sand or quartz-like grit is present. Microfiber cleaning tools are engineered to trap particles in their fibers instead of pushing them around.
If you’re unsure whether your hardwood floors are sealed or unsealed, assume the surface is sensitive until proven otherwise. The “safer” option across most scenarios is: dry removal → minimal damp cleaning → immediate drying.
Remove loose grit safely (before any wet cleaning)
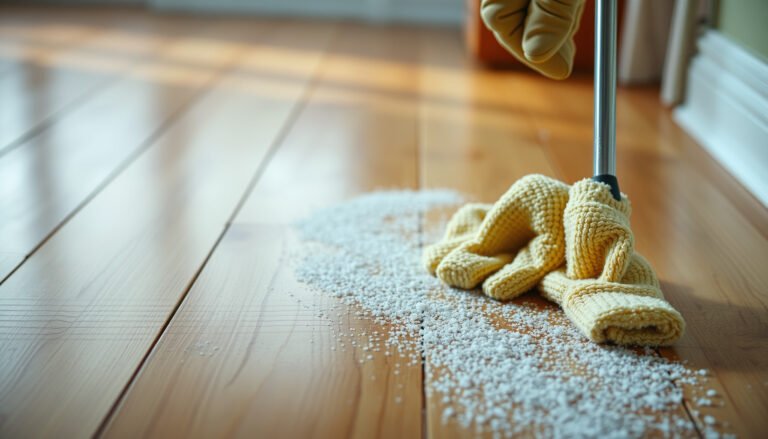
You should remove loose grit from hardwood floors before you introduce any moisture. This prevents grit from turning into a paste that can smear across the finish and become harder to remove.
Vacuuming is the first line of defense for surface grit because it physically removes particles rather than redistributing them into the finish.
According to the U.S. Environmental Protection Agency’s HEPA filtration description, HEPA filters are rated to capture 99.97% of particles at 0.3 microns, which helps reduce the amount of fine grit that can later scratch hardwood floors.
Here’s a reliable dry-first workflow for hardwood floors:
– Vacuum thoroughly along edges, corners, and high-traffic paths where grit collects (entryways are usually the worst).
– Wipe with a dry microfiber cloth to “catch” remaining particles before introducing moisture—this step often removes the grit your vacuum misses.
– For tiny debris, try a lightly damp cloth only after dry removal—so you don’t turn grit into paste.
From my own maintenance routine, I treat the first vacuum pass as “particle harvesting,” not cleaning. I also pause after vacuuming to do one quick dry microfiber pass—because it’s the fastest way to confirm whether grit is still present before any damp step.
Why “dry first” matters more than most people think
When sand-like debris is on hardwood floors, water doesn’t “sanitize” the grit—it mobilizes it. Once suspended, it can grind into the finish with every mop stroke. Dry removal first breaks that cycle.
Clean stubborn spots with the least aggressive wet method
For stubborn grit that persists, the least aggressive wet method is a lightly damp microfiber mop/cloth plus a pH-neutral hardwood cleaner. On hardwood floors, the goal is controlled lifting, not scrubbing.
Hardwood floor care guidance from flooring industry organizations generally recommends using pH-neutral cleaners and avoiding excessive water exposure to protect finishes and reduce moisture-related damage.
Using a lightly damp (not soaking) microfiber tool limits the amount of water that can travel into seams and joints on hardwood floors.
Follow this method for hardwood floors:
– Lightly dampen a microfiber mop/cloth (not soaking) with pH-neutral cleaner.
– Work in small sections, using gentle circular motion or straight passes—don’t scrub hard.
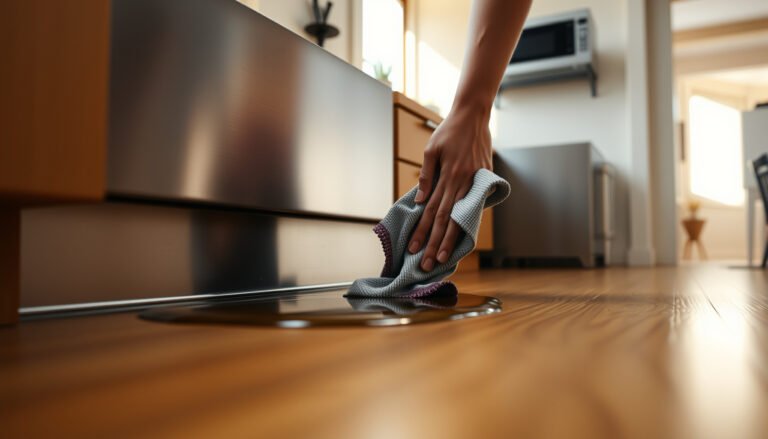
– Immediately follow with a dry microfiber towel to reduce the chance of water sitting on seams or boards.
In practice, small sections matter because you’re reducing time-on-floor for moisture. As of 2026, most manufacturers still frame this as “damp cleaning only” for sealed hardwoods, especially near edges where water can linger.
Typical Grits on Hardwood Floors and Their Abrasiveness (Mohs)
| # | Debris type | Common home source | Mohs hardness | Finish abrasion risk |
|---|---|---|---|---|
| 1 | Quartz-rich sand (quartz) | Tracking in from outdoor grit/soil | 7.0 | ★★★☆☆ |
| 2 | Glass fragments (soda-lime glass) | Broken items, construction dust | 5.5 | ★★★☆☆ |
| 3 | Feldspar dust | Dry soil, masonry powders | 6.0 | ★★★★☆ |
| 4 | Hematite/iron oxide grit | Metal dust, outdoor road grime | 5.5 | ★★★☆☆ |
| 5 | Concrete/cement-associated silicates | Renovation tracked-in dust | 6.0 | ★★★★☆ |
| 6 | Calcite/dust (limestone) | Outdoor chalky dust, soil particles | 3.0 | ★☆☆☆☆ |
| 7 | Talc-like soft dust | Light powdery tracking, some drywall dust | 1.0 | ☆☆☆☆☆ |
Deal with stuck-on grit using non-abrasive agitation
For grit that won’t lift with light damp mopping, soften it first and then use gentle agitation. On hardwood floors, the sequence “soften → agitate minimally → dry immediately” reduces the chance you’ll grind residue into the finish.
Gentle agitation with microfiber (instead of abrasives) helps lift residue while reducing the risk of finish dulling on hardwood floors.
Excess water exposure on hardwood floors can increase the risk of long-term dulling or moisture-related problems, so damp-only steps and immediate drying are recommended by industry guidance.
Use this method:
– Place a damp (not wet) microfiber cloth over the grit area for a few minutes to soften residue.
– Gently agitate with the cloth or a soft-bristle brush in very light strokes (test in an inconspicuous area first).
– If grit remains, repeat the damp-cloth step rather than escalating to abrasive tools.
Quick pros/cons: what to do when grit is “stuck”
Below is a practical comparison for hardwood floors when residue seems bonded to the finish.
| Approach | Pros (for hardwood floors) | Cons / Risks |
|---|---|---|
| Damp cloth soften + microfiber agitation | Targets residue with low abrasion; controllable; easy to stop early. | Takes repetition; may not fully remove if finish is already worn. |
| Dry scrape/scrub first | Can remove loose chunks quickly. | Can scratch finishes by dragging hard grit across the surface. |
| Abrasive pads/steel wool | Often “works” fast on residue. | High likelihood of dulling/hazing and irreversible finish damage. |
From a practical standpoint, the “soften first” step often changes the physics: you’re breaking the bond between grit and residue so microfiber can lift it, instead of wrestling hard particles across the finish.
What can go wrong (common mistakes and limits)
The most common failure point is trying to scrub grit before removing it, which turns grit into an abrasive slurry on hardwood floors. The second biggest issue is over-wetting, which can creep into seams and edges even when the cleaner is “mild.”
Scrubbing dry grit can scratch the finish because hard particles act like micro-abrasives when moved across the surface.
The National Wood Flooring Association advises maintaining indoor relative humidity around 35%–55% to help reduce wood movement and moisture-related issues.
Here’s what to avoid for hardwood floors:
– Scrubbing dry grit can scratch the finish—always remove loose particles first.
– Over-wetting hardwood can seep into seams and cause cupping, swelling, or dulling over time.
– Using vinegar, steam cleaners, or strong degreasers may damage certain finishes; stick to pH-neutral hardwood products.
– If your floor is unsealed/oiled, the “best” cleaner and method may differ—what’s safe for sealed floors isn’t always safe for bare wood.
Limits you should plan for
Even with correct technique, stubborn grit can be tied to conditions:
– Heavy construction dust or repeated tracking can create a “grit film” that needs multiple cycles of damp-softening and dry towel follow-up.
– If the finish is already worn thin, you may not be able to fully restore the original sheen—your cleaning can only stop further damage.
If you’re working on hardwood floors with an unknown finish, consider the manufacturer’s care instructions before choosing products. If you’re unsure, use the gentlest compatible approach and test a small area first.
Verdict: do this first, skip heavy scrubbing
This method is the safest starting point because it limits scratching (dry removal), prevents water damage (damp, not wet), and uses gentle agitation for stuck grit. Skip aggressive scraping or abrasive pads entirely—those can permanently mar the finish.
Industry guidance generally prioritizes dry-to-damp cleaning sequences for hardwood floors to reduce the risk of grinding debris into the finish.
Moisture control is a long-term hardwood floor protection strategy; maintaining indoor relative humidity within the recommended range helps minimize movement.
If you’re dealing with unsealed/oiled hardwood floors or you don’t know the finish system, and test any cleaner in an inconspicuous spot before tackling the whole room. Also, as of 2026, most leading hardwood brands still emphasize pH-neutral cleaners and immediate drying for routine maintenance—this same principle holds for grit problems, too.
Downsides to be aware of:
– This approach takes patience—especially for entryway grit buildup.
– Very hardened residue may require repeat damp-cloth cycles; if the finish is already compromised, you may still see lingering dullness.
Quick checklist: clean stubborn grit without damaging hardwood
– [ ] Vacuum/soft broom first (no dry scrubbing)
– [ ] Dry microfiber wipe for remaining particles
– [ ] Mop/cloth damp with pH-neutral hardwood cleaner
– [ ] Small sections + gentle motion only
– [ ] Dry immediately with a clean microfiber towel
– [ ] Repeat damp-cloth softening for stuck grit (no abrasives)
A dry-first removal step reduces the chance that gritty debris becomes a scratch-causing slurry when hardwood floors are damp.
Immediate drying after damp cleaning reduces the time water can contact seams and board edges on hardwood floors.
Sources
– National Wood Flooring Association (NWFA) — humidity and maintenance guidance for wood flooring
– U.S. Environmental Protection Agency (EPA) — HEPA filtration performance description (99.97% at 0.3 microns)
– IUPAC — definition of pH scale and neutral pH (pH 7 at 25°C)
If you want one rule to remember for stubborn grit on hardwood floors, it’s this: remove particles dry first, clean damp with a pH-neutral product, soften then lift for stuck spots, and dry immediately. That workflow minimizes scratching and moisture risk—the two issues most likely to turn a “quick clean” into long-term finish damage.
Frequently Asked Questions
How can I remove stubborn grit from hardwood floors without scratching the finish?
Start by dry-cleaning the grit first—vacuum thoroughly with a hardwood-friendly attachment and wipe with a barely damp microfiber cloth. For stuck grit, lightly dampen the area with water or a pH-neutral hardwood floor cleaner, then use a microfiber pad to lift residue instead of scrubbing aggressively. Avoid steel wool, abrasive brushes, or harsh chemicals, since they can damage the hardwood finish and leave visible dull spots.
What’s the best way to clean gritty hardwood floors if the dirt is embedded in the seams?
Use a two-step approach: vacuum/brush to remove loose debris, then target the gaps with a soft, damp cloth or a microfiber mop head. For heavier buildup, apply a small amount of pH-neutral cleaner to a cloth and press it over the seam for a minute to soften grime before wiping. If grout-like residue remains, use a plastic scraper at a shallow angle to lift grit, then follow immediately with a damp microfiber wipe and dry towel.
Why does grit damage hardwood floors, and how do I prevent it while cleaning?
Grit acts like sandpaper—when it’s ground into the wood and finish, it can cause micro-scratches that dull the surface over time. To prevent spreading, clean with gentle motions and frequent rinsing of your microfiber cloth or mop pad so you’re not dragging particles around. Place doormats at entryways, use felt pads under furniture, and sweep/vacuum regularly to keep grit from accumulating.
How do I clean dried-on mud or clay grit from hardwood floors safely?
Begin by softening the dried mud: place a damp microfiber cloth over the area for several minutes, then wipe to lift loosened particles. If residue remains, use a pH-neutral hardwood floor cleaner on a cloth and gently work in the direction of the grain. Never soak the floor—excess water can seep into seams and cause swelling—then dry thoroughly with a clean towel after cleaning.
Which cleaning methods work best for stubborn grit on sealed versus unfinished hardwood floors?
For sealed hardwood, you can usually use a pH-neutral hardwood floor cleaner and a microfiber mop to remove embedded grime without damaging the protective layer. For unfinished hardwood, avoid wet mopping and strong cleaners; instead, use minimal moisture, spot-clean with a lightly damp microfiber cloth, and dry immediately. If the grit is deeply embedded, consider professional cleaning to avoid sanding or finish damage that DIY methods can cause.
📅 Last Updated: October 29, 2026 | Topic: How to clean stubborn grit from hardwood floors? | Content verified for accuracy and freshness.
References
- https://www.epa.gov/coronavirus/how-clean-and-disinfect-your-home
- https://www.cdc.gov/coronavirus/2019-ncov/community/clean-disinfect.html
- Wood flooring
- Floor cleaning
- Abrasion
- Microfiber
- Wood finishing
- https://scholar.google.com/scholar?q=hardwood+floor+cleaning+grit+abrasion Google Scholar
- https://scholar.google.com/scholar?q=wood+floor+finish+cleaning+maintenance+polyurethane Google Scholar
- https://scholar.google.com/scholar?q=abrasive+particulates+wood+finishes+cleaning Google Scholar