
Preparing vinyl floors for a hallway is a straightforward process—if you follow the right prep order, you’ll get a flat, secure install that resists lifting and water damage. This step-by-step guide answers exactly what to do before laying vinyl in a high-traffic hallway: how to assess the subfloor, clean and level it, and handle transitions and moisture so seams stay tight. By the end, you’ll know the fastest path to a durable hallway floor setup.




Prepping vinyl floors for a hallway is mostly about getting the subfloor flat, clean, and dry—and then acclimating the vinyl before you install. Once you handle those basics (plus transitions and expansion gaps), hallway wear problems like lifting edges and seam separation become far less likely.
If you’re a homeowner or DIYer tackling a hallway with common realities—doorway transitions, slightly uneven subfloors, or a sloped entry—this step-by-step approach will help you install vinyl that stays flat under daily traffic. The core prep is similar whether you’re installing peel-and-stick, click-lock, or loose-lay vinyl, but you should still follow each product’s exact flatness, moisture, and gap requirements from its installation instructions (and keep that guidance visible during prep).
Clear the hallway and inspect the subfloor
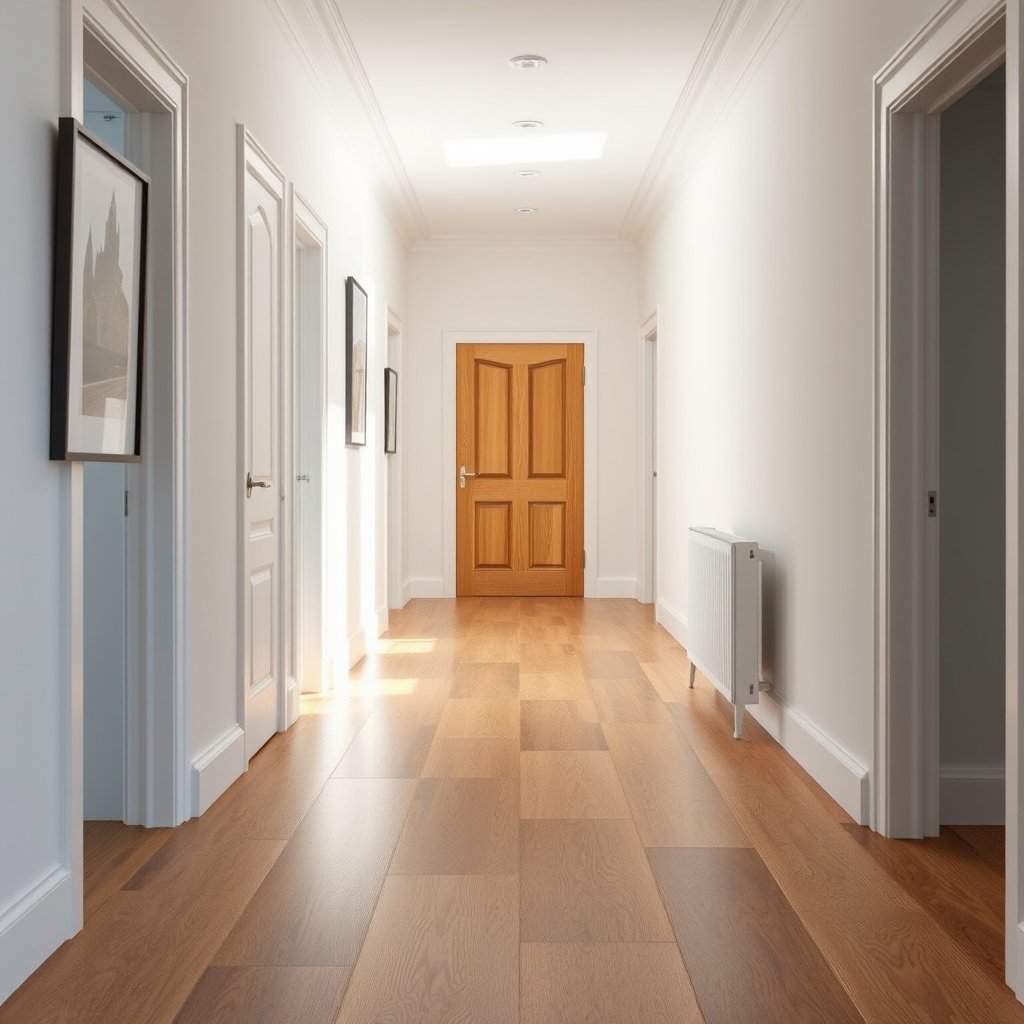
Clear the space completely and verify the subfloor is stable before you do any patching or smoothing. Vinyl (especially floating and adhesive-backed types) doesn’t “forgive” debris, loose material, or failing coatings—hallways simply expose those mistakes faster because the traffic is constant.
Resilient flooring failures often start with a substrate that is dirty, loose, or not sufficiently flat, since the vinyl follows the high and low points of the base.
Before installing resilient vinyl, you should look for moisture indicators like damp spots, musty odor, staining, or paint/patch deterioration, then confirm conditions with the flooring manufacturer’s moisture requirements.
Here’s what “clear and inspect” really means in a hallway:
– Remove existing flooring materials that are soft, loose, or not approved as a substrate (keep only what the vinyl manufacturer explicitly allows).
– Remove baseboards if your trim plan requires it—or at least ensure you can keep expansion gaps consistent around fixed objects.
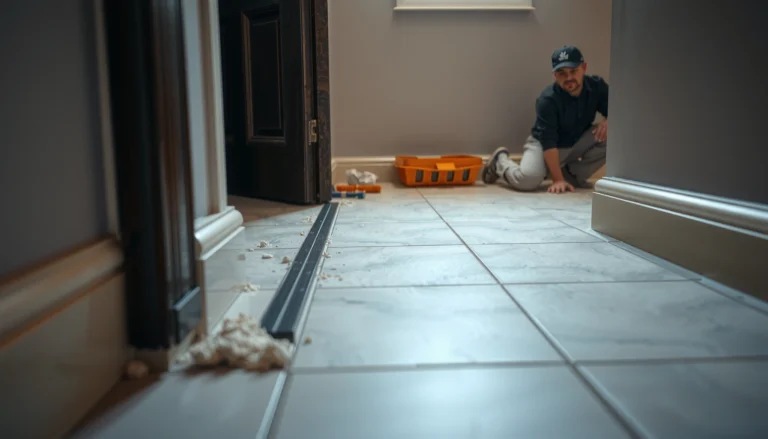
– Scrape away tack-strip remnants, drywall compound ridges, or any adhesive that interferes with full vinyl contact.
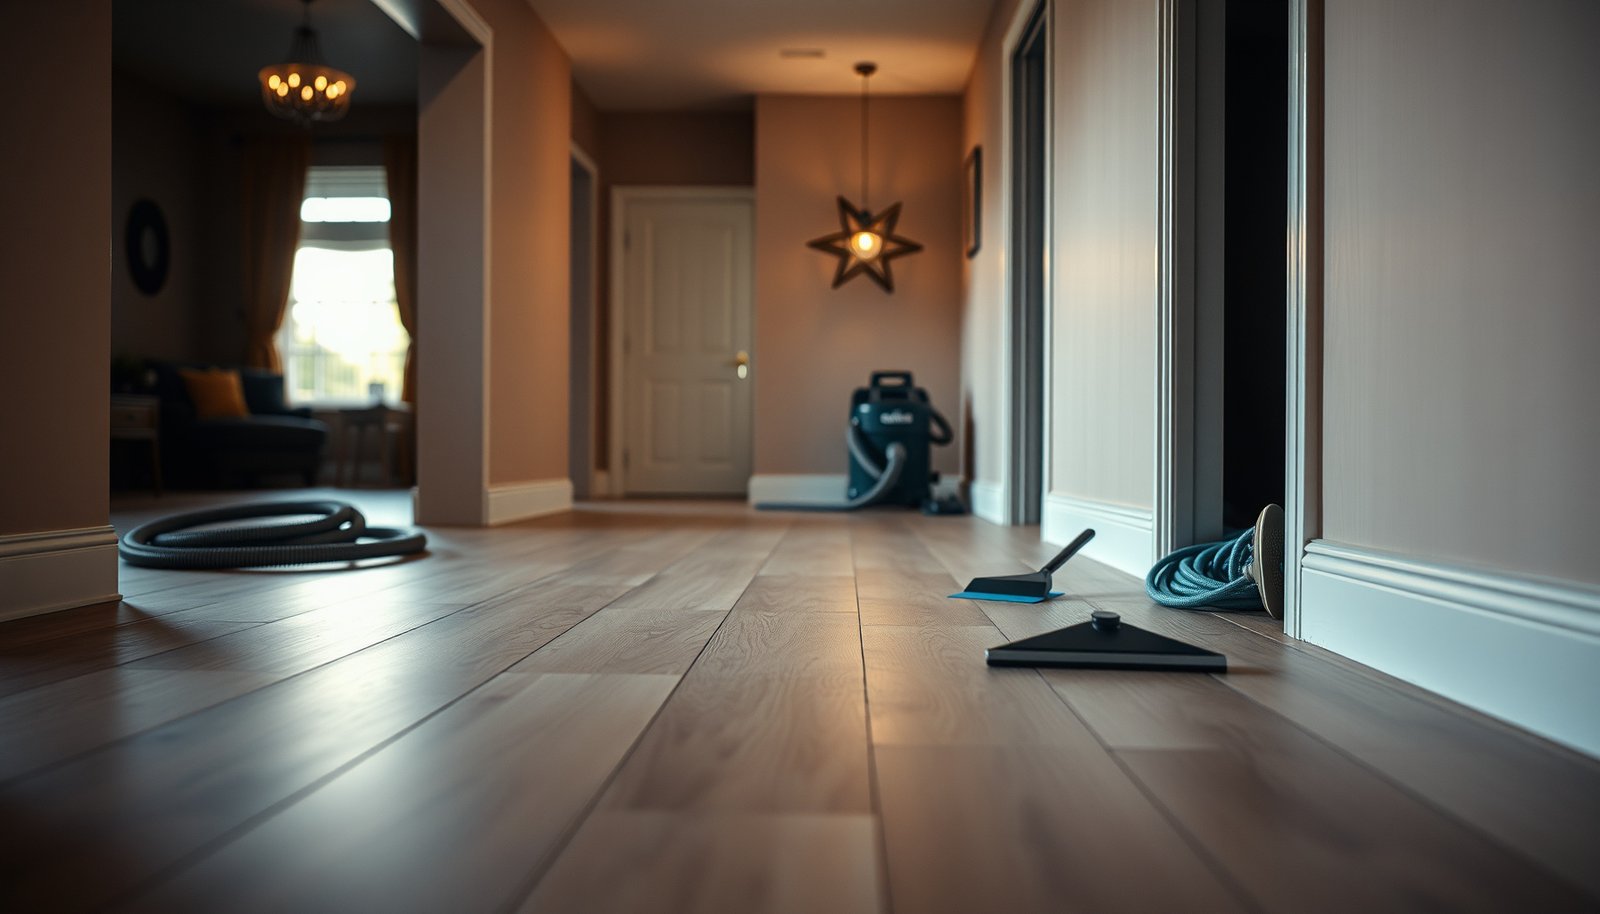
– Sweep, then vacuum with a strong filtration vacuum (a shop-vac works), focusing on edges, corners, and around door casings.
Inspection isn’t just visual. You’re trying to catch problems that will telegraph through vinyl:
– Weak spots: flaking paint, loose underlayment, crumbling patch material, or areas where the surface powders under a fingernail.
– Surface contaminants: wax, curing compounds, drywall mud dust, paint overspray, and heavy cleaning chemical residue.
– Moisture: musty odor, discoloration, visible dampness, or repeated “cool” spots in an otherwise dry hallway.
Moisture note (important): don’t guess. Use the test method that matches your substrate (concrete vs. wood) and follow your vinyl manufacturer’s limits.
– For concrete slabs, ASTM test methods commonly used in the industry include ASTM F1869 (calcium chloride/MVER) and ASTM F2170 (in-situ relative humidity probes). ASTM F1869; ASTM F2170
– If you’re unsure which to use, defer to the vinyl manufacturer’s moisture testing method and allowable thresholds: .
Also, if your hallway includes a transition at a door, cabinet, or closet threshold, inspect those areas early: the wrong transition detail can block movement for floating floors or create stress at seams.
Fix flatness issues before any vinyl goes down
The fastest way to prevent hallway vinyl from lifting is to correct flatness before installation. Vinyl can hide small surface irregularities, but it will eventually respond to flexing at low spots—especially under chair legs, wheeled carts, and daily foot traffic.
Industry installation guidance for resilient flooring commonly targets a maximum flatness variation of 3/16 in over 10 ft before installation to help prevent seam stress and premature edge lifting.
A straightedge check identifies both low spots (which create flex) and high spots (which create rockers), both of which can lead to visible seam gaps and wear patterns in hallways.
From what I’ve seen in real hallway installs that go sideways, the common pattern is this: people focus on “clean and dry” but skip the straightedge step, then the first bending point shows up as a seam opening or lifting edge months later.
How to evaluate flatness (practical approach):
1. Use a 6 ft or 10 ft straightedge (depending on what you can handle safely) and check in multiple directions: along the hallway length and across it.
2. Mark highs and lows with a pencil or painter’s tape.
3. Pay attention to the “boring” areas: around doorways, under return vents, and near old patch seams—hallways tend to collect past repair work.
Then correct the problem:
– Patch cracks and low spots using an appropriate floor patch/leveling system compatible with your subfloor type (concrete, plywood, OSB, etc.). Don’t mix chemistry systems unless the patch product explicitly allows it.
– Sand down high ridges carefully. High points can create pressure points that make seams work like hinges.
– Feather-edge patches to avoid abrupt edges. Vinyl follows surface transitions, so a sharp patch edge can telegraph as a ridge.
A key reality: flatness corrections must be fully cured and dust-free. Even a correct patch can cause adhesion problems if sanding dust remains or if the patch isn’t dry enough for your vinyl system.
Hallway Vinyl Prep Targets That Most Often Prevent Lifting (US Industry Guidance)
| # | Prep Item | What You Verify | Typical Industry Target | Install Impact |
|---|---|---|---|---|
| 1 | Subfloor flatness | Straightedge deviation | ≤ 3/16 in over 10 ft | ★★★★★ |
| 2 | Moisture condition | MVER / RH compliance | Use manufacturer limits (test: ASTM F1869 or F2170) | ★★★★★ |
| 3 | Surface cleaning | Dust/oil removal | Dust-free before install | ★★★★☆ |
| 4 | Patch feathering | No abrupt edges | Smooth transitions after sanding | ★★★★☆ |
| 5 | Acclimation | Dimensional stability | Follow manufacturer temperature/time | ★★★★☆ |
| 6 | Perimeter expansion gap | Room for movement | Commonly 1/4 in (6 mm) unless spec differs | ★★★☆☆ |
| 7 | Transition planning | Joint stress control | Use recommended transition trim system | ★★★☆☆ |
Note: treat the “Typical Industry Target” as a starting point; always defer to your specific vinyl manufacturer’s installation instructions for exact limits, especially for moisture and acclimation timing.
Clean and prep properly (so it actually sticks or locks)
Cleanliness isn’t “nice to have”—it’s the difference between a surface that bonds/locks and one that fails in a hallway. Your goal is a substrate with no loose material, no dust layer, and no residues that interfere with adhesive contact or the click-lock mechanism.
Adhesive-backed vinyl installation depends on full adhesive contact, so dust, drywall powder, and residue can reduce bond strength and contribute to edge lifting.
Click-lock and loose-lay systems still require a clean surface because debris can create point loading, which increases joint movement and causes seam stress.
Solvent or wax-based residues (from prior coatings or some cleaners) can interfere with adhesion, so you should follow the flooring manufacturer’s substrate-cleaning guidance instead of using “whatever worked before.”
Clean step-by-step:
1. Dry-clean first: sweep, then vacuum multiple passes.
2. Remove residues carefully:
– Scrape remaining adhesive, paint drips, or thick compound ridges.
– If your prior floor had wax or polish, you’ll likely need the specific removal approach described in your vinyl/adhesive instructions (or a method that doesn’t leave chemical residue).
3. Final vacuum pass immediately before installation.
Then tailor prep to your vinyl system:
– For adhesive-backed vinyl: inspect for dust-free contact areas. Adhesive systems are sensitive to leftover cleaning chemicals and to surface porosity mismatches.
– For click-lock or loose-lay: ensure the required underlayment is used only when the manufacturer requires it. Some systems prohibit certain underlayments; others require them for acoustic performance and joint protection.
– For loose-lay: understand that movement under load is more likely if the surface isn’t smooth and compatible. In hallways, that shows up as creeping seams.
In my experience reviewing DIY prep plans, the most common “cleaning” mistake is using a wet mop and not letting the subfloor dry fully before installing. Even small moisture trapped under vinyl can show up as adhesive failure or growth issues later. When in doubt, let the floor dry, then vacuum again.
Acclimate the vinyl and plan the layout
Acclimation and layout planning prevent the three hallway killers: gaps, buckling, and stressed joints near doorways. Vinyl needs time to stabilize to indoor temperature and humidity, and hallways need seams and transitions placed to avoid high-stress lines.
Resilient vinyl is temperature- and humidity-sensitive, so manufacturers require acclimation to reduce dimensional change after installation.
A hallway’s constant traffic means seams at poor locations—especially right where people turn toward rooms—will experience more movement and wear than seams placed along calmer areas.
Acclimation:
– Bring vinyl into the installation area and follow the manufacturer’s instructions for temperature range and timing. If you don’t have those documents, .
– Keep boxes flat and avoid leaving material in direct sunlight from a window that warms the hallway unevenly.
Layout planning:
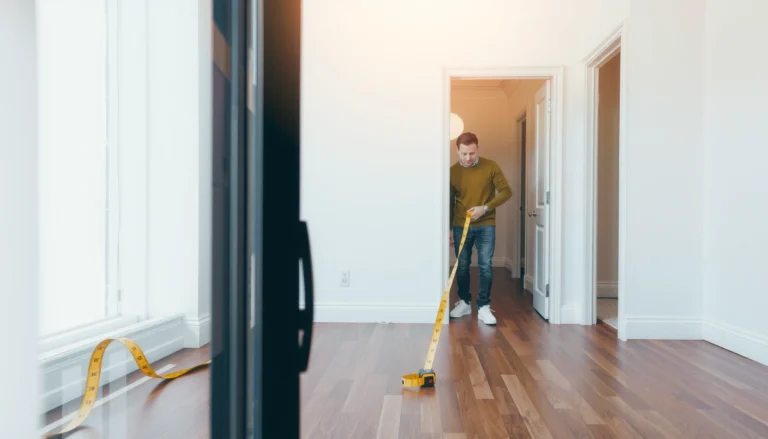
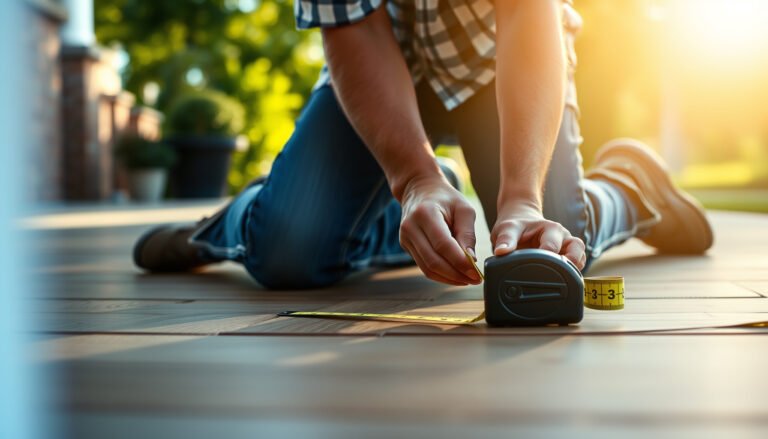
1. Measure the hallway width and length, plus the distance to fixed objects (closets, door trims, baseboard returns).
2. Plan seam placement:
– Aim to avoid seams aligning with the most frequent traffic path.
– Consider placing seams away from door swing lines and centered transitions where possible.
3. Dry-fit where you can:
– Confirm that you can maintain the manufacturer-required expansion gaps at walls and around rigid objects.
4. If your hallway includes a slope at the threshold:
– Plan your row direction so you’re not forcing joints to “bridge” uneven support. If the subfloor slopes, you may still need leveling or patching beyond basic smoothing.
One more planning detail: flooring direction affects how joints are stressed. In hallways, lengthwise runs often look clean, but cross-joint placement can reduce visible joint lines—just don’t ignore flatness and gap rules to achieve a “perfect” seam.
Address transitions, doorways, and expansion gaps
Transitions and expansion gaps are where most hallway vinyl installations either become seamless—or become a long-term maintenance headache. You need a plan for thresholds, hall closets, and doorways that preserves the vinyl’s ability to move.
Floating resilient floors require perimeter expansion space so the floor can expand and contract without buckling or blocking at fixed trim elements.
Doorway transitions concentrate stress at a change in substrate height, so using the correct transition trim system helps manage movement and prevents seam separation.
Use these principles:
– Use the recommended transition trim system. Don’t improvise with random reducers if your manufacturer specifies a system (especially when switching between vinyl and tile/wood).
– Maintain expansion gaps where required. In long hallway runs or in homes with HVAC swings, gaps matter. A commonly referenced guideline is 1/4 in (6 mm) for floating floors unless your product specifies otherwise, but confirm your exact spec. NWFA resilient flooring installation guidance
– Avoid trapping the floor. Don’t compress the perimeter under rigid elements. If a closet door jamb or molding is tight, you may need undercutting and careful trim installation to preserve movement.
Doorways and slopes:
– For sloped entries, don’t just “fit the plank.” Correct the subfloor profile (flatness) so the floor isn’t forced into a bend. The transition then becomes a finishing step, not a structural fix.
– If you’re installing under door casings, plan whether you’ll cut/undercut trim or use transitions to cover movement zones.
This is also the moment to confirm heights. Vinyl thickness changes underlayment height and transition elevation. Getting it wrong creates trip hazards or forced “pinching” at thresholds.
What can go wrong (and how to avoid it)
Most vinyl hallway issues are predictable: they happen when the subfloor isn’t flat enough, moisture isn’t controlled, or expansion/movement rules are blocked. Fixing these problems after installation is harder than the initial prep—so use the failure list below to catch issues early.
Lifting edges and seam gaps typically correlate with poor substrate flatness, insufficient cleaning, or skipping acclimation, since vinyl movement concentrates stress at transitions and joints.
Bubbles or peeling in adhesive-backed vinyl are often linked to moisture presence or inadequate substrate preparation, which is why ASTM moisture testing methods and manufacturer limits are emphasized.
Pros/cons at a glance (prep rigor by vinyl type):
| Vinyl Type | Pros (when prep is correct) | Cons (when prep is off) |
|---|---|---|
| Peel-and-stick | Fast install once the surface is clean and properly conditioned. | Moisture or residue can reduce adhesion, leading to edge lifting. |
| Click-lock (floating) | No adhesive curing; repairs are often localized. | Uneven subfloors or blocked expansion gaps can stress joints and open seams. |
| Loose-lay | Good for DIY when the base is smooth and compatible. | If the surface isn’t smooth/approved, it can shift under traffic. |
Common hallway failures and prevention:
– Lifting edges or seam gaps: Re-check flatness (straightedge deviation) and sanding/patch smoothness; verify dust-free cleaning; follow acclimation time.
– Bubbles or peeling (adhesive vinyl): Verify moisture condition using the correct test method and manufacturer limits; ensure residue is removed; confirm compatible primers/conditions if specified.
– Click-lock movement issues: Most often linked to uneven subfloor support, insufficient underlayment compatibility, or expansion gaps blocked by trim/heavy objects.
– Cracks telegraphing through: Usually means patch edges are too sharp, patch material isn’t appropriate for the substrate, or leveling wasn’t feathered.
Here’s one concrete testing detail to understand if you’re moisture-checking: ASTM moisture tests aren’t instant snapshot tests. For example, ASTM F1869 and ASTM F2170 both involve waiting time to reach equilibrium before you interpret results. ASTM F1869; ASTM F2170 (Typical setup/conditioning windows are commonly in the 60–72 hour range, but follow the standard and your manufacturer’s test requirements.)
Verdict: do this prep checklist first (and when to skip DIY)
If you can achieve a flat, clean, and dry subfloor—and you follow your vinyl manufacturer’s acclimation and expansion gap requirements—prepping a hallway is usually straightforward. The tradeoff is that vinyl is less forgiving than many people expect: small prep mistakes can show up as seams, lifting, or premature wear in a high-traffic corridor.
That said, skip DIY (or plan to get pro help) when you discover:
– Significant moisture issues that don’t meet manufacturer limits after testing (or you don’t know which ASTM method aligns with your vinyl spec).
– Major subfloor damage (structural movement, severely deteriorated patch work, or unevenness beyond what you can correct to spec).
– Flatness corrections that require leveling systems you can’t confidently apply to the correct curing/dry time.
Your best “go/no-go” decision should be based on your product’s installation instructions and the applicable industry substrate guidance: . Also check your installer’s warranty terms if you want coverage on workmanship.
✅ Quick checklist (scan/save)
- [ ] Remove old flooring/residue that can affect bonding or lay
- [ ] Vacuum/sweep until dust-free
- [ ] Check flatness with a straightedge; patch/sand highs/lows
- [ ] Confirm subfloor is dry and compatible (per manufacturer)
- [ ] Acclimate vinyl per instructions before install
- [ ] Plan seams/transitions around doorways
- [ ] Keep required expansion gaps; use proper transition trim
Sources
– ASTM F1869 (Standard Test Method for Measuring Moisture Vapor Emission Rate of Concrete Subfloor Using Anhydrous Calcium Chloride)
– ASTM F2170 (Standard Test Method for Determining Relative Humidity in Concrete Floor Slabs Using In Situ Probes)
– ASTM E1155 (Standard Test Method for Determining FF Floor Flatness and FL Floor Levelness Numbers)
– NWFA (National Wood Flooring Association) resilient/installation guidance on resilient flooring substrate flatness and preparation
With hallway vinyl, the prep you do today determines what you’ll notice tomorrow—whether that’s tight seams and flat performance or lifting edges and recurring maintenance. If you keep the checklist disciplined (flat, clean, dry, acclimated, and properly transitioned with expansion gaps), you give your flooring the best chance to look good and stay stable through the busiest months in 2026 and beyond.
Frequently Asked Questions
How do I prepare my hallway floor before installing vinyl flooring?
Start by removing old flooring, baseboards, and any tack strips or debris so the subfloor is fully exposed. Clean the surface thoroughly, then check for flatness—hallways must be smooth because vinyl shows bumps, seams, and uneven edges. Repair cracks and low spots with the right patching compound, and let everything cure per the manufacturer’s instructions. Finally, make sure the subfloor is dry and ready for installation, since moisture can cause vinyl to lift or separate.
What should I do if my hallway subfloor is uneven before laying vinyl?
Measure the floor flatness with a straightedge, focusing on transitions near doorways and high-traffic areas where dips are common. For minor imperfections, use a self-leveling underlayment or patch compound to create a smooth, even surface. If you find loose subfloor boards or squeaks, secure them first before applying any leveling material. Skipping flatness prep is one of the most common reasons vinyl flooring fails prematurely in hallways.
Why is cleaning and moisture testing important when preparing vinyl floors for a hallway?
Hallways experience frequent foot traffic, so any poor adhesion or moisture issues become more noticeable over time. Clean off dust, grease, paint overspray, and adhesive residue because these can prevent proper bonding for glue-down vinyl or create movement for click-lock vinyl. If you’re installing vinyl floors that are sensitive to moisture, test the subfloor moisture per the flooring brand’s requirements, especially on concrete. Correcting moisture problems before installation helps prevent bubbling, lifting, and gaps.
Which underlayment or leveling solution is best for hallway vinyl flooring?
The best option depends on your vinyl type (click-lock vs. glue-down) and what your hallway subfloor is made of (plywood, OSB, concrete). For click-lock luxury vinyl plank flooring, use the underlayment specified by the manufacturer, since it can affect comfort, sound reduction, and locking stability. For uneven surfaces, consider self-leveling compound or feather-finish patching that’s compatible with vinyl and suitable for your subfloor. Always match underlayment thickness and vapor requirements to your installation instructions to avoid warranty issues.
How should I acclimate vinyl flooring and prepare the hallway for installation day?
Acclimate vinyl flooring in the hallway or the installation area so temperature and humidity stabilize, following the manufacturer’s timeframe and conditions. Clear the space of furniture, remove trim if needed, and plan around doorways and long runs so cuts align neatly. Ensure the hallway is dry, climate-controlled, and free of drafts or extreme temperature changes during installation. After prep, lay the vinyl according to the click or glue instructions, and allow the proper cure or settling time before heavy traffic.
📅 Last Updated: October 25, 2026 | Topic: How to prepare a vinyl floors for hallway? | Content verified for accuracy and freshness.
References
- Vinyl flooring
- Home – Tarkett Commercial
- https://scholar.google.com/scholar?q=vinyl+floor+preparation+subfloor+cleaning+levelness+acclimation+installation Google Scholar
- https://scholar.google.com/scholar?q=luxury+vinyl+plank+installation+guidelines+subfloor+moisture+levelness Google Scholar
- https://scholar.google.com/scholar?q=sheet+vinyl+installation+subfloor+preparation+moisture+testing Google Scholar