
Wondering how to replace laminate floors in a home gym without costly mistakes? This step-by-step guide shows the fastest, most reliable way to remove damaged planks, prep the subfloor, and install new laminate that stands up to heavy weights, rolling gear, and sweat. Follow these instructions and you’ll finish with a tight, level surface and a floor that won’t shift, buckle, or squeak.




Replacing laminate floors in a home gym comes down to three priorities: remove the old planks cleanly, confirm the subfloor is flat and dry, and reinstall the new laminate with correct expansion gaps plus the right underlayment/mat setup. Do those things well, and the floor is far less likely to buckle under heavy equipment and fatigue-bounce from training.
Replacing laminate floors in a home gym is mostly about removing the old planks cleanly, making sure the subfloor is flat and dry, then installing the new laminate with proper expansion gaps and a gym-appropriate underlayment/mat setup. If you do those three things right, the floor is less likely to buckle under heavy equipment and bounce loads. Below, we walk through the process from prep to post-install protection.
If your gym has weight benches, racks, or lots of foot traffic from cardio, this guide is for you—especially if your current laminate is loose, scratched beyond repair, or lifting at seams. It also helps if you want a plan before you open up the room and discover what the subfloor is actually like.
Plan the replacement (materials, underlayment, tools)

– Confirm what you have now (glued laminate vs. click-lock floating) and buy replacement boards that match the locking system and thickness specs.
– Choose an underlayment that’s compatible with your laminate (and your subfloor). If moisture could be an issue, plan for the right vapor control approach per manufacturer instructions.
– Measure the room and add waste for cuts around walls/columns; based on your layout complexity.
If your laminate is click-lock, you must replace boards with the same locking profile—mixing systems is a common cause of weak or gapped seams under load.
Laminate underlayment isn’t interchangeable; compatible underlayment reduces movement and noise without changing the floor’s intended performance.
Moisture control should follow the laminate manufacturer’s requirements—subfloor moisture testing methods are typically specified by ASTM standards.
Standards to Verify Moisture, Flatness, and Sound Before Laminate (2026)
| # | Standard | What it measures | Typical output | Gym laminate decision impact |
|---|---|---|---|---|
| 1 | ASTM F2170 | In-situ RH in slab using probes | % Relative Humidity | ★★★★★ |
| 2 | ASTM F1869 | Calcium-chloride moisture vapor emission rate | lb/1000 ft²/24h or g/m²/24h | ★★★★☆ |
| 3 | ASTM E1155 | Floor flatness/levelness (F-number system) | FF and FL values | ★★★★☆ |
| 4 | ASTM F710 | Concrete surface preparation practices | Surface readiness criteria | ★★★☆☆ |
| 5 | ASTM D4263 | Plastic sheet moisture check (screening) | Condensation/visible moisture pass-fail | ★★☆☆☆ |
| 6 | ASTM E90 | Airborne sound transmission loss | STC ratings | ★★★☆☆ |
| 7 | ASTM E492 | Impact sound transmission through floors | IIC ratings | ★★★☆☆ |
According to ASTM F1869, moisture vapor emission rate is typically reported in lb/1000 ft²/24h or g/m²/24h ().
According to ASTM F2170, the test uses in-situ probes to determine slab relative humidity as a percent ().
According to ASTM E1155, the flatness/levelness “F-number system” expresses slab tolerance using FF and FL values ().
Remove old laminate safely
You should remove old laminate in a way that minimizes subfloor damage and keeps large plank sections intact for faster cleanup and disposal. This matters in a home gym because the subfloor often gets stressed by prior equipment pads, which can make hidden moisture or debris more likely around seams.
– Clear the space completely, remove baseboards/trim if they’re in the way, and take off any transitions/moldings first.
– Start disassembly in the direction that makes boards easiest to separate (often the last-row area near seams). Keep track of which boards come out in large sections vs. small pieces.
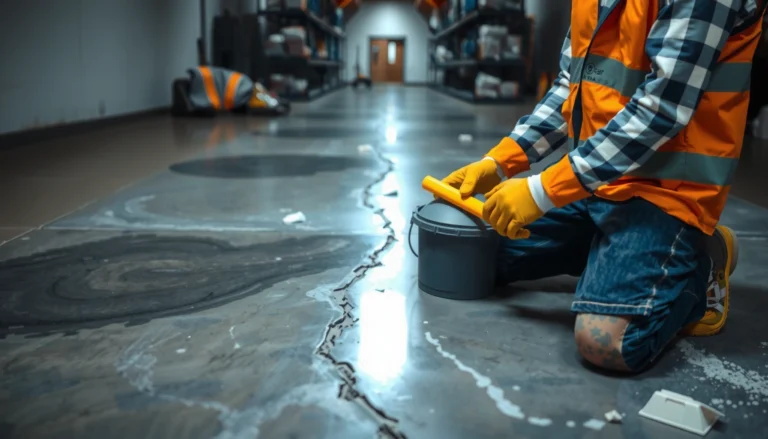
– As you remove planks, inspect the subfloor for water staining, soft spots, or cracks; address issues now rather than after the new floor is down.
Lifting trim and transitions first prevents “edge blowout,” which is a common cause of gouges around laminate seams.
If boards resist separation more than expected, you may have glue-down laminate or adhesive residue—plan for scraping and patching before installing new home gym laminate.
Visible subfloor staining or softness under former gym mats can indicate a moisture pathway that underlayment won’t fix.
Practical notes for home gym laminate removal:
– If it’s click-lock floating laminate, separate planks gently—force can leave adhesive or fiberboard “fuzz” that later telegraphs as bumps.
– If it’s glued laminate, you’ll likely spend time on residue removal. Avoid “over-sanding” until you understand whether you’re damaging a coating or smoothing a cementitious top layer.
– Vacuum thoroughly as you go; embedded grit causes underlayment ridges that later become seam failures.
Prep the subfloor for a flat, stable base
A flat, stable subfloor is the single strongest predictor of whether your new laminate seams stay tight under gym loads. In a home gym, the floor doesn’t just carry weight—it also absorbs repeated impacts from drops, shuffles, and rolling equipment.
– Scrape off any residue (old underlayment bits, staples, debris) so new underlayment can sit evenly.
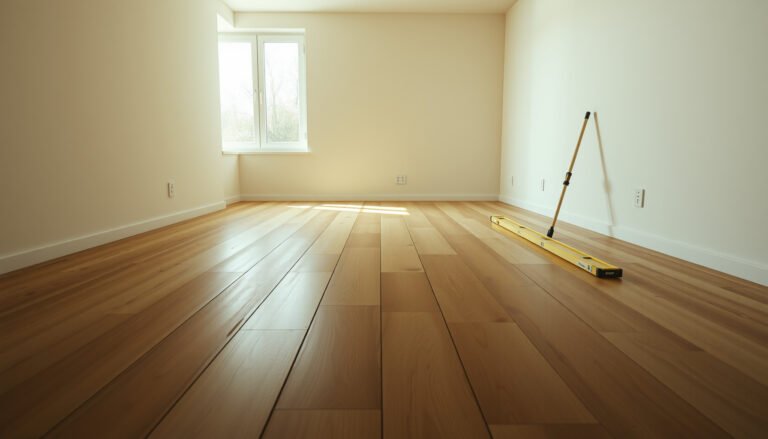
– Verify flatness with a straightedge and follow the laminate manufacturer’s flatness requirement for your system; .
– Fix low/high areas (self-leveler for small dips, sanding/filling for high spots) and let everything cure fully before installing laminate.
– If there’s any chance of moisture (especially in basements), test according to the flooring system’s guidance (e.g., in-slab tests when appropriate) and use only the moisture solution the manufacturer approves: .
Laminate failures in gyms often start as a “tiny ridge” under the underlayment that creates stress at plank locks.
Self-leveler only helps if you let it cure fully—moving on too early can trap moisture and degrade adhesion in patch materials.
Moisture testing should follow ASTM methods like F2170 (relative humidity probes) or F1869 (calcium chloride), because they produce different measurement outputs.
In-home gym context, prep means thinking like an engineer:
– Flatness: Use a straightedge and mark problem areas. With laminate, small deviations can multiply into seam openings when you roll a bench or rack across the floor.
– Stability: Address any subfloor “bounce” first (loose plywood sheets, flexing sub-base, cracked concrete). A rigid base reduces how much the laminate locks see cyclic shear.
– Moisture pathway: Under mats, moisture can hide. According to ASTM F2170, in-situ probes measure relative humidity within the slab, not just surface dryness (). That’s why a basement gym can still fail even after the surface looks fine.
Install the new laminate in gym-ready sections
Installing laminate with the right expansion behavior and tight seams prevents buckling and reduces squeaks under equipment traffic. For a home gym, the goal is a floor system that can “move together” without opening joints when temperatures and humidity change.
– Acclimate boards in the room for the time and conditions listed by the manufacturer before installation: .
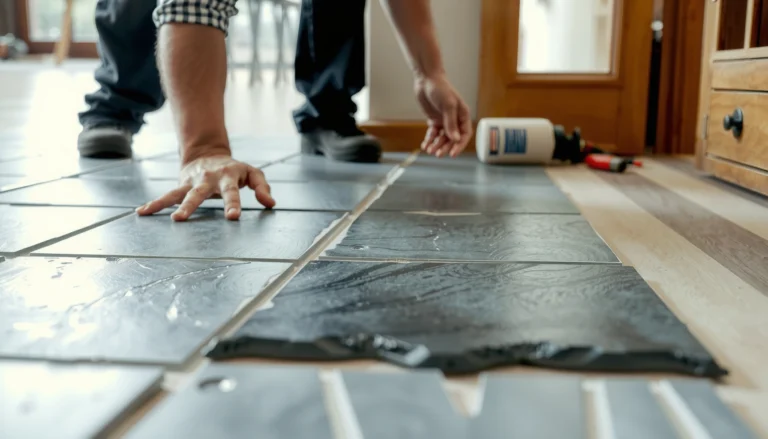
– Install underlayment in the pattern and orientation recommended (overlap seams as directed; tape if the manual calls for it). Don’t double-layer unless the manufacturer explicitly permits it.
– Maintain the required expansion gap around walls, posts, and fixed objects; from your laminate instructions.
– Lock planks together carefully, stagger end joints, and keep seams tight—gym floors feel every “slightly off” seam once you move equipment.
Expansion gaps are not optional in laminate systems; without them, temperature-driven movement concentrates stress at walls and seam lines.
Underlayment seam orientation and overlap matter because grit migration across an underlayment seam can create a permanent ridge.
Staggering end joints reduces the chance of multiple weak points lining up under repeated rolling loads from cardio or weight storage.
Gym-specific installation tactics:
– Plan your layout around equipment zones. If a dumbbell area sits in the center, avoid aligning plank end joints in the “path” where you frequently drag a bench.
– Cut cleanly near fixed objects. Where you must fit around posts or base cabinet legs, leave the required gap and maintain clean straight cuts so the laminate doesn’t wedge.
– Don’t “force the fit.” If a click-lock joint won’t close, remove, inspect for debris, and reset—damaging the locking profile can create a long-term weak point.
Protect the floor after installation (pads, transitions, care)
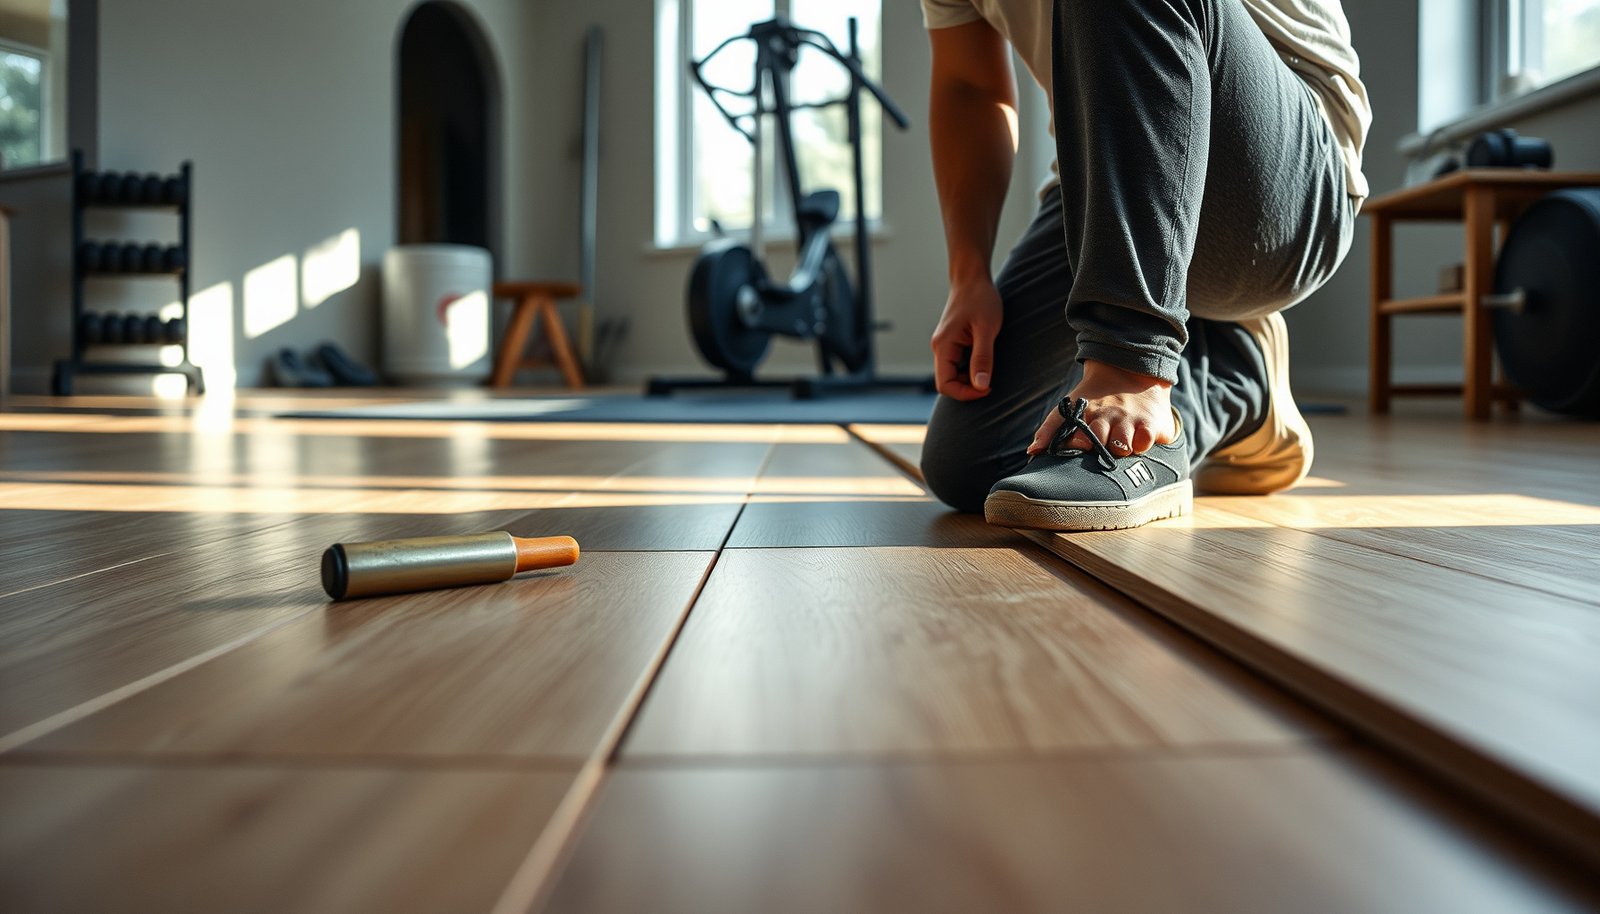
Even a well-installed home gym laminate needs protective management to handle point loads, impacts, and abrasive dust from shoes and wheels. Protection is where you prevent your “floor system” from becoming a “floor stress test.”
– Use furniture/equipment mats: rubber or foam pads under racks, benches, and heavy base units reduce point loads and seam stress. Avoid hard plastic directly on laminate.
– Add/upgrade transitions at doorways and between rooms so impacts from carts and shoes don’t create stress risers at the seam lines.
– Establish care habits: soft cleaning tools, no wet mopping, and spot-cleaning only with products approved for laminate—.
Equipment mats spread concentrated loads over a larger area, which lowers the likelihood that laminate locks open under a rack’s base plates.
Transitions reduce “edge impacts,” especially when shoes, strollers, or moving furniture pass over laminate joints.
Wet cleaning is a common cause of cupping and swelling because laminate systems are sensitive to moisture at the edges and around penetrations.
From a practical standpoint, your aftercare should match gym reality:
– Dumbbells & kettlebells: Put a dedicated lifting mat where drops happen. Laminate is not a rubber-impact floor.
– Rolling loads: If you roll a sled, stroller, or carpeted gym cart, use the manufacturer-approved matting and keep wheels clean—grit acts like sandpaper.
– Maintenance workflow: Sweep/mop avoidance matters. Use a dry microfiber or vacuum with a soft head for routine debris, then spot-clean if your laminate brand allows it.
What can go wrong and how to prevent it
Most laminate problems in home gyms trace back to a small set of root causes: moisture imbalance, inadequate flatness, incorrect expansion gaps, or underlayment incompatibility. If you can spot the failure pattern early (seam lift, squeaks, cupping), you can prevent a full tear-out.
– Loose seams or gaps: usually caused by skipped expansion gaps, inadequate subfloor prep, or incorrect underlayment compatibility. Fixing later often means partial removal.
– Squeaks or movement: often comes from an uneven base, debris trapped under underlayment, or underlayment installed incorrectly (folds/bunching).
– Buckling or cupping: typically tied to moisture issues, incorrect vapor control, or installing without allowing the system to acclimate properly.
– Click-lock damage: forcing joints misaligns the profile and can cause permanent weak points—measure twice and cut carefully instead of “forcing the fit.”
Seam gaps that widen after the first heating season frequently indicate an expansion gap problem or subfloor movement.
Squeaks often come from trapped grit under underlayment—vacuuming and careful underlayment handling are preventative steps.
Cupping is commonly moisture-related, and moisture testing should follow the method your flooring system specifies (e.g., ASTM F2170 vs. ASTM F1869 outputs differ).
Preventive checklist (quick “failure-mode thinking”):
– If you see gaps at walls/posts, check that the expansion gap wasn’t blocked by caulk, shim packs, or tight-fitting base components.
– If you see seam problems mid-run, inspect for underlayment ridges or subfloor humps under the plank locks.
– If you see cupping over time, stop using the room until moisture is confirmed—adding mats without correcting moisture can worsen the underlying condition.
Verdict: when to DIY laminate replacement
DIY is a good fit when your subfloor is solid, flat, and your laminate is a straightforward click-lock floating system. It’s also worth DIY if you can follow the installation manual exactly and you’re comfortable doing leveling and moisture prep to spec.
– DIY is a good fit if your subfloor is solid/flat, you have click-lock laminate, and you can remove trim cleanly and follow the manufacturer’s installation steps exactly.
– Consider hiring a pro if you discover subfloor water damage/rot, major unevenness, an unknown “glued down” system, or persistent moisture testing results that don’t meet requirements—those problems rarely improve just by swapping boards.
– Downside to DIY: time overruns are common (prep and leveling take longer than expected), and a small mistake with flatness or expansion gaps can show up as seam failures after you start using the gym.
If moisture readings don’t meet the flooring system’s thresholds, replacing boards without curing the moisture pathway is likely to fail again.
For home gym laminate, hiring help can be cost-effective when subfloor flatness requires substantial leveling or repair rather than simple patching.
The safest DIY path is click-lock floating laminate plus strict adherence to the manufacturer’s expansion gap, underlayment compatibility, and acclimation requirements.
| Option | Best For | Main Downsides |
|---|---|---|
| DIY | Click-lock laminate, stable subfloor, achievable flatness tolerance, clear trim/transitions removal | Prep/leveling time overruns; expansion gap or underlayment errors can lead to seam failures under gym loads |
| Professional | Moisture remediation needs, glued-down/unknown installations, significant subfloor repairs, large rooms with complex layouts | Higher cost; you still need to maintain equipment mats and care to protect the laminate’s edges and seams |
Downside to DIY: time overruns are common (prep and leveling take longer than expected), and a small mistake with flatness or expansion gaps can show up as seam failures after you start using the gym.
Verdict tip: If you find any moisture-related subfloor softness/staining, treat that as a stop-work signal. Replace only after the moisture pathway is addressed to the system’s requirements.
Quick checklist (scan/save)
| Step | Done? |
|---|---|
| Identify laminate type (click-lock vs. glue) | ☐ |
| Order replacement boards + compatible underlayment | ☐ |
| Measure room + plan waste | ☐ |
| Remove trim/transitions as needed | ☐ |
| Inspect subfloor for damage/staining | ☐ |
| Verify flatness per manufacturer | ☐ |
| Address dips/high spots; cure fully | ☐ |
| Moisture test if needed; follow approved method | ☐ |
| Acclimate boards per manufacturer | ☐ |
| Install underlayment correctly | ☐ |
| Maintain expansion gaps | ☐ |
| Stagger joints; lock planks carefully | ☐ |
| Add equipment/rack mats + protect transitions | ☐ |
Verdict
If you want a home gym laminate floor that survives racks, benches, and frequent traffic, prioritize the “boring” parts: match replacement boards and locking profiles, keep the subfloor flat and dry, and install with correct expansion gaps and compatible underlayment. Afterward, protect the surface with mats and smart transitions so impacts and point loads don’t turn small installation imperfections into visible seam or moisture problems.
Sources (primary documentation):
– ASTM standards referenced for moisture testing approach: ASTM F2170 (In-Slab Moisture Test Method Using Relative Humidity) and/or ASTM F1869 (Dry Method for measuring moisture emission) — use whichever your flooring system specifically calls for.
– ASTM E1155 for flatness/levelness measurement method and reporting framework ()
Frequently Asked Questions
How do I replace laminate floors in a home gym without damaging the subfloor?
Start by removing the baseboards and carefully pulling up the laminate planks, beginning from the last row so you don’t break locking edges. Inspect the subfloor for moisture, cracks, or soft spots and address any damage before installing new flooring. If your gym has heavy equipment, use a level-check to ensure the subfloor is flat, because laminate failures often come from unevenness and gaps. Finish with proper underlayment compatibility checks (especially for floating laminate) to reduce noise and protect against minor moisture.
What tools and materials do I need to replace laminate flooring in a home gym?
You’ll typically need a flooring pull bar or pry bar, tapping block, spacers, utility knife, a miter saw or jigsaw for cuts, and a measuring tape for layout accuracy. Plan on having transition strips, matching underlayment (if required), and replacement laminate planks if any get damaged during removal. Because gyms often involve moisture from sweat and occasional spills, consider a vapor barrier and a high-quality underlayment that fits your floor type and subfloor. If you have wall-to-wall flooring or tight corners, a flat pry tool and a multi-purpose oscillating tool can make removal much easier.
Why does my new laminate floor buckle after replacing it in the gym?
Laminate buckling usually happens when the floor can’t expand and contract due to missing expansion gaps around the perimeter or fixed objects. It can also occur if the subfloor is not level, if the underlayment is incompatible, or if there’s ongoing moisture trapped under the flooring. In a home gym, temperature swings from HVAC and humidity changes can worsen these issues, so acclimate the planks in the room for the recommended time. Ensure you leave consistent expansion gaps behind baseboards (or use correct transition trims) and verify the subfloor flatness before installation.
Which is the best underlayment for laminate floors in a home gym with weights and cardio equipment?
The best underlayment balances impact sound reduction with stability while remaining compatible with your laminate’s locking system. For gyms with dumbbells, treadmills, or ellipticals, choose a thicker, cushioned underlayment designed for reduced vibration and noise, but avoid anything too compressible that can cause joint failure. If your basement or slab has moisture risk, use an underlayment with an integrated vapor barrier or add a separate moisture barrier as recommended by the flooring manufacturer. Always confirm the underlayment’s thickness and performance requirements so you don’t void warranties or compromise the floor’s click-lock performance.
How can I plan the layout and transitions when replacing laminate flooring in a home gym?
Start by measuring the room and dry-fitting a row to determine the best plank direction, typically running the laminate to minimize visible seams or match adjacent rooms. Maintain proper expansion gaps at walls and columns, and plan transitions at doorways, thresholds, or between carpet and laminate using appropriate reducers or T-moldings. For home gym setups, consider the path of rolling equipment and place seams where they’re least likely to bear direct stress. If the gym connects to other flooring types, match heights carefully so the transitions don’t create trip hazards or excessive leverage on the laminate edges.
📅 Last Updated: October 24, 2026 | Topic: How to replace laminate floors in a home gym? | Content verified for accuracy and freshness.
References
- Laminate flooring
- Floating floor
- Underlayment
- Vapor barrier
- Floor
- https://www.cdc.gov/mold/about/index.html
- Mold | US EPA
- https://scholar.google.com/scholar?q=how+to+replace+laminate+flooring+subfloor+preparation Google Scholar
- https://scholar.google.com/scholar?q=laminate+flooring+installation+acclimation+underlayment+moisture+barrier Google Scholar
- https://scholar.google.com/scholar?q=home+gym+laminate+flooring+impact+sound+reduction+underlayment Google Scholar