
Protect laminate floors in a home gym by using a thick, dense rubber or foam mat system under every high-impact zone and rolling chair area—this is the fastest way to stop dents, scuffs, and moisture damage. If you keep sweat and water off the surface with quick dry wipes and add felt pads to equipment, laminate stays looking new even with frequent workouts. This guide will show exactly what to place, where to place it, and how to maintain it so your floor doesn’t pay the price for training.



To protect laminate floors in a home gym, use a thick, stable floor mat under all training equipment and high-traffic zones, plus a consistent cleaning routine to prevent grit from grinding the finish. Also control moisture—laminate is especially vulnerable to standing water and wet mopping—so spills get wiped immediately and the floor stays dry. In this guide, you’ll get practical steps to prevent dents, scratches, and edge lifting while keeping your gym safe and comfortable.
If you’re setting up weights, yoga mats, treadmills, or plyometric training on laminate, this is for you—especially if your floor has to handle frequent movement, occasional dropped weights, and rolling equipment. It’s also relevant if you’ve noticed dull spots, minor gaps, or a rough feel where shoes and equipment land most often.
Start with a proper gym floor mat (coverage matters)

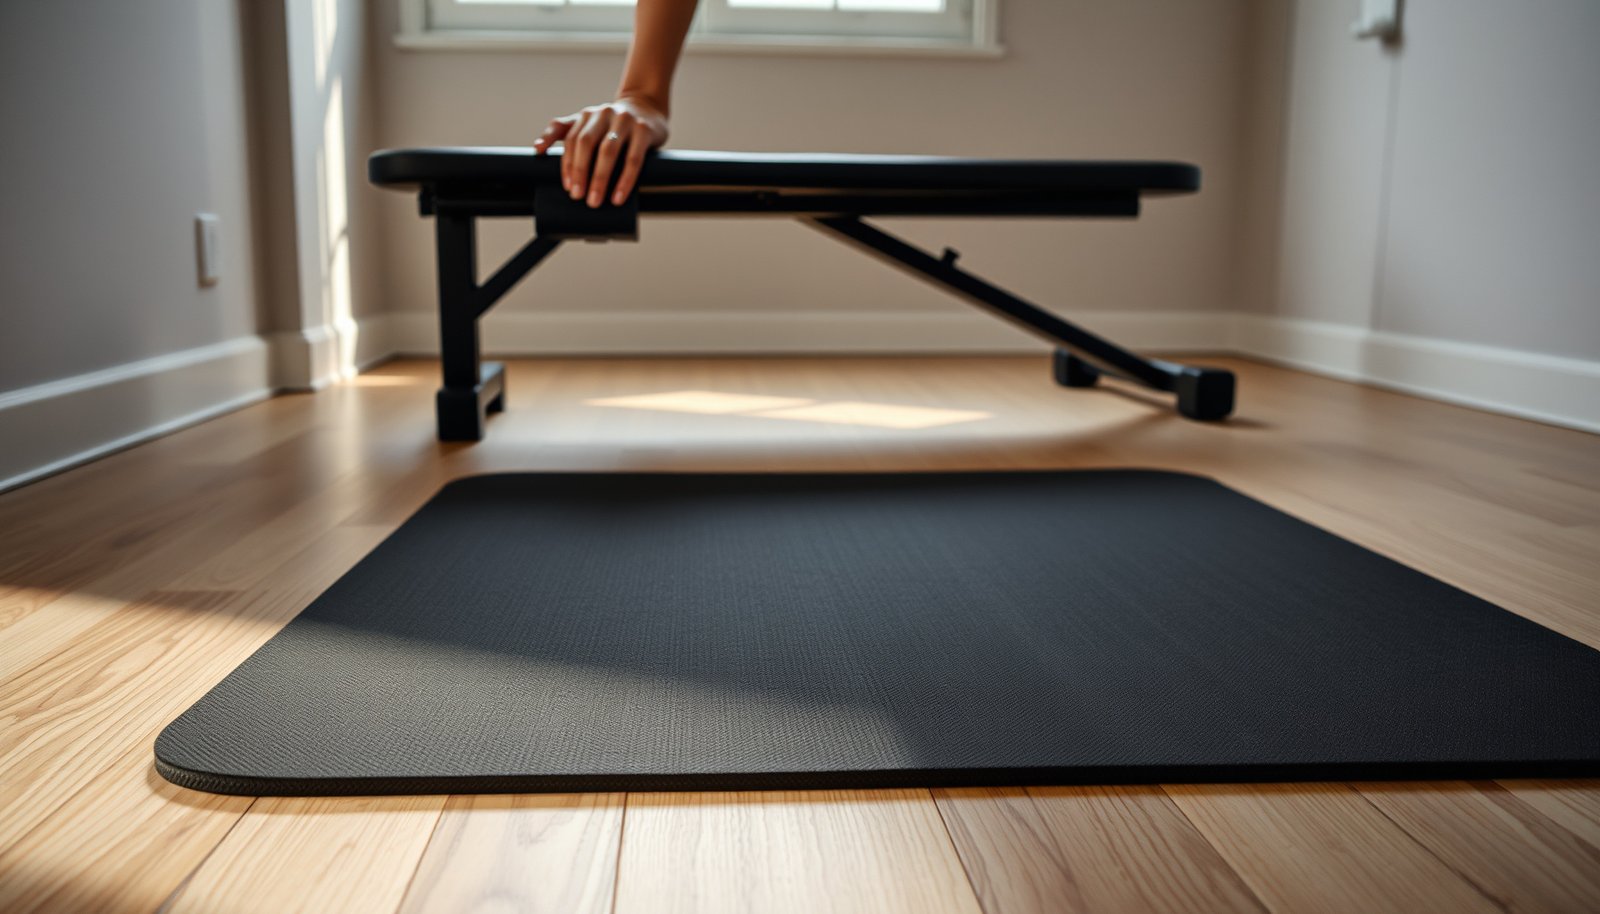
A quality gym mat is the first line of defense because it absorbs impact, reduces scuffing, and keeps equipment from concentrating load directly on laminate floors. The goal is simple: protect the laminate where force happens most—under equipment feet, where you lunge, and where dropped items land.
A dense, stable mat under equipment reduces direct point-load contact that can dent laminate flooring and damage wear layers.
Entrance mats and routine dry cleaning help stop sand and dust grit from acting like abrasive paper on laminate floors.
Laminate is designed to handle normal foot traffic, but standing water and wet mopping can still trigger swelling or edge lifting at seams.
What “coverage matters” looks like in real setups
For laminate floors in a home gym, full coverage isn’t about covering the whole room—it’s about covering the “load paths.” In practice, that means:
– Weights and benches: place a mat under bench legs, squat racks, and storage units, then extend it so your feet still land on mat during transitions.
– Training zones: extend the mat into the areas you lunge, pivot, or step back from (not just where the equipment sits).
– High-impact work: if you do jumps, burpees, or slam-style movements, treat that entire landing zone as protected laminate territory.
If you use multiple mats, butt them tightly and keep them from curling at the edges—movement at seams can create the very micro-gaps where grit and moisture collect.
Thickness + stability (the two properties that change outcomes)
For laminate floors, thickness helps with impact and vibration control, but stability prevents side-to-side motion that can grind the laminate surface over time. In other words:
– A mat that doesn’t shift reduces repeated friction between the mat edges and laminate.
– A mat that absorbs energy helps prevent dull spots and surface wear where you repeatedly drop dumbbells, step off a platform, or drag a bench.
From my experience maintaining laminate floors in workspaces, the biggest “feel” improvement comes from a mat that stays put—even slightly—because shifting mats repeatedly expose laminate to contact and grit.
Add a contact-point barrier for small-footprint equipment
Even with a mat, some equipment creates concentrated pressure through small contact points:
– Bench feet
– Squat rack feet
– Treadmill base
– Storage carts with narrow wheels or legs
Adding a thin protective layer (like a manufacturer-recommended pad or a non-slip base with protective surface) between these contact points and the mat helps reduce both dent risk and surface scuffing.
Grit materials that commonly scratch laminate floors (Mohs hardness-based)
| # | Grit material (tracked debris) | Typical hardness (Mohs) | Typical source near gyms | Scratch threat |
|---|---|---|---|---|
| 1 | Quartz (silica) | 7 | Concrete dust, sand | ★★★★★ |
| 2 | Garnet | 6.5–7.5 | Abrasive dust, soil grit | ★★★★☆ |
| 3 | Corundum | 9 | Hard industrial/stone dust | ★★★★★ |
| 4 | Feldspar | 6 | Concrete dust, road grit | ★★★☆☆ |
| 5 | Hematite / iron oxides | 5.5–6 | Rust/dirt mixes | ★★★☆☆ |
| 6 | Calcite | 3 | Low-hardness dust, limestone grit | ★☆☆☆☆ |
| 7 | Talc | 1 | Dry powder from some soils | ★☆☆☆☆ |
Use pads under equipment to prevent scratches and dents
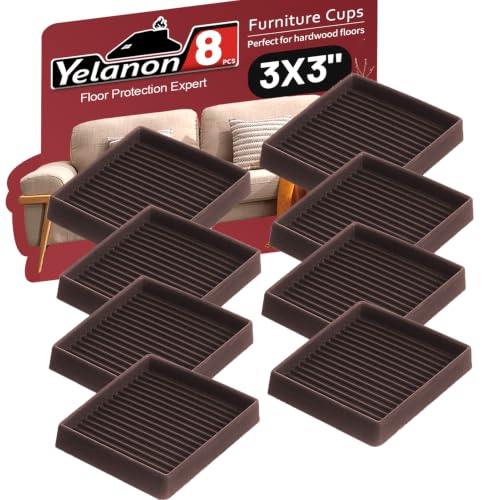
Pads and glides are the fastest way to stop point-contact damage on laminate floors when equipment sits directly on the surface (or even on top of a mat). The most important difference is this: pads spread load and reduce micro-sliding, which is what causes visible scuffs around legs and rack bases.
Felt pads reduce surface abrasion risk by increasing contact area and limiting direct friction between equipment feet and laminate floors.
Non-marking glides prevent wheel- and caster-related “tracking,” which can grind grit into laminate’s protective wear layer.
Even when laminate floors are protected with mats, small contact points (bench or rack feet) can still create localized dents.
Stationary equipment: felt pads or manufacturer-recommended glides
For laminate floors, use pads under:
– Bench legs (especially adjustable benches that shift slightly during warmups)
– Power rack feet
– Storage carts
– Barbell storage hooks that rest on the floor
A good pad choice typically has two traits:
1. Non-slip under load (so it doesn’t creep)
2. Protective surface (so it doesn’t leave a hard, abrasive edge)
Check every few weeks. Pads compress, edges fray, and debris gets trapped under them—then scratching restarts.
Rolling equipment: wheels that don’t grind and don’t track grit
For rolling items in a laminate-floor home gym:
– Choose non-marking wheels designed for hard floors.
– Consider a small under-roller mat beneath carts or stools so wheel friction doesn’t shear gritty debris across laminate.
Rolling setups are where laminate floors often develop dull, “rubbed” patterns, because small wheels concentrate contact pressure and constantly move grit.
Maintain pads like you maintain the floor
For laminate floors, “installation once and forget it” is a common failure mode. Pads need upkeep:
– Vacuum or wipe underneath periodically so grit doesn’t get held against laminate.
– Replace pads when you see thinning, glazing, or a change in glide behavior.
Prevent moisture damage with a “dry-clean only” routine
Moisture control is the most critical long-term protection for laminate floors because standing water can seep at seams and lift edges. A dry-cleaning routine (sweep/vacuum first, damp spot clean only when needed) is the safest workflow for keeping laminate floors stable in a home gym.Many laminate flooring care instructions warn against wet mopping because excess water can penetrate joints and cause swelling or edge lifting.
Microfiber cleaning tools remove grime effectively without soaking laminate floors when used lightly damp and followed by prompt drying.
Wiping spills immediately reduces the chance that moisture reaches seams where laminate floors are most vulnerable.
Avoid wet mopping: use lightly damp cleaning only as an exception
If you have laminate floors in a home gym, treat “wet mop” as a high-risk action:
– Avoid soaking the floor.
– Use microfiber with minimal moisture only when necessary.
– Dry the cleaned area promptly.
In 2026, home gyms keep running year-round (and humidity swings seasonally), so moisture prevention for laminate floors is about consistent habits—not one-time “deep cleans.”
Spills: blot, wipe, and fully dry before stepping back
A spill is not just a stain risk; it’s a structural risk for laminate floors:
– Wipe immediately—water or cleaning solution that seeps into seams can cause swelling.
– Blot first, then wipe.
– Dry thoroughly before normal foot traffic resumes.
Training often involves electrolytes, sweat, and water bottles. Even “small puddles” matter if they sit long enough to migrate at edges.
What this looks like after sweat and sneaker traffic
A practical routine for laminate floors in a home gym:
– After workouts: dry sweep (or vacuum with a hard-floor setting).
– Spot-clean: lightly damp microfiber only for visible residue.
– Finish: quick dry pass (dry cloth) so the area is not left damp.
Keep grit off the floor (it’s the hidden scratch culprit)
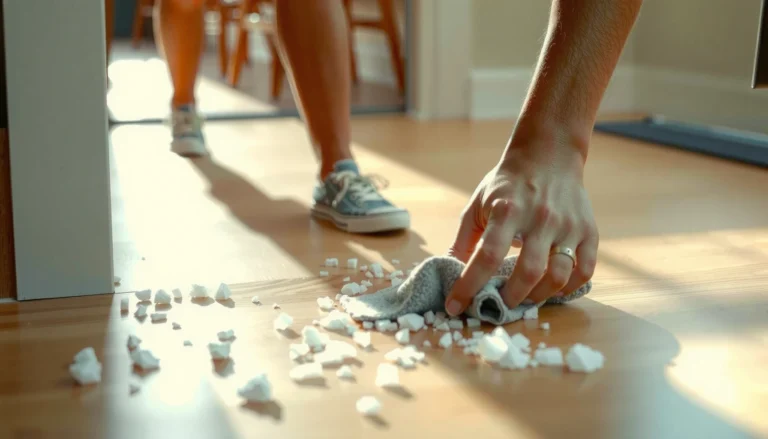
Grit is a scratch multiplier because it behaves like abrasive paper under shoes and equipment, gradually dulling laminate floors. The most effective strategy combines entry control (stop particles at the door) with dry cleaning (remove particles before they grind).
Sand and dust commonly tracked into homes can abrade laminate floors because many grit particles are significantly harder than typical floor finishes.
Quartz (silica) has a Mohs hardness of 7, making it a particularly effective scratch driver when embedded in shoe tread.
According to the U.S. Geological Survey, sand grain sizes typically fall in the range of about 0.0625–2 mm—small enough to spread across gym zones underfoot.
Why grit damages laminate floors even when it “looks clean”
Grit often hides in:
– Shoe tread
– Bench edges
– Wheel tracks
– Mat seams and corners
Over time, micro-scratches accumulate and laminate’s surface looks dull or “rough,” especially where your feet land or where equipment repeatedly sets down.
Entry mat + shoe control near the gym door
For laminate floors, the best place to stop grit is at the entry:
– Put an entry mat outside or directly at the gym entrance.
– Use a shoe-removal habit or dedicated gym footwear.
This simple barrier often prevents the biggest abrasive loads from ever reaching the laminate.
Sweep/vacuum regularly with the right settings
For laminate floors in a home gym:
– Sweep or vacuum before workouts, not just after.
– Use a vacuum setting designed for hard floors so the brush doesn’t add friction.
Avoid abrasive cleaners. On laminate floors, harsh scrubbing can remove the protective finish faster than normal traffic would.
A quick factual anchor on grit hardness and size
– Quartz is a common component of sand and concrete dust, with a Mohs hardness of 7 USGS Mohs Hardness Scale.
– Sand grains are often classified in the ~0.0625–2 mm size range, small enough to spread widely with foot traffic USGS sediment grain-size guidance (Wentworth scale).
– Because laminate floors repeatedly experience shoe-driven abrasion, controlling these particles matters more than using “strong” cleaners.
What can go wrong (common mistakes and limits)
Even with mats and pads, laminate floors can still degrade if moisture gets in or if abrasion continues at mat edges and equipment contact points. The common failures below are predictable, so you can prevent them by designing your routine around laminate’s weak points: seams, edges, and wear-layer abrasion.
If equipment contact points (bench/rack feet) bypass pads, laminate floors can still suffer localized scuffing or dents.
“Quick mopping” after sweat can be risky because water may reach laminate joints even when the spill looks small.
Some laminate flooring warranties require approved cleaners and conditions; deviating can limit coverage.
Common mistakes that show up fast on laminate floors
– Using the wrong mat: thin mats can “telegraph” pressure and allow equipment legs to still contact the laminate during heavy reps. If you can feel hard spots through the mat, it’s not doing its job.
– Skipping seam protection: laminate can fail at edges if water gets into joints, so “quick mops” after sweat and spills can still be risky—especially along perimeter areas.
– Over-cleaning with harsh products: some cleaners leave residue or damage the protective finish, making laminate floors more scratch-prone. Residue can also attract grit, increasing abrasion.
– Not checking compatibility: laminate warranties often restrict cleaning agents and moisture exposure. If you go off-spec, you can reduce warranty coverage.
Quick pros/cons comparison: mat systems for laminate floors
| Mat approach | Pros for laminate floors | Potential downsides |
|---|---|---|
| Thick, stable rubber or EVA tiles | Best impact damping; good under racks/benches; reduces vibration | Heavier mats can feel less stable for balance work |
| Single large mat (one-piece coverage) | Fewer seams for grit/moisture to collect; simpler alignment | May be harder to reposition if you rearrange equipment |
| Interlocking tiles (modular) | Easy to expand and replace damaged sections | Interlock gaps can trap grit unless maintained |
Verdict: what to do first (and who should skip what)
If you want the biggest protection with the least hassle, start with full-coverage mats for workout zones and add pads under every stationary piece of equipment that touches the floor. Then commit to a mostly-dry cleaning routine and quick spill cleanup—those two habits typically prevent more damage than any “special treatment.”
Downsides to consider: mats can trap dust if you don’t clean under/around them, and some thicker mats may feel unstable for balance training. Skip DIY “sealers” or coating products unless your laminate manufacturer explicitly allows them, because some products can void warranties or create slippery residue.
The highest ROI for protecting laminate floors is reducing direct impact contact with stable mats and preventing moisture at seams through immediate spill cleanup.
Grit control matters because abrasive minerals such as quartz (Mohs 7) can dull laminate finishes through repeated foot-driven abrasion.
Quick checklist / scan-and-save
– [ ] Mat installed in high-impact areas (and under equipment bases)
– [ ] Felt pads/glides under bench, rack, and furniture legs
– [ ] Non-marking wheels (or a small mat) for rolling items
– [ ] Dry-clean routine (sweep/vacuum), damp cleaning only when necessary
– [ ] No wet mopping; spills wiped immediately and area dried
– [ ] Periodic checks: pads still intact, mat not shifting, no debris under edges
Sources
– U.S. Environmental Protection Agency (EPA), Mold Prevention Strategies and Good Housekeeping Practices (indoor humidity guidance)
– U.S. Geological Survey (USGS), Mohs Hardness Scale (mineral hardness reference)
– U.S. Geological Survey (USGS), sediment grain-size classification guidance (Wentworth scale ranges)
Keeping laminate floors in a home gym intact is mostly about three fundamentals: protect impact zones with stable mats, stop abrasive grit from being tracked and ground in, and keep moisture off seams through mostly-dry cleaning and immediate spill response. If you implement those steps consistently—especially in 2026’s high-activity setups—you’ll dramatically reduce dents, scratches, and the edge-lifting problems that typically ruin laminate floors over time.
Frequently Asked Questions
What is the best way to protect laminate floors in a home gym?
Use a quality protective gym mat system to reduce impact and friction, especially under free weights and exercise equipment. Place a moisture-resistant underlayment (if needed for your flooring setup) and choose mats with a non-staining surface to prevent scratches and scuffs. For high-traffic zones like dumbbell stations, consider thicker interlocking mats or area rugs with a grippy backing.
How can I prevent scratches and dents from weights on laminate flooring?
Protect laminate floors by placing rubber or foam lifting mats under barbells, dumbbells, and kettlebells, including during storage and set-up. Keep metal feet from directly contacting the floor by using rubber pads under equipment legs and adding felt or polyurethane protectors where appropriate. Avoid dropping weights—use controlled lifts and consider bumper-style platforms to reduce shock.
Why does a home gym cause more damage to laminate floors, and how do I reduce it?
Laminate is vulnerable to abrasion from grit, concentrated pressure from heavy equipment, and moisture from sweat or spills, all of which are common in home gyms. Reduce damage by keeping floors clean with a microfiber mop and a vacuum designed for hard surfaces to remove sand that can scratch. Promptly wipe up water, use a lightly damp cloth (not soaking), and protect against sweat with mats in workout areas.
How should I choose the right underlayment and mat thickness for laminate in a gym?
Select an underlayment that offers sound dampening and moisture protection, particularly if you experience humidity or have a basement-level gym. For mats, thicker padding (such as closed-cell foam or multi-layer gym rubber) helps absorb impact and reduces denting from weights and cardio machines. Aim for full coverage in the heaviest-use zone so equipment never contacts laminate between workouts.
Which cleaning and maintenance routine helps keep laminate floors looking new in a workout space?
Use a manufacturer-recommended laminate floor cleaner and avoid steam cleaners, which can push moisture into seams. For daily care, use a soft-bristle broom or a vacuum attachment with brushless suction, then spot-clean spills immediately with a barely damp microfiber cloth. Recheck protective pads on equipment periodically and keep mats clean so embedded dirt doesn’t act like sand on the surface.
📅 Last Updated: October 24, 2026 | Topic: How to protect laminate floors in a home gym? | Content verified for accuracy and freshness.
References
- Laminate flooring
- https://www.pergofloors.com/en-us/support/care-and-maintenance/laminate
- https://www.armstrongflooring.com/support/care-and-cleaning/laminate-floor.html
- https://www.quick-step.com/us-en/support/care-and-cleaning/laminate
- Home – Tarkett Commercial
- MohawkFlooring
- https://scholar.google.com/scholar?q=protective+mats+laminate+flooring+impact+sound Google Scholar
- https://scholar.google.com/scholar?q=home+gym+floor+mat+laminate+flooring Google Scholar
- https://scholar.google.com/scholar?q=laminate+flooring+care+rolling+loads+furniture+floor+protectors Google Scholar