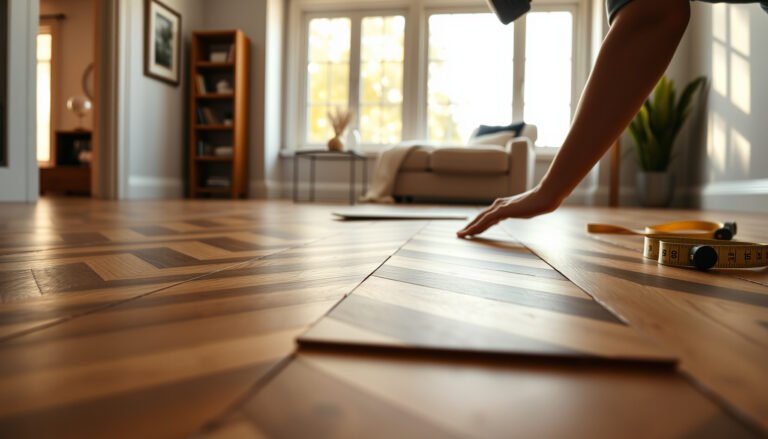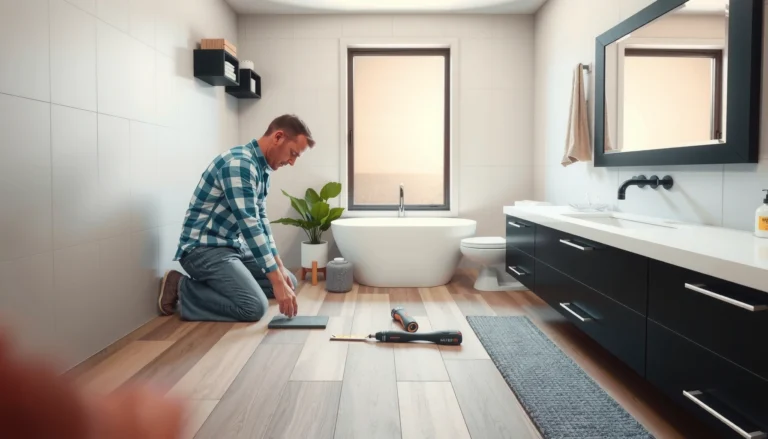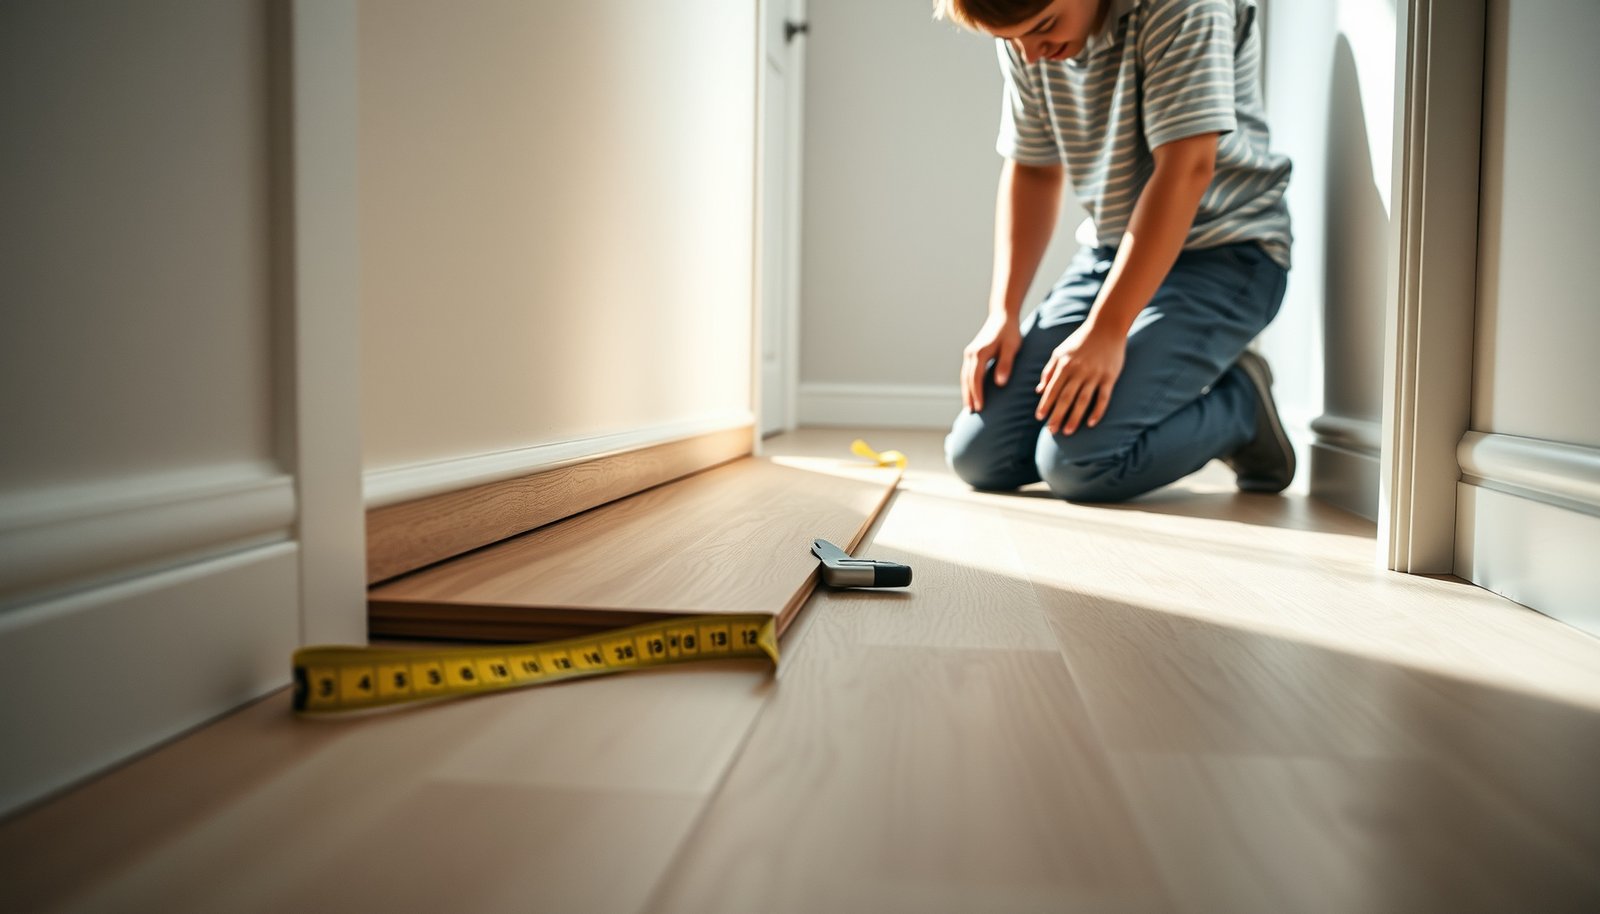

Replacing vinyl floors in a hallway is usually the fastest, cleanest path to a durable, good-looking surface—especially if you’re working with click-lock or sheet vinyl that can be installed with minimal demolition. This guide tells you exactly when replacement beats repair, what to remove and prep, and the step-by-step process to get seams straight, edges sealed, and transitions tight. Follow it, and you’ll avoid the most common mistakes that cause lifting, gaps, and premature wear.



Replacing vinyl floors in a hallway is mostly about getting the subfloor flat, dry, and clean—then installing the right vinyl system (click-lock, glue-down, or sheet) exactly per its method. If you do those two things well, the hallway will look straight at the seams and hold up under high foot traffic in 2026 and beyond.
Replacing vinyl flooring in a hallway is rarely “one-and-done,” because hallways combine tight transitions (doorways, baseboards, carpet edges) with uneven subfloors from older installs. The good news: the workflow is predictable. You remove the old material, verify flatness and moisture conditions, acclimate the new product, and then install using the correct installation method—especially at seams and transitions—so the floor doesn’t shift, gap, or lift over time.
If your hallway has high traffic, you’ll want to prioritize flatness, moisture resistance, and proper acclimation of the new vinyl. This is especially important if you’re replacing loose/peeling vinyl, upgrading from older sheet vinyl, or switching between plank and tile styles.
Gather materials and pick the correct vinyl type
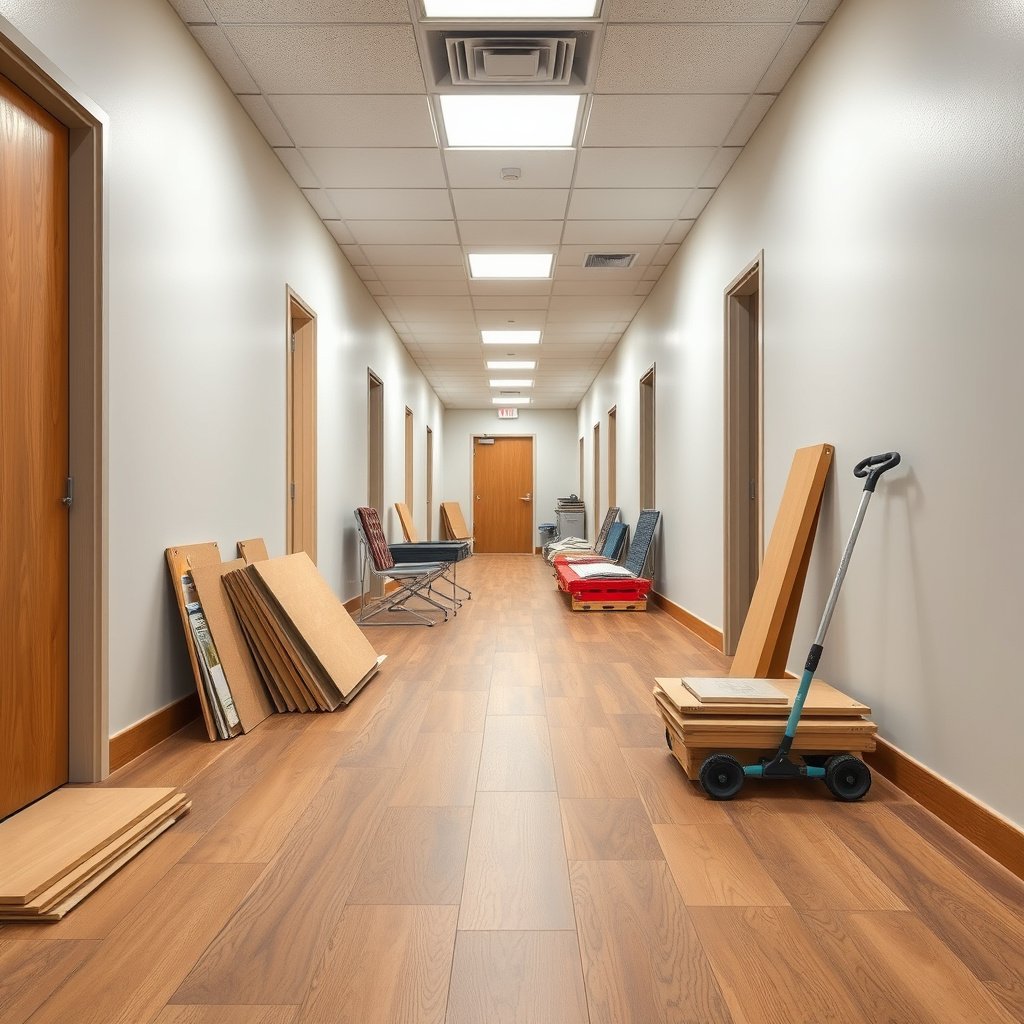
Choosing the correct vinyl type first is the fastest way to avoid rework later. The key is matching the vinyl system to your installation method: click-lock (floating), glue-down, or sheet vinyl (rolled and cut, sometimes seamed/welded).
ASTM F2170 is the standard method for measuring in-situ relative humidity in concrete, which directly affects whether many glue-down vinyl systems will stay bonded.
For resilient/vinyl installations, subfloor flatness requirements are typically stated as a maximum variation over a specified straightedge length, and ignoring that number is a common cause of seam failure.
What you’re matching: click-lock vs glue-down vs sheet vinyl
Vinyl flooring systems look similar at the surface, but their installation mechanics are different. In 2026, manufacturers still expect you to follow those mechanics because the floor’s dimensional movement and bonding behavior are built into the design.
– Click-lock (floating) vinyl plank/tile: Built to “float” over the subfloor with perimeter expansion gaps. There’s usually no adhesive to the floor, but the underlayment (attached pad or separate) must be compatible.
– Glue-down (direct bonded) vinyl plank/tile: Designed to be bonded to the subfloor with an approved adhesive spread and cure time. Adhesive failure or insufficient coverage can show up first at seams and corners.
– Sheet vinyl: Installed as a roll, with seams handled using the manufacturer’s seam-welding/heat-seaming method if needed. Sheet vinyl behaves differently under expansion and rolling pressure than modular planks.
Plan the hallway transitions up front
Hallways almost always require careful detailing at:
– door jambs,
– carpet edges,
– adjacent room flooring height differences,
– vents and return grilles,
– and whether baseboards are removed or left in place.
Plan your trim/transition materials before you cut the vinyl flooring, because transitions often determine where your “starting row” needs to land for a clean visual line.
Tools and supplies (use what matches your method)
Collect essentials so your vinyl flooring installation stays continuous and accurate:
– Utility knife (and extra blades)
– Measuring tape + pencil/marker
– Straightedge/long level for flatness checks
– Pull bar or pry bar (often needed for tack strips and old trim)
– Spacers (for floating perimeter gaps)
– Underlayment only if specified by your vinyl flooring instructions (do not assume)
– Adhesive and correct trowel/notch size for glue-down systems (only if your system requires it)
> Tip: Don’t buy underlayment “just because it sounds right.” In resilient/vinyl flooring, underlayment compatibility is often method-specific. When in doubt, match the underlayment guidance to your exact product SKU or installation guide.
Quick data at a glance: vinyl systems for hallways
The table below summarizes common guidance points that typically come up during vinyl flooring planning—flatness targets and whether adhesive is part of the system. Always verify the exact requirements in your specific manufacturer instructions before you start.
Common Vinyl Flooring Choices for Hallways (Planning Guide)
| # | Vinyl system (hallway fit) | Perimeter movement | Adhesive to subfloor | Common flatness target | Overall fit ★ |
|---|---|---|---|---|---|
| 1 | Click-lock LVP w/ attached pad | Expansion gap typically required | No | ≤ 3/16″ over 10 ft | ★★★★☆ |
| 2 | Click-lock LVP w/ separate underlayment | Expansion gap typically required | No | ≤ 3/16″ over 10 ft | ★★★★☆ |
| 3 | Click-lock LVT (thicker wear layer) | Expansion gap typically required | No | ≤ 3/16″ over 10 ft | ★★★★★ |
| 4 | Glue-down LVT (best bond control) | Maintain manufacturer gaps | Yes | ≤ 3/16″ over 10 ft | ★★★★★ |
| 5 | Glue-down LVP over framed subfloor | Maintain manufacturer gaps | Yes | ≤ 3/16″ over 10 ft | ★★★★☆ |
| 6 | Sheet vinyl (full-spread adhesive) | Perimeter clearance required | Yes | ≤ 3/16″ over 10 ft | ★★★☆☆ |
| 7 | Loose-lay vinyl tile (small areas) | Movement allowed; fit must be precise | No (typically) | ≤ 3/16″ over 10 ft | ★★★☆☆ |
*Note:* The “common flatness target” reflects widely used resilient flooring guidance; your exact vinyl flooring installation guide may specify a tighter requirement. For example, industry guidance often cites ≤ 3/16″ over 10 ft for resilient flooring flatness. NWFA (National Wood Flooring Association) resilient/installation flatness guidance—use your specific vinyl’s installation document.
Remove the old vinyl and prep the subfloor
Removing the old vinyl completely is the foundation for a durable vinyl flooring install in a hallway. Partial removal or leaving old adhesive behind is a leading cause of lumps, clicking seams, and premature wear.
Vinyl flooring fails prematurely when subfloor ridges or leftover adhesive telegraph upward, creating stress points at joints and transitions.
Most adhesive-bonded resilient flooring systems require a clean substrate because bond strength depends on surface contaminants being removed before bonding.
Strip down to a stable, clean base
– Remove the existing vinyl completely, including any loose material and softened edges.
– Scrape off residual adhesive thoroughly. Even small “humps” can transfer to plank joints and show as a visible line under hallway lighting.
– Avoid gouging the subfloor while removing glue—mechanical damage can create new high spots that you’ll spend time correcting.
Inspect the subfloor for damage and moisture
Before you install new vinyl flooring, you’re looking for:
– soft spots (often subfloor separation),
– bubbling from trapped moisture,
– loose boards or subfloor panels,
– and any damp or stained areas.
If you suspect moisture, don’t “wait it out.” In 2026, moisture failures remain one of the most expensive reasons vinyl flooring lifts. For concrete slabs, moisture testing and mitigation should follow recognized standards—commonly:
– ASTM F2170 for in-situ relative humidity testing (RH), and
– ASTM F1869 for calcium chloride moisture vapor emission rate (MVER).
Check flatness with a straightedge (not just eyeballing)
Hallways reveal imperfections quickly. Use a straightedge and mark problem areas, then:
– sand high spots,
– scrape ridges,
– and shim or patch low areas as directed by your vinyl flooring instructions.
> In practice: a “mostly flat” hallway floor can still fail at click-lock joints if the floor has repeating ridges (often from old sheet vinyl edges).
Acclimate and measure the hallway layout
Acclimating vinyl flooring and planning the layout avoids gaps, buckling, and visually crooked seam lines. The hallway layout work happens before the first plank or sheet cut, and that’s where most DIY projects win or lose.Most resilient vinyl flooring manufacturers require acclimation to the installation environment so the product reaches dimensional stability before fitting and locking.
Floating vinyl floors rely on perimeter expansion space; without it, thermal expansion can cause buckling, especially in hallways that warm up near windows.
Measure accurately around obstacles
Measure:
– hallway width and length,
– doorways and thresholds,
– closet openings,
– vents and return grilles,
– and whether baseboards will be removed.
Then plan your first row. Hallways often have one long, visible run, so starting straight matters more than people expect.
Dry-lay or mark reference lines
For plank products, even slight “drift” becomes noticeable halfway down the hallway. Dry-lay (without locking/adhesive) or mark a reference line from your chosen starting point so the vinyl flooring seam pattern stays aligned.
Acclimate before installation
Follow the manufacturer’s acclimation instructions for:
– required time,
– temperature range,
– and humidity limits (when stated).
In 2026, many installation guides still include acclimation guidance specifically because hallway conditions can differ from the rest of the home—especially if the hallway is near exterior walls or a thermostat zone.
Install the new vinyl flooring (method-specific steps)
Using the correct installation method is what separates a flat, long-lasting vinyl hallway floor from one that lifts or gaps. Each vinyl system type requires different steps around seams, locking profiles, adhesive spread, and cure time.
Click-lock vinyl flooring is designed to float; installation depends on a straight starting line, correct perimeter expansion gaps, and the required joint staggering pattern.
Glue-down vinyl flooring depends on correct adhesive selection, correct trowel size, and cure timing so the adhesive forms a reliable bond at joints and edges.
Click-lock (floating) plank: keep the perimeter gap and stagger joints
– Start from a straight starting line and confirm square.
– Maintain the required expansion gap around walls, posts, and fixed cabinetry.
– Stagger end joints as directed (typically avoiding continuous seams).
– Lock planks firmly but avoid forcing damaged tongues/grooves—replace visibly broken pieces.
Common hallway issue: end seams near doorways. Because hallways often include short runs between door openings, you may be tempted to “make it fit” with tight end joints. Don’t—follow the layout rules and keep expansion space intact at the perimeter.
Glue-down vinyl: adhesive coverage and rolling/pressing matter
– Use the correct adhesive and, for many products, the correct trowel/notch size.
– Apply adhesive to the right coverage area (often within a limited working time).
– Install the flooring while adhesive is in the correct condition (follow the cure time/workability window).
– Roll/press per the vinyl flooring instructions—especially at seams and edges.
Glue-down failure often shows first at seams because those areas experience the highest peel stress when the floor moves.
Sheet vinyl: cut-to-fit and manage seams the right way
If you’re installing sheet vinyl flooring:
– Plan cuts to reduce rework in tight hallway corners.
– If seams are required, follow heat-seaming or welding instructions exactly.
– Respect adhesive cure time if you’re using adhesive.
Practical note: sheet vinyl seams can look fine at first and still fail if seam work isn’t compatible with the specific sheet material and pattern matching.
Pros/cons: choosing the right vinyl installation method for a hallway
Here’s a quick comparison of how method choice affects durability and DIY risk for vinyl flooring.
| Method | Pros | Cons |
|---|---|---|
| Click-lock (floating) plank | No adhesive required; good for DIY; easier to replace damaged sections. | Requires strict flatness and expansion gaps; sensitive to movement at weak subfloors. |
| Glue-down vinyl | Very stable in high traffic; fewer “floating” movement concerns. | More sensitive to moisture; adhesive spread/cure timing must be correct. |
| Sheet vinyl | Seam reduction depending on layout; continuous feel. | Cutting/seaming complexity; wrong seam welding can become a weak point. |
Three hallway-specific data points that affect outcomes
To anchor your planning in real installation expectations:
– According to NWFA resilient flooring flatness guidance, a common target is no more than 3/16″ variation over 10 ft (measure with a straightedge).
– According to ASTM F2170, in-situ relative humidity testing is designed to quantify moisture conditions in concrete slabs for flooring bond decisions.
– According to ASTM F1869, calcium chloride testing produces a moisture vapor emission rate in lbs/1000 sq ft/24h, used to evaluate whether a substrate is acceptable for adhesive systems.
Finish edges, transitions, and baseboards
Finishing edges and transitions is what makes a vinyl hallway replacement look professional—and it’s also what prevents lifting at the boundaries. The goal is to cover the right gap (or leave it exposed) based on your specific vinyl flooring system.
Floating vinyl floors often need perimeter expansion space; covering that area incorrectly can block movement and cause buckling.
Doorway transitions reduce edge stress by anchoring floor height changes and providing a clean finishing point where hallways meet other rooms.
Baseboards and trim: cover the gap only when allowed
– If your floating click-lock system requires that expansion gaps remain visible, don’t permanently trap them under tight trim.
– Some installs remove and reinstall baseboards; others leave them in place and trim carefully around them.
– Follow your vinyl flooring guide—this is one of the most product-specific parts of installation.
Transitions at doorways and between rooms
Use the right transition hardware:
– reducers when going down in height,
– T-molding where the floor continues into another hard-surface area,
– or transition strips for carpet edges.
Plan your row layout so seam locations don’t land directly where a transition will look awkward.
Sealing and finishing: only if the system calls for it
Some vinyl flooring systems instruct dry-fitting with no sealant. Others allow sealing at specific perimeters. Don’t apply random caulk “because that’s what contractors do”—it can interfere with movement or compatible finishes.
What can go wrong (and how to avoid it)
Most vinyl hallway failures come from subfloor flatness, moisture, or method mistakes—not from the vinyl itself. If you know the typical failure modes, you can prevent them before they become expensive repairs.
Subfloor unevenness can cause click-lock seams to separate or fail, because the locking profile wasn’t designed to span repeated ridges.
Perimeter expansion gaps matter because resilient vinyl flooring moves with temperature and humidity; locking a floor into tight boundaries can trigger buckling.
Common mistakes
– Subfloor not flat: leftover adhesive, ridges, or hollow spots can cause clicking, gaps, and premature wear—fix the surface first.
– Wrong expansion gap: skipping perimeter clearance can lead to buckling in heat or humidity.
– Improper adhesive or coverage (glue-down): wrong glue, wrong trowel/notch, or missing cure time can fail at seams.
– Cutting/layout errors: hallway walls aren’t always square—plan so your last row doesn’t end as a narrow strip that pulls stress into transitions.
– Moisture surprises: if the subfloor is damp, even a clean, well-installed vinyl flooring job may fail—test and address moisture using the product guidance and relevant standards.
A quick “sanity check” before the last cuts
Stop before you commit to final cuts if:
– you see recurring ridges,
– you smell dampness near baseboards,
– or you notice the floor moving when you press near weak areas.
Verdict / tip
For most homeowners, replacing vinyl flooring in a hallway is a doable DIY project if you take flatness, acclimation, and the correct installation method seriously. If you find moisture problems, major unevenness, or a complex transition plan, pause and consider professional assessment—those are the situations where DIY often becomes more expensive than it should be.
The best “shortcut” is actually disciplined prep: remove old vinyl fully, scrape adhesive down to flat, meet the installation flatness target, then install the correct vinyl system exactly as written. In 2026, that approach consistently protects the visual line of the hallway seam pattern and extends the service life of the vinyl flooring.
Quick checklist (scan before you start)
– [ ] Match vinyl type to your install method (click-lock vs glue-down vs sheet)
– [ ] Remove old vinyl + scrape leftover adhesive completely
– [ ] Fix subfloor soft spots and meet flatness requirements ()
– [ ] Acclimate the new vinyl per instructions ()
– [ ] Plan layout for straight seams and door/vent obstacles
– [ ] Maintain expansion gap (floating floors) and follow adhesive/cure directions (glue-down)
– [ ] Install transitions and finish edges neatly
A hallway vinyl replacement succeeds when flatness and method compliance happen before the first board is cut or locked.
If you’re unsure about perimeter clearance or adhesive compatibility, the manufacturer’s installation guide is the authority—even more than general DIY advice.
Sources
– ASTM F2170 — Standard Test Method for Determining Relative Humidity in Concrete Floor Slabs Using In Situ Probes
– ASTM F1869 — Standard Test Method for Measuring Moisture Vapor Emission Rate of Concrete Subfloor Using Anhydrous Calcium Chloride
– NWFA (National Wood Flooring Association) — Resilient flooring substrate prep/flatness guidance (use alongside your vinyl manufacturer’s installation document)
If you want a hallway vinyl floor that looks straight and stays durable, your best strategy is simple: treat prep and method compliance as the real “installation,” then finish edges and transitions with the same care you used for the planks or sheet.
Frequently Asked Questions
What’s the best way to prepare a hallway before replacing vinyl floors?
Start by clearing the hallway completely and removing baseboards, shoe molding, and any transition strips so the new vinyl can sit flush. Inspect the subfloor for damage, cracks, or high spots, and repair them with a suitable patch or leveling compound for vinyl flooring. Sweep and vacuum thoroughly, then ensure the surface is clean, dry, and smooth—lumps and debris are common causes of lifting and gaps. Finally, measure the hallway carefully and plan your layout to avoid awkward seams near doorways.
How do I remove old vinyl flooring in a hallway without damaging the subfloor?
Lift loose vinyl first using a scraper or floor scraper, and cut sheet vinyl into manageable sections to reduce tearing. For click-lock vinyl plank, remove planks row by row, following the locking direction, then clean any leftover underlayment or adhesive. If it’s glue-down vinyl, use heat (where appropriate) and a floor scraper to remove residue, but avoid gouging the subfloor. After removal, sand high spots, vacuum thoroughly, and check flatness before installing new vinyl.
Which vinyl floor type is easiest to install in a hallway?
Many homeowners choose click-lock vinyl plank because it’s relatively easy to replace flooring in a hallway with fewer tools and faster installation. If you prefer sheet vinyl for a seamless look, it can be a great option but requires careful trimming around doors and edges. For older or uneven subfloors, consider vinyl with a good underlayment or a leveling approach first, since gaps can telegraph through. The best choice depends on your subfloor condition, whether you want DIY-friendly installation, and your desired durability.
How do I handle doorways and transitions when replacing vinyl flooring in a hallway?
Use transition strips at doorways and between rooms to create a smooth, professional finish and to cover expansion gaps. Dry-fit planks or sheet vinyl along the doorway area, then trim precisely so the flooring can slide under casings or meet trim cleanly. Maintain the recommended expansion gap around the perimeter and at transitions, especially in long hallways, to prevent buckling. Reinstall baseboards or add shoe molding last to conceal the gap while allowing the floor to move slightly.
Why is proper subfloor leveling important when replacing vinyl floors, and how do I check it?
Vinyl flooring is forgiving compared to some surfaces, but it still needs a smooth, flat base to prevent cracking, clicking, or lifting at seams. Before installation, check the subfloor flatness using a straightedge or level—focus on ridges, dips, and transitions from old flooring. If you find low spots, use a vinyl-appropriate patch or self-leveling compound, and if high spots exist, sand them down. Taking time to level the hallway floor helps the new vinyl lay evenly and improves long-term performance and comfort underfoot.
📅 Last Updated: October 25, 2026 | Topic: How to replace vinyl floors in a hallway? | Content verified for accuracy and freshness.
References
- Vinyl flooring
- F710 Standard Practice for Preparing Concrete Floors to Receive Resilient Flooring
- F1869 Standard Test Method for Measuring Moisture Vapor Emission Rate of Concrete Subfloor Using …
- F2170 Standard Test Method for Determining Relative Humidity in Concrete Floor Slabs Using in sit…
- Lead Renovation, Repair and Painting Program | US EPA
- Asbestos | US EPA
- Asbestos – Overview | Occupational Safety and Health Administration
- https://scholar.google.com/scholar?q=How+to+replace+vinyl+flooring+in+a+hallway Google Scholar
- https://scholar.google.com/scholar?q=resilient+flooring+installation+guidelines+subfloor+preparation Google Scholar
- https://scholar.google.com/scholar?q=vinyl+sheet+floor+removal+lead+asbestos+safety Google Scholar