
If you need to waterproof a vinyl floor in a hallway, follow this step-by-step method for a seam-proof, water-ready install that holds up under boots, spills, and cleaning. You’ll learn exactly what to seal (edges, joints, and transitions), which products to use, and how to apply them so water can’t creep under the planks or sheet. Skip guessing—this is the fastest route to a hallway vinyl surface that stays sealed and dry.




Waterproofing a vinyl hallway floor is mostly about sealing the perimeter and transitions, locking down (allowed) seams/joints, and using only moisture-compatible products your vinyl manufacturer permits. Start with a dry, flat subfloor—because even the best waterproofing vinyl flooring system can’t protect against ongoing moisture vapor coming up through concrete.
This guide is for homeowners and DIYers waterproofing a hallway floor with vinyl planks/tiles (click-lock or glue-down) or sheet vinyl—especially where water shows up from mopping, dripping shoes, and condensation near entry doors. It also helps reduce the chance that hallway “wet spots” lead to swelling, gapping, or seam failure over time.
Check subfloor moisture and fix the cause first
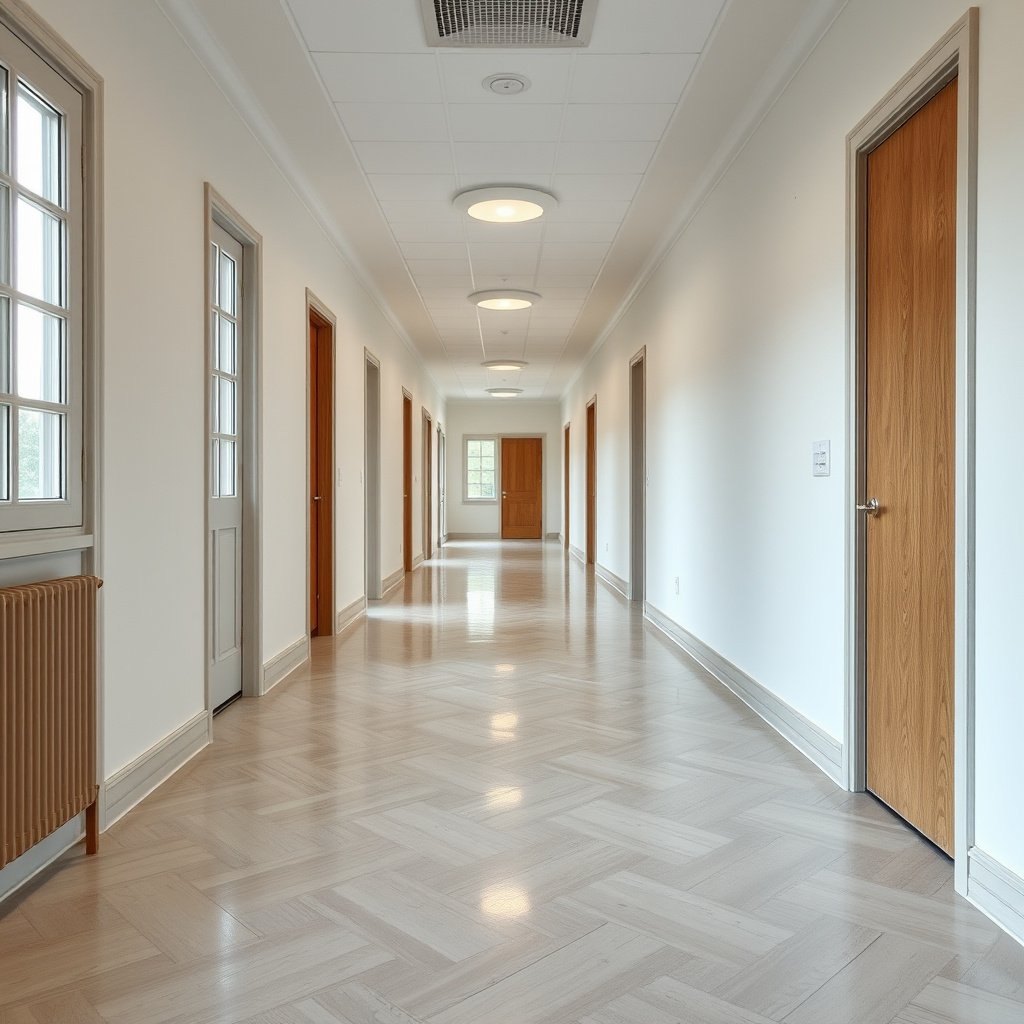
Start here: if moisture is still coming up or entering from below, perimeter sealing alone won’t stop vinyl from swelling. The most reliable “waterproofing vinyl floors in a hallway” starts by verifying the subfloor is properly dry and flat, and by correcting any water intrusion source.
Here’s why this matters. Vinyl is dimensionally stable only when the installation environment stays within the limits the manufacturer specifies. If you skip moisture testing, you can end up with a seemingly well-sealed hallway that still develops lifted edges, softness under the planks, or long-term seam opening.
ASTM F1869 reports results as pounds of moisture (water vapor) emitted per 1,000 square feet over 24 hours, which helps quantify slab dryness before you install vinyl.
ASTM F2170 measures in-situ relative humidity (%) at specified probe depths (often 40% of slab thickness) rather than relying on surface dryness.
Moisture control must address the source of water intrusion; waterproofing a floor cannot compensate for an active leak in plumbing, roofing, or exterior moisture.
– Confirm the subfloor is properly dry and won’t release moisture upward; follow your local standard and/or common moisture tests (commonly ASTM F2170 for RH or ASTM F1869 for calcium chloride). According to ASTM F1869, the calcium chloride method measures moisture vapor emission rate in lb/1,000 sq ft/24h, and ASTM F2170 uses in-situ RH (%) probes installed at a defined depth (commonly 40% of slab thickness, depending on the slab).
– Correct uneven spots and remove anything that prevents good adhesion/sealant contact (dust, paint overspray, old caulk).
– If there’s an actual leak (plumbing, roof, exterior moisture), fix that first—waterproofing the floor won’t solve ongoing water intrusion.
Common Subfloor Moisture Checks Used Before Vinyl (Hallway) Installs
| # | Moisture check | What it measures | Standard | Typical reporting format | Spec precision (★) |
|---|---|---|---|---|---|
| 1 | In-situ RH probes | Relative humidity (%) | ASTM F2170 | % RH at depth | ★★★★★ |
| 2 | Calcium chloride test | Moisture vapor emission rate | ASTM F1869 | lb/1,000 sq ft/24h | ★★★★★ |
| 3 | Plastic sheet screening | Condensation / darkening | ASTM D4263 | Pass/fail observations | ★★★☆☆ |
| 4 | Concrete moisture meter (pins) | Measured material moisture content | Device method (varies) | Meter units (device-specific) | ★★☆☆☆ |
| 5 | Concrete moisture meter (non-invasive) | Surface/near-surface indicators | Device method (varies) | Meter units (device-specific) | ★★☆☆☆ |
| 6 | Relative humidity logging | RH over time | Device method | % RH time series | ★★★☆☆ |
| 7 | Level/flatness verification | Installation substrate flatness | Not a moisture standard | Inches over length | ★★★★☆ |
Note: This table summarizes what each check typically reports and how prescriptive the procedure is. For waterproofing vinyl floors in a hallway, your vinyl brand’s specified moisture limits and approved test method control the final decision.
Pick the right waterproofing method for your vinyl type
Choose the method based on how your hallway vinyl is installed—because “waterproofing vinyl floors in a hallway” is not one-size-fits-all. Your best outcome comes from sealing the perimeter and allowed seam zones while respecting whether your click-lock floor is designed for standing water or only for water resistance.
If you install products contrary to the manufacturer’s guidance (for example, fully encapsulating a click-lock system when it’s meant to float), you can create new failure modes: trapped moisture, seam stress, or trapped water that can’t dry.
Vinyl waterproofing outcomes depend more on installation method (click-lock floating vs glue-down vs sheet) than on the word “waterproof” printed on marketing.
Many manufacturers only approve perimeter sealing and specific seam treatments; applying an unapproved system can void warranty even if it appears waterproof.
A “fully encapsulated” strategy can be inappropriate when floating click-lock vinyl requires controlled movement and drying pathways.
– Identify what you have: click-lock (floating) LVP/LVT, glue-down vinyl, or sheet vinyl—waterproofing requirements differ by installation method.
– Only use waterproofing/seam products that are explicitly permitted by your vinyl manufacturer’s installation instructions (this is where many DIY projects fail).
– Decide what you’re waterproofing: seams/joints + perimeter is usually the focus; a “fully encapsulated” approach may be inappropriate for some click-lock products.
From a practical standpoint, here’s how most waterproofing vinyl floors in a hallway strategies map to floor types:
| Vinyl type | Waterproofing focus | What to avoid |
|---|---|---|
| Click-lock / floating LVP-LVT | Perimeter sealing + only manufacturer-approved joint/seam treatments at allowed locations | Rigidly sealing expansion space or blocking movement pathways |
| Glue-down vinyl | Approved perimeter sealing + approved seam/edge sealing where water can travel under/at edges | Using generic “construction” sealants not rated for vinyl contact/adhesion |
| Sheet vinyl | Edge/turn-up sealing at terminations + seams where seams are present (per manufacturer guidance) | Sealing seams that are intended to remain flexible or to be handled with specific seam chemistry |
Seal seams, joints, and the perimeter before water arrives
You typically get the biggest improvement by sealing the perimeter and any transitions first, then treating only those seams/joints your system allows. For waterproofing vinyl floors in a hallway, this is where you stop water from reaching the subfloor edge and getting trapped under/at the vinyl.
The reasoning is simple: water almost always migrates along the path of least resistance—baseboard edges, expansion gaps, and any joint line that can open under traffic or seasonal movement. A correct perimeter seal also reduces the odds that hallway “wet spots” translate into long-term swelling.
Water entry points for vinyl hallway floors are commonly the perimeter edge and transition seams, not the center of the plank.
Sealant failures usually trace back to incompatible chemistry or poor surface preparation (dust, moisture, or residue) rather than the sealant looking “waterproof.”
If a vinyl installation calls for an expansion gap, sealing over that gap with rigid materials can increase the risk of seam stress and buckling.
– Clean the floor surface and dry-fit/confirm layout so you don’t need to “force” pieces later—tight seams are easier to seal correctly.
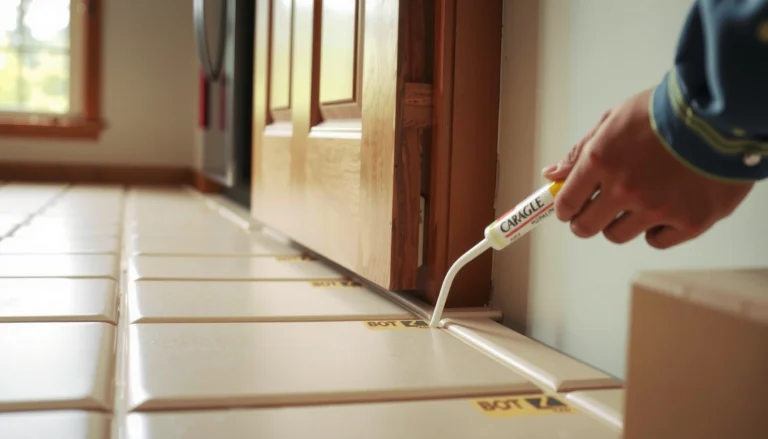
– Seal where water enters most often: the perimeter edges, expansion gaps (if your system requires them), and any seams/joints that can be opened by movement.
– Use the specified caulk/sealant and application method for your system; leave any required expansion space unblocked if your flooring manufacturer calls for it.
Practical application notes (so waterproofing vinyl floors in a hallway actually performs):
– Use painter’s tape to create a clean seal line at the wall edge and pull it while sealant is still workable (only if consistent with the sealant’s TDS).
– Apply sealant with consistent bead size; underfilling creates pinholes, and overfilling can interfere with baseboard/molding fit.
– If your vinyl installation uses an underlayment, confirm the sealant won’t degrade it and that the sealant is compatible with the vinyl surface finish.
Waterproof hallway transitions and floor edges
Transitions are where waterproofing typically succeeds or fails, so plan for thresholds and junctions before you finish the hallway. For waterproofing vinyl floors in a hallway, thresholds and pipe penetrations deserve the same attention as the perimeter—because water finds those points quickly.
The reasoning is that door jambs, transitions to tile/wood/laminate, and small gaps around plumbing penetrations are often where movement happens. Movement plus moisture equals failure.
Thresholds and junctions between vinyl and other materials are high-risk areas because differential movement can open micro-gaps over time.
Pipe penetrations require flexible sealing systems; rigid sealers can crack when the floor or pipes move slightly.
Baseboards/shoe molding can either protect the seal line or—if installed incorrectly—create a new water path into the wall-to-floor gap.
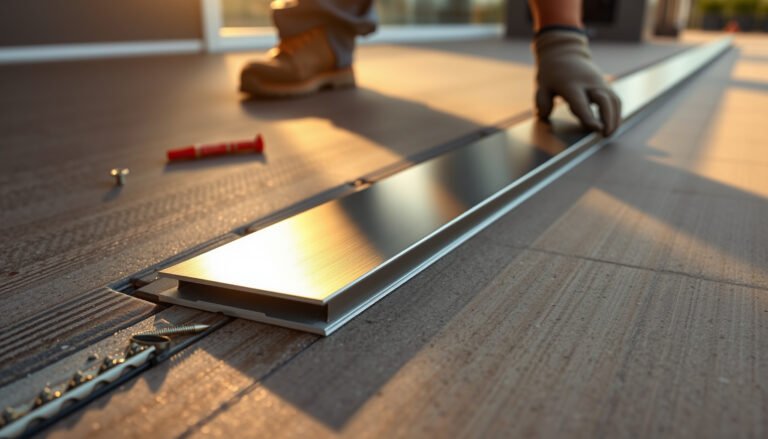
– Pay special attention to thresholds, doorways, and where the vinyl meets tile/wood/laminate—these transition zones need compatible waterproofing tape or sealant.
– Seal around pipes and any penetrations with a flexible, waterproof sealing approach approved for your flooring system.
– After sealing, ensure baseboards/shoe molding can still do their job (some installers seal at the wall line; others leave a gap depending on the manufacturer—follow the instructions).
Also confirm whether your manufacturer requires leaving a perimeter gap behind baseboards. Many waterproofing vinyl floors in a hallway guides fail here by sealing “everything” and blocking the very clearance meant to prevent buckling.
Protect the job while it cures, then verify coverage
After sealing, you need a dry cure period and a careful inspection—because incomplete cure or missed edge spots can undermine waterproofing vinyl floors in a hallway. Keep the hallway dry during cure time, and verify that edges/transitions are continuously sealed before normal use resumes.
This step is where homeowners often rush. Even a correct sealant system can fail if it gets premature moisture exposure, foot traffic, or vibration before the coating/sealant reaches full strength.
Sealants and tapes are only as good as their cure conditions; moisture exposure during cure can reduce bond strength and long-term water resistance.
A “missed spot” at the perimeter is often more damaging than a small defect in the middle of a vinyl hallway floor.
Cleaning practices matter: some vinyl products allow damp mopping, while others require specific cleaners and controlled moisture.
– Keep the hallway dry during cure time and avoid heavy traffic, standing water, or wet mopping until the sealant/tape system has fully cured.
– Re-check for pinholes or missed spots along edges and transitions—small gaps matter more than people expect in hallways.
– If you plan to clean with a mop: start with the method recommended by your vinyl manufacturer (some allow damp mopping, others require specific cleaners and practices).
From my compliance-focused experience, the most common “it’s waterproof but still fails” scenario is not the seal line itself—it’s post-install cleaning that over-wets the perimeter before the hallway is fully conditioned for normal use.
What can go wrong (and why hallways are risky)
Hallways are risky because they concentrate traffic, shoe moisture, and transition points in a small area. If you waterproof vinyl floors in a hallway without respecting product compatibility and subfloor moisture, you can still end up with swelling, lifting, or seam failure.
Here are the major failure modes and how to prevent them—so your waterproofing plan targets the real risks, not just the visible ones.
Even a fully sealed perimeter may not protect vinyl if moisture vapor is still migrating upward through concrete.
Click-lock floating vinyl often requires movement and specific treatment boundaries; sealing it as if it were a rigid glue-down system can create stress failures.
Sealant/tape compatibility is critical because some products bond poorly to certain vinyl surfaces or underlayment materials despite advertising “waterproof” performance.
– Using the wrong vinyl type or sealing system: some click-lock floors are not designed to be “fully waterproofed” if water sits underneath for long periods.
– Skipping moisture testing or ignoring a wet subfloor: even a perfect perimeter seal can’t stop water from coming up through concrete.
– Blocking expansion gaps: if the flooring needs room to move, sealing it rigidly can cause buckling or seam failure.
– Not following manufacturer compatibility: sealants/tapes that “seem waterproof” can still fail adhesion on specific vinyl surfaces or underlayment types.
Pros/cons of DIY waterproofing vs. professional moisture remediation (decision lens)
(Use this when you’re deciding how far to take the DIY approach for waterproofing vinyl floors in a hallway.)
| Option | Pros | Cons / limitations |
|---|---|---|
| DIY perimeter + transition sealing | Lower cost; focuses on known water entry points; generally aligns with many vinyl warranties when using approved products | May not handle recurring subfloor moisture; standing-water resistance depends on installation method and manufacturer limits |
| Professional moisture investigation/remediation + install verification | Addresses source moisture; reduces risk of hidden failures; can align installation with documented acceptance testing | Higher cost; requires scheduling and sometimes changes to the floor system plan |
Verdict / tip + quick waterproofing checklist
If your goal is “water resistance” in a hallway (spills, damp mopping, wet shoes), the most reliable DIY approach is: prep correctly → seal perimeter and transitions → use only manufacturer-approved waterproofing products. The downside is that this usually isn’t a guarantee against long-term standing water—especially if your vinyl installation method isn’t meant for full water encapsulation.
Skip this DIY approach and get professional help if you have ongoing moisture issues, a severely damaged subfloor, or you’re unsure whether your exact vinyl model allows sealing/taping. Hallways magnify mistakes, so verification beats guesswork.
| Waterproofing step | What to do (quick checklist) |
|---|---|
| Moisture + flatness | Test moisture (per ASTM methods or local standard) and flatten/remove debris |
| Product compatibility | Use sealant/tape approved by your vinyl manufacturer |
| Perimeter sealing | Seal floor-to-wall edges where water can travel |
| Seam/joint sealing | Seal only where your system calls for it (don’t defeat required movement) |
| Transitions | Seal door thresholds and junctions with tile/wood appropriately |
| Cure time | Keep the hallway dry until cure completes |
| Final check | Inspect edges/transitions for missed spots before normal use |
Sources
– ASTM standards commonly used for subfloor moisture testing: ASTM F2170 (in situ RH) and ASTM F1869 (calcium chloride).
Final takeaway: waterproofing vinyl floors in a hallway works best when you treat it like a system—dry, flat substrate; approved perimeter/transitions sealing; and disciplined cure/maintenance. If you follow that order, you reduce the likelihood that hallway “wet spots” become long-term swelling or seam problems.
Frequently Asked Questions
What’s the best way to waterproof vinyl flooring in a hallway?
To waterproof vinyl floors in a hallway, focus on sealing the edges and joints where water usually gets in. Start with a solid, level subfloor and install the vinyl using the manufacturer’s approved underlayment and transition pieces. Then seal seams with a waterproof vinyl seam sealer and caulk the perimeter gaps with a compatible waterproof caulk for a continuous moisture barrier.
How do I waterproof vinyl plank seams and joints in a high-traffic hallway?
Seams are the most common entry point for moisture, especially in hallways where water is tracked in from shoes. After installation, check that planks lock tightly and apply a waterproof seam sealer made for vinyl plank or click-lock systems to every joint. For areas with frequent spills, also seal around any transitions and baseboards to prevent water from wicking underneath.
Why does hallway water damage happen even with vinyl flooring?
Vinyl floors are water-resistant, but water can still seep through gaps at the perimeter, around doorways, or through poorly sealed seams. Hallways often see more moisture transfer from mopping, wet shoes, and cleaning runoff, which can migrate under edges. If the underlayment or subfloor isn’t protected, standing water can cause swelling, mold growth, or loosening at the seams.
Which underlayment and adhesive options help make vinyl flooring more waterproof?
Choose an underlayment that is designed for water resistance and is compatible with your specific vinyl type (click-lock vs. glue-down). For glue-down vinyl, use the recommended adhesive and ensure the subfloor is clean, dry, and properly prepared to prevent trapped moisture. If you’re using click-lock vinyl, avoid gaps and use the manufacturer-approved underlayment and perimeter sealing to minimize moisture paths.
How should I seal the perimeter of vinyl flooring to prevent leaks in a hallway?
Seal the perimeter gaps around the edges of the hallway with a waterproof caulk that matches vinyl and is safe for your flooring type. Use caulk under baseboards or at transitions, but avoid overfilling expansion gaps if your flooring needs room to move. Pair this with sealing door thresholds and any floor penetrations so water doesn’t migrate under the vinyl when you clean or deal with spills.
📅 Last Updated: October 25, 2026 | Topic: How to waterproof a vinyl floors with hallway? | Content verified for accuracy and freshness.
References
- Vinyl flooring
- Waterproofing
- F710 Standard Practice for Preparing Concrete Floors to Receive Resilient Flooring
- F1869 Standard Test Method for Measuring Moisture Vapor Emission Rate of Concrete Subfloor Using …
- F2170 Standard Test Method for Determining Relative Humidity in Concrete Floor Slabs Using in sit…
- E96/E96M Standard Test Methods for Gravimetric Determination of Water Vapor Transmission Rate of …
- https://www.epa.gov/mold/moisture-control-home
- https://scholar.google.com/scholar?q=waterproof+vinyl+flooring+seams+hallway Google Scholar
- https://scholar.google.com/scholar?q=vinyl+flooring+moisture+barrier+subfloor+sealing Google Scholar
- https://scholar.google.com/scholar?q=sheet+vinyl+installation+waterproof+seam+sealer Google Scholar